
Basic Functions - Branches
Let’s take a look at how you can add branches in Zoho Inventory.
Enable Branches
Insight: Only the admins of the organisation can enable this feature in Zoho Inventory.
Prerequisite: To enable Branches, your business should have a registered GSTIN and enabled GST Settings in Zoho Inventory.
To enable branches in Zoho Inventory:
Go to Settings, then Branches.
Click the Enable Branches button to activate the feature.
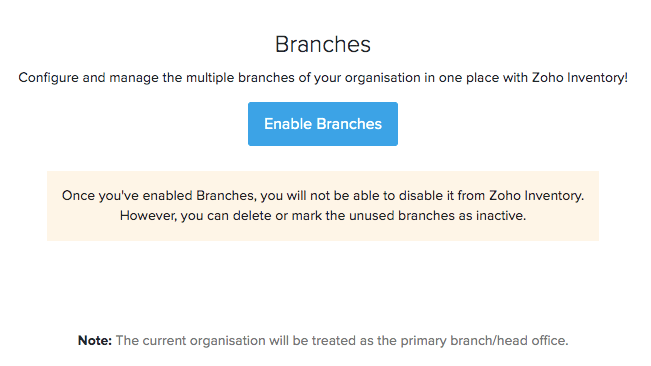
You will receive an in-app notification when the Branches feature has been enabled. The current organisation will be considered as the Head Office or Primary Branch.
Warning: Once you enable Branches, you will not be able to disable it in Zoho Inventory. However, you can delete a branch or temporarily deactivate it.
Create Branch
To create a new branch:
Go to Settings, then Branches.
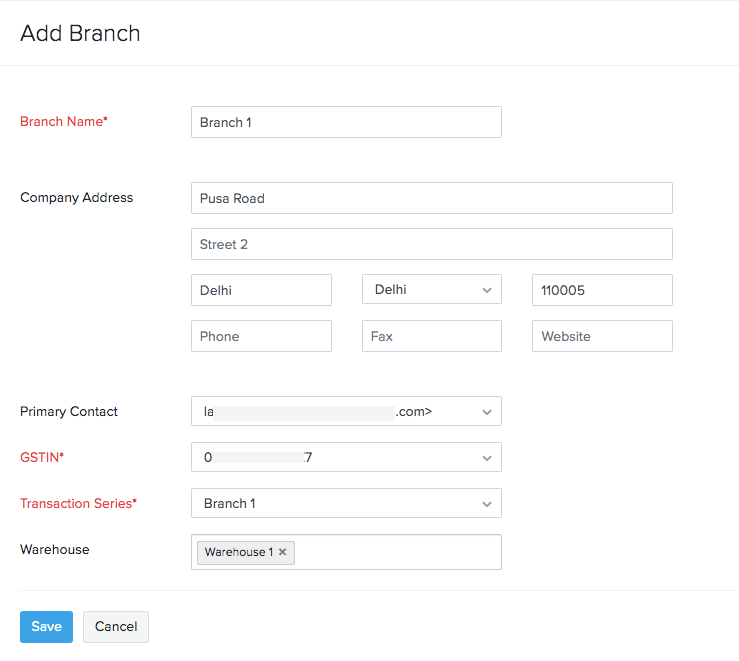
Click the Add Branch button in the top right corner.

Enter the Branch Name and Address.
Select a Primary Contact for the branch.
Choose the GSTIN you want to associate with this branch. to add a new one, click + New GSTIN.
Select the transaction series to associate with this branch. If you haven’t created any, click + New Transaction Series from the dropdown.
Click Save.
Configure Transaction Series
You can track the transactions created for a branch by generating sequence numbers unique to the branch. For example, if you have branches in Mumbai and Pune, the Mumbai branch transactions can be identified with the prefix: MUM-INV-0001, and the Pune branch transactions can be identified with the prefix PUN-INV-0001.
Insight: If you have added more than one GSTIN, it is necessary to apply unique transaction series for each GSTIN.
To create a transaction series:
Go to Settings, then Branches.
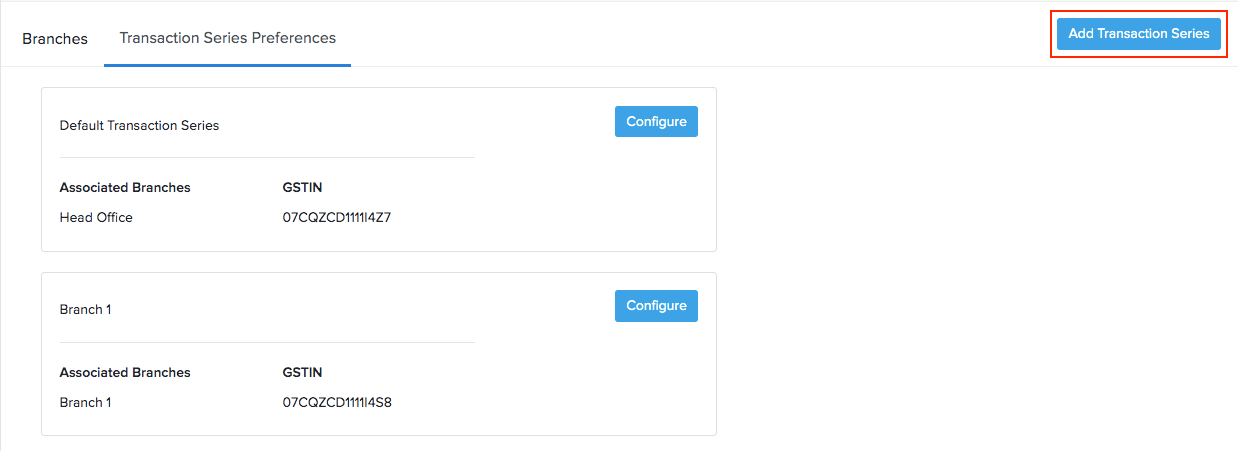
Navigate to the Transaction Series Preferences tab.
Click the + New Transaction Series button.
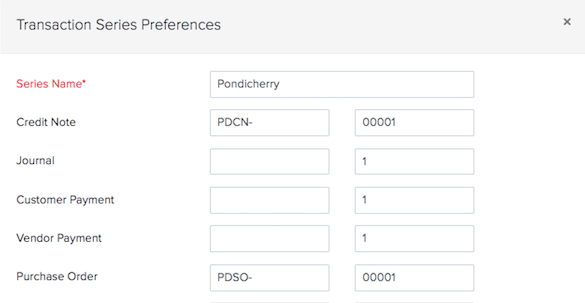
Provide a Name for the series. You can even provide the branch name.
Select the branch you want to associate this series with.
Enter the Suffix or Prefix for all modules.
Click Save.
You can also associate the default series with multiple branches.
Insight: Based on the branch chosen in the transaction, the corresponding series will be applied automatically.
User Permissions
Only the admin can enable, create and access the branches. They can also extend these permissions to other users. To do so:
Go to Settings, then Users & Roles.
Navigate to the Roles tab and edit a custom role.
Under Branches, mark the checkboxes near the permissions you would like to provide.
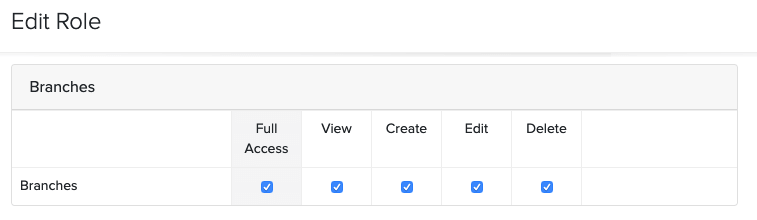
Click Save.