Inventory
Integrate Zoho Inventory With ICICI Bank
Note: This integration is currently available only upon request. If you’d like to use it, contact icici-support@zohofinance.com. However, organisations that have already set up the integration can continue using it.
Zoho Inventory has partnered with ICICI Bank to let you make and receive payments directly from Zoho Inventory. The two major integrations are:
Prerequisite:
- A corporate current account with ICICI bank.
- An active paid subscription of Zoho Inventory.
- Multi-Factor Authentication (MFA), excluding Passkey, must be enabled for your account.
Make payments to your vendors
Zoho Inventory has partnered with ICICI Bank - one of the largest banking networks in India. Now, you can make payments to vendors directly from Zoho Inventory.
Scenario: Peter is a retail business owner. He uses Zoho Inventory for inventory management and he maintains a corporate account in ICICI Bank for his business banking. Peter receives a bill from his supplier for his purchases and chooses to make the payment online. So, he integrates Zoho Inventory with his ICICI Bank account. Once the integration is set-up, he can make start making bill payments to his supplier directly from Zoho Inventory without logging into his ICICI CIB (Corporate Internet Banking) Portal.
IN THIS PAGE…
Benefits of the Integration
- Make online payments to your vendors directly from Zoho Inventory without logging into ICICI CIB (Corporate Internet Banking) Portal.
- Get notified when your vendors have received payments.
Adding vendor’s bank account details
If you have already set up the ICICI Bank integration, you can add your vendor’s bank account details to start making payments. To do so:
- Navigate to the Vendors module on the sidebar and open a vendor contact.
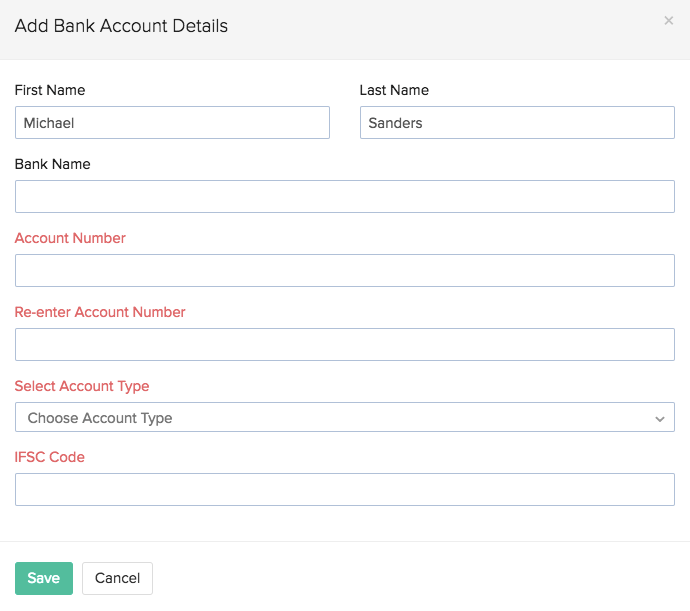
- Click the More dropdown and select Add Bank Account.

- Enter the vendor’s bank account details in the pop-up that appears and click Save.
Once you add your vendors’ details, you will be able to make payments from within Zoho Inventory!
Making payments via Zoho Inventory
Note: Zoho Inventory does not collect any transaction fee while receiving payments. The transaction fee if any, is collected by ICICI Bank based on their norms.
Make quick payments to your vendors when a bill is received and settle dues on the go. To start making payments:
- Navigate to Bills module in the left side bar.
- Click New Bill and enter the details of the bill as specified by your vendor.
- Mark the bill as Open if it is in the draft state to start making payments.
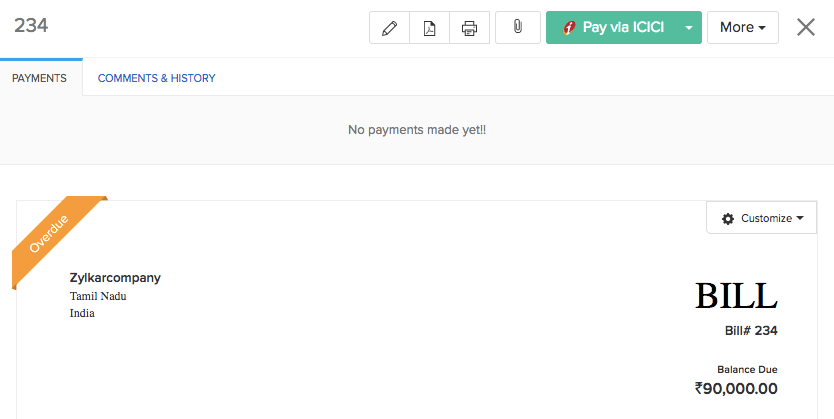
- Click the Pay via ICICI button.
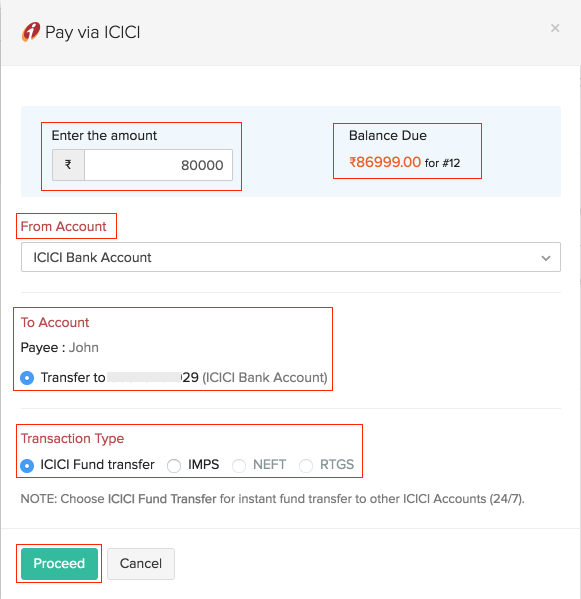
- Pop-up details:
| Fields | Description |
|---|---|
| Balance Due | The total amount due for payment. |
| Amount | Enter the Amount you would like to pay. You can choose to make complete or partial payments towards the bill. |
| From Account | Select the From Account from the list of bank accounts linked to Zoho Inventory from the dropdown. You can also make it your primary account to make payments by checking the Make this primary option. |
| To Account | Select the account to which you would like to make the payment. |
| Transaction Type | Select the Transaction Type from the available fund transfer options.The modes of fund transfer available are ICICI Fund Transfer / IMPS /RTGS and NEFT. |
- Click Proceed and you will now receive a success message if your payment is successful based on your transaction type.
- The status of your payment will be either Processed or In progress in the Payments Made tab based on the transaction type and the approval workflow you’ve chosen.

If you have enabled an approval workflow in your ICICI CIB portal,
- Login to your ICICI CIB (Corporate Internet Banking) Portal.
- Click the Pending on Me notification from the Dashboard. (or) Navigate to the Transfers module from the homepage and click Pending on Me.
- You will be able to find the transactions Pending for Approval listed under it.
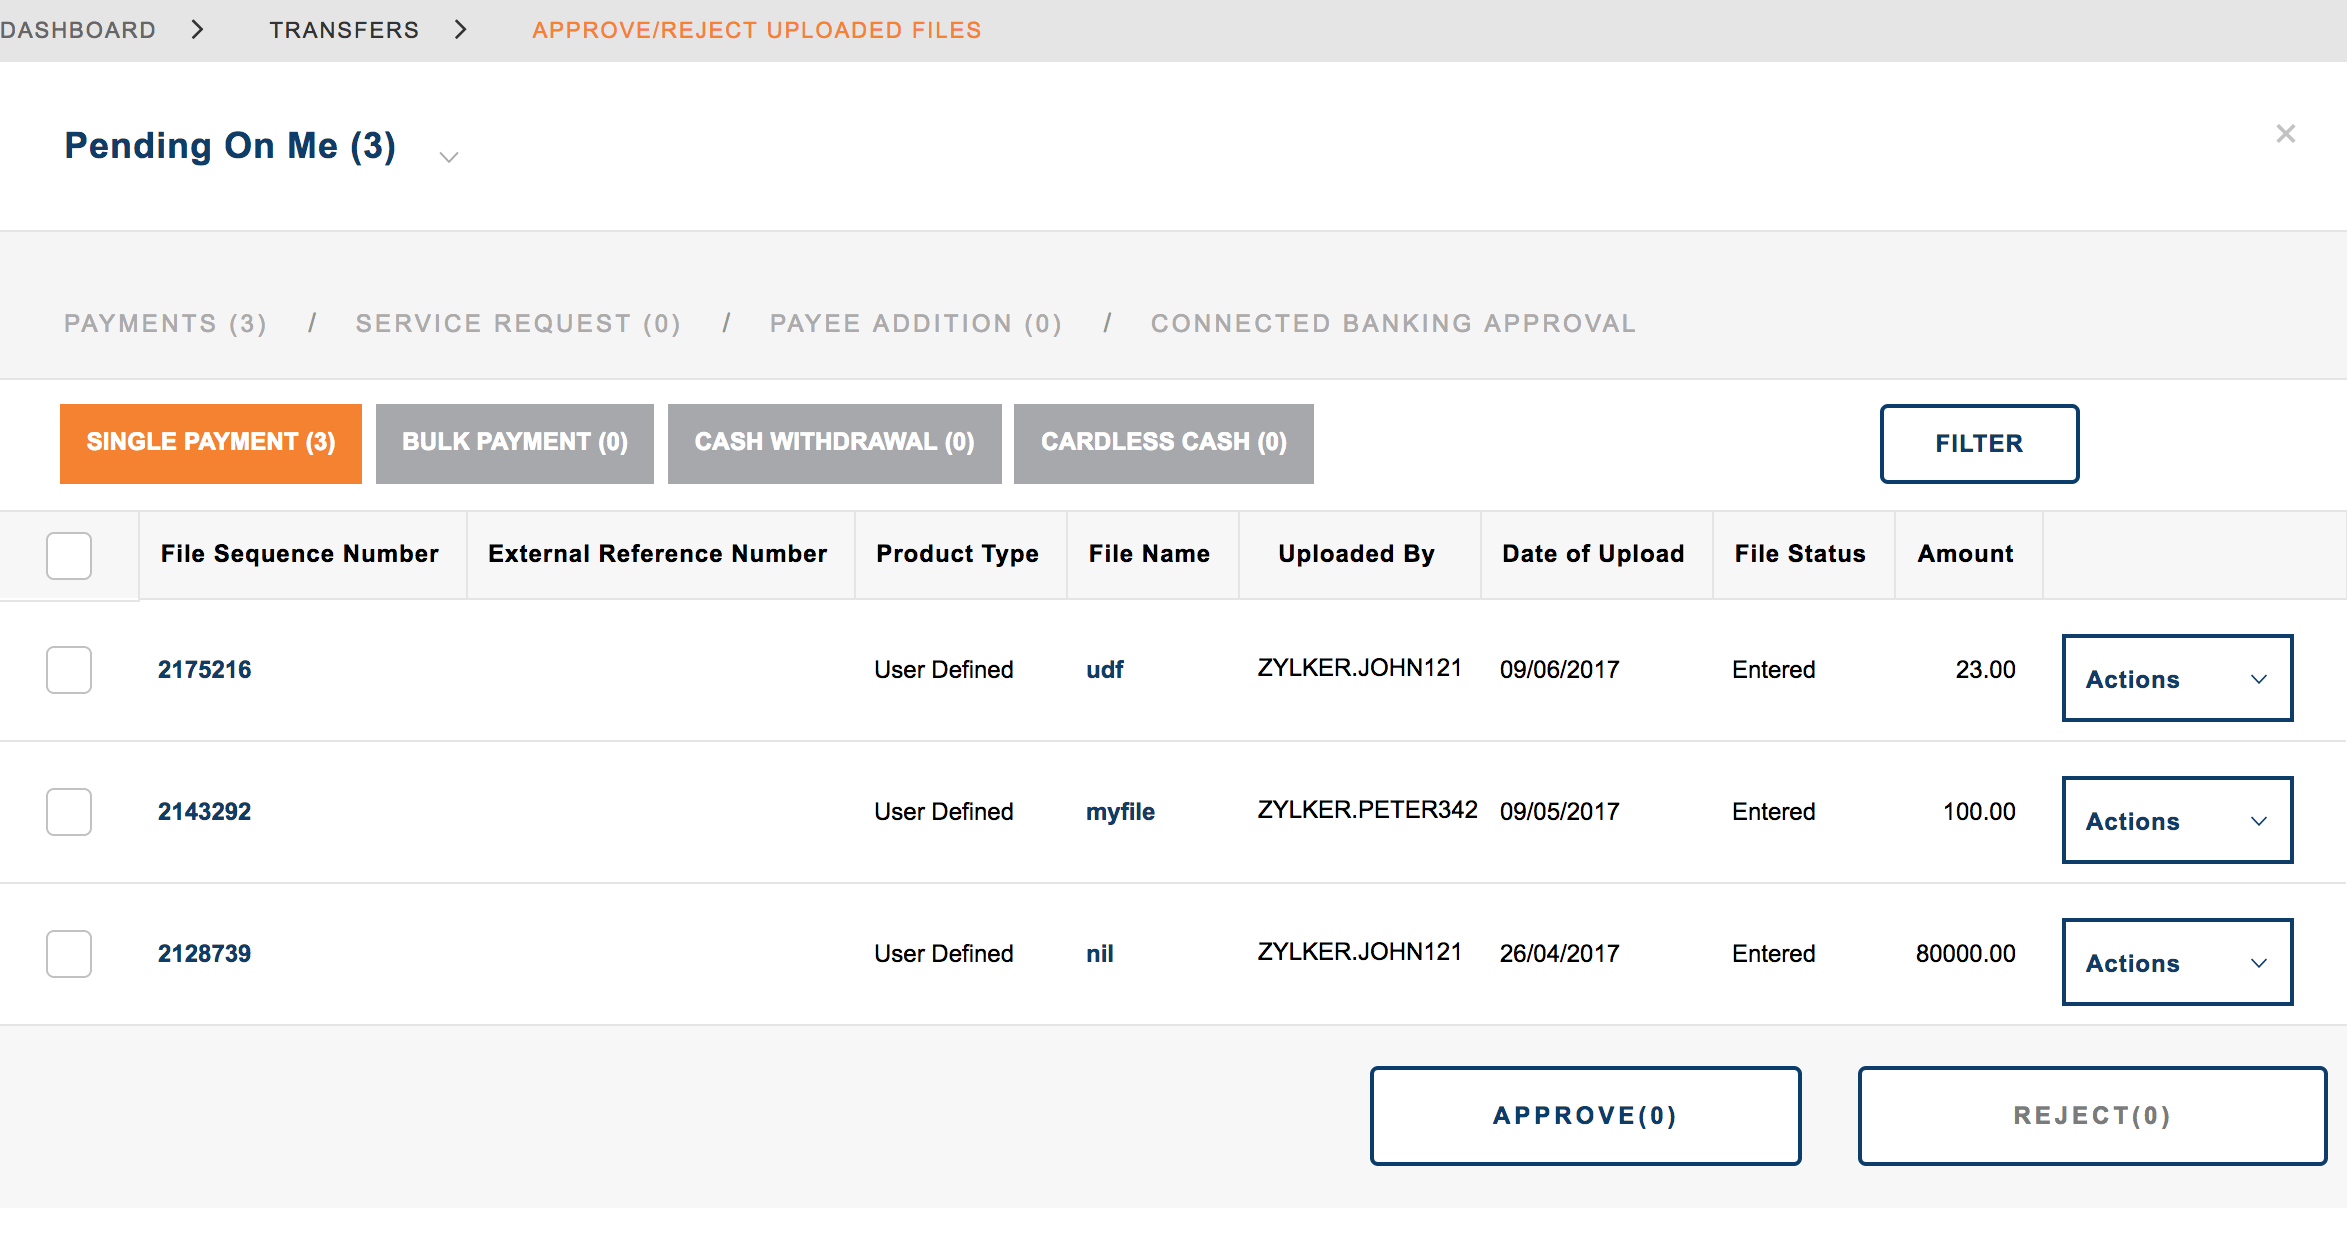
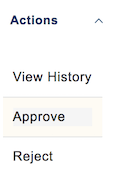
- Click the Actions dropdown to Approve or Reject the transaction.
Disable Integration
Note: If you wish to disable the integration you can contact support@zohoinventory.com
You can delete the integration from Zoho Inventory to stop making payments through ICICI Bank or when you want to configure a new account.
Warning: Disabling the integration in Zoho inventory will also disable it from other integrated Zoho Finance applications. Once disabled, you will not be able to track the status of any uncleared transactions.
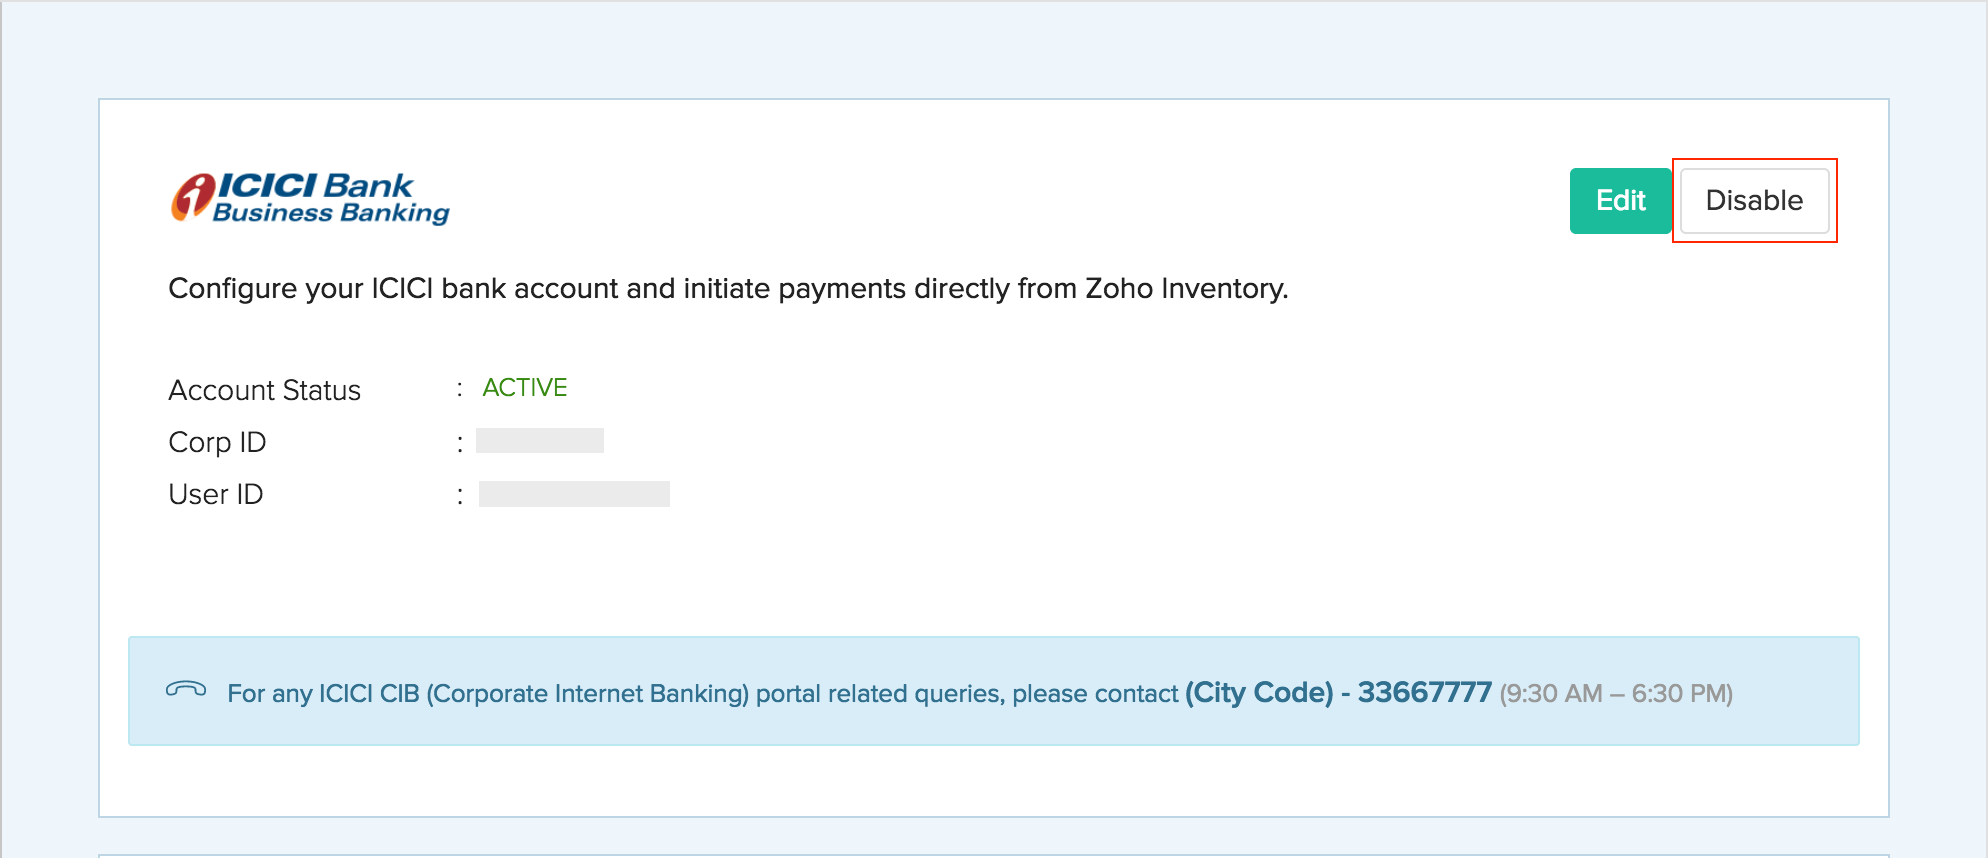
To disable the integration:
- Go to Settings > Vendor Payments > ICICI Bank.
- Click the Disable button.
- Read the terms and click the option I understand, disable my integration.
Note: If you have any queries regarding the ICICI Bank integration, write to us at icici-support@zohofinance.com.