
Zoho Inventory - Zoho Mail Integration
Zoho Inventory integrates with Zoho’s in-house business communication platform, Zoho Mail, to bring all email exchanges between you and your customers and vendors within Zoho Inventory for ease of access. By integrating with Zoho Mail, you can remain assured that no critical emails from your contacts will go unnoticed.
Benefits of the Integration:
- All emails between you and your contact will be synced into Zoho Inventory.
- Add mail attachments on your customer’s invoices.
Integrate with Zoho Mail
To integrate your Zoho Inventory organization with your Zoho Mail account:
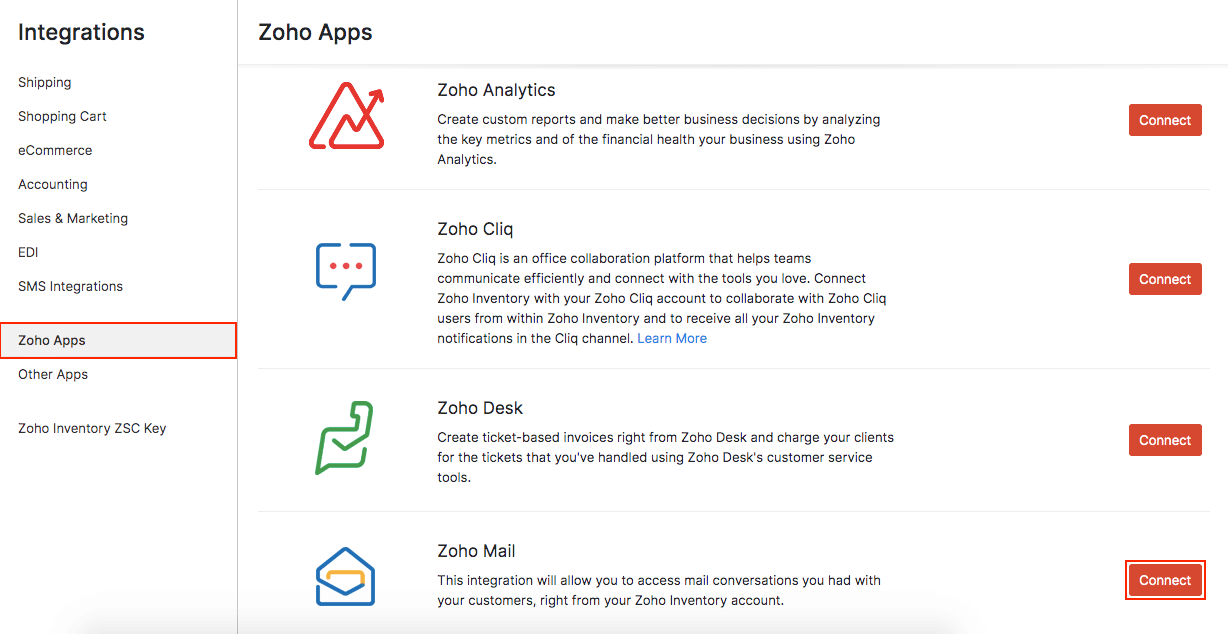
Go to Settings > Integrations > Zoho Apps.
Click the Connect button next to Zoho Mail.
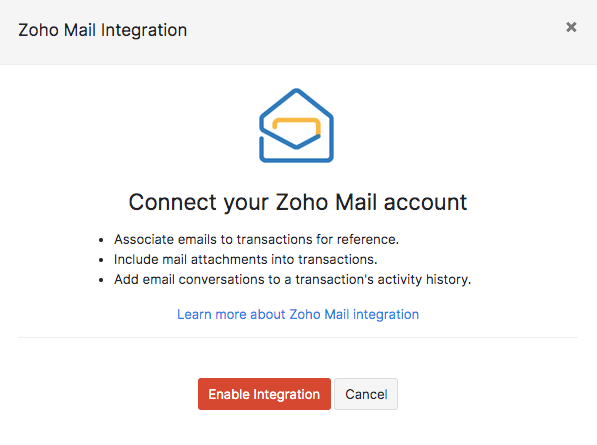
Confirm this by clicking Enable Integration in the pop-up.
Alternatively, you can also:
Navigate to the Customers module in Zoho Inventory.
Open a contact whose mails you want to fetch from Zoho Mail.
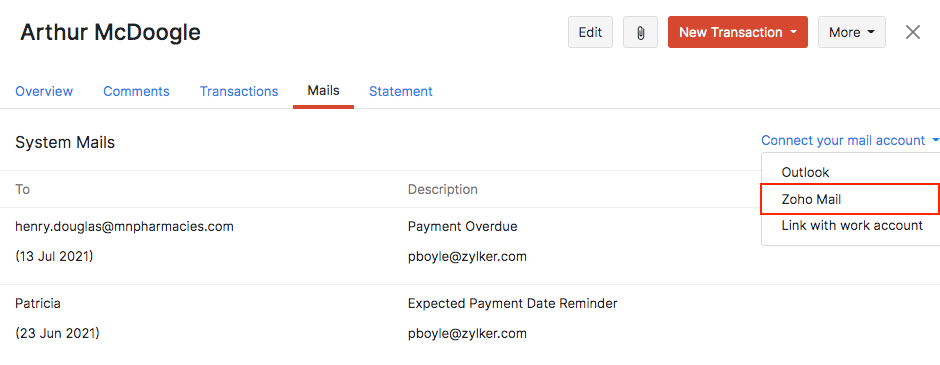
Go to the Mails tab and click Connect your mail account.
Click Enable Integration from the pop-up.
Once you have integrated with Zoho Mail, you can view the mails sent to and received from your contact.
View Mail Activity
To view the mails between you and your contact in Zoho Inventory:
Go to the Customers module in the left sidebar.
Open a contact whose mails you want to view.
Go to the Mails tab in the contact details page.
Click the System Mails dropdown button and select your Zoho Mail account.
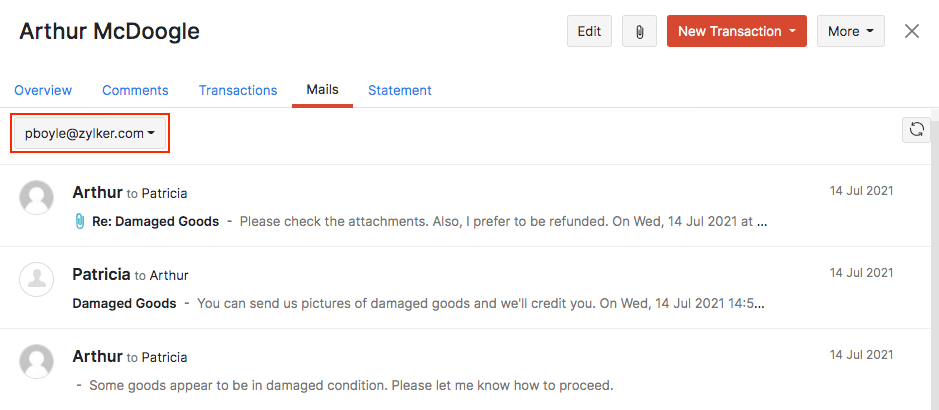
The mail activity between your contact and you gets displayed. If not, try clicking the refresh button on the top right corner under the Mails tab.
Add Mails to Customer Activity
If you want to make the contents of a mail accessible to other users, you can add it as a contact activity. This mail will be added to the activity timeline in the customer’s details page for all users in your organization to view.
To add a mail to a customer’s activity timeline:
Go to the Customers module in the left sidebar.
Click on a contact to view their details.
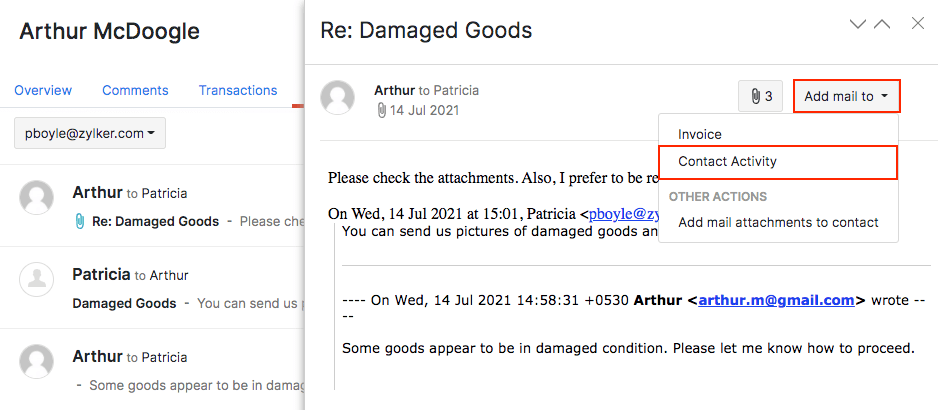
Navigate to the Mails tab and click on an email.
Click the Add Mail to dropdown button and select Contact Activity.
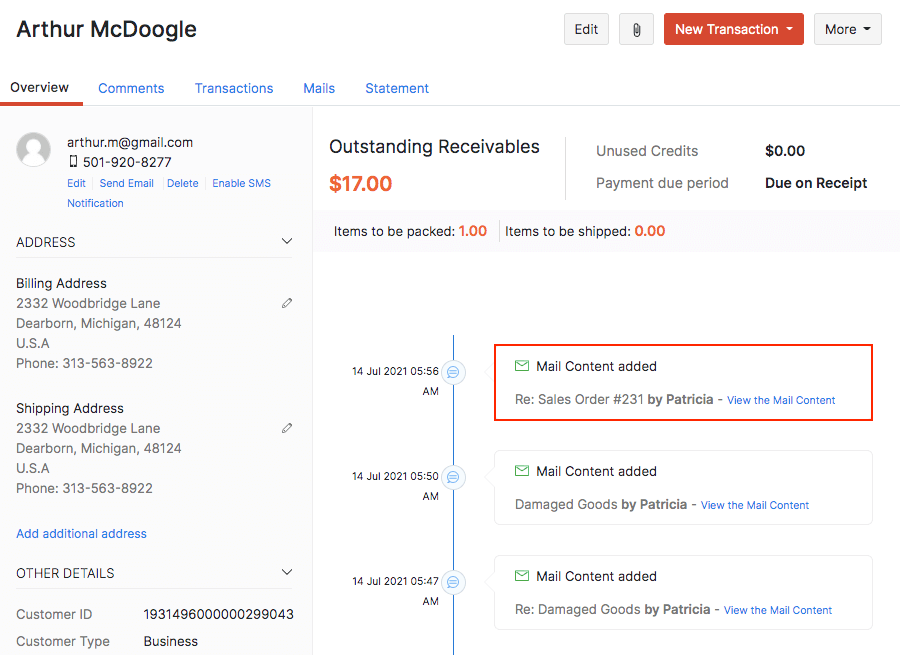
The mail will be added to the particular contact’s activity timeline. Click View Mail Content to read the details of the mail.
Add Mails as Comment on Invoice
The comments section in a transaction displays the updates made to it for internal reference. When you have enabled the Zoho Mail integration, you will be able to associate an email to an invoice. To do this:
Go to the Customers module in the left sidebar.
Click on a contact to view their details.
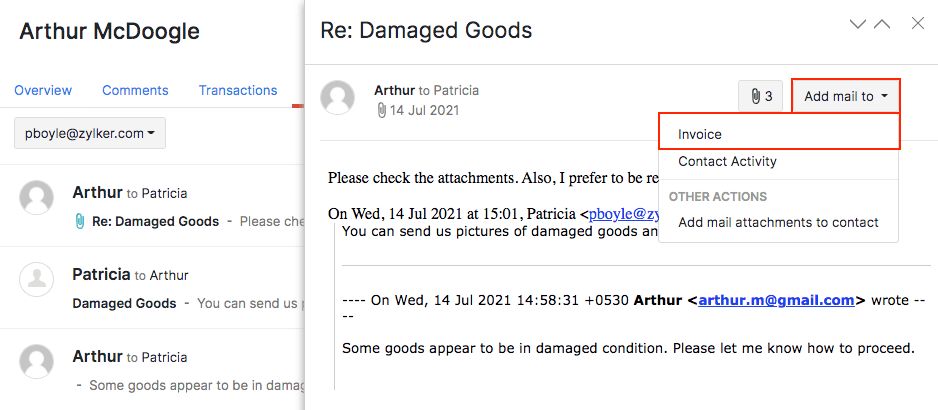
Navigate to the Mails tab and click on an email.
Click the Add Mail to dropdown button and select Invoice. The mail will be added as a comment on the invoice’s Comments & History section where any user in your organization will be able to view it.
Manage Attachments from Mails
Attach Mail Documents to Invoice
You can link the attachments received in your mails to the same customer’s invoice in Zoho Inventory. Here’s how:
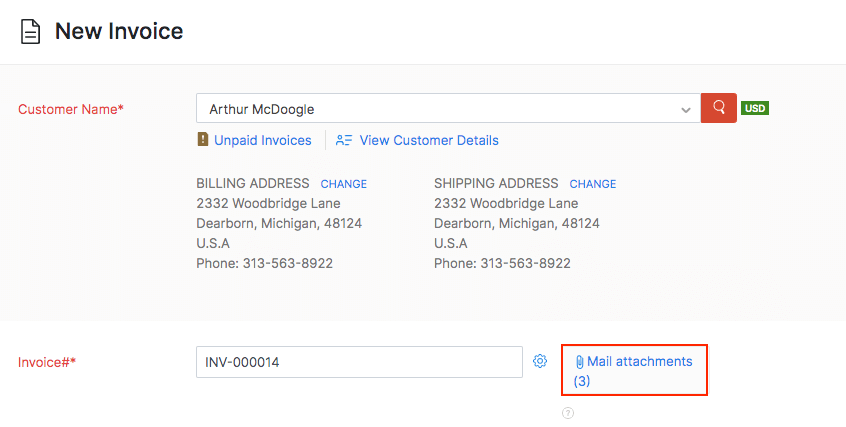
Open the new invoice page and select the customer. If you have received emails from your customer, its attachments will be available here.
Click the Mail Attachments option.
Select the documents you want to attach to the invoice.
Click Attach Files.
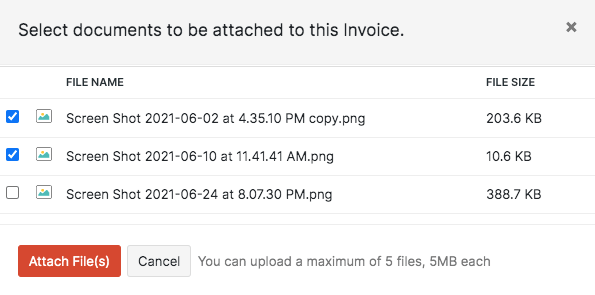
The files you have attached to the invoice will be displayed as Files attached.

Attach Mail Documents to Contact
To attach documents to your contact:
Go to the Customers module in the left sidebar.
Click on a contact to view their details.
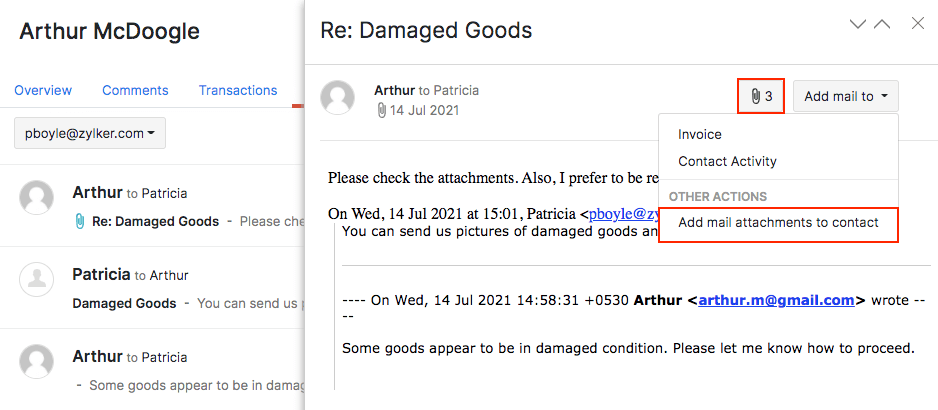
Navigate to the Mails tab and click on an email with attachments.
Click the Add Mail to dropdown button and select Add mail attachments to contact. You can also click the paperclip icon.
Select the documents to attach to the contact.
Click Attach Files.
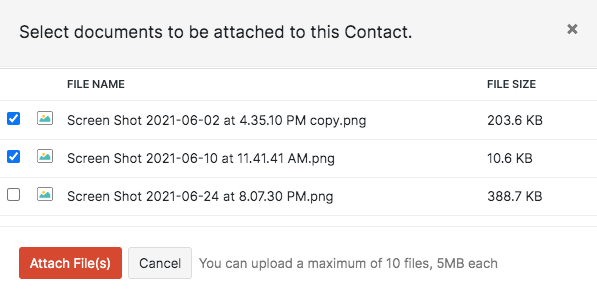
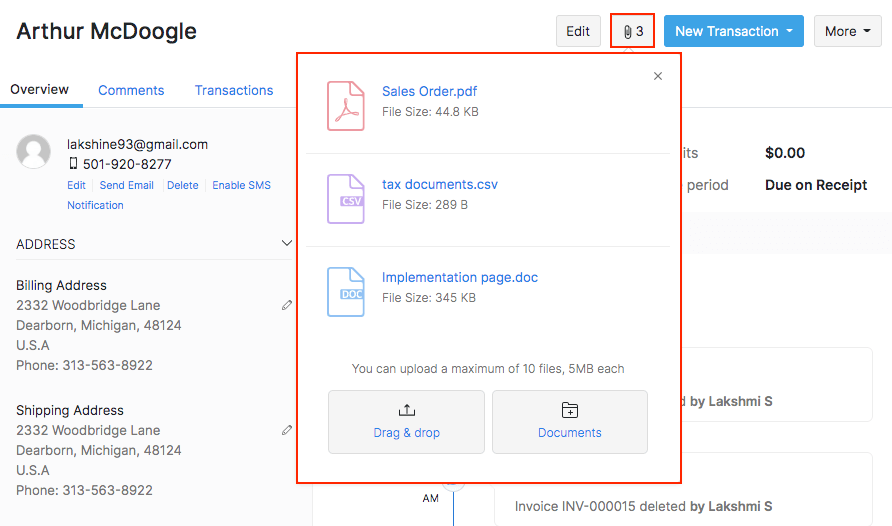
The documents will be available as attachments for the contact.
Disable the Integration
When you no longer want to fetch your mails, you can choose to disable the integration. To disable:
Go to Settings > Integrations > Zoho Apps.
Click the Disable button next to Zoho Mail.
