Additional features that aid in Item Management
Overview
Setting Reorder Levels
Reorder level for dummies
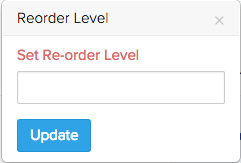
Reorder level is the inventory level, at which a company makes a new order or starts a manufacturing run to prevent shortages, while also avoiding overstocking.
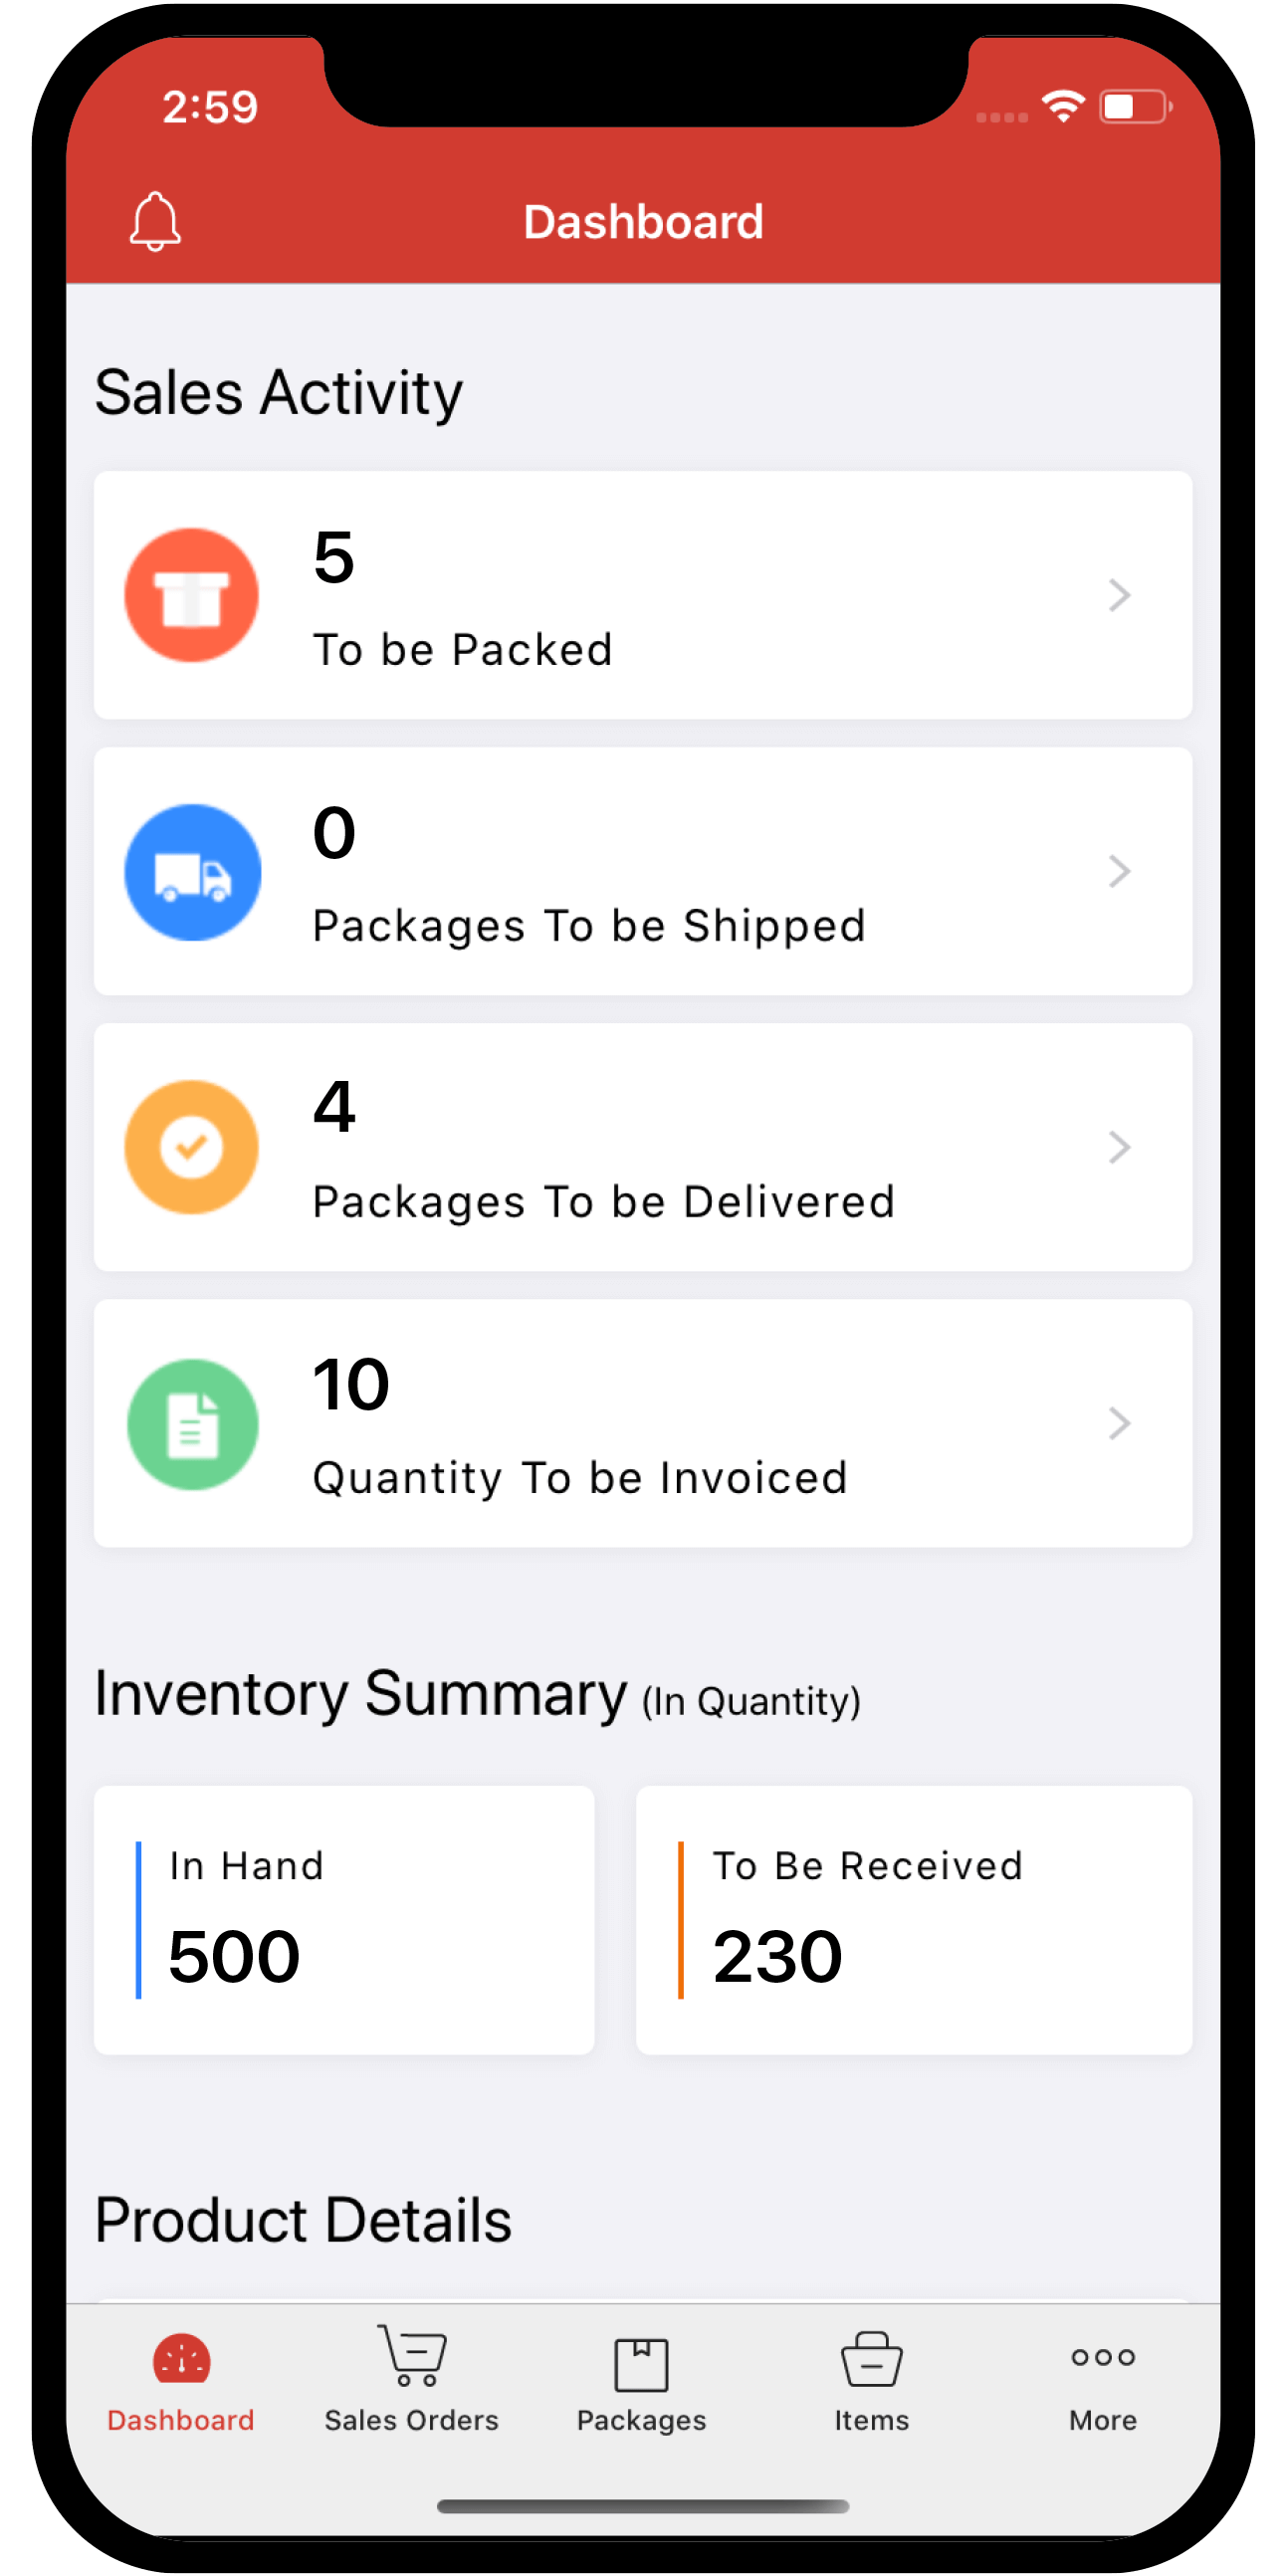
In Zoho Inventory, you can set the reorder level and preferred vendor for every item and the system will keep you informed when the stock reaches equal to or below the reorder point.
Configuring Reorder levels
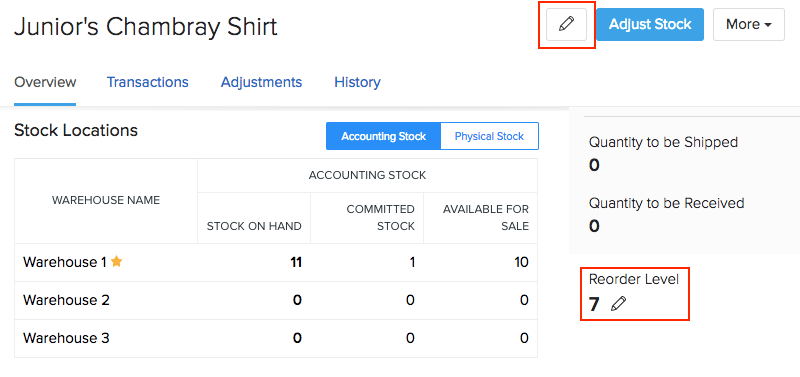
Reorder levels can be set in two ways, either during Item creation which is done by clicking the Add Item button or you can configure them individually later by selecting items and add reorder levels by clicking on the Reorder level option inside the Item overview.
Associating Price Lists
A price list is a list of customized prices that you can map to a particular item when creating an invoice, estimate, sales order, credit notes or recurring invoices.
A price list allows you to customize the standard rate and offer the products or services at a higher or lower rate for any specific customer when needed.
Why use a Price List?
A price list can be used to:
- Offer products regularly at a lesser price for a loyal customer.
- Offer products at a higher price for new or one time customers.
- Offer products at a different price to businesses in a particular country.
- Offer products at a much lesser price for valuable prospects.
To know about creating and managing Price Lists Click on this link.
Enabling Price Lists
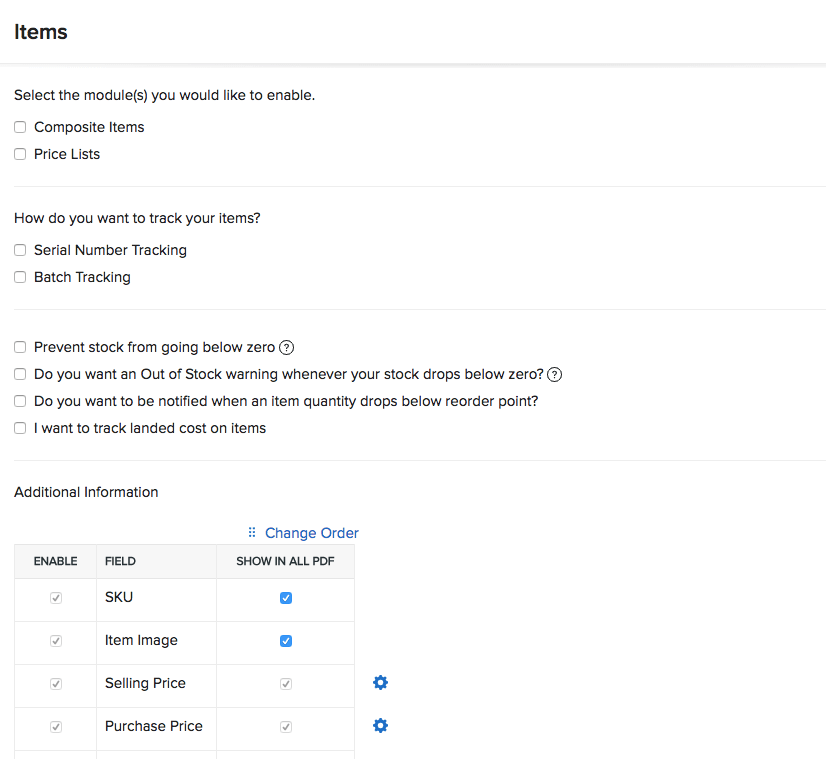
- Navigate to Settings > Preferences and select the Items tab under Preferences list.
- Check the Would you like to enable Price Lists? option to enable the feature. If you wish to disable the feature, uncheck the box.
You can now start creating customized price lists for your customers.
How to use price lists?
Price lists can be associated with the contacts and sales/purchase transactions you prefer, and it will be reflected on the business carried out with those contacts and those particular transactions.
Other Actions
You can also mark your item groups as Active, Inactive and Delete your item groups.
Deactivating items and item groups
To mark an item group as Inactive:
Method 1:
- Navigate to the items Groups page.
- Click on the check-box before the item group.
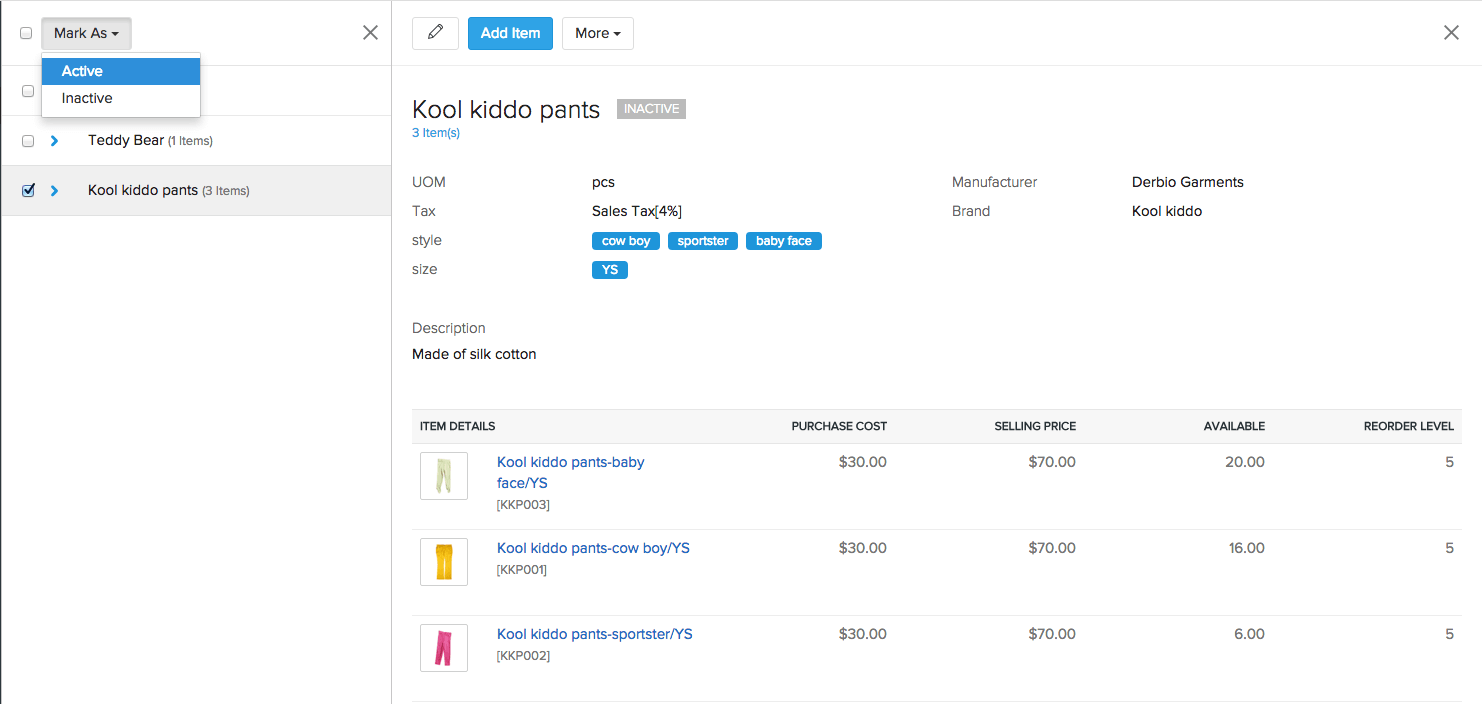
- After selecting the item, you will be able to view the Mark As button on top of the item groups window.
- Click on the ** Mark As** button.
- Choose the Inactive option.
- A pop up alert will appear asking you to reconfirm the action. On doing so, the item group becomes inactive.
Method 2:
- You can also mark an item group inactive by opening the page associated with the item group.
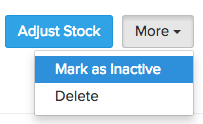
- Click on the More button on top.
- Select the Mark as Inactive option from the dropdown.
- A pop up alert will appear asking you to reconfirm the action. On doing so, the item group becomes inactive.
Deactivating an item inside an item group is also very similar to the above mentioned procedure. You can do that by opening that item inside its item group and choosing the Mark as Inactive option from the dropdown after you click on the More button.
Note: Only an active item group can be marked inactive. This action can be reverted in the future if you wish. The method also applies to individual items in a group.
Reactivating an inactive item or a group
To revert an item group from an inactive state to active state:
- To mark an item group as Inactive:
- Method 1:
- Navigate to the items Groups page.
- Select the Inactive Item Groups filter.
- Click on the check-box before the item group.
- After selecting the item, you will be able to view the Mark As button on top of the item groups window.
- Click on the ** Mark As** button.
- Choose the Active option.
- A pop up alert will appear asking you to reconfirm the action. On doing so, the item group becomes active again.
- Method 2:
- You can also mark an item group inactive by opening the page associated with the item group.
- Click on the More button on top.
- Select the Mark as Active option from the dropdown.
- Method 1:
Deleting items and item groups
To delete an Item Group:
- Navigate to the items Groups page.
- Open the item group to be deleted.
- Click on the More button.
- Choose the Delete option from the drop down.
- select OK from the pop-up to permanently delete the item group.
- The procedure is very similar for items after you navigate to the preferred item.
Important Note:
Items that are associated with any transaction, cannot be deleted. To delete it, you are required to delete all transactions associated with it.
Instead of doing this, you can simply mark the Item as inactive for the Items that have some transactions associated.