
Manage Custom Modules
The records in your custom modules can be rearranged, sorted, etc,.
Create Custom Views
Custom views can be used to filter the records in your custom modules based on the criteria you’ve set. To create a custom view for the custom module:
- Go to More in the left sidebar and the click the custom module (say, Debtors).
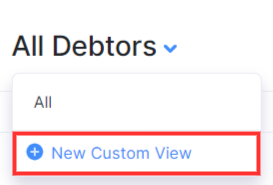
- Click the All Debtors (the name of the Custom Module you’ve created) dropdown on the top of the page.
- Select + New Custom View.
- Fill in the required details.
Custom View Name
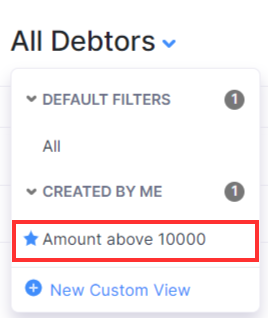
Enter a name for your custom view. If you use this custom view frequently, you can mark it as favorite by checking the Mark as Favorite option.

Criteria
Define the criteria for the custom view based on the fields available. You can add multiple options by clicking + Add Criterion.

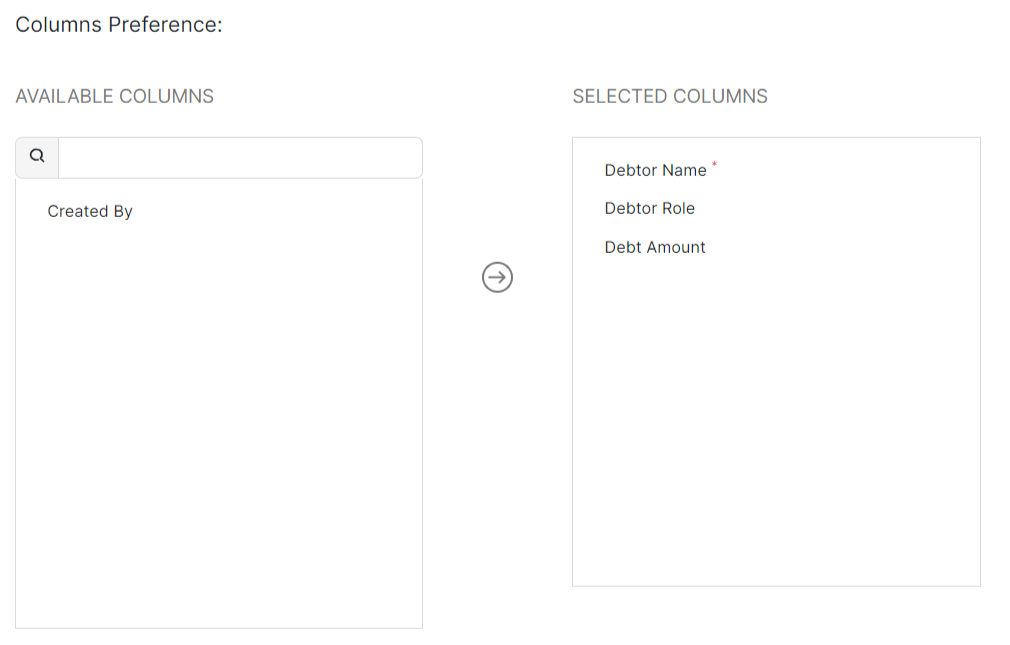
Column Preferences
Choose the fields to be displayed in the custom view that you are creating. You can move fields from the Available Columns to the Selected Columns by clicking the + icon next to them.
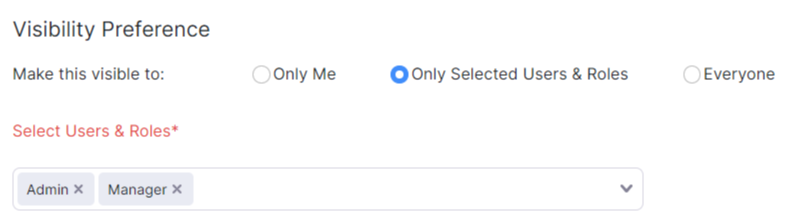
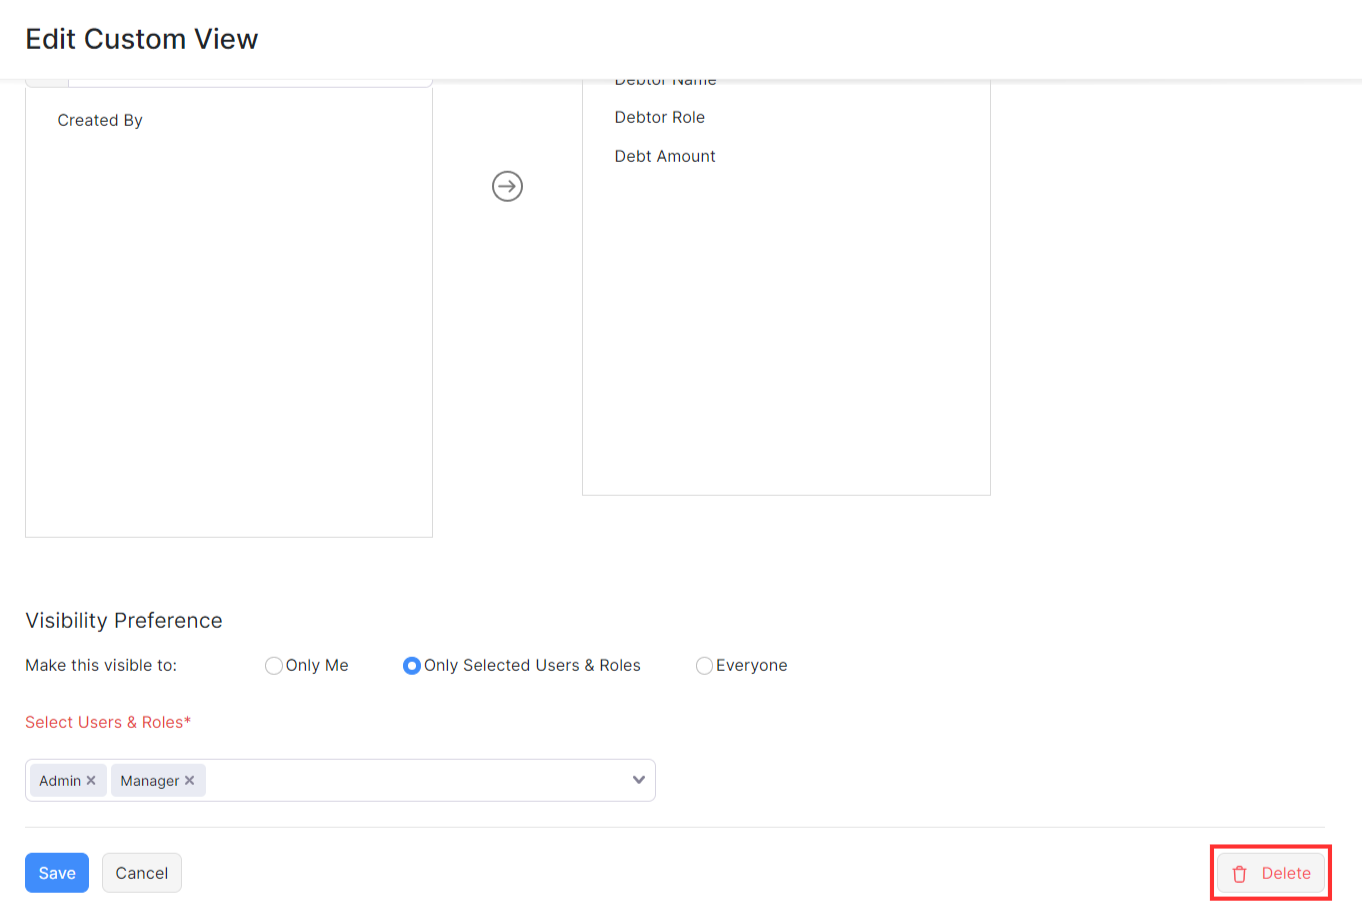
Visibility Preference
Choose the user who gets access to this custom view.
- Select Only Me if the custom view should be visible only to you.
- Select Only Selected Users and Roles if the custom view should be visible to the users and roles you select.
- Select Everyone if the custom view should be visible to everyone in your organisation.
- Click Save once you entered the required details.
This custom view will be available when you click the All Debtors (the name of the Custom Module you’ve created) dropdown.
Delete a Custom View
To delete a custom view:
- Go to More in the left sidebar and the click the custom module (say, Debtors).
- Click the custom view that you created from the All Debtors (the name of the Custom Module you’ve created) dropdown on the top of the page.
- Select the custom view that you want to delete.
- Hover over the custom view’s name and click the Edit button next to it.
- Scroll to the bottom of the page and click Delete.
- Click Yes to confirm.
Sort Custom Modules
You can sort the custom modules based on their different columns or fields. Here’s how:
- Go to More in the left sidebar and the click the custom module you’ve created (say, Debtors).
- Click the column name which you want to sort.
- Click it again to change the sorting order.
The sorting can be done based on ascending or descending order (indicated by the arrow).
(OR)
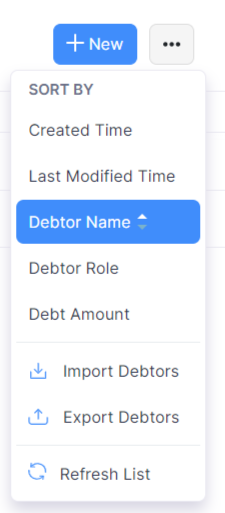
- Click the More button on the top right corner of the page.
- Select the option based on which you want the custom module to be sorted.
Rearrange Columns
In the custom module, you can choose the fields to be displayed in the list page. You can also rearrange the columns. Here’s how:
- Go to More from the left sidebar and the choose the custom module (say, Debtors).
- Click the Table icon next to the column name.
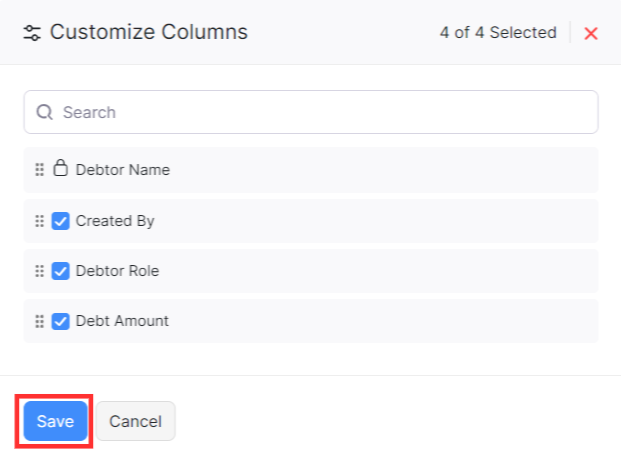
- On the Customise Columns page,
- Select the fields that you want to display.
- Rearrange the order of the columns by dragging and dropping them.
- Click Save.
Refresh List
If you know other users of the organisation have made any changes and it does not reflect in your app, you can refresh it to keep your list updated.
- Go to More and the select the Custom Module.
- Click the More icon in the top right corner of the page.
- Click Refresh List.

 Yes
No
Yes
No
Thank you for your feedback!