
Schedule Tasks
You can create and run predefined tasks at the specified time intervals by scheduling your tasks in Zoho Expense. Once you’ve created your tasks using a simple deluge script, you can schedule these tasks to be executed at a particular time or on a recurring basis. Let’s look at a scenario to understand this better.
Scenario: Peter uses a third party application for maintaining employee database internally. He would like to sync all data in Zoho Expense with the other application periodically. To do so, he creates a custom schedule to sync the data at 12 AM every day.
In a nutshell, Custom Schedules in Zoho Expense lets you schedule frequent tasks and allows you to configure various recurrence patterns like selecting the date, time, and frequency, based on which your tasks are executed.
Create Schedule
To create a custom schedule:
- Switch to Admin View.
- Go to Settings on the left sidebar.
(OR)
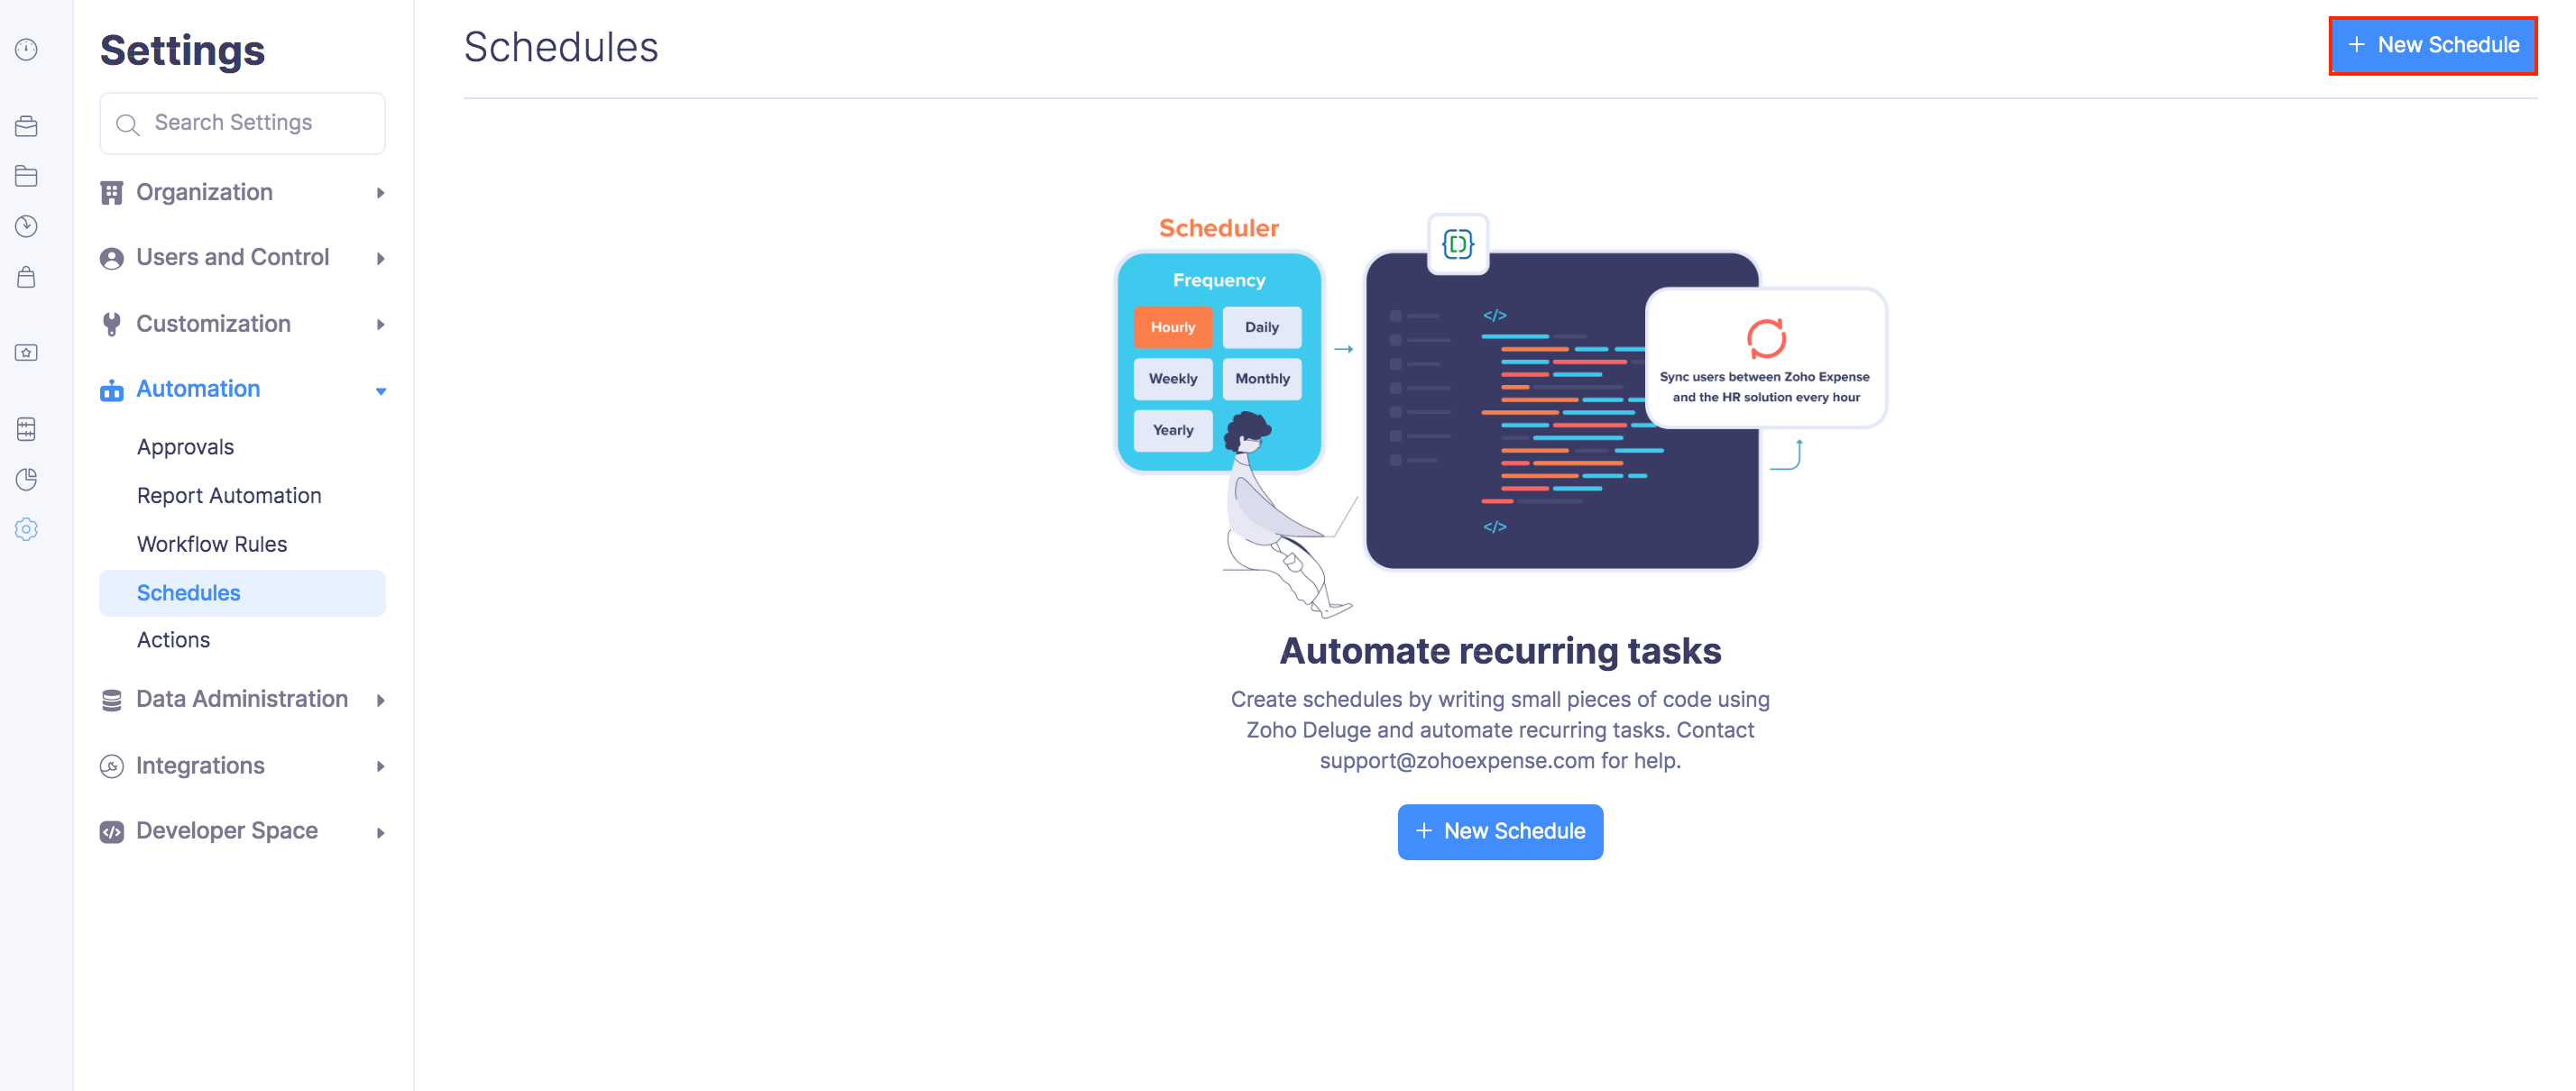
Click the Gear icon at the top right side. - Click Schedules under Automation.
- Click + New Schedule in the top right corner.
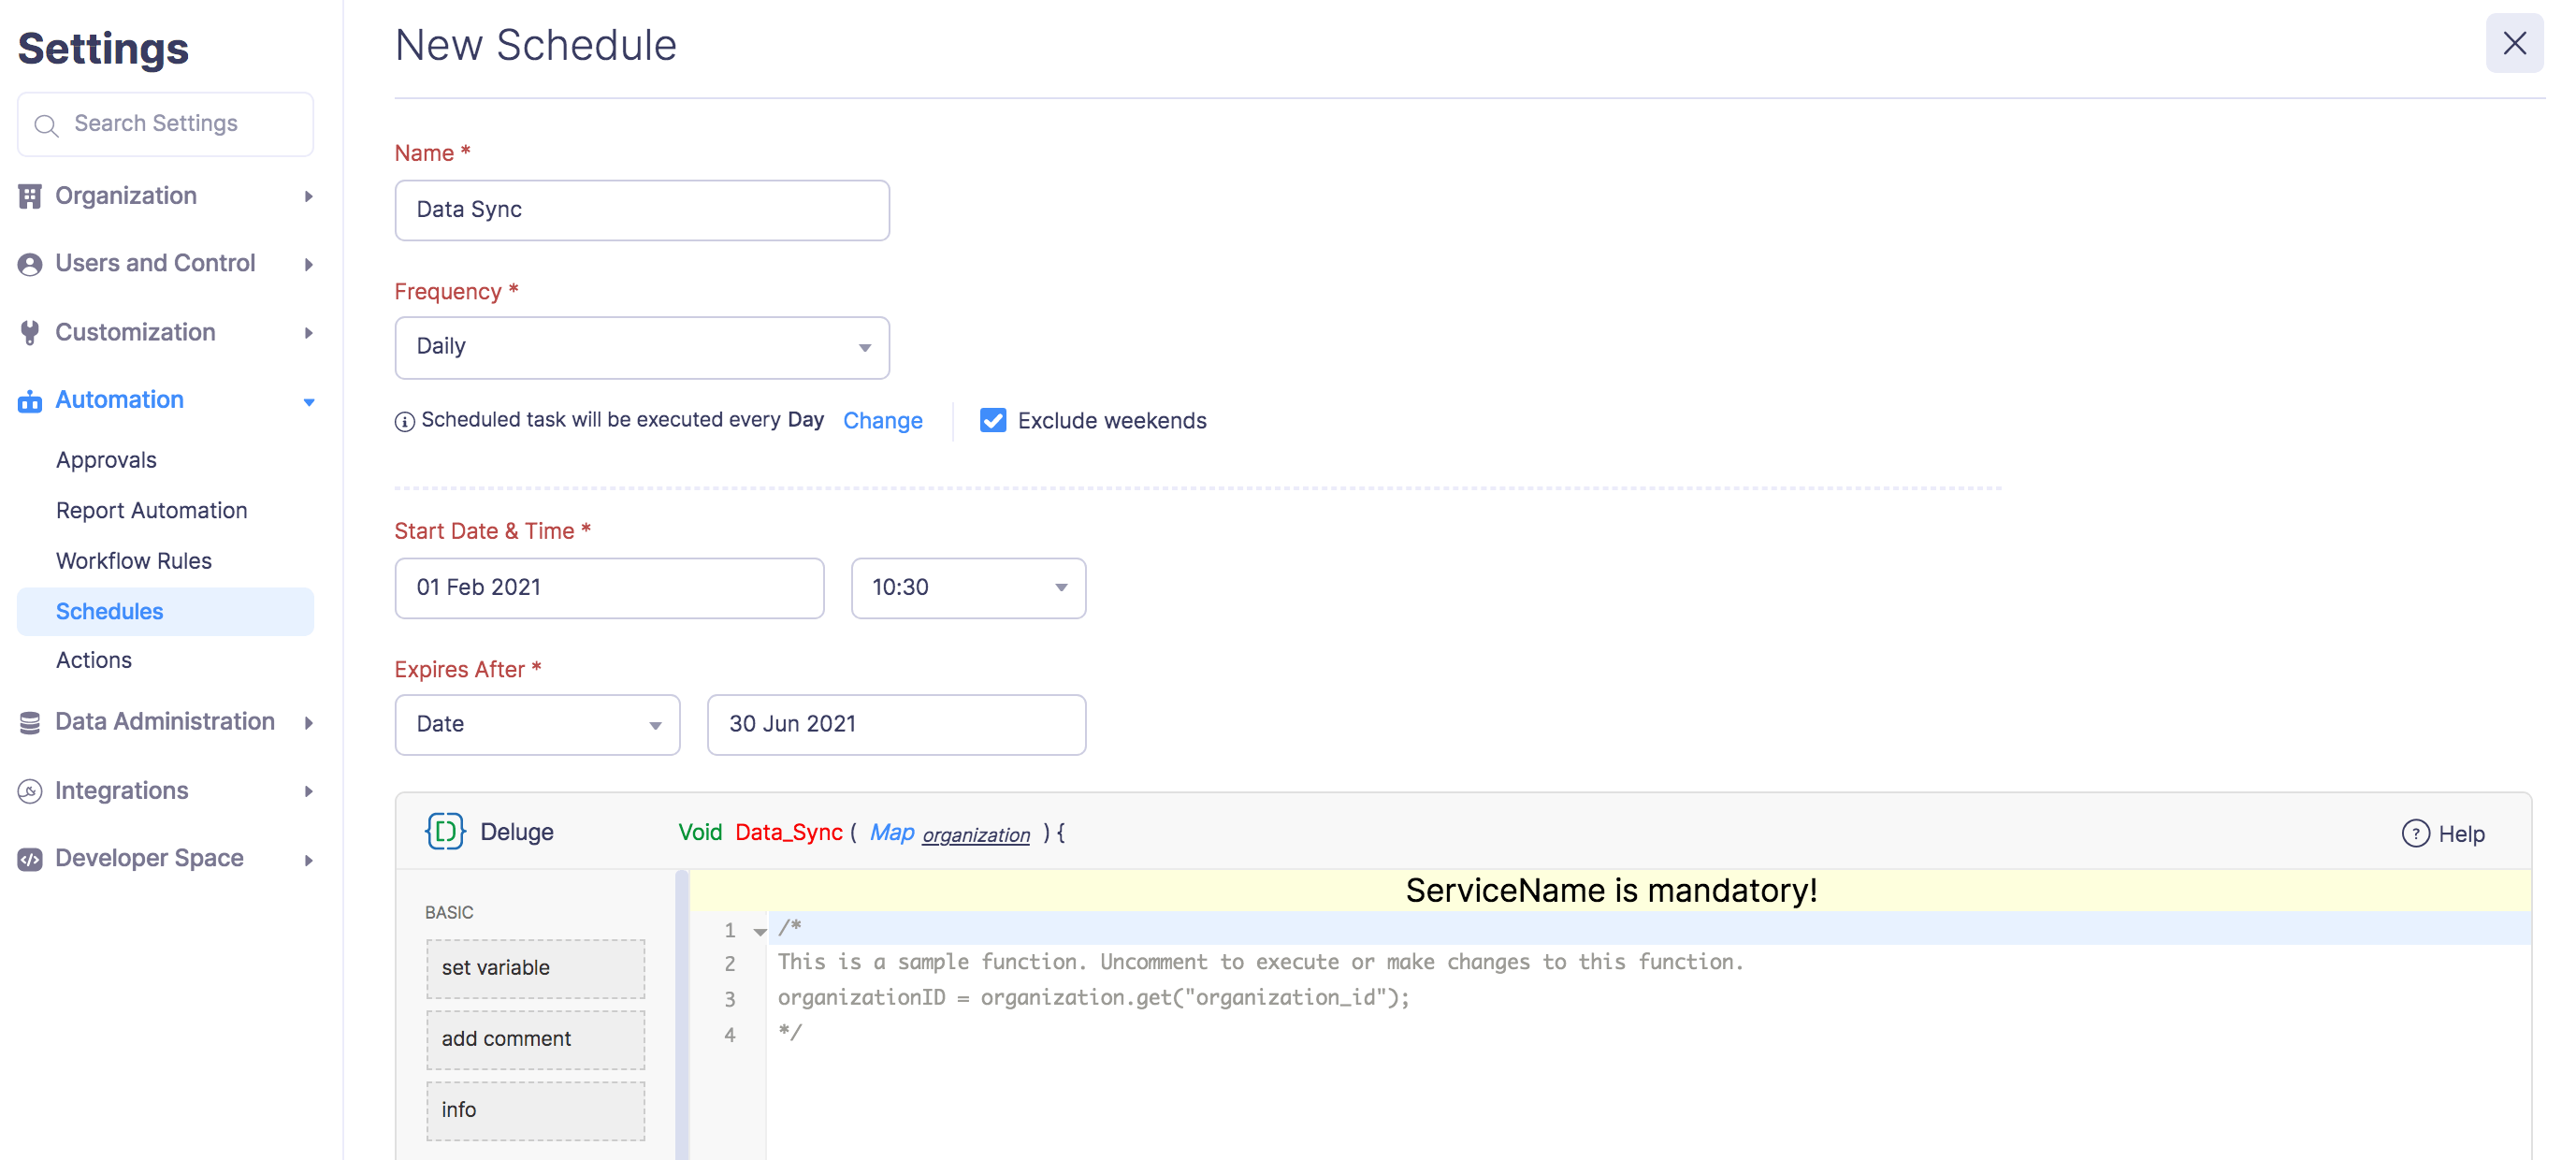
- Enter a name for your schedule.
- Set the Frequency and recurrence pattern for the schedule to be executed. This can be daily, weekly, monthly, or yearly.
- Select how frequently the task should be executed.
- The available frequencies are:
Frequency Description Daily The task will be executed every day (or based on your recurrence pattern). You can choose to exclude the weekends. Weekly The task will be executed once a week. Select the day of the week on which the task should be executed. Monthly Task will be executed once a month. This can be a specific date or a day in a month. For example, you can choose to execute it on the 5th of every month or the second Saturday of every month. Yearly Task will be executed once a year. You can select the month and specify the date of execution or specify the day. For example, the task can be executed on the first Sunday in January or on January 5.
- The available frequencies are:
- Set the Start Date and Time.
- Choose an expiry date. It can expire after some executions or on a set date or not expire at all.
- Drag and drop options to create a Deluge function that will help to create your function.
- Click Save or Save and Execute to run it.
Warning: The start date of a schedule cannot be more than one year from the creation date.
Note: You can create a maximum of 10 custom schedules.
Edit Schedule
You can make changes to an already configured schedule. To edit:
- Switch to Admin View.
- Go to Settings on the left sidebar.
(OR)
Click the Gear icon at the top right side. - Click Schedules under Automation.
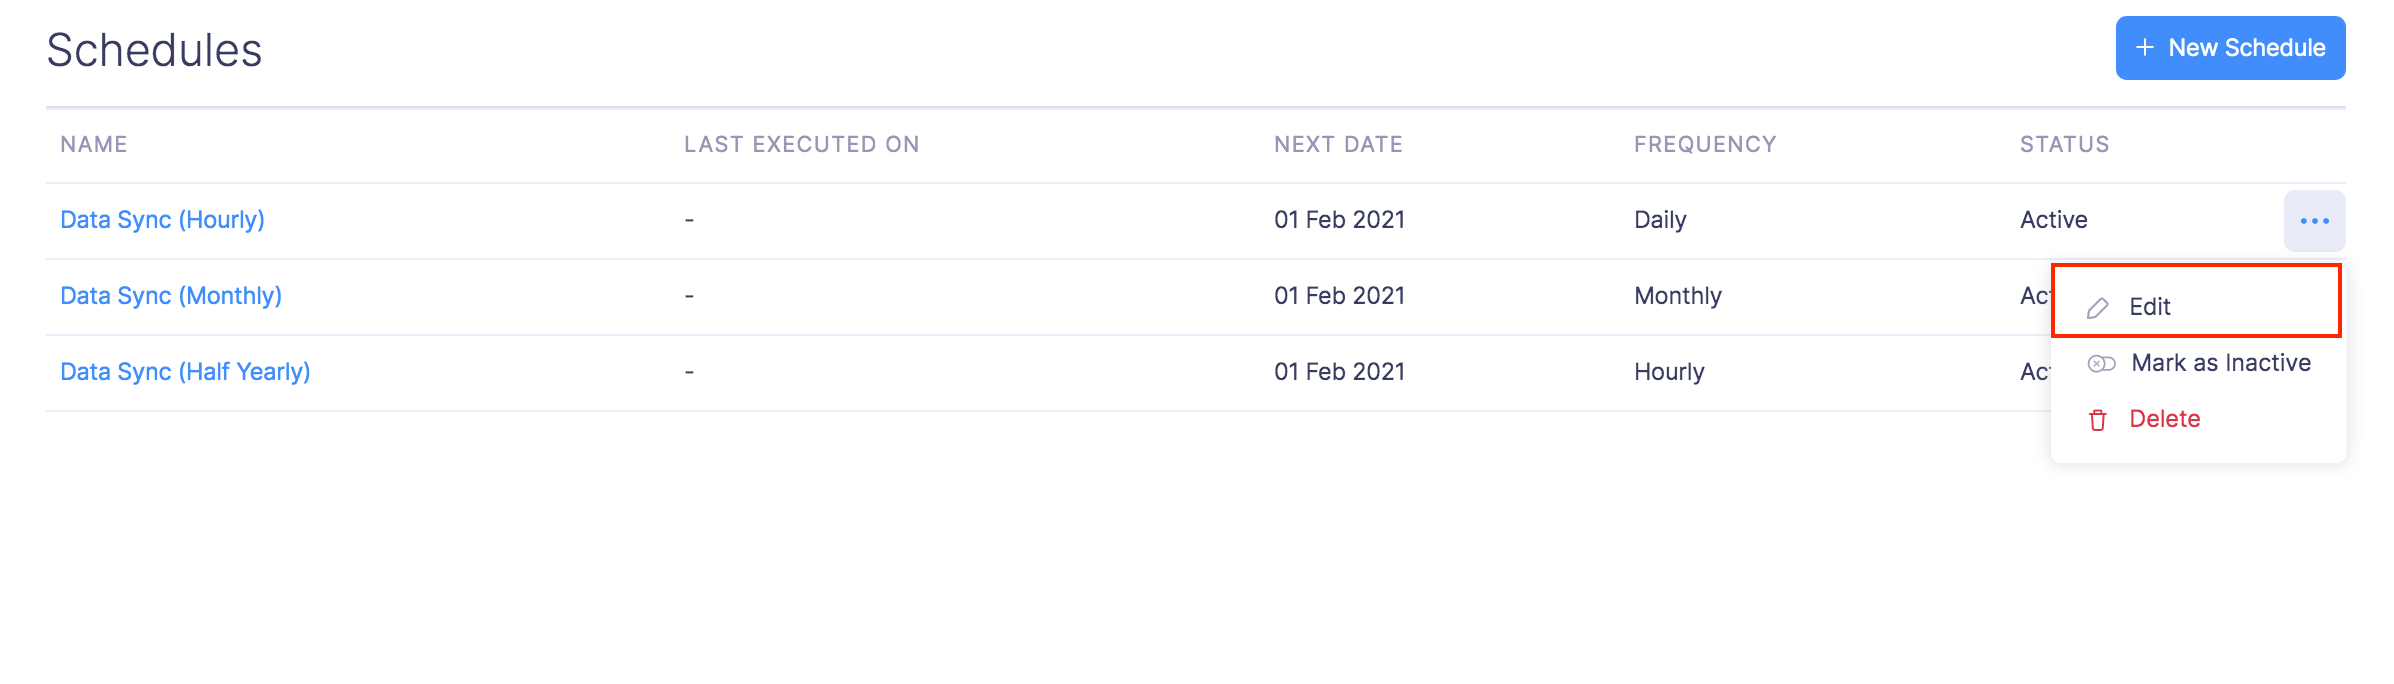
- Hover over the scheduled task you want to edit and click the More icon next to the scheduled task.
- Click Edit and make the necessary changes.
- Click Save.
Mark as Inactive
If you want to disable the schedule temporarily you can mark it as inactive.
To mark as inactive:
- Switch to Admin View.
- Go to Settings on the left sidebar.
(OR)
Click the Gear icon at the top right side. - Click Schedules under Automation.
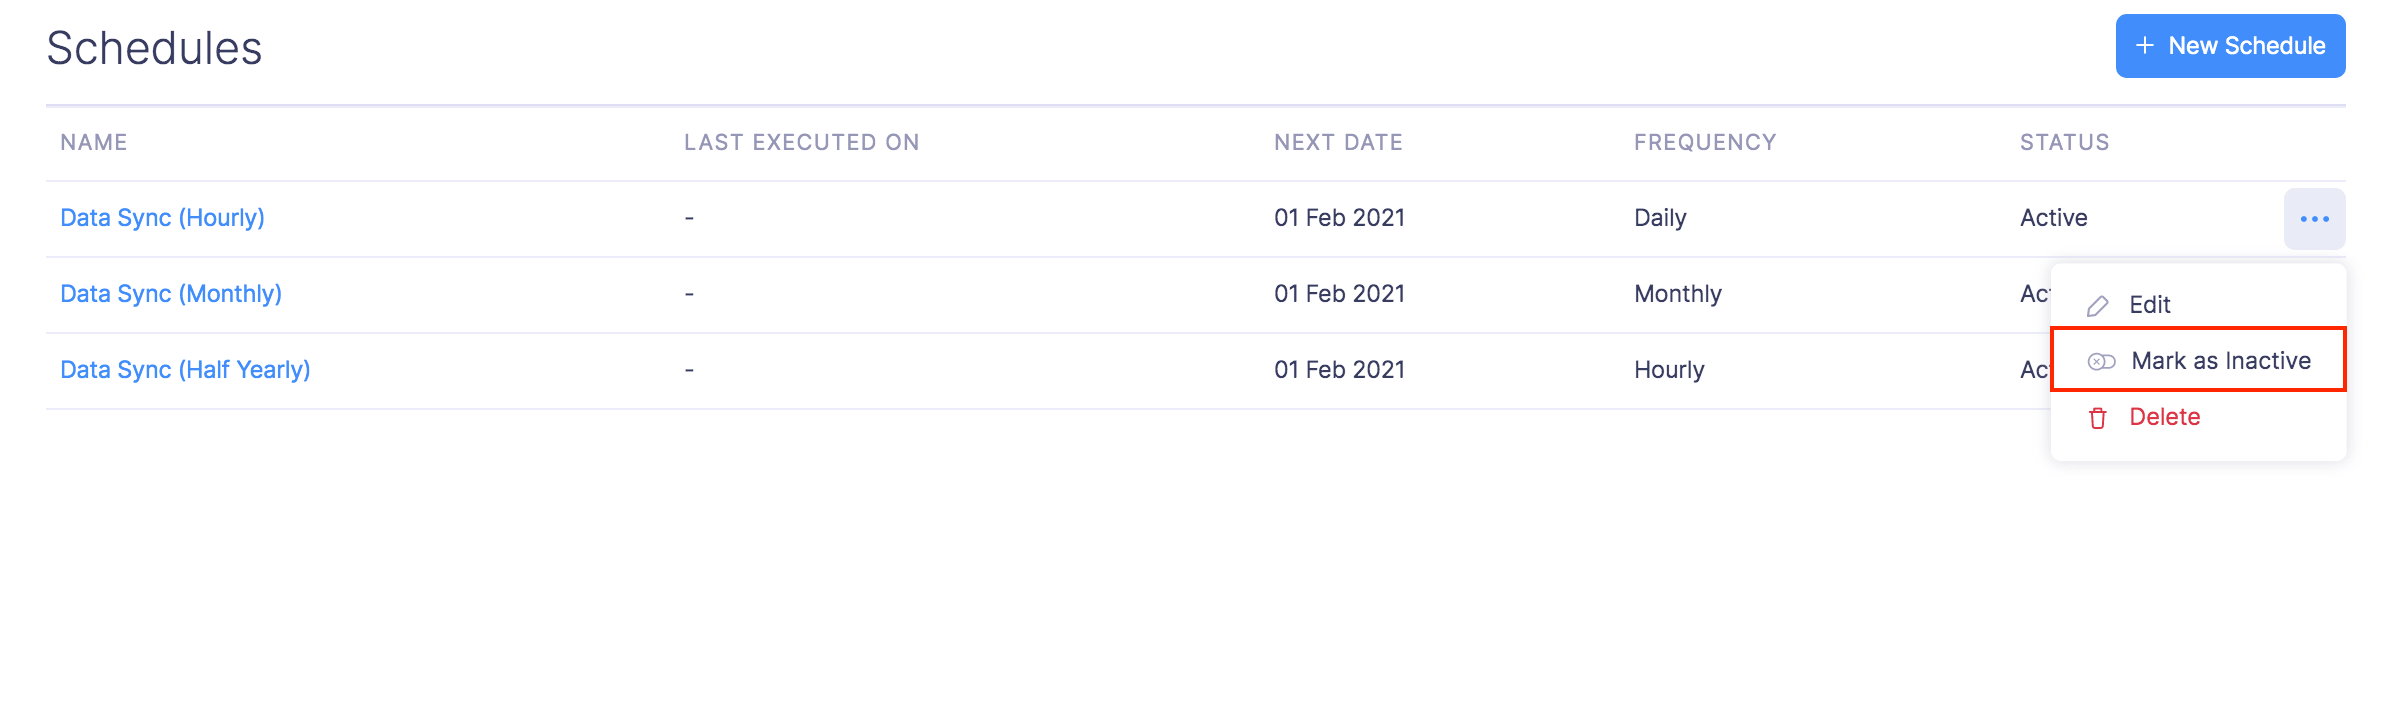
- Hover over the scheduled task you want to mark as inactive and click the More icon next to the scheduled task.
- Click Mark as Inactive.
- To mark as active again, click the More icon next to the scheduled task and click Mark as Active.
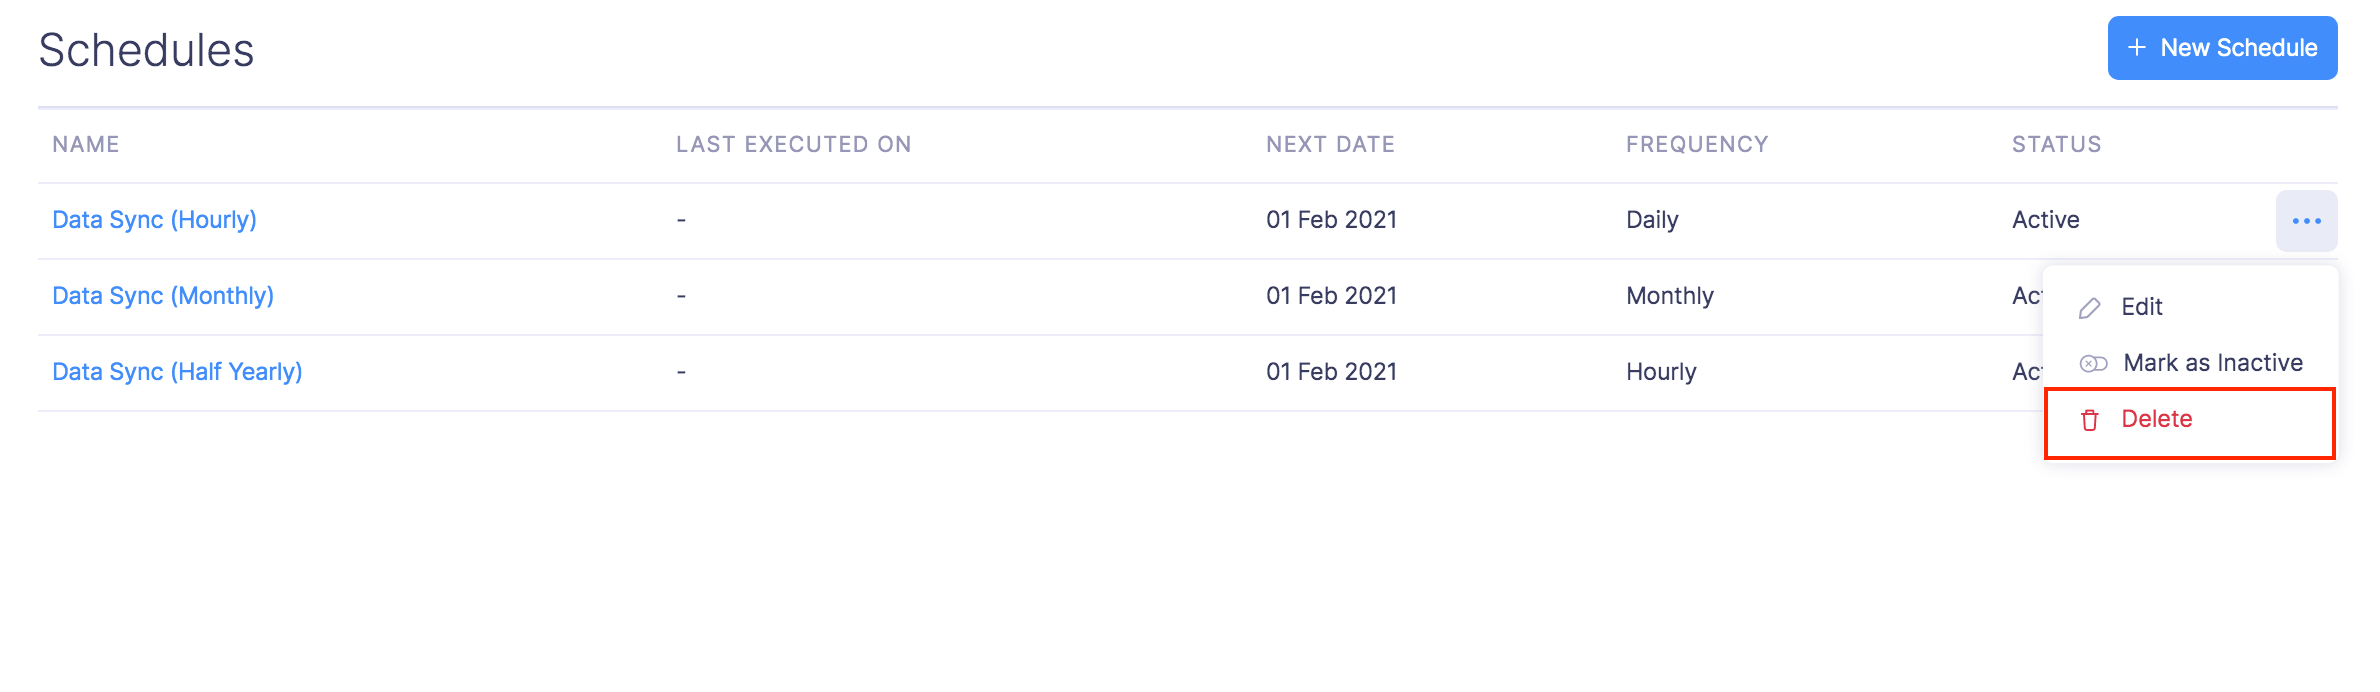
Delete Schedule
You can delete the schedules you’ve created. However, if you want to disable it temporarily you can mark the schedule as inactive.
To delete a schedule:
- Switch to Admin View.
- Go to Settings on the left sidebar.
(OR)
Click the Gear icon at the top right side. - Click Schedules under Automation.
- Hover over the scheduled task you want to delete and click the More icon next to the scheduled task.
- Click Delete.
- In the popup that opens, click Delete again to delete the schedule.