
Alerts
Zoho Expense allows you to create workflows where you can specify a set of rules along with the type of action to be executed. These actions can be used to alert employees about the transactions that are created in their organization.
In Zoho Expense, you can alert employees using Email Alerts and In-app Notification.
Create Email Alert
You can create workflows where you can trigger and send out an email when a set of rules for a transaction are met.
For example, when an expense is created for more than $1000, you would want an email must to be sent to the team manager. You can do that using email alerts in Zoho Expense.
To create an email alert:
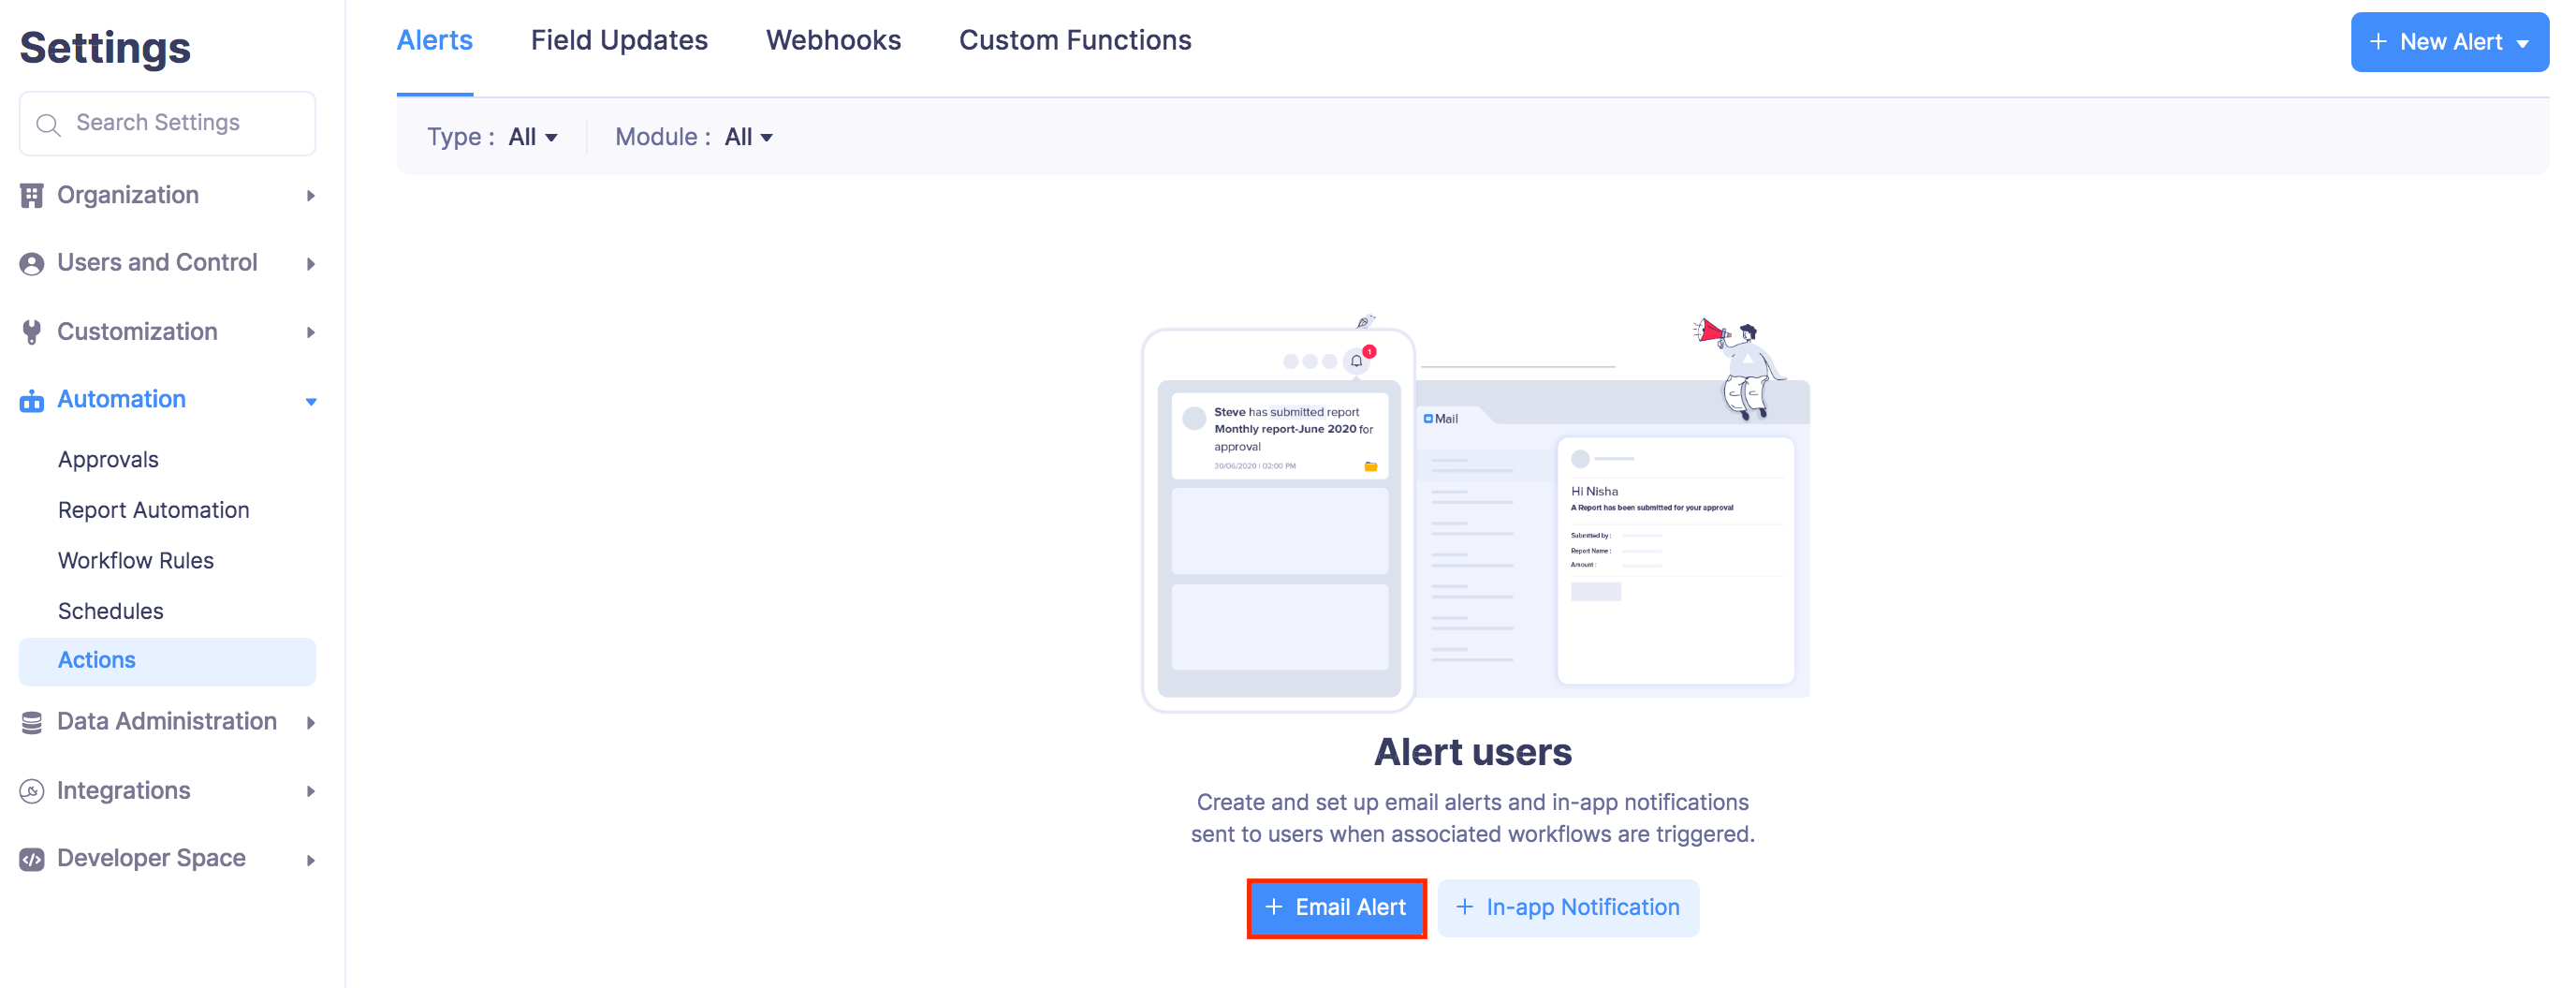
- Click Admin View.
- Go to Settings on the left sidebar.
(OR)
Click the Gear icon at the top right side. - Click Actions under Automation.
- Under the Alerts tab, click + New Alert in the top right corner and select Email Alert.
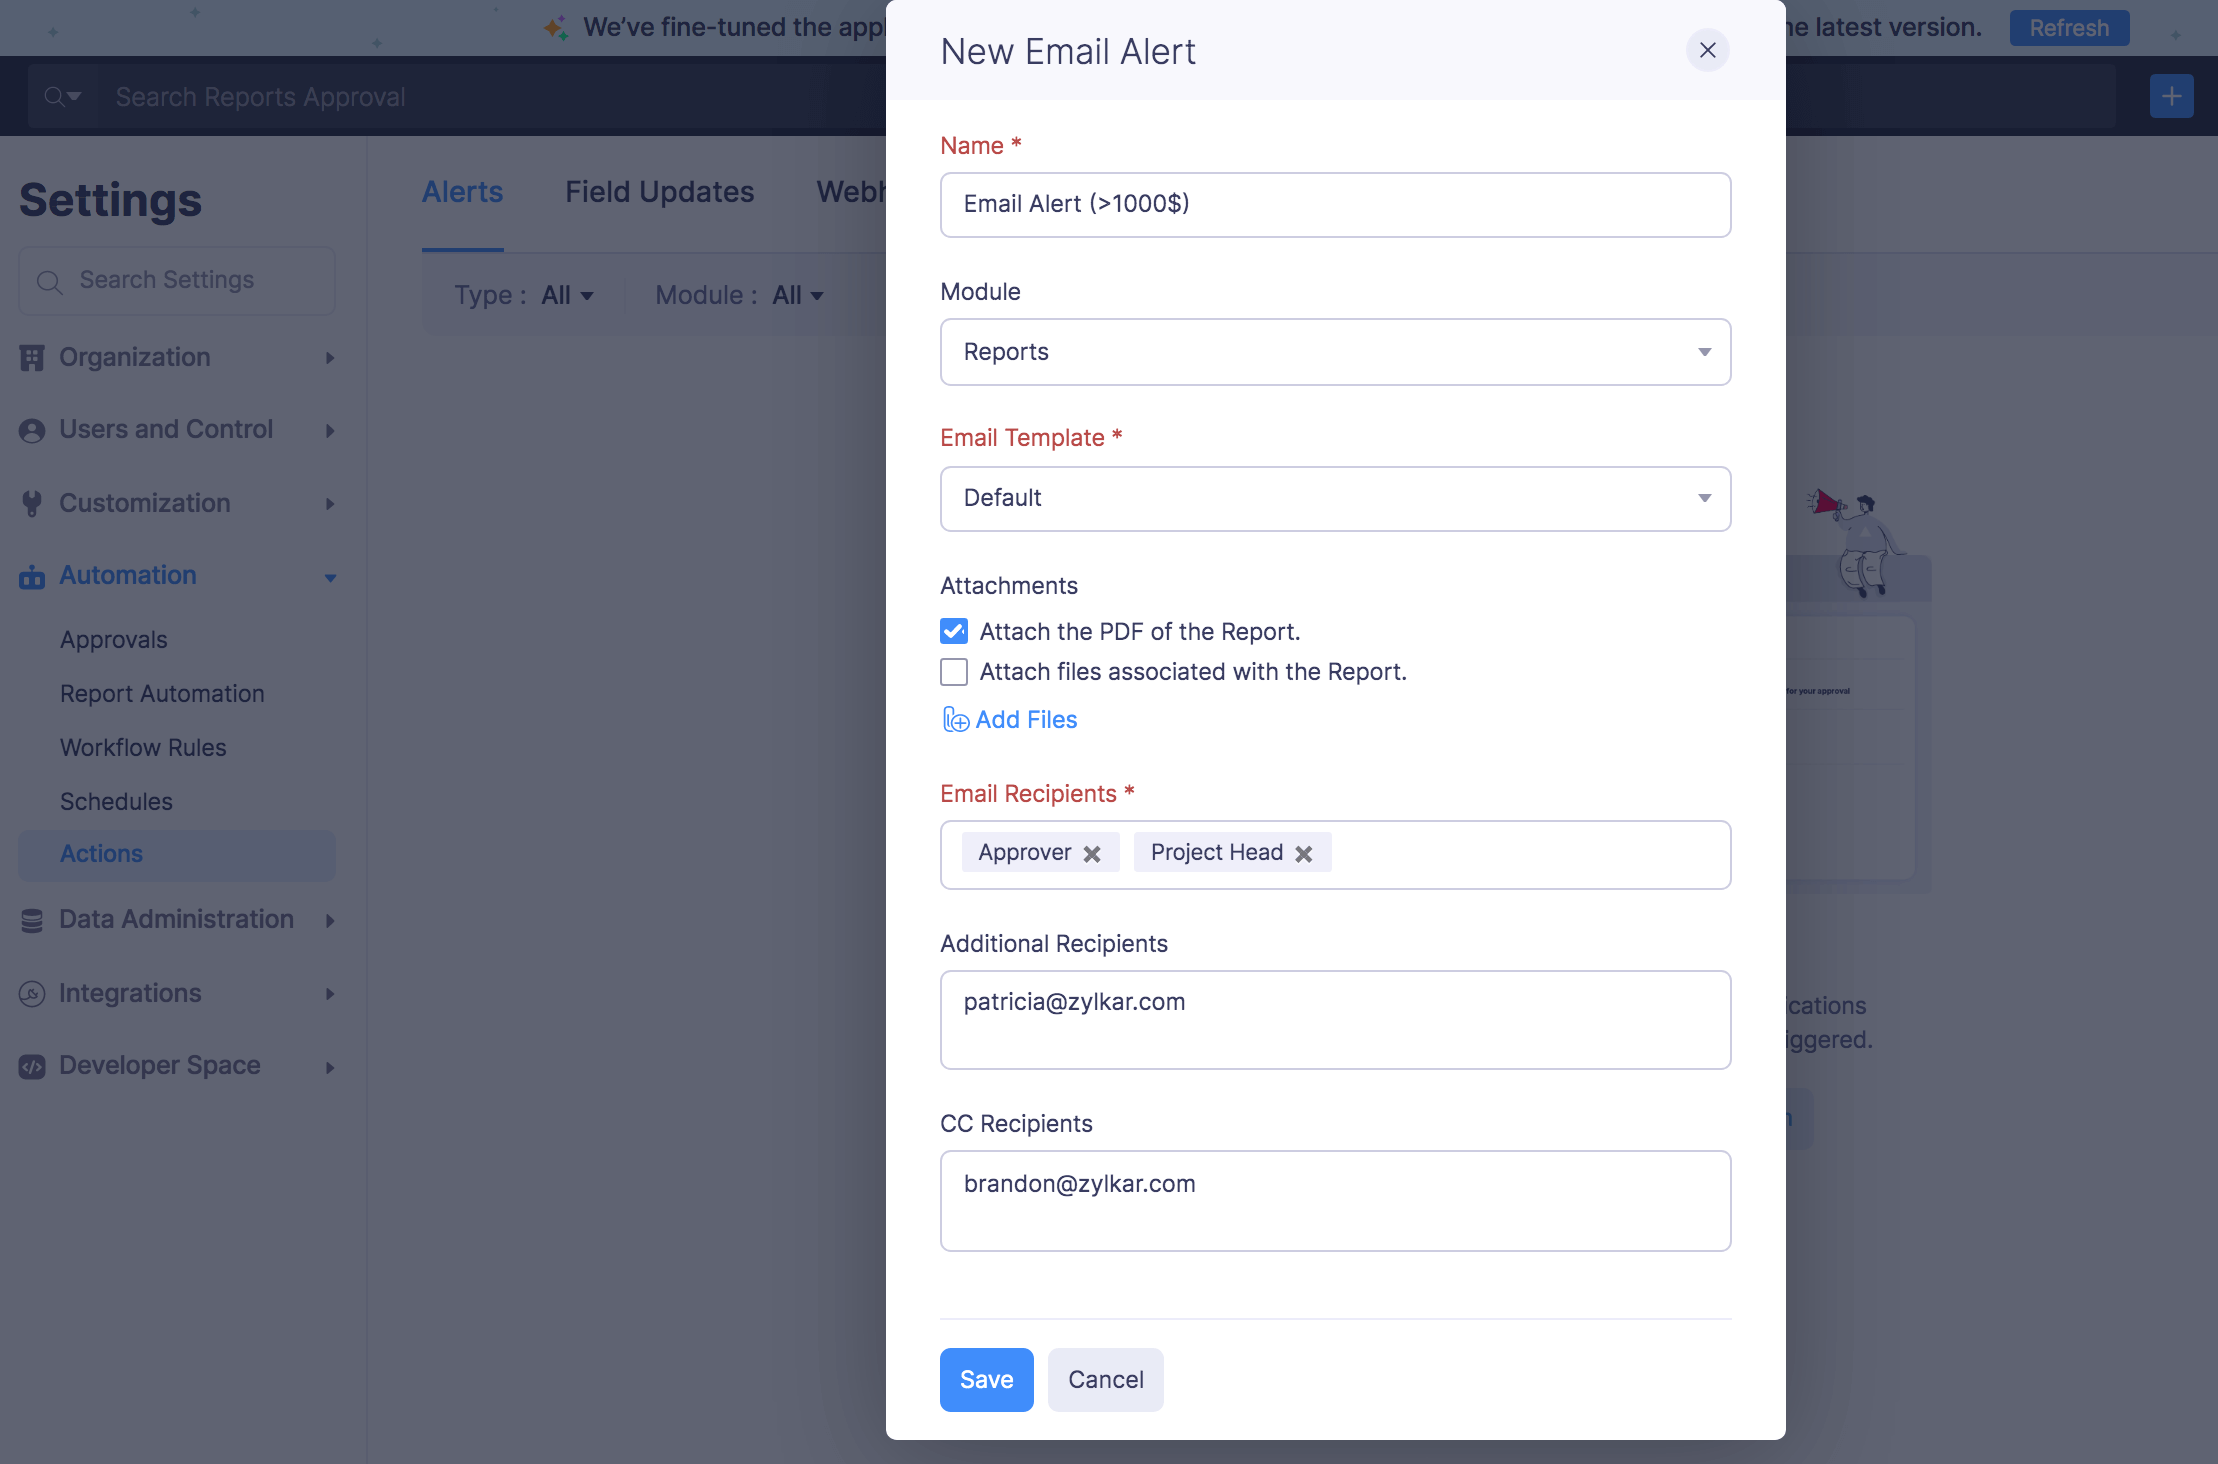
- Enter a name and select the module.
- Choose to enable attachments and upload the files from your desktop.
- Pick a template from the dropdown or click + Add New Email Template, if you want to create a new one.
- Select the user roles to whom you want to send the email alerts.
- Click Save.
In-App Notification Alert
You can create workflows where you can trigger and send in-app notifications from your Zoho Expense application when a set of rules for a transaction are met.
For example, when an expense is created for more than $1000, an in-app notification can be sent to the team managers who are approvers in Zoho Expense. You can do that using in-app notification in Zoho Expense.
To create an in-app alert:
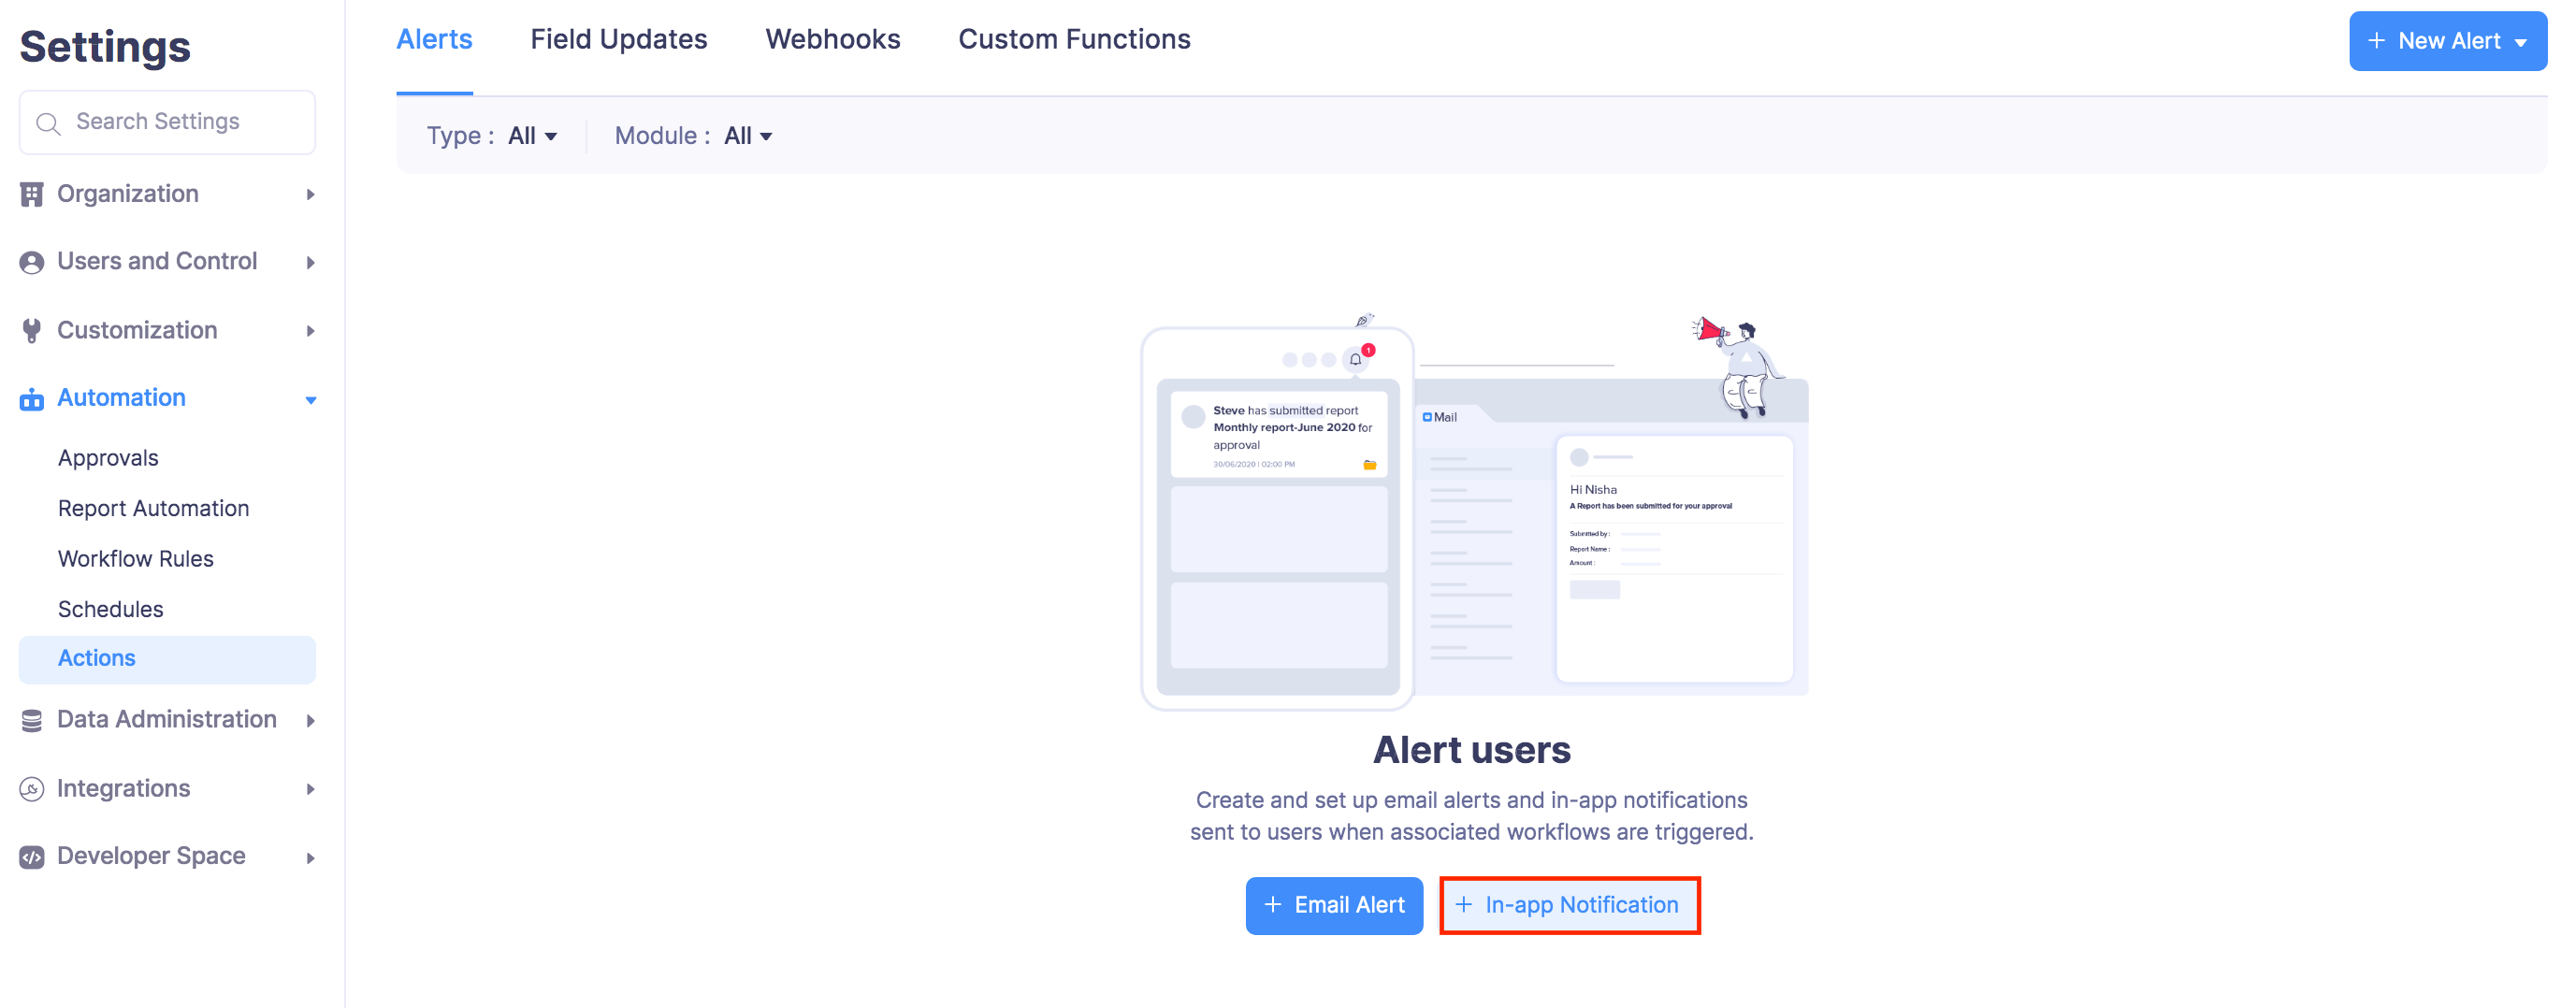
- Click Admin View.
- Go to Settings on the left sidebar.
(OR)
Click the Gear icon at the top right side. - Click Actions under Automation.
- Under the Alerts tab, click the + New Alert in the top right corner and select In-App Notification.
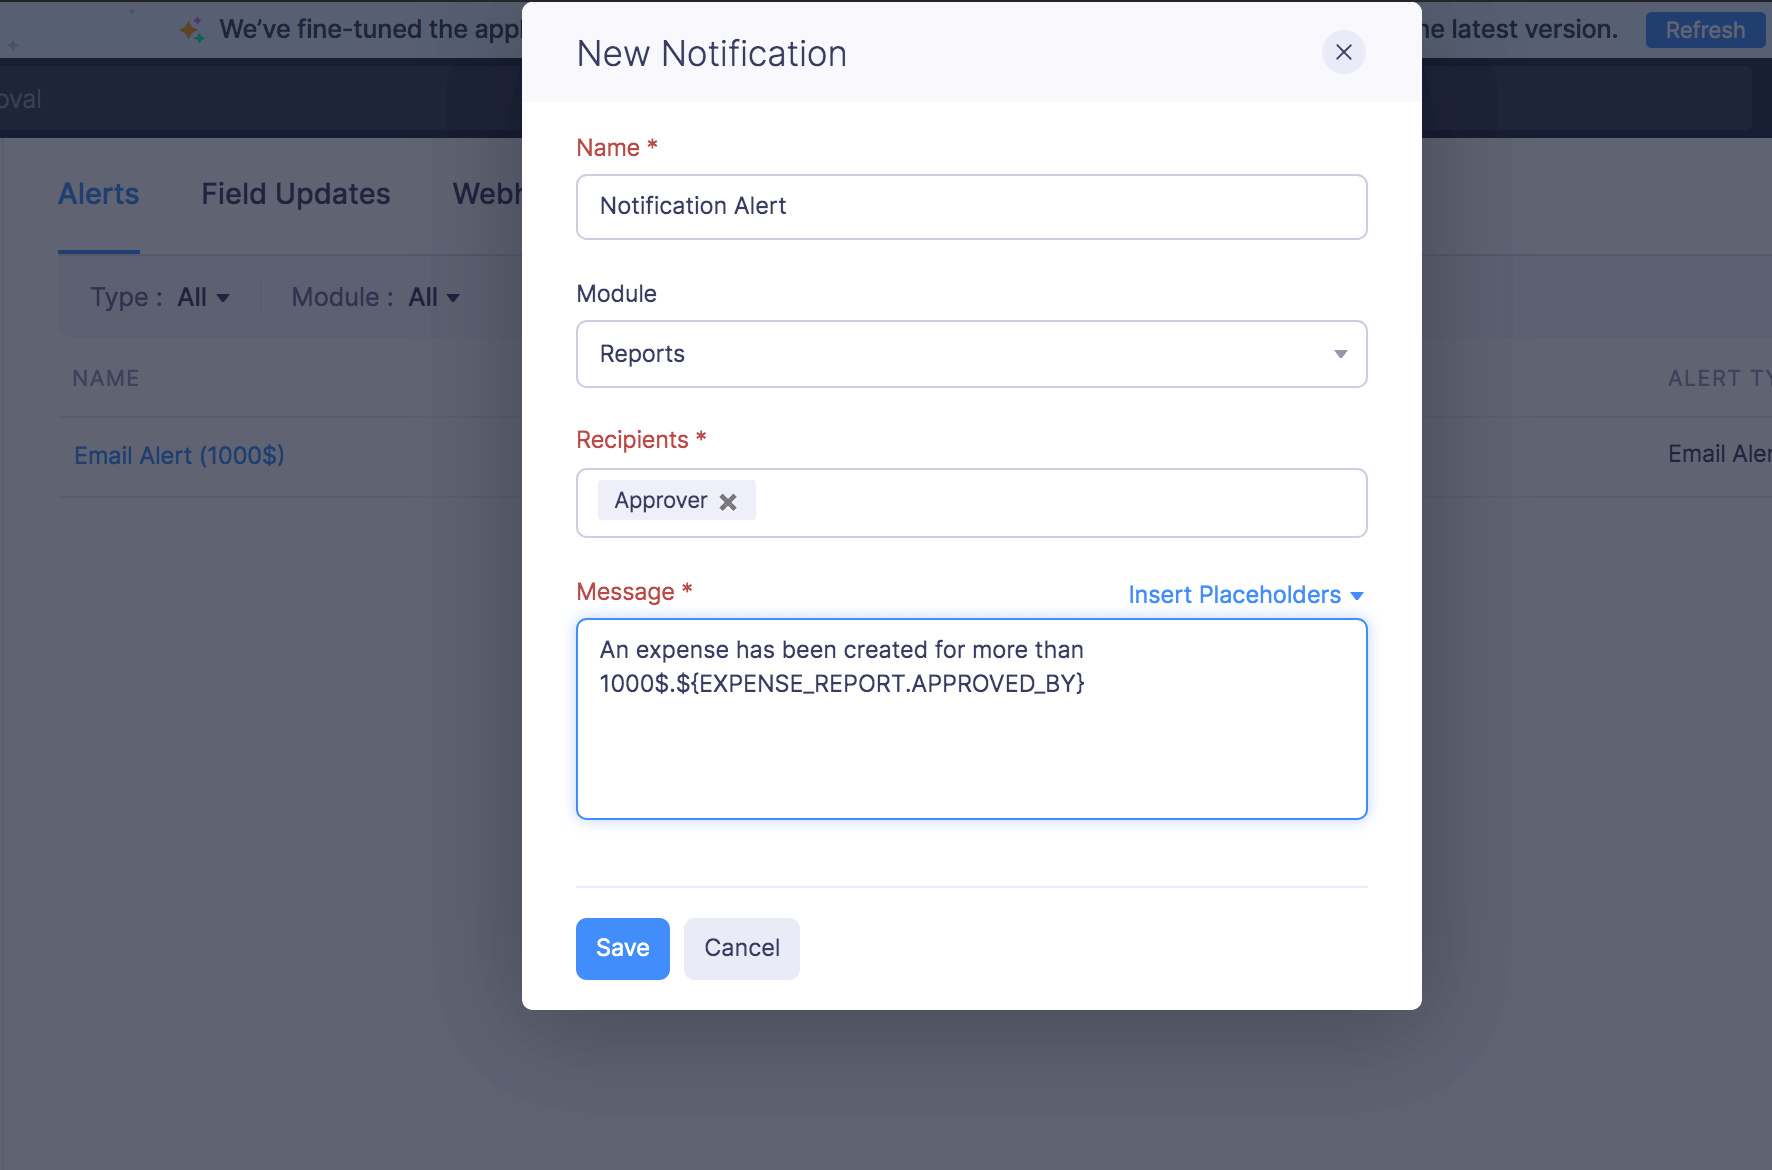
- Enter a name and select the module.
- Select the user roles to whom you want to send in-app notifications.
- Enter the message for the in-app notification.
- Click Save.
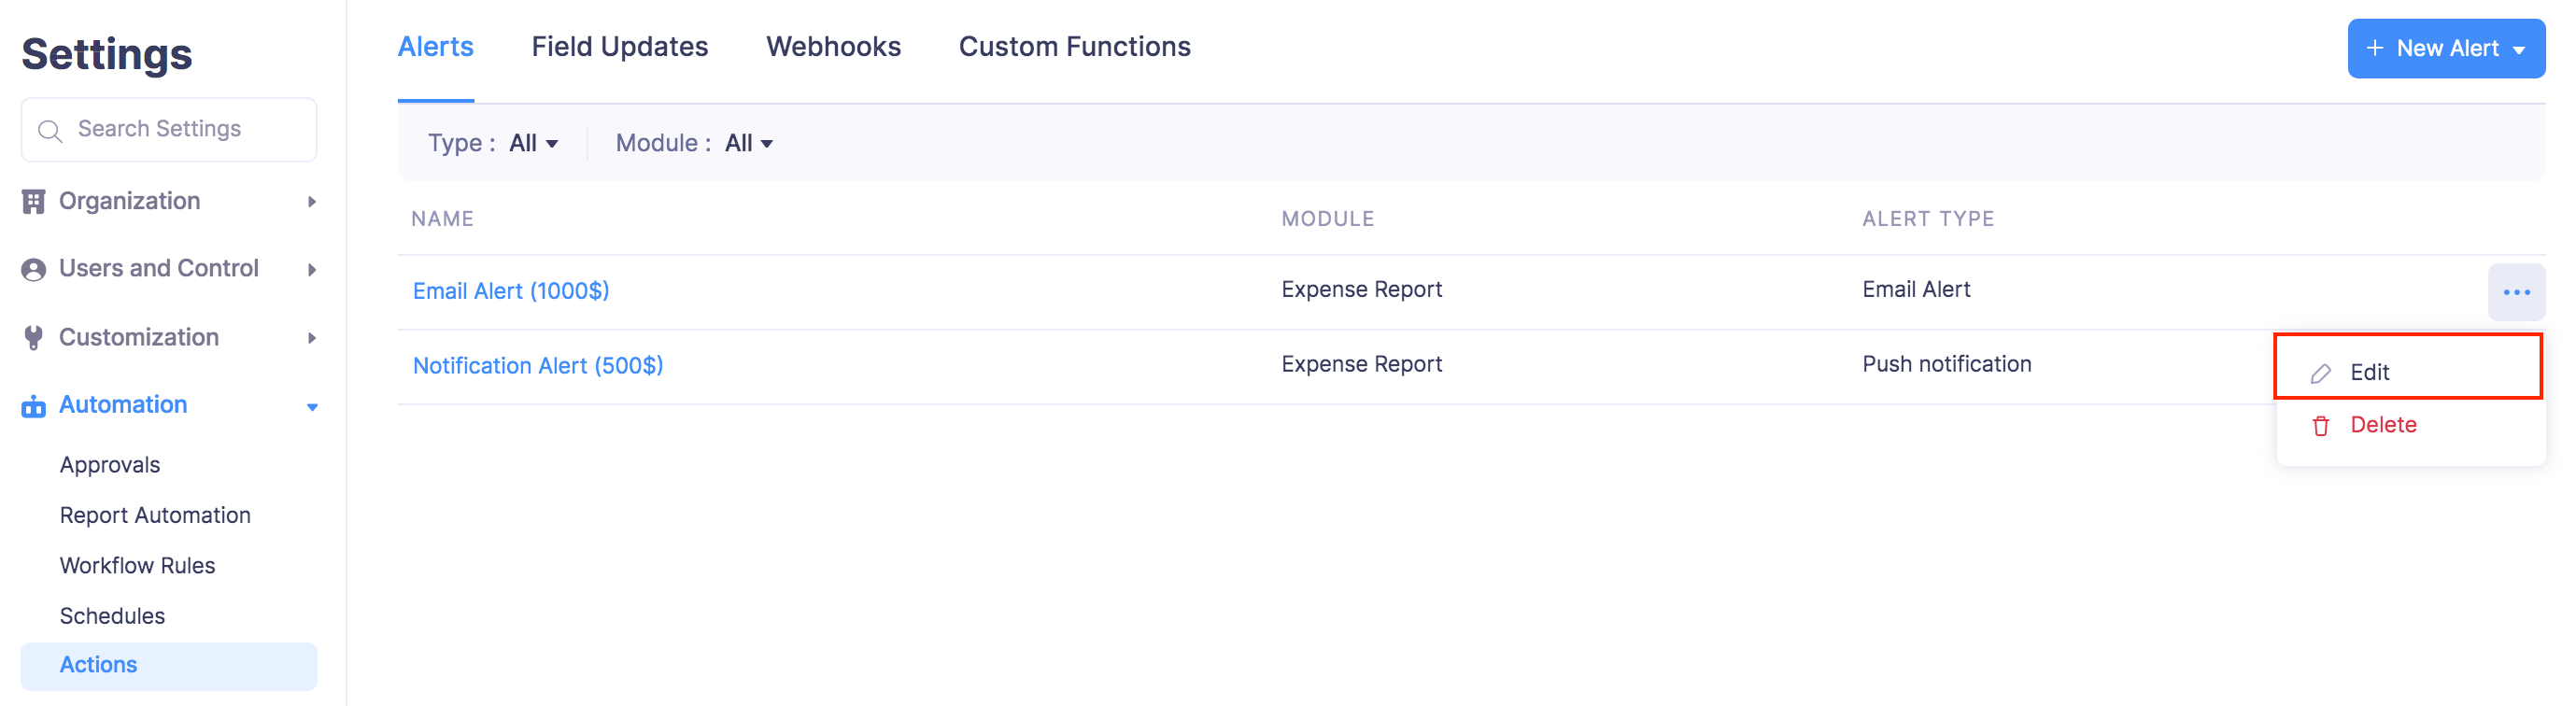
Edit Alert
To edit the existing alerts:
- Click Admin View.
- Go to Settings on the left sidebar.
(OR)
Click the Gear icon at the top right side. - Click Actions under Automation.
- Under the Alerts tab, hover over the alert you want to edit and click the More icon next to the alert.
- Click Edit and make the necessary changes.
- Click Save.
Delete Alert
You can delete an alert when you no longer need it. To delete an alert permanently:
- Click Admin View.
- Go to Settings on the left sidebar.
(OR)
Click the Gear icon at the top right side. - Click Actions under Automation.
- Under the Alerts tab, hover over the alert you want to delete and click the More icon next to the alert.
- Click Delete.
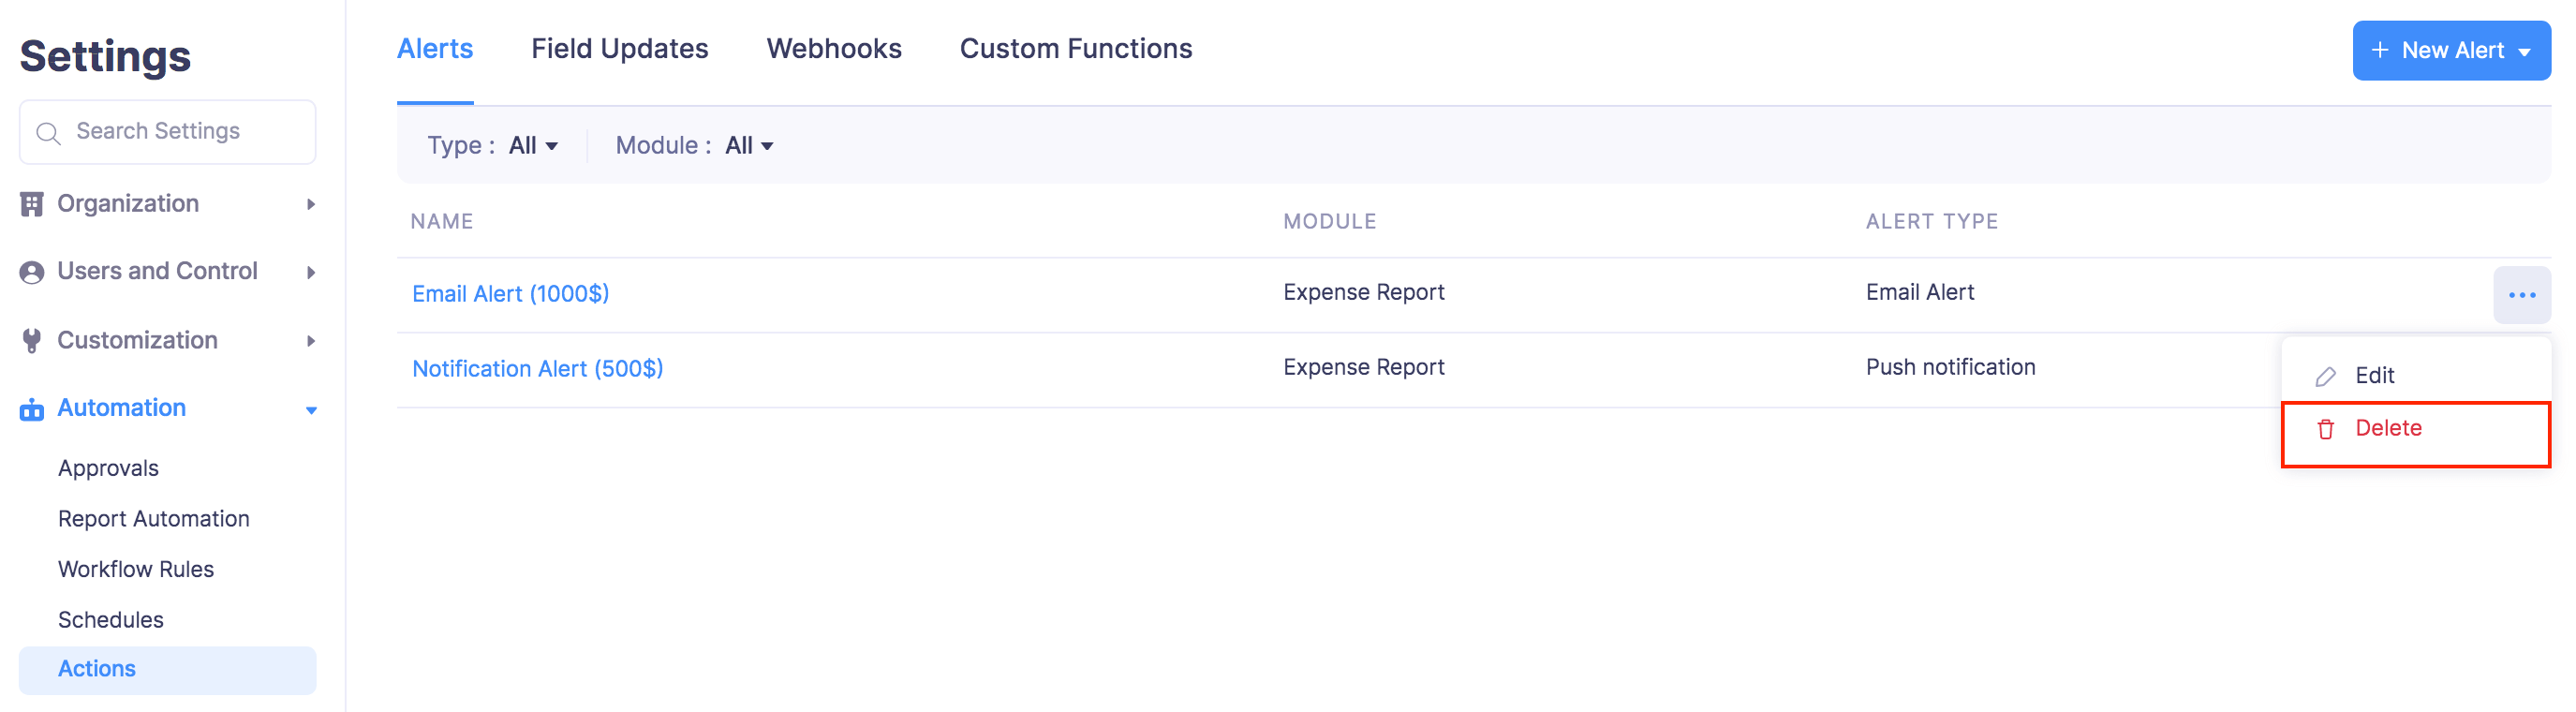
- In the popup that opens, click Delete again to delete the alert.