Introduction - Quotes
A quote is a proposal that you send to your customers which details all the items and their prices that you are planning to sell to them. After your customer accepts the quote, it can be converted to its subsequent invoice.
IN THIS PAGE
IN THIS PAGE
Create Quote
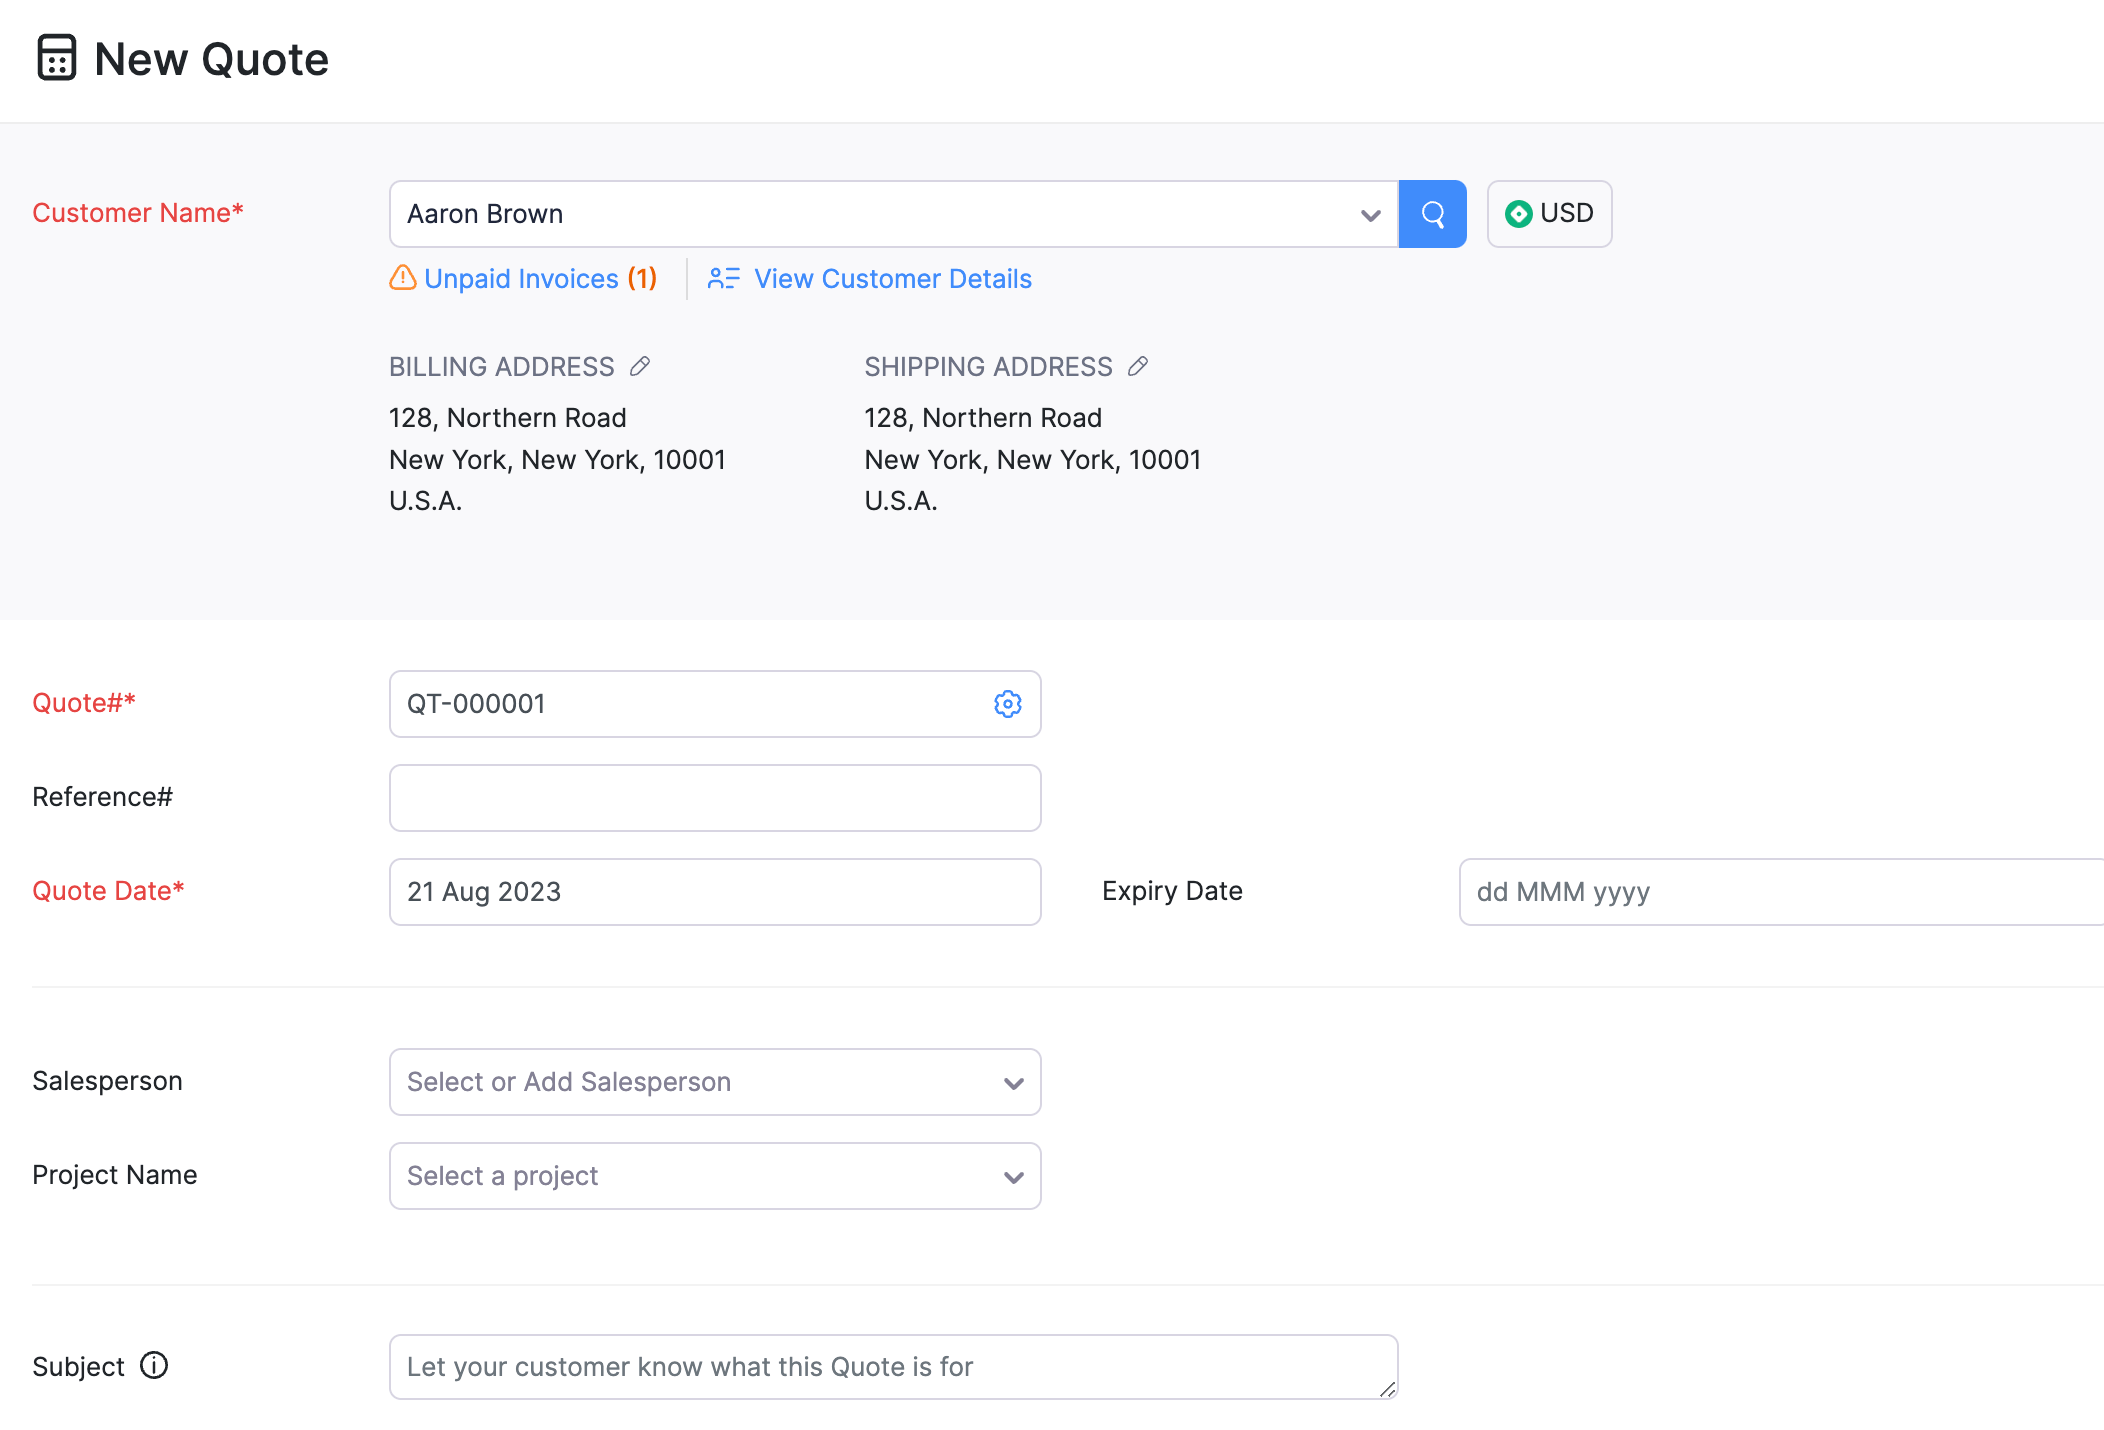
To create a quote in Zoho Billing:
- Go to Sales and select Quotes.
- Click + New on the top right corner of the page.
- Fill in the customer details, item details, and other required fields.
- Select the Create a retainer invoice for this quote automatically option if you want to record any advance payment for this quote.
- Click Save as Draft to create a draft or Save and Send it to your customer’s email address right away.

If you have saved your quote in the Draft status, it would not reflect as part of your sales. To make it active you have to send it to your customer or mark it as sent.
Mark as Accepted
After you send your customer the quote, your customer might agree with it right away or suggest you to make some changes. There are two ways to mark a quote as accepted:
Your customer can directly accept your quote from the Customer Portal.
OR
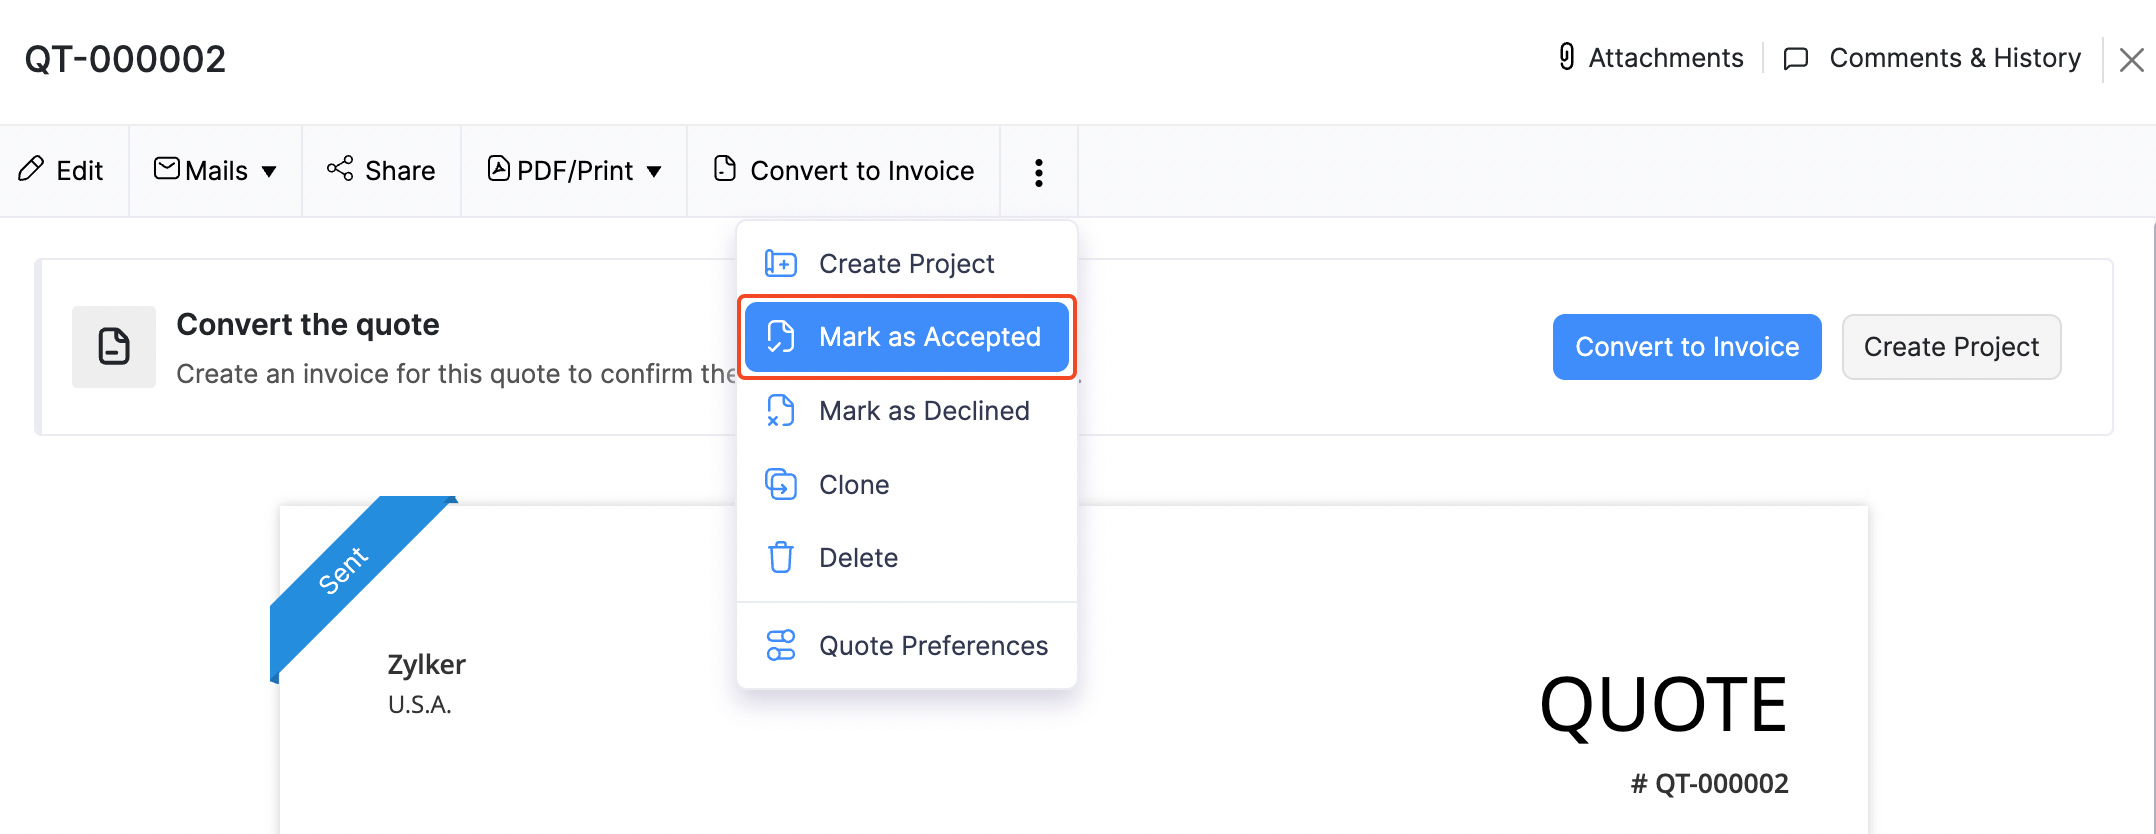
You can manually mark it as accepted. Here’s how:
- Go to Sales and select Quotes.
- Select the quote which your customer has approved.
- Click the More button and select Mark as Accepted from the dropdown.

Mark as Declined
If your customer doesn’t approve the quote, and you’re also convinced that the quote cannot be iterated any further, you can mark it as declined.
To mark a quote as declined:
- Go to Sales and select Quotes.
- Select the quote which you want to mark as declined.
- Click the More button and select Mark as Declined from the dropdown.
Import Quotes
Another way to add quotes to Zoho Billing is to import them. You can import the quotes you have in your system in the CSV, TSV, or XLS format.
To import quotes:
- Go to Sales and select Quotes.
- Click the Hamburger icon on the top right corner of the page.
- Select Import Quotes.
- Click Choose File next to Upload file. You can download a sample CSV or XLS file for your reference by clicking sample csv file or sample xls file.
- Choose the Character Encoding and File Delimiter for your file.
- If you want your quote number in the imported file to be auto-generated, mark the box Auto-generate Quote Number.
- Click Next.
- Ensure that all the fields are mapped correctly in the Map Fields page.
- Select the Save these selections for use during future imports option if you want to use the same import format the next time.
- Click Next.
- Click Import.
 Thank you for your feedback!