Internal Approval for Time Entries
The Internal Approval for time entries feature allows you to submit your logged time entries to a project manager or another user for their approval. This ensures that the manager is aware of the hours being logged and the tasks done by each of their subordinates. The approved time entries can be invoiced, or sent for the client’s approval later.
Enable Approvals
To enable internal approval for your time entries:
- Go to Settings > Preferences > Timesheet.
- Under the General tab, check the box next to Enable Approvals for time entries.
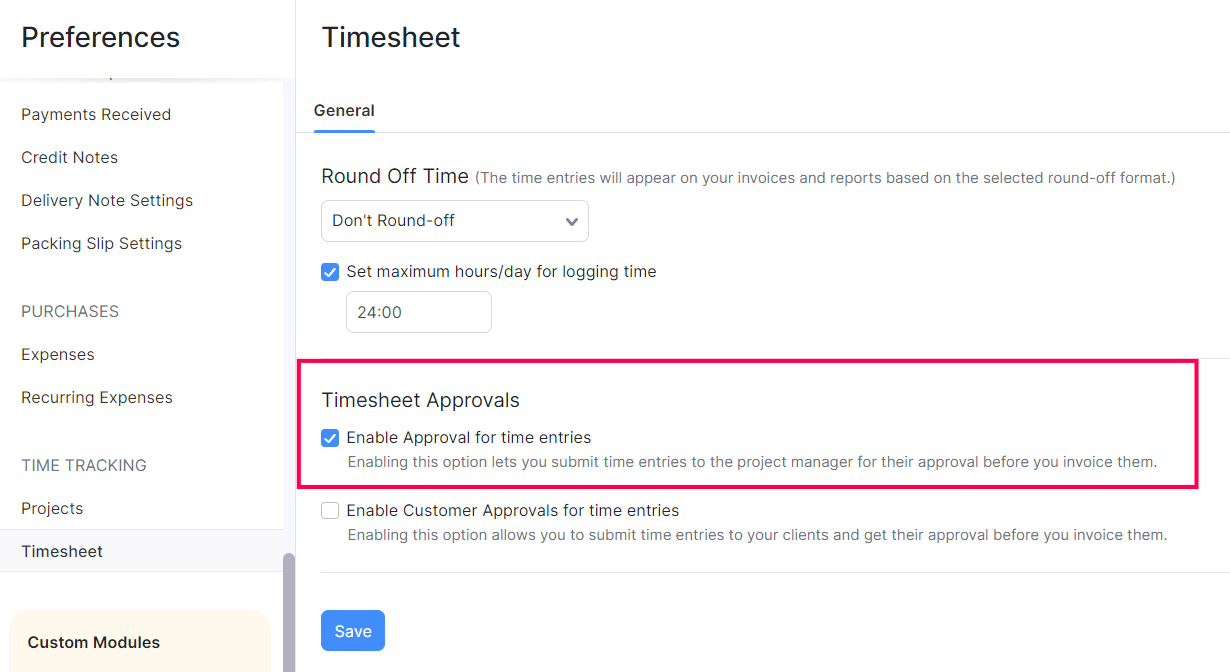
- Click Save.
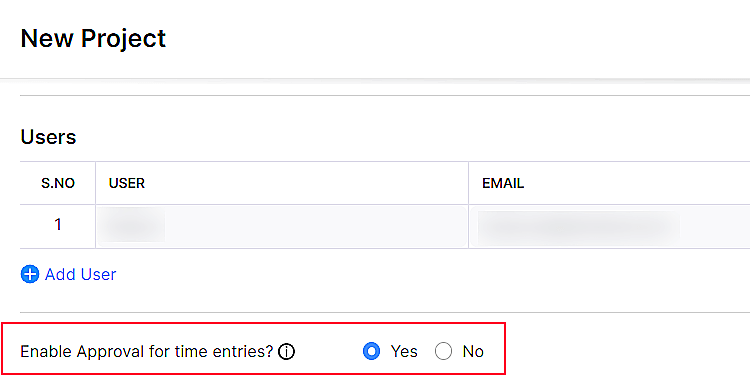
Internal approvals are available only for the projects that have it enabled. To enable internal approvals for a project:
- Go to Time Tracking > Projects.
- Click the + New Project button in the top right corner of the page.
- Enter the necessary details.
- Click Yes against the Enable Approvals for time entries option. Select the Project Manager to whom the time entries of that project should be submitted for approval.
- Click Save.
Create Approvals
Once you enable internal approval, a tab named Approvals will appear in the Time Tracking module. You can create a set of approval workflows for different time entries, submit approvals, accept and reject the approval created in this module. To create an approval:
- Go to the Time Tracking > Approvals.
- Click the + New Approval button. You can also click the Create Approval button which will be available when you’re creating an approval for the first time.

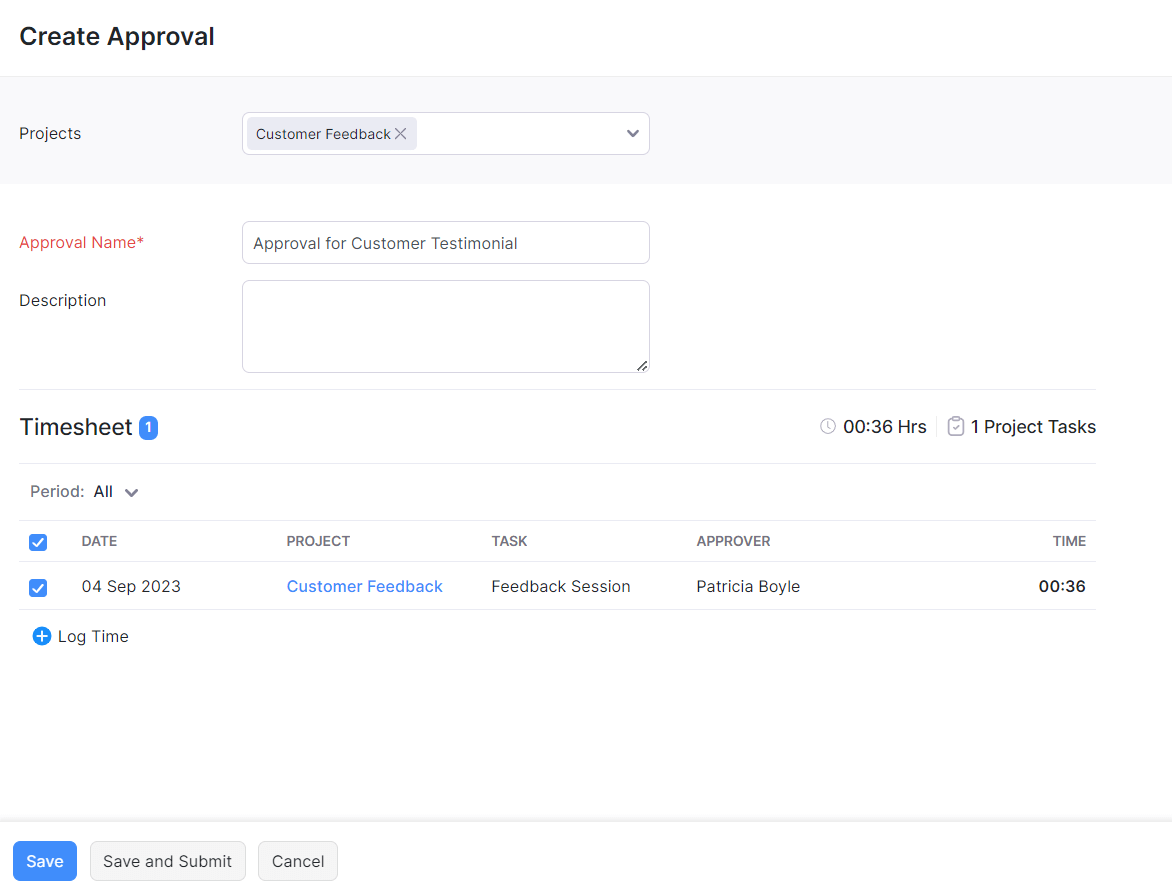
- In the Projects field, select the project for which the time entries you want to submit for an approval.
- Enter an Approval Name and provide a short Description, if needed.
- Under Timesheet, the time entries that can be submitted for the selected projects will be listed. Select the time entries you want to include in the approval.
- Click Save and Submit to submit the approval to the project manager immediately.
- Click Save to save the approval and submit it later.
Approval Process
All the internal approvals created will be listed under the Approvals tab in the Time Tracking module. Once an approval is submitted, it can either be approved or rejected by the project manager.
Submit an Approval
You can either submit an approval as soon as you create it, or save it and send it later. If you have only saved the approval, here’s how you can send it:
- Go to Time Tracking > Approvals.
- Select the approval that you want to submit.
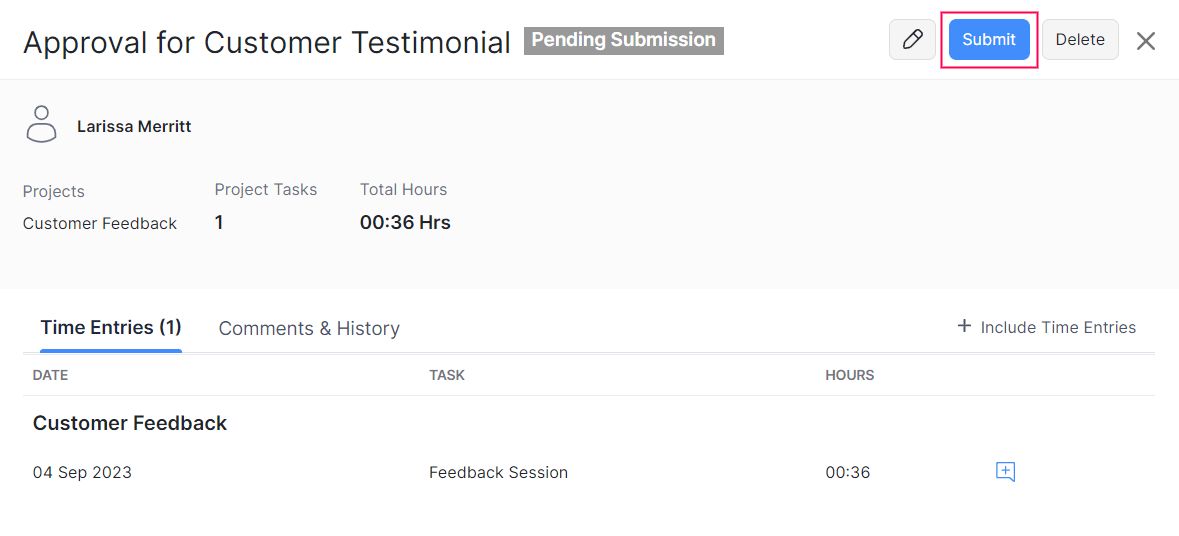
- Verify all the details and add any Comments, if necessary.
- Click the Submit button in the top-right corner of the approval.
- Click Yes and the approval will be submitted.
Approve an Approval
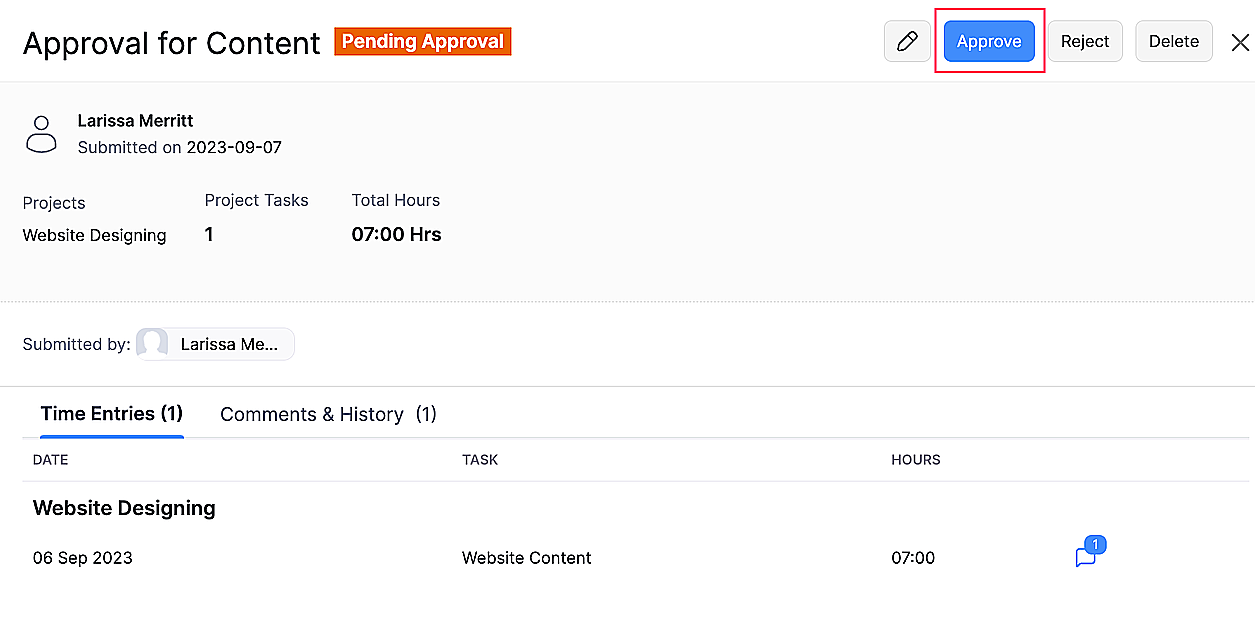
Here’s how you can approve a pending approval:
- Go to Time Tracking > Approvals.
- Select the approval that you want to approve.
- Click the Approve button in the top-right corner.
- Click Yes in the following pop-up, to approve.
Reject an Approval
You can both reject a pending approval or reject an approval that has already been approved. Here’s how:
- Go to Time Tracking > Approvals.
- Select the approval that you want to reject.
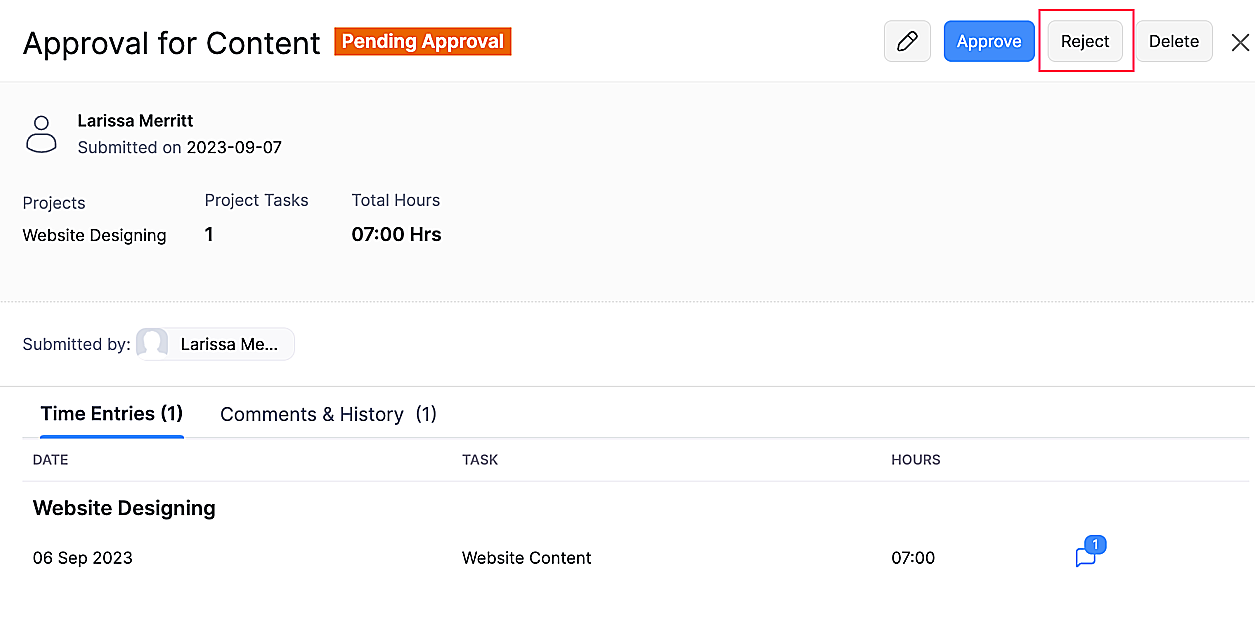
- Click the Reject button in the top-right corner.
Note: An approval can be rejected only by the project manager.
- In the following pop-up, provide a reason for the rejection and click Save.
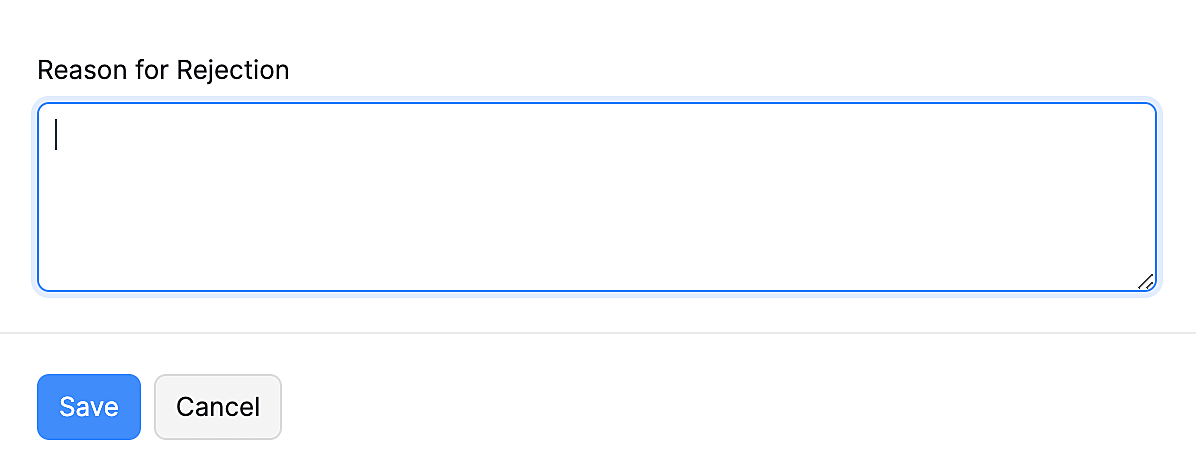
- The submitter can view the reason for rejection under Comments & History section. You can also add or delete your comments there.
Other Actions
The following are the other actions that can be carried out in an approval.
Edit an Approval
To edit an internal approval:
- Go to Time Tracking > Approvals.
- Select the approval that you want to edit.
- Click the Edit icon in the top-right corner.
- Click Save after making the necessary changes.
Delete an Approval
To delete an internal approval:
- Go to Time Tracking > Approvals.
- Select the approval that you want to delete.
- Click the Delete button in the top-right corner.
- In the following pop-up, click Yes to confirm that you want to delete the approval.
Approval Filters
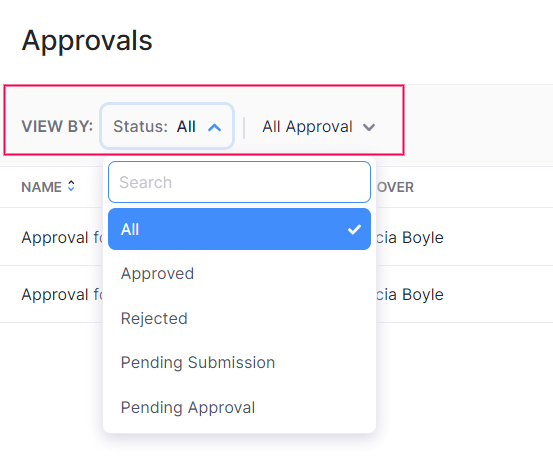
There are a set of filters using which you can view the list of approvals based on their status and nature. To filter and view:
- Go to Time Tracking > Approvals.
- Select the Status drop down to choose from the list of statuses below:
- All
- Approved
- Rejected
- Pending Submission
- Pending Approval
- To view the nature of the approval, choose an option from the list of filters below:
- All Approval
- Submitted for Approval
- Received for Approval
Disable Approvals
To disable the approval feature for time entries, you have to first disable it in the projects in which it is enabled. Here’s how you can disable approvals for a project:
- Go to Time Tracking > Projects.
- Open the project for which the approval is enabled.
- Click Edit button on top.
- In the edit project page, click No against the Enable Approvals for time entries option.
- Click Save.
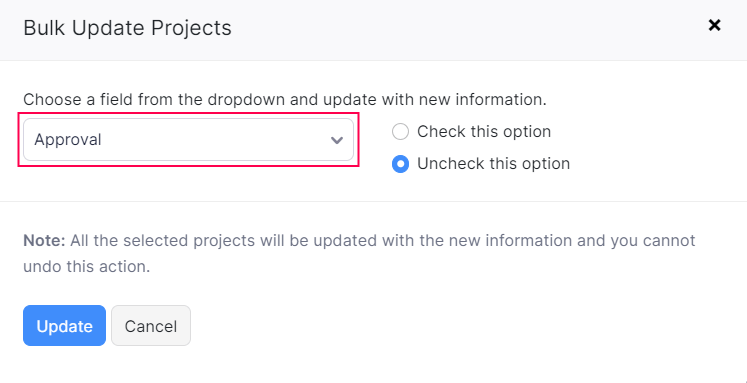
Once you have disabled this feature in all the projects,
- Go to Settings > Preferences.
- Click the Timesheet tab where you can find Timesheet Approvals.
- Uncheck the Enable Approvals for time entries option.
- Click Save.
Now, the approvals option will be disabled for your entire organization.


 Yes
Yes