Approvals - Overview
All the transactions that are waiting for your approval will be listed in the Approvals section of Zoho Expense. Approvals is accessible to users with approval privileges, that is, Approvers and Admins. Approvers can approve, reject, or forward the transactions submitted to them. Admins can perform all the actions of an approver, along with the permissions to reimburse and archive transactions.
Approver for a transaction will be determined based on the approval flow configured by the admins. If you’re an admin, learn how to configure approvals for trips, reports, advances, and purchase requests.
The following are the actions that can be performed in the Approvals section:
- Approve Transactions - Trips, Reports, and Advances
- Update the Submitted Trips, Reports, and Advances
- Reject Transactions - Trips, Reports, and Advances
- Reject Individual Expenses in Reports
- Assign Out of Office Approver
- More Options
More Options
Besides the available options, you can do more in the Approvals module. You can forward, download receipts, etc., from the trips and reports that are submitted to you for approval.
To perform these actions this:
- Go to Approvals on the left sidebar.
- Navigate to the Trips or Reports tab.
- Select a transaction.
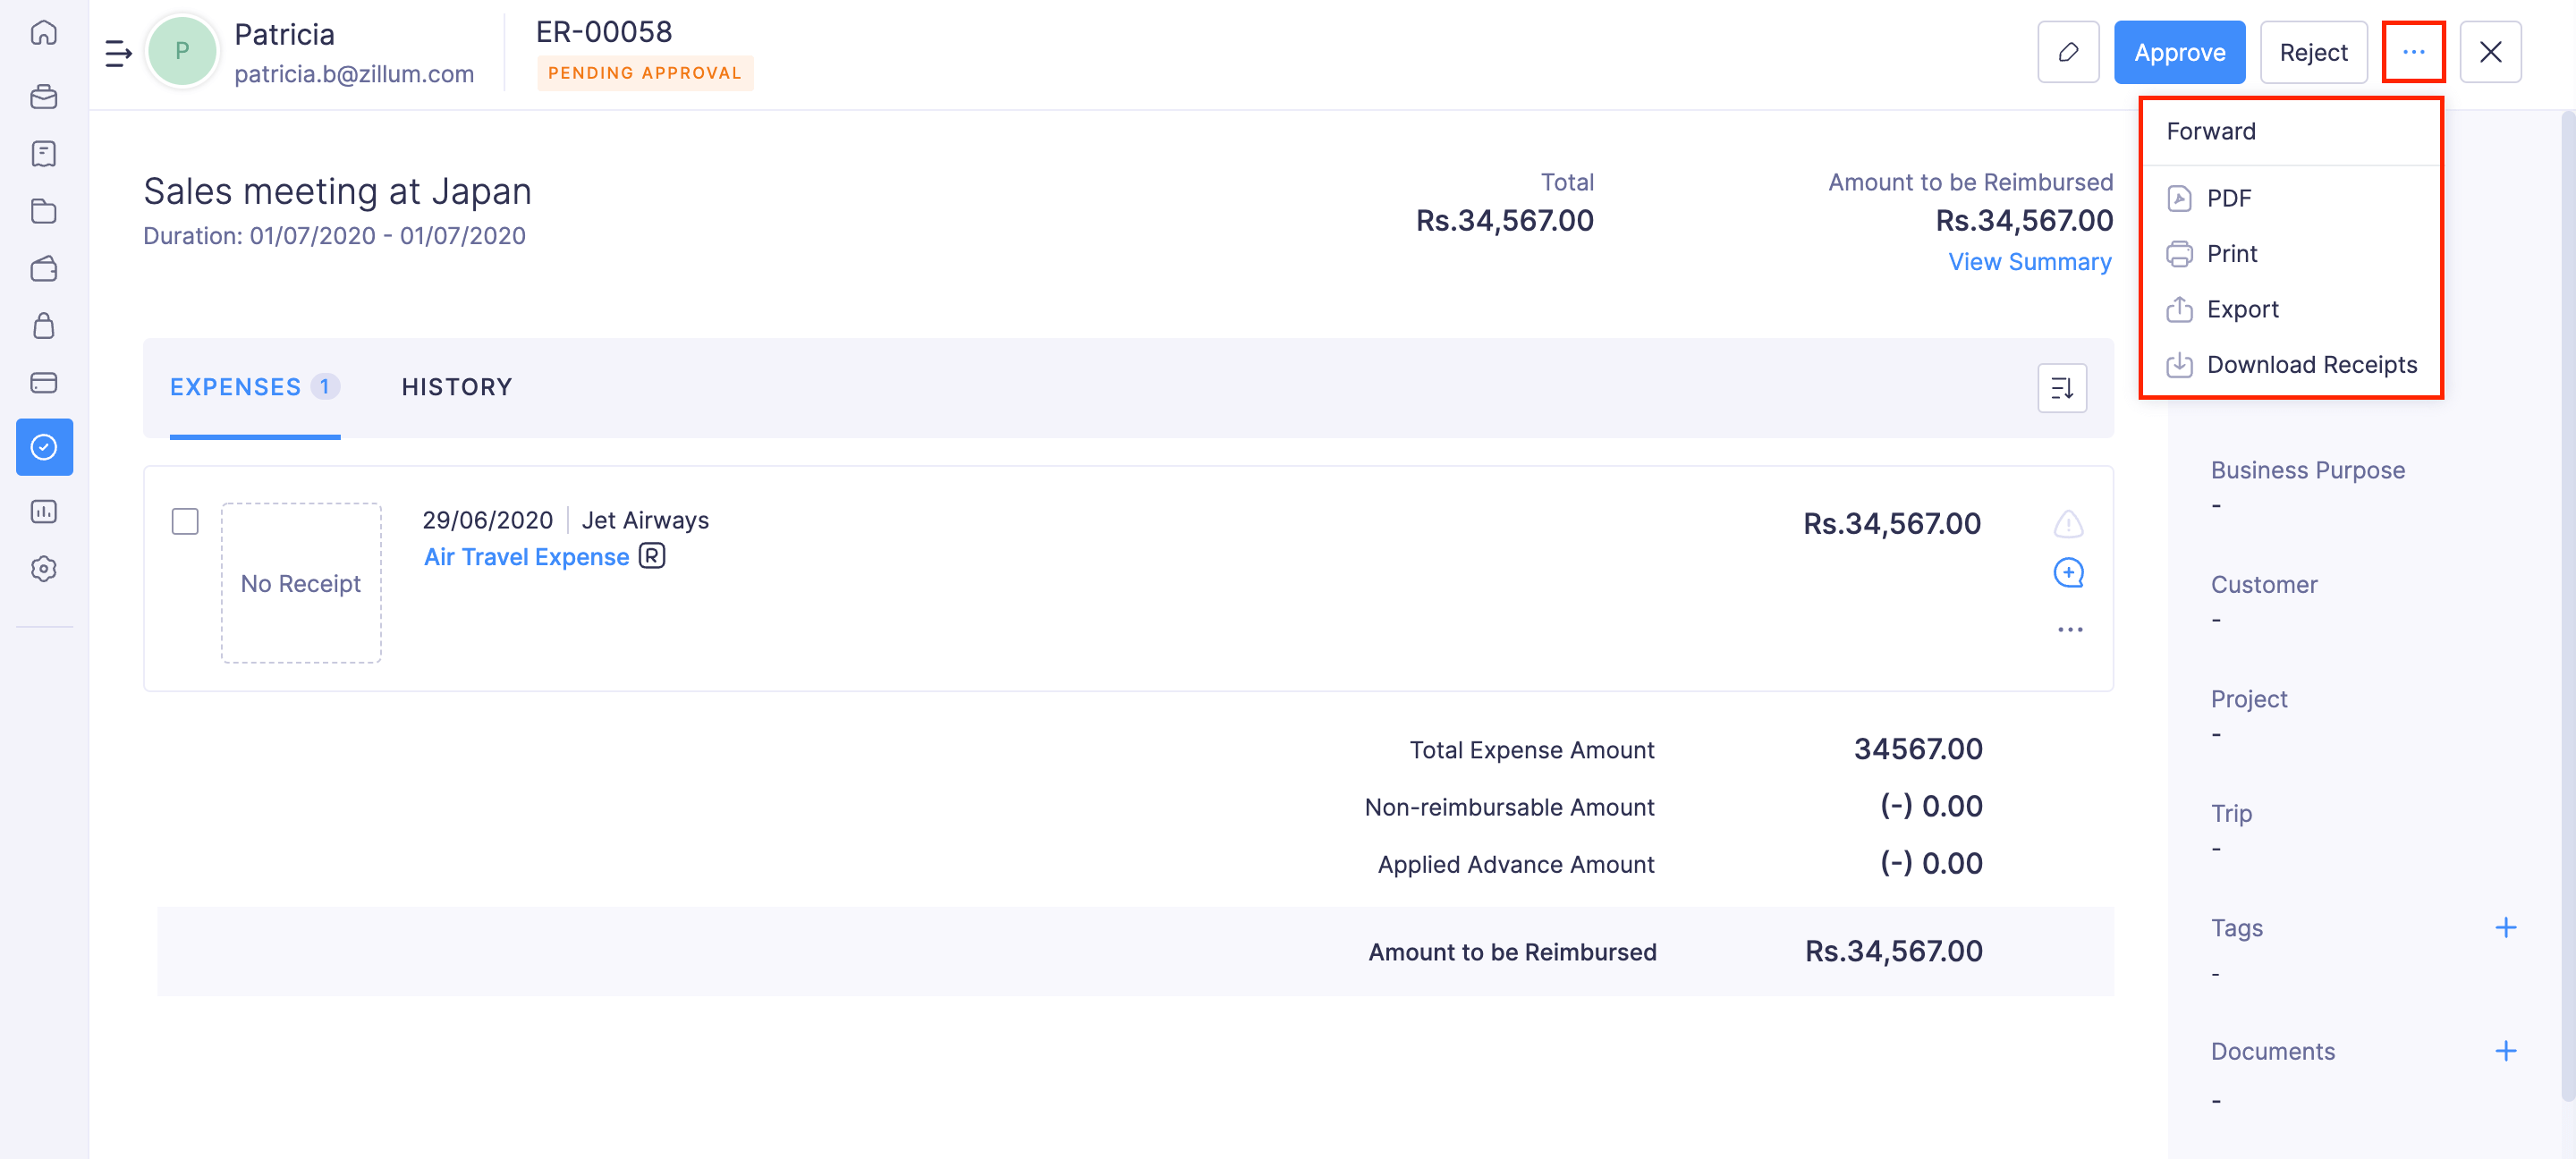
- Click the
More icon at the top right corner. You can find the following options:
- Forward: Allows you to forward the reports and trips that are awaiting your approval to another approver.
- PDF: You can export the report or trip data as a PDF.
- Print: Allows you to print the reports or trips. You can also preview the reports or trips and download them if required.
- Export: You can export the trip or report data in the CSV or XLS format.
-
Download receipts: You can download all the receipts in the reports as a ZIP file.