Stripe ACH Payments
What is ACH?
The Automated Clearing House (ACH) network is a system run by the National Automated Clearing House Association (NACHA) which enables fund transfer in the form of direct deposits or other payments.
The Stripe ACH Payments integration will enable your customers to pay you seamlessly. Using ACH, you can directly deduct money from your customer’s bank account after they permit you to do so.
This form of payments is available only for the US customers. Only organizations whose business location is United States can use Stripe ACH payments via Zoho Invoice.
Set up the Integration
To set up the Stripe integration:
- Go to Settings > Integrations.
- Select Online Payments in the left menu.
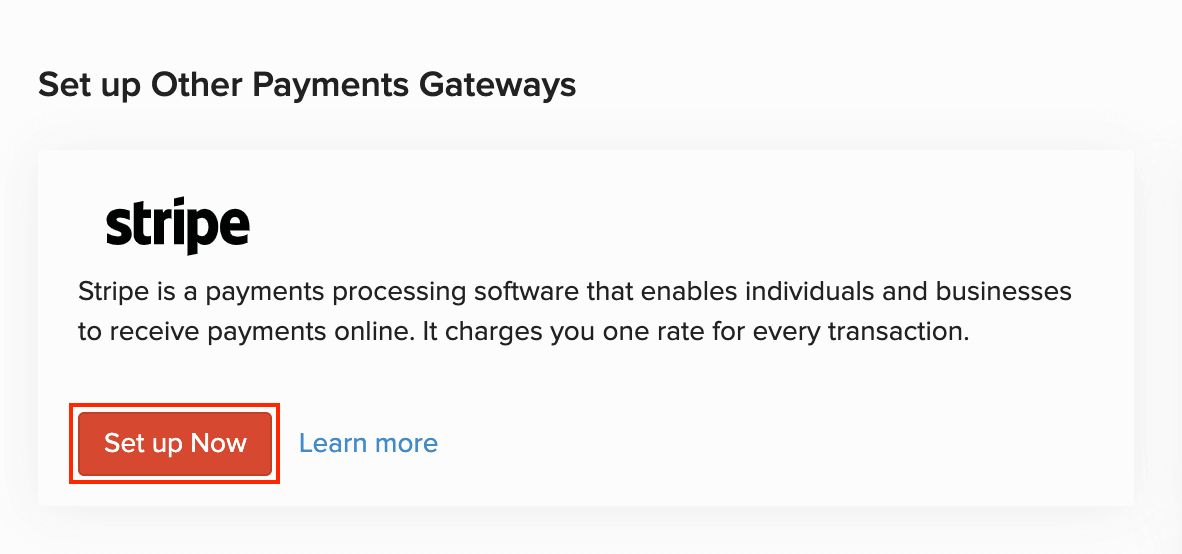
- Click Set up Now.
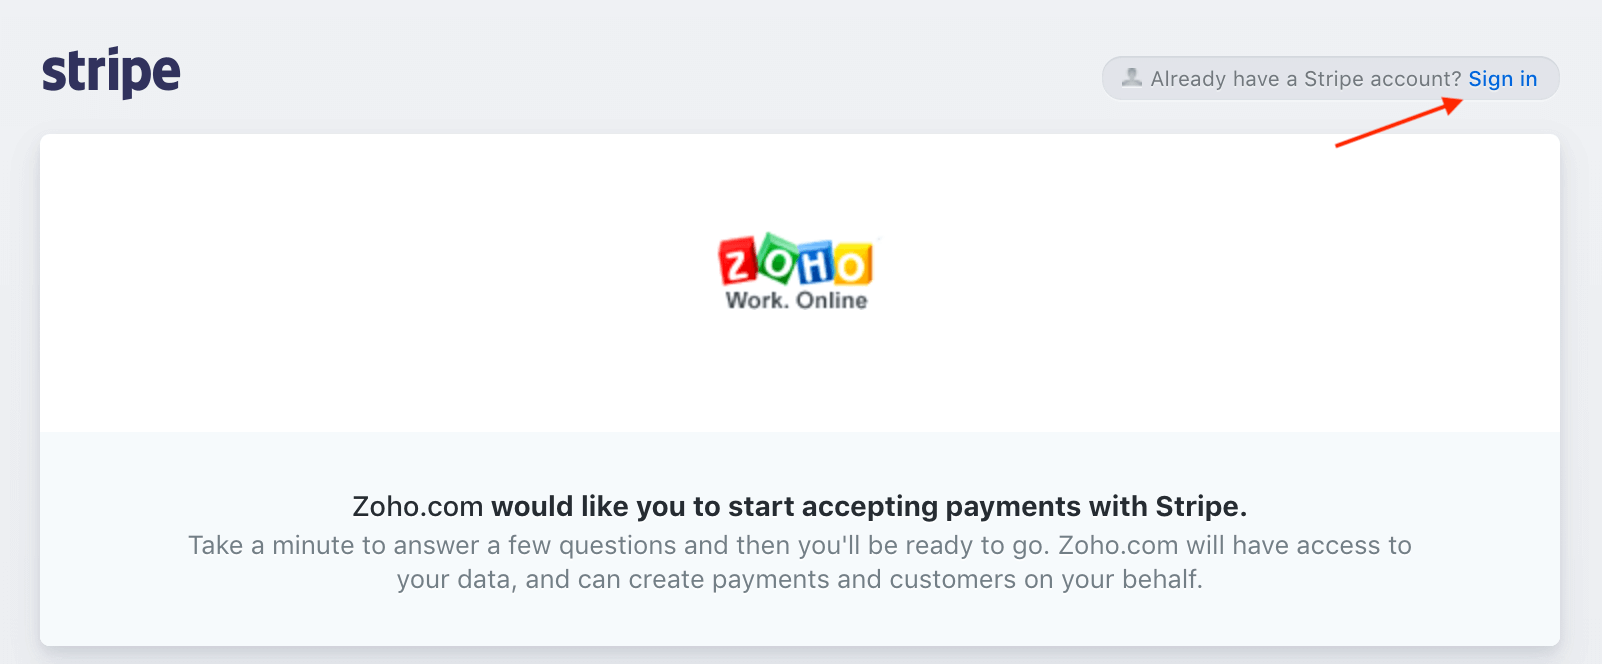
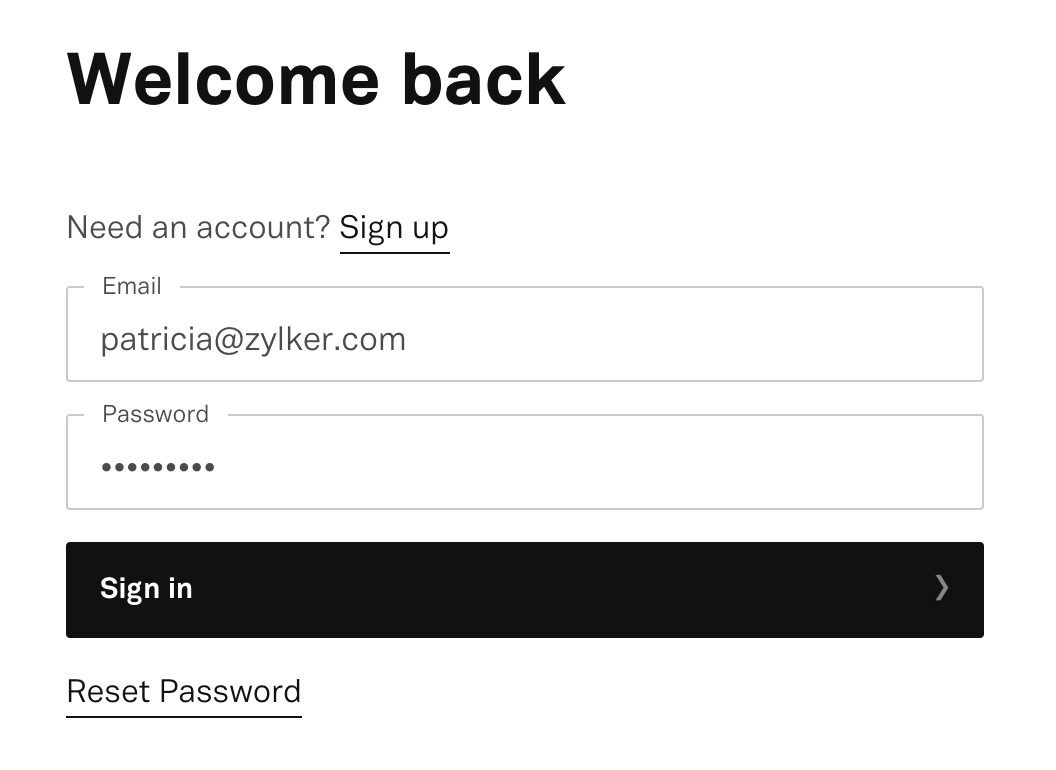
- Click Sign in present in the top right corner of the page that follows.
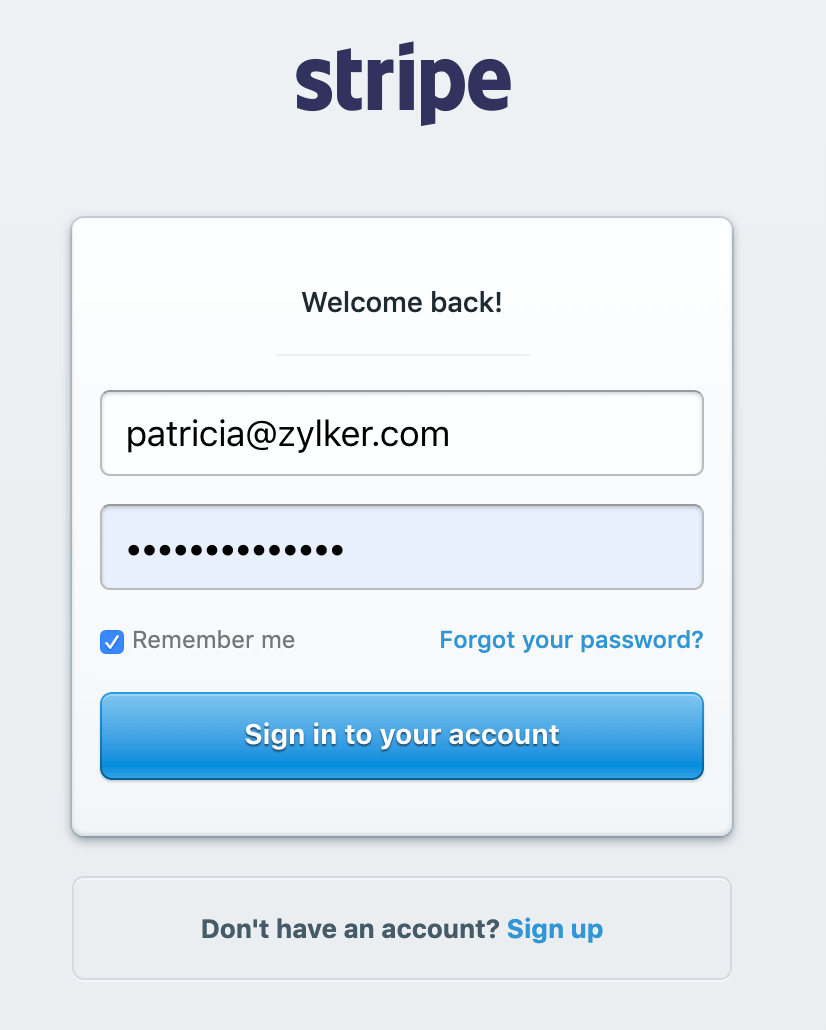
- Enter your Stripe credentials and click Sign in to your account. If you’re a new user to Stripe, click Sign up at the bottom of the page and create an account.
After signing in to your Stripe account, your organization in Zoho Invoice will be integrated with your Stripe account. If you want to switch to another Stripe account, you can do so by clicking Switch user in the same page.
After you have set up the integration, you’ll have to add your customer’s bank details in Zoho Invoice to charge them using the Micro Deposit verification in Stripe. There are two ways in which you can do this:
- Request Payment Information
- Add Customer Bank Details in Zoho Invoice
Request Payment Information
If you want to receive payments from your customers, you will need their bank details. In Zoho Invoice, you can directly send them a form online in which they can enter their payment details.
To request payment information from your customer:
- Go to the Contacts module in the left sidebar.
- Select the contact from whom you wish to receive the payment information.
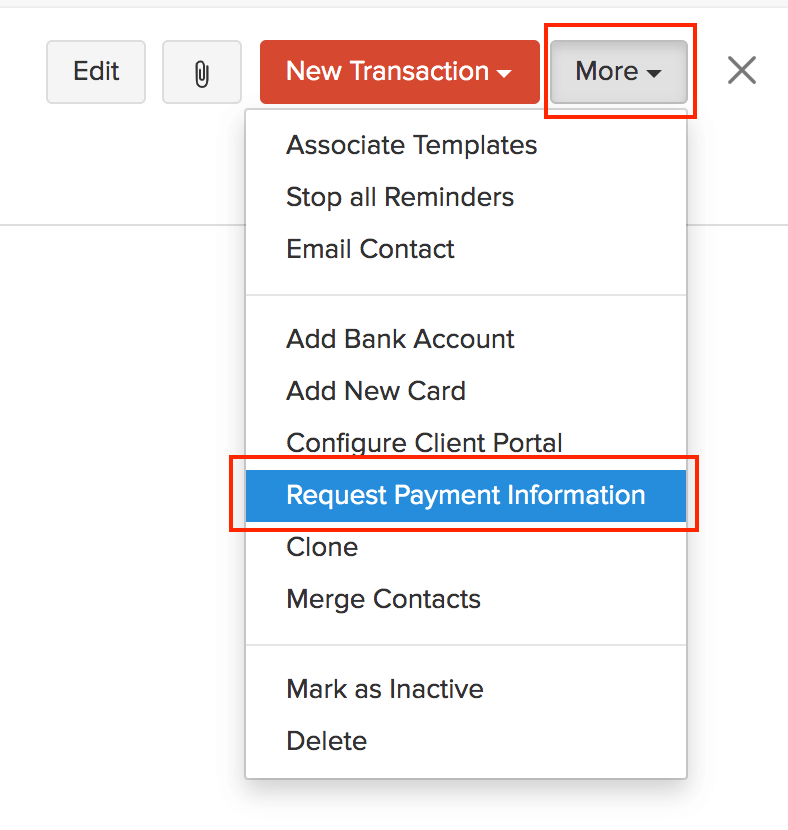
- Select More > Request Payment Information.
- Review the email and click Send.
After filling and submitting this form, their bank details will get saved in Zoho Invoice. If you have enabled Plaid before sending this form to the customer, then the bank account of the customer will be chargeable right away. Otherwise, you’ll have to manually verify them using the Micro Deposit verification before charging them.
Customer Bank Details
Alternatively, you can manually add and verify your customer’s bank details in Zoho Invoice to receive payments from them. The bank details will be verified using the Micro Deposit verification method by Stripe. After the bank account is verified, you can charge your customers for the invoices you create for them.
Add Bank Details
To add the bank details of your customer:
- Go to the Contacts module in the left sidebar.
- Select the customer for whom you want to add the bank details.
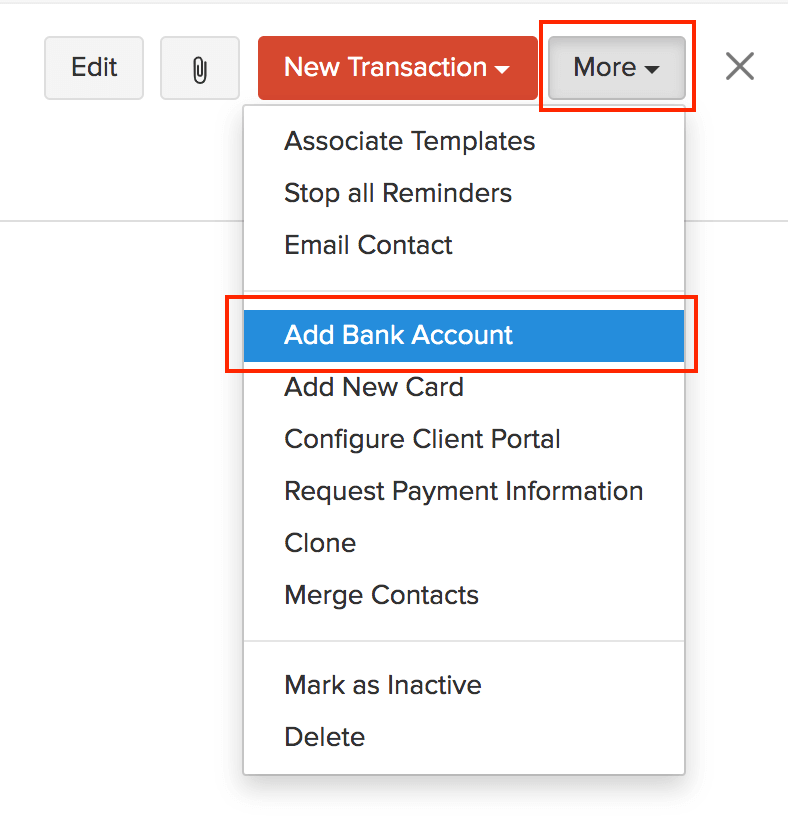
- Click More > Add Bank Account.
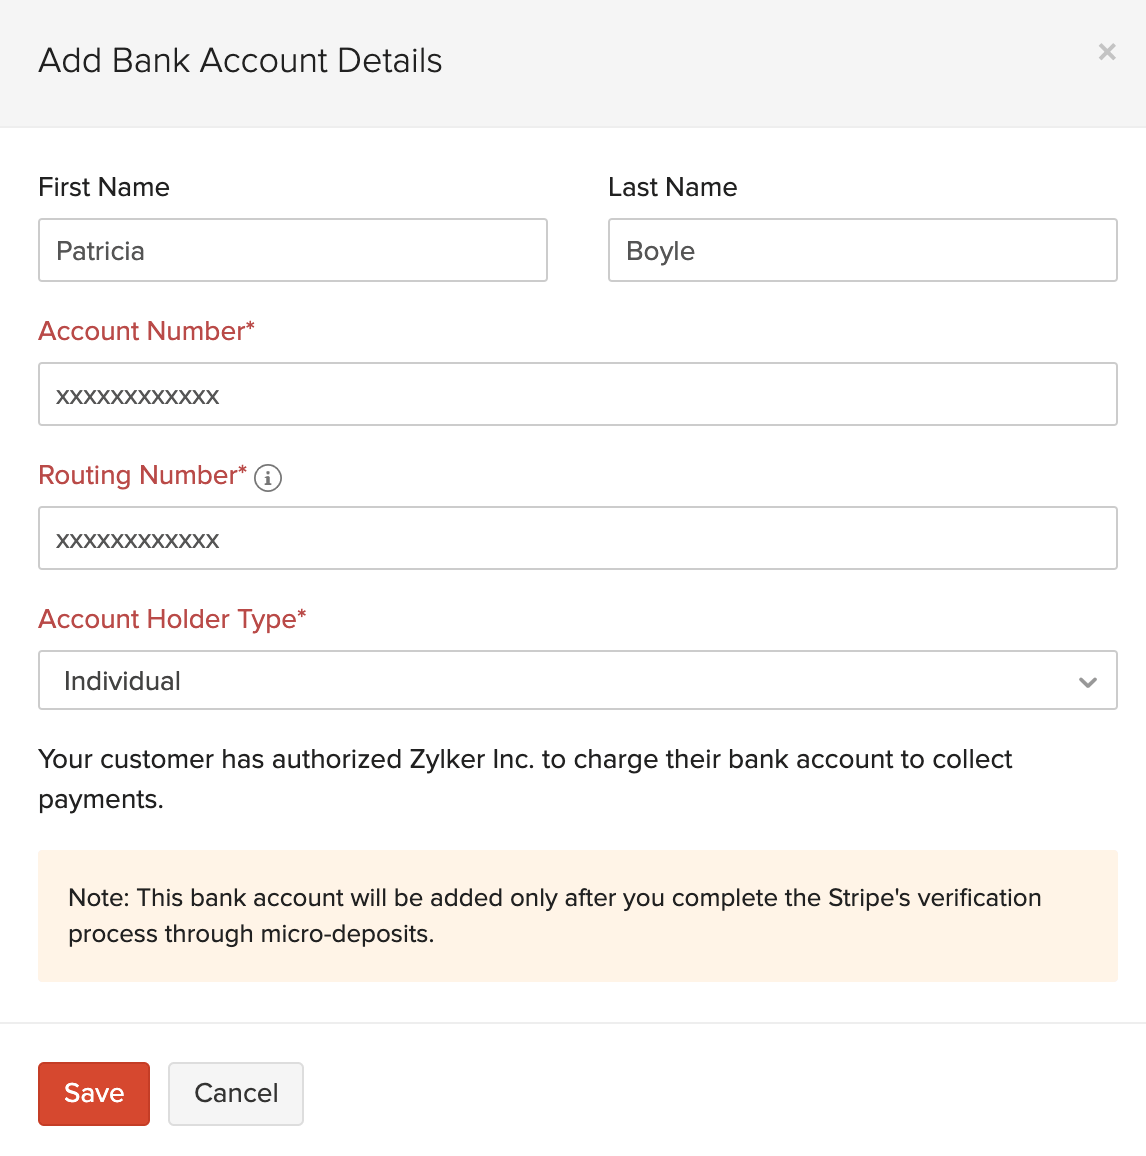
- Enter the customer details such as the First Name, Last Name, Account Number, Routing Number and Account Holder Type.
- Click Save.
After you have added the customer’s bank details, you’ll have to verify them.
Verify Bank Details
You can verify the bank details of your customer which you have manually added in Zoho Invoice. Here’s how you can do it:
- Go to the Contacts module in the left sidebar.
- Select the customer for whom you have added the bank details.
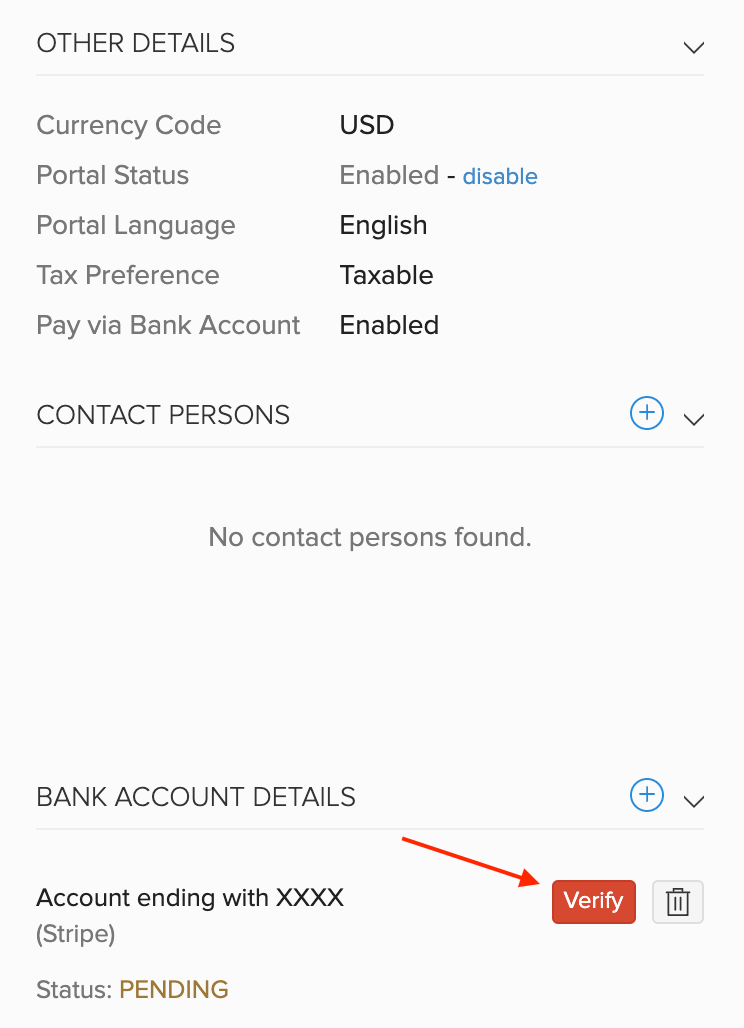
- Scroll down to the Bank Account Details section.
- Click Verify next to the required bank account.
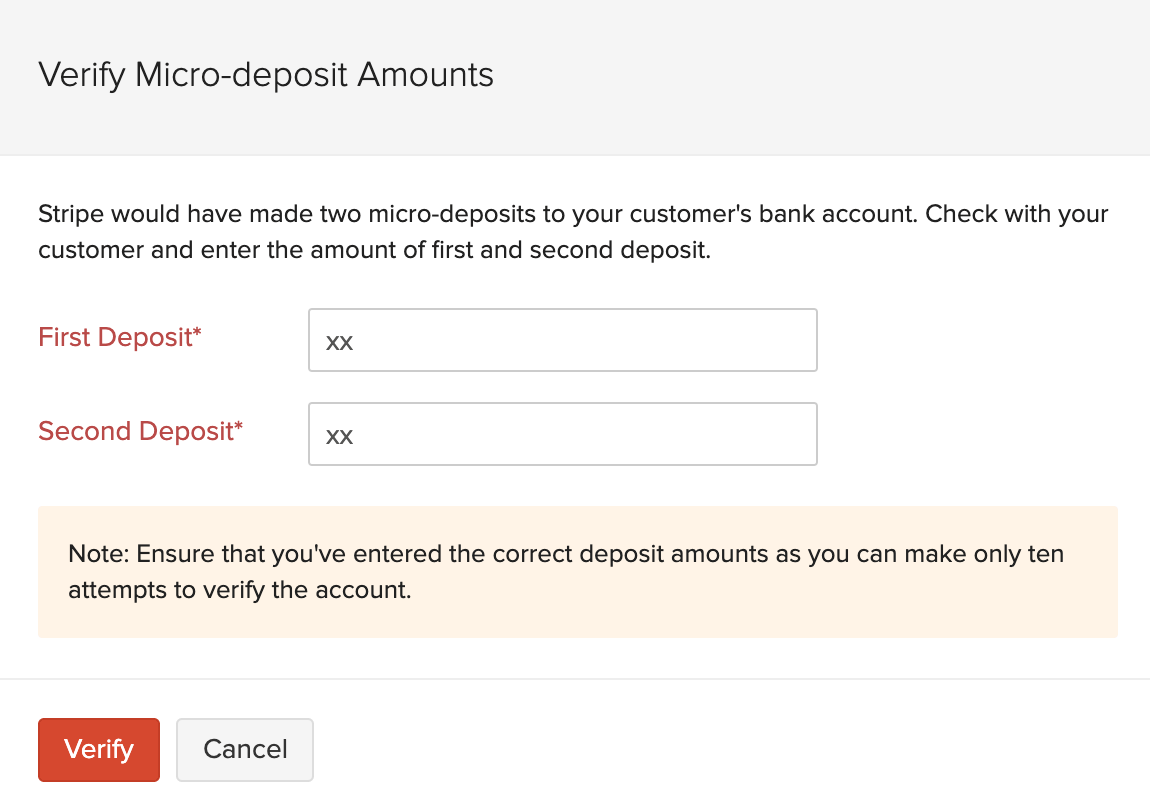
- Enter the First Deposit and Second Deposit amount.
Insight: The First and Second deposit amounts (in cents) can be found in the customer’s bank statement with the description as AMTS. These values are used to authenticate their bank account. You must ask your customer to check their bank statement and share these amounts with you. You can enter these amounts and complete verifying the account.
- Click Verify.
After you verify your customer’s bank account, it will be saved and displayed under the Bank Account Details section in the customer’s Contact Details page in Zoho Invoice. You can charge this account for the invoices you created for them.
Delete Bank Details
You can delete the bank details you have added for your customer. Here’s how:
- Go to the Contacts module in the left sidebar.
- Select the customer for whom you have added the bank details.
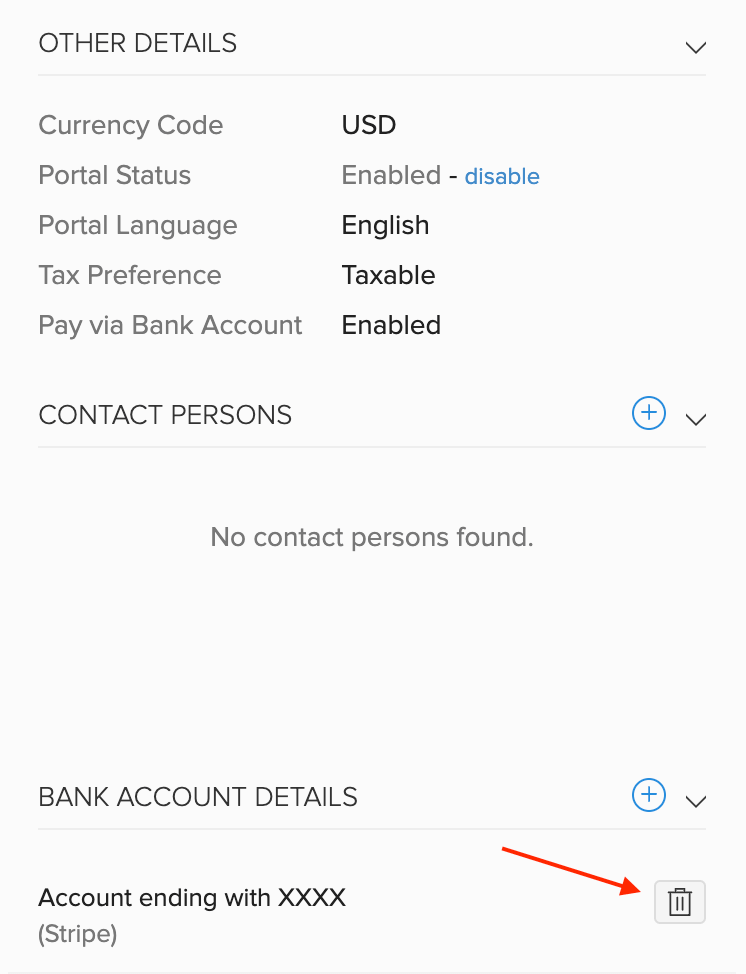
- Scroll down to the Bank Account Details section.
- Click the Trash icon next to the associated bank.
- Click Delete Bank Account.
Warning: Remember that once you delete the bank account, it cannot be restored and you would have to repeat the process of adding and verifying the account again.
Receive Payments
Let us take a look at the different ways in which you can receive payments from your customers using the Stripe integration.
Charge Customer
You can manually charge the saved bank account of your customers for their invoices. Here’s how:
- Go to Sales > Invoices.
- Select the invoice for which you want to charge your customer.
- Click the dropdown arrow next to the Record Payment button in the top right corner of the page.
- Select Charge Customer.

- Click the Bank Account Details tab on top of the page to charge your customer’s bank account.
- Click Proceed.

Once you charge your customer’s bank, an ACH payment will be initiated. You can find the transaction ID by clicking the Payment Initiated button above the invoice preview.
The payment usually takes up to 5 business days to complete and will automatically get recorded in Zoho Invoice (within 24 hours following the payment status update in Stripe). You can also set up webhooks to instantly update the status of the invoice payment from Stripe.
After the payment is received, you can view it in Zoho Invoice. Here’s how:
- Go to Sales > Invoices.
- Select the invoice for which you charged the customer.
- Click the Payments tab on top of the page.
From here, you can Edit or Delete the payment by hovering over it and clicking the respective icon next to the payment.

Instant Payments through Plaid
With Plaid, your customers can directly pay you using online banking. Your customers will just need to log in to their Customer Portal, select the invoice and pay for them.
Set up Plaid
Before enabling your customers to pay you through Plaid, ensure that you have configured the Stripe integration. After this, you will have to enable your customers to pay you through Plaid. Here’s how you can do it:
- Go to Settings > Integrations.
- Select Customer Payments in the left menu.
- Scroll down to Stripe and click the Edit Settings button next to it.

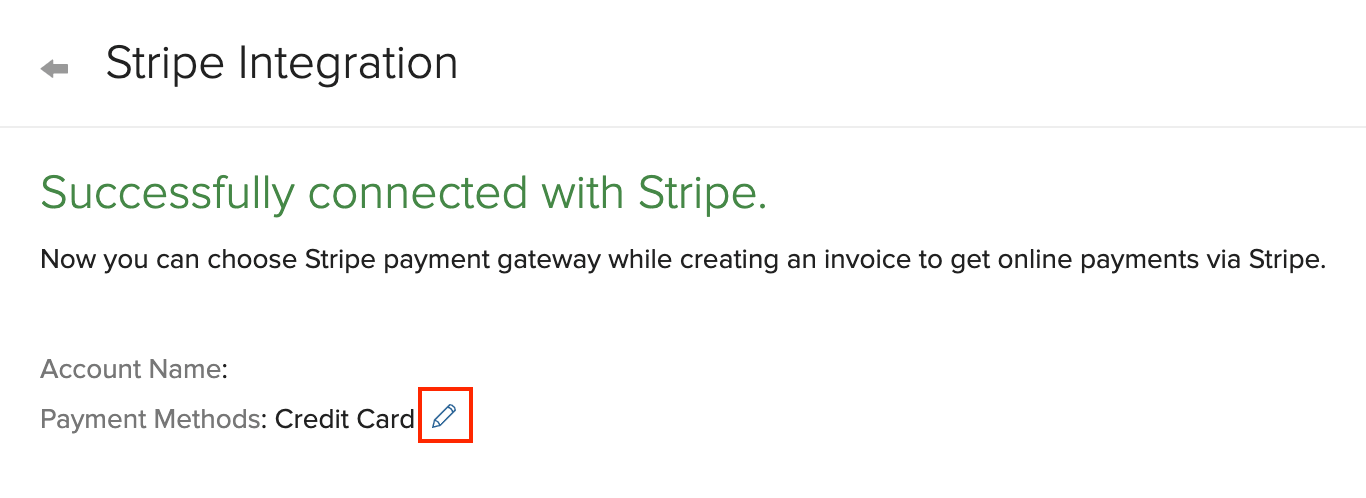
- Click the Edit icon next to the Payment Methods.
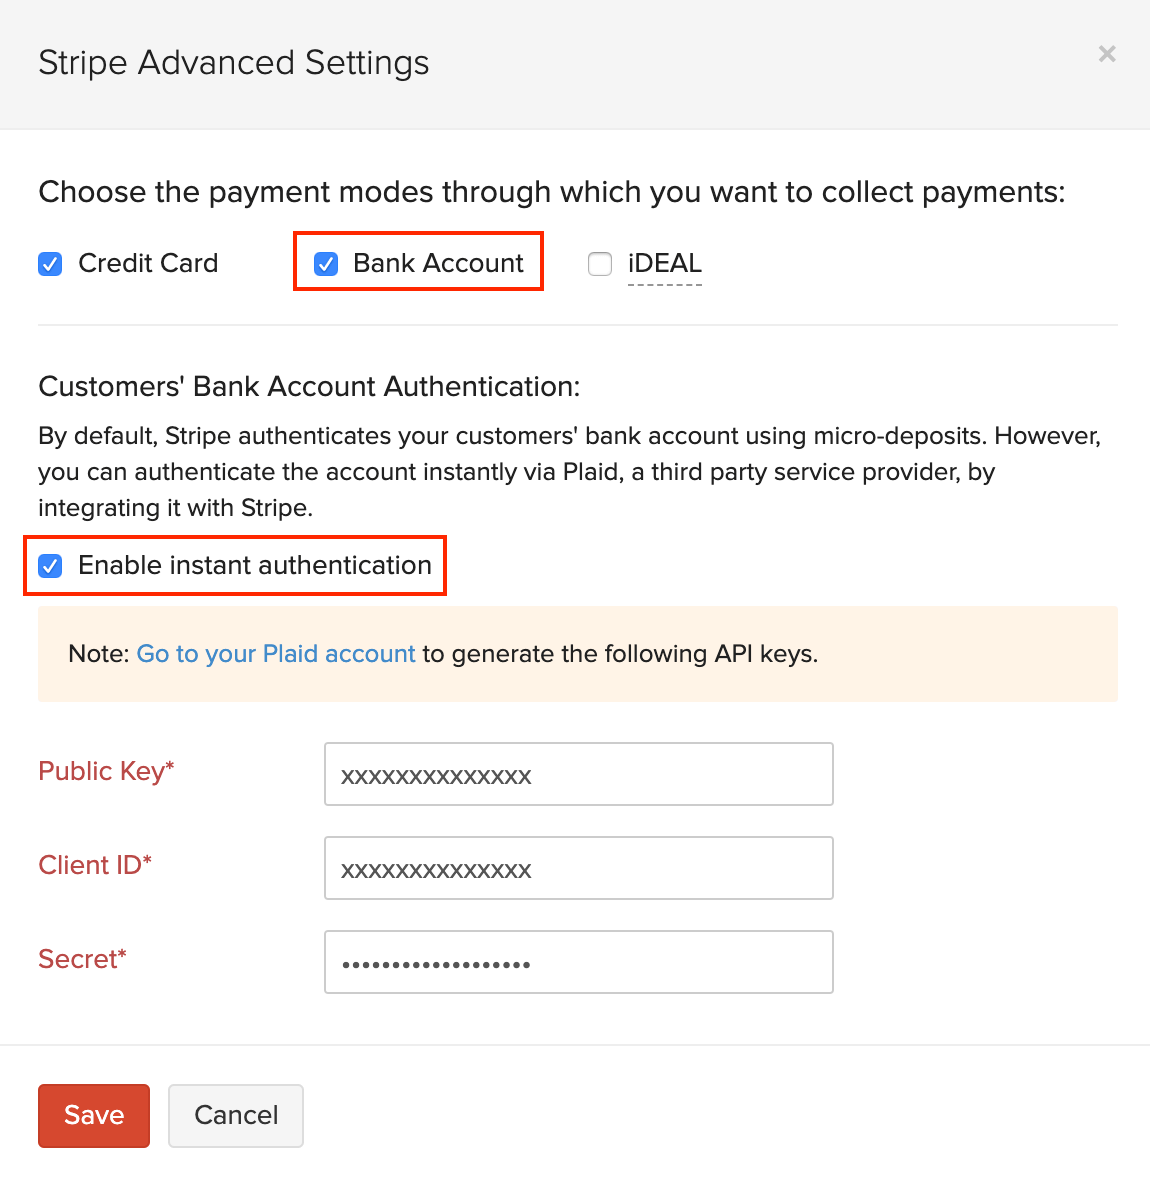
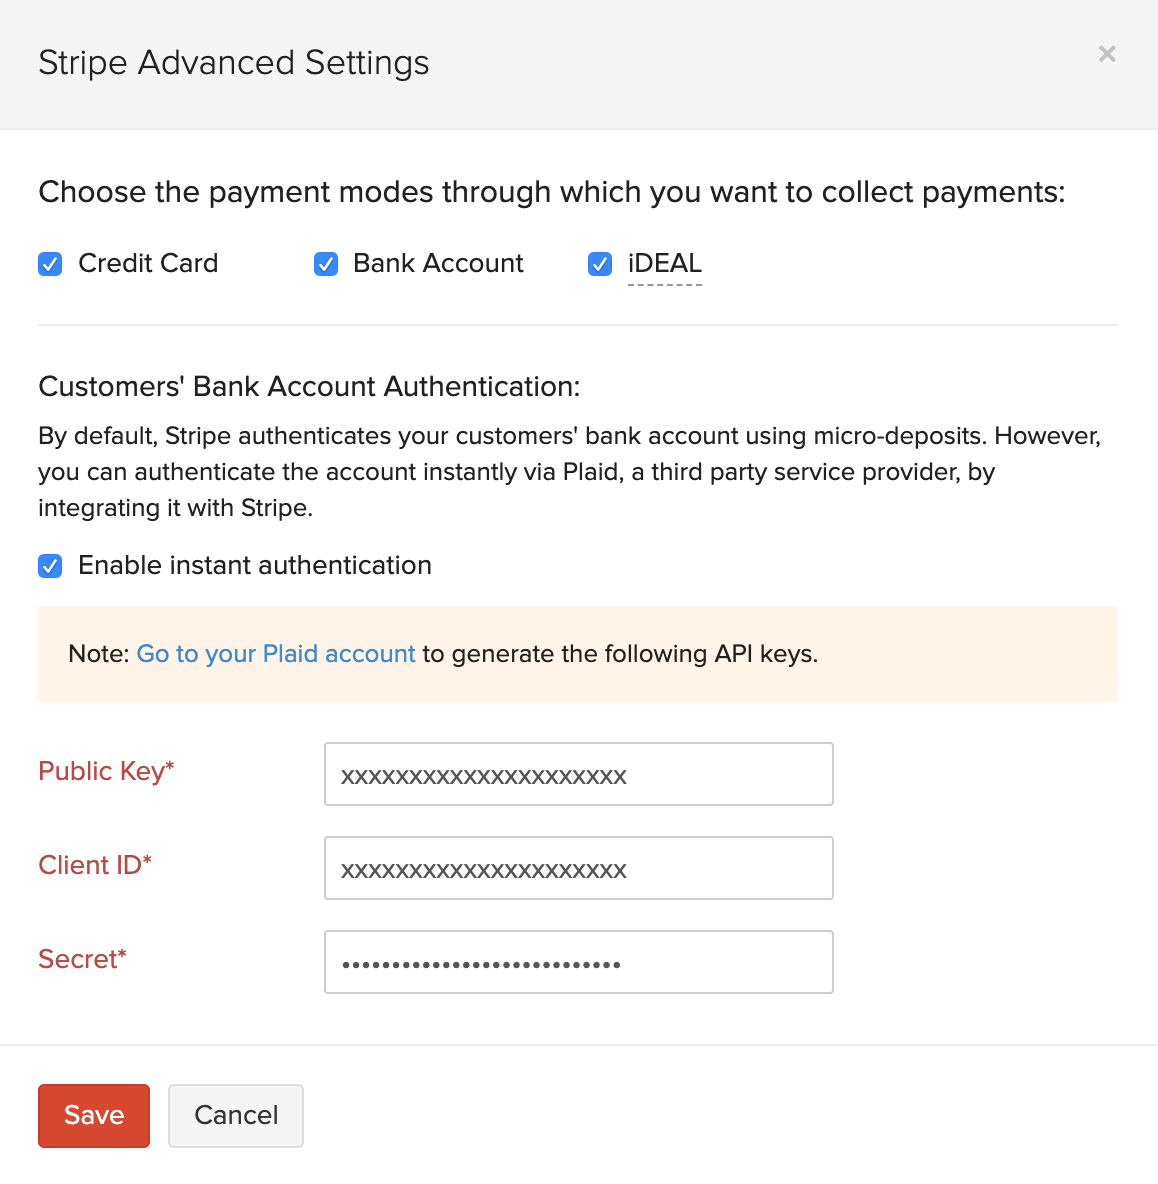
- Mark the box Bank Account under the payment modes.
- Mark the box Enable instant authentication.
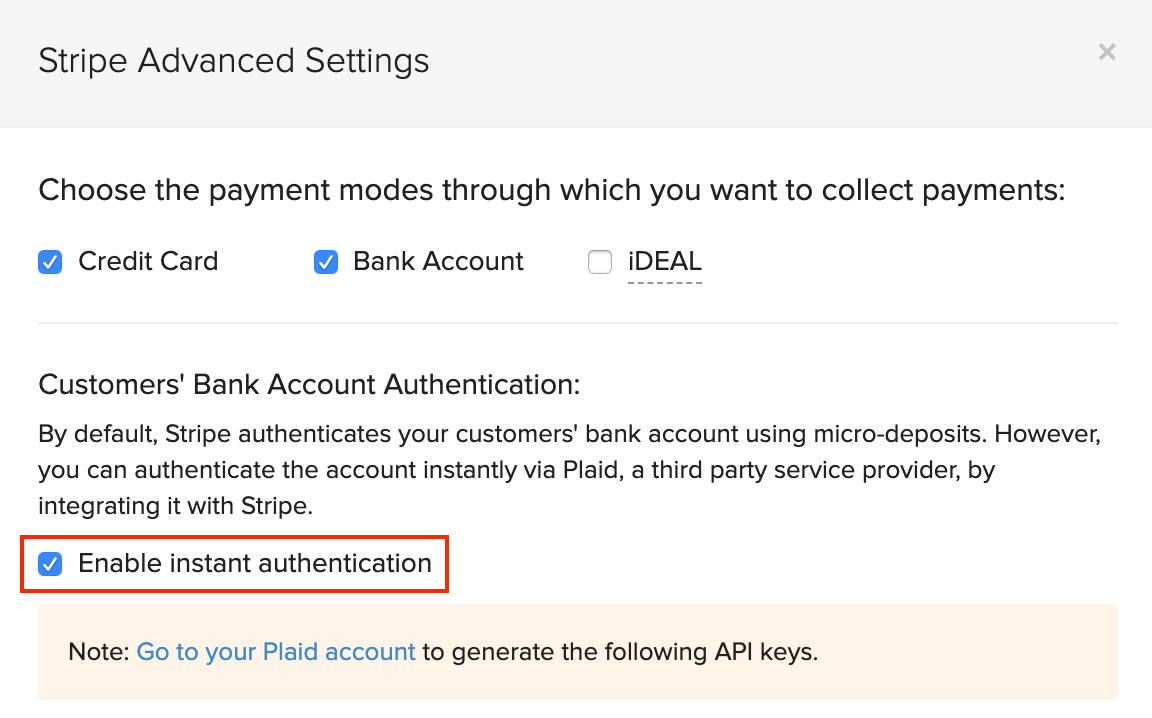
- Click Go to your Plaid account to generate the API keys.
- Log in to your Plaid account.
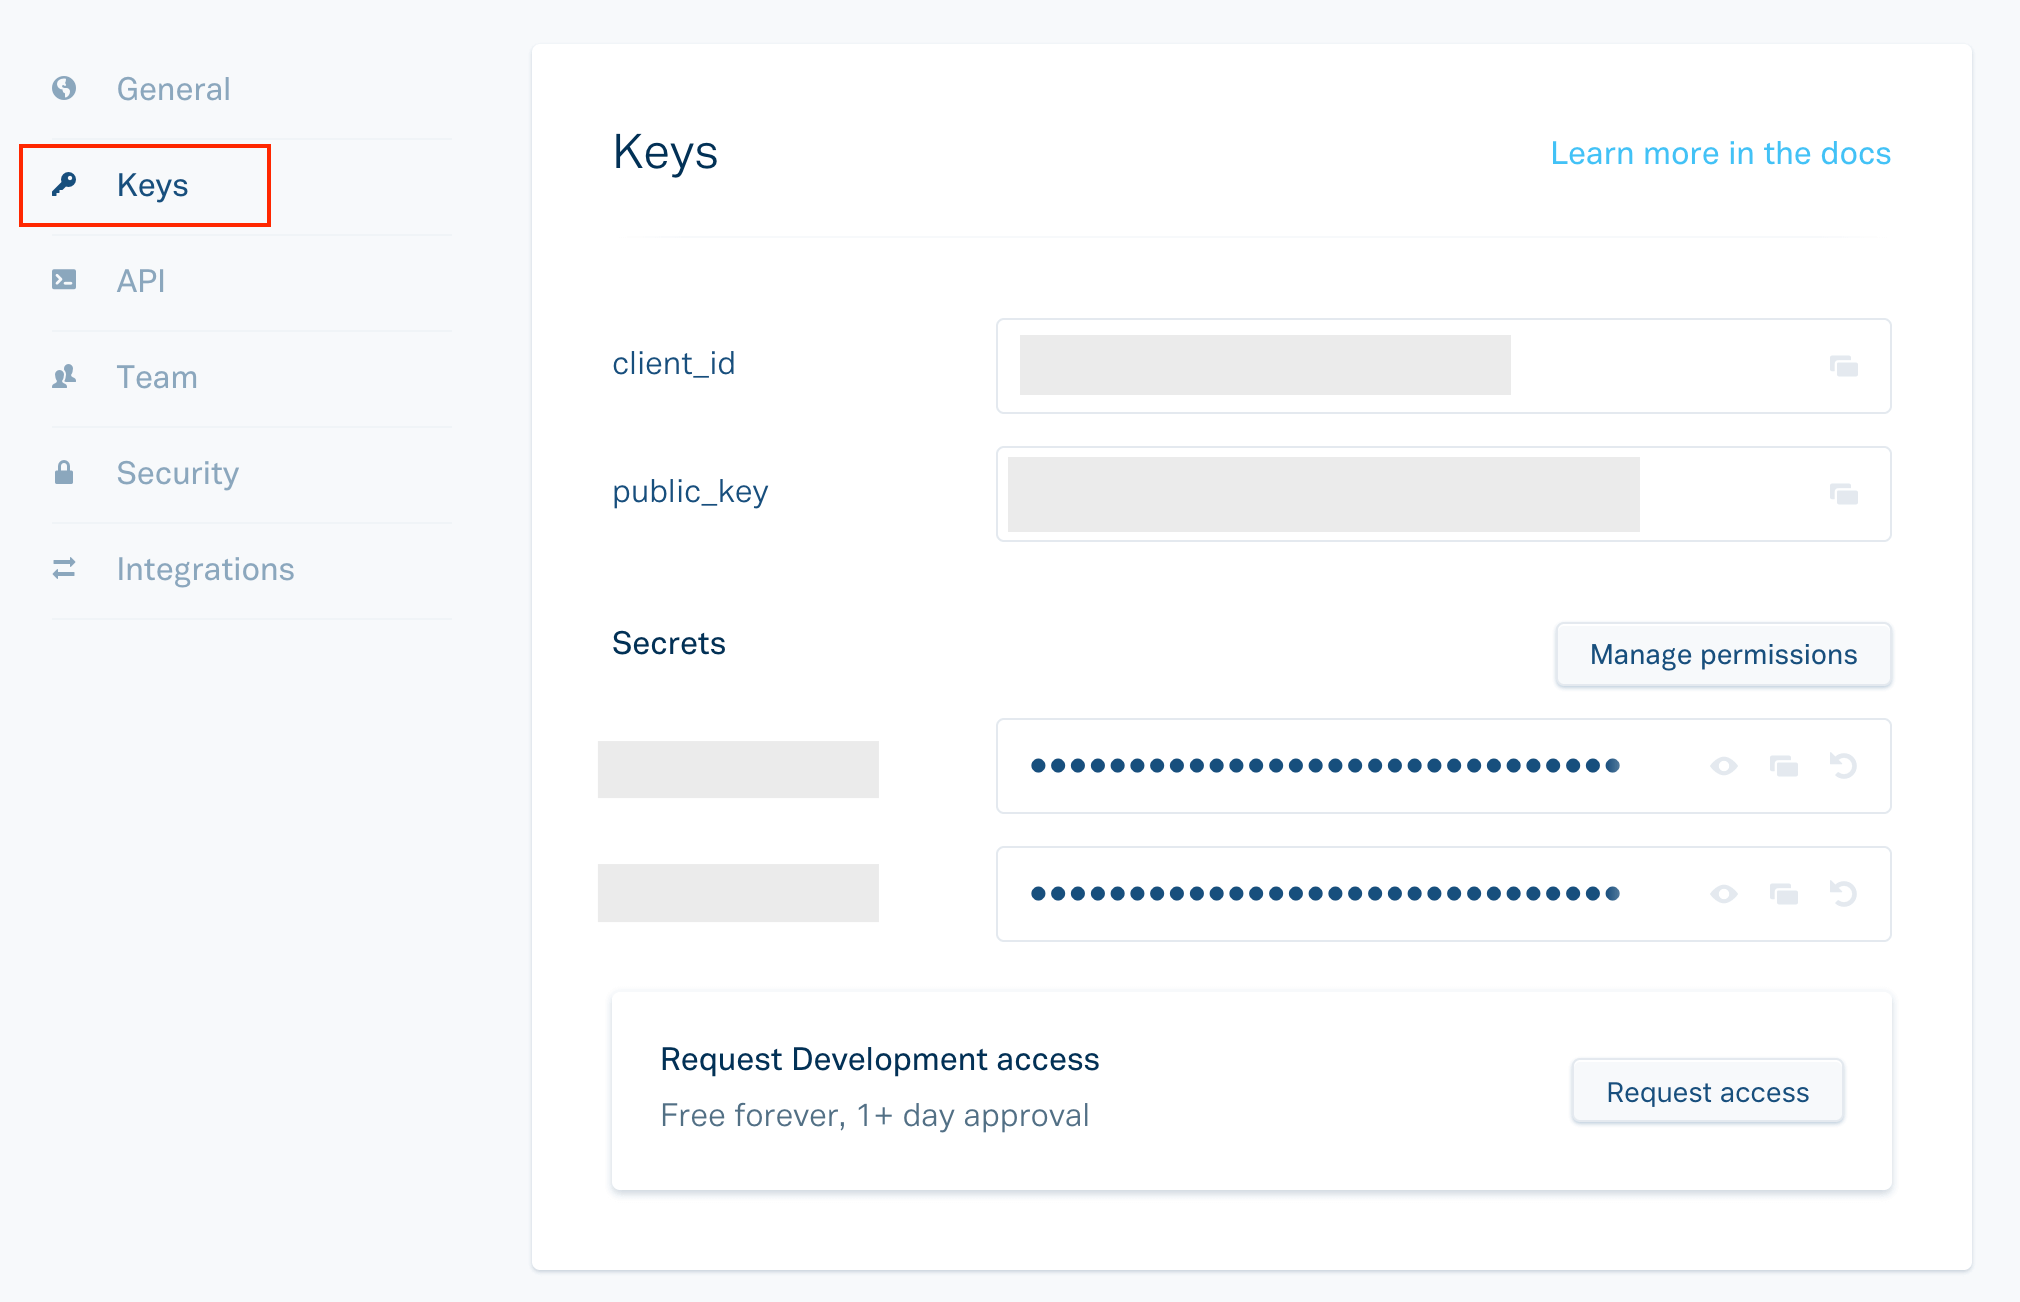
- Click Account in the top right corner of the page.
- Select Keys.
- From here you can copy the client_id, public_key and Secret key (Production), and paste them in their corresponding fields in the Stripe integration page in Zoho Invoice.
- Click Save after you enter the values.
After setting up Plaid, your customers can pay for their invoices directly from their Customer Portal, provided you have enabled it for them.
Integrate Plaid with Stripe
To use Plaid, you would first need to integrate Plaid with Stripe. Here’s how you can do it:
- Log in to the Plaid Dashboard.
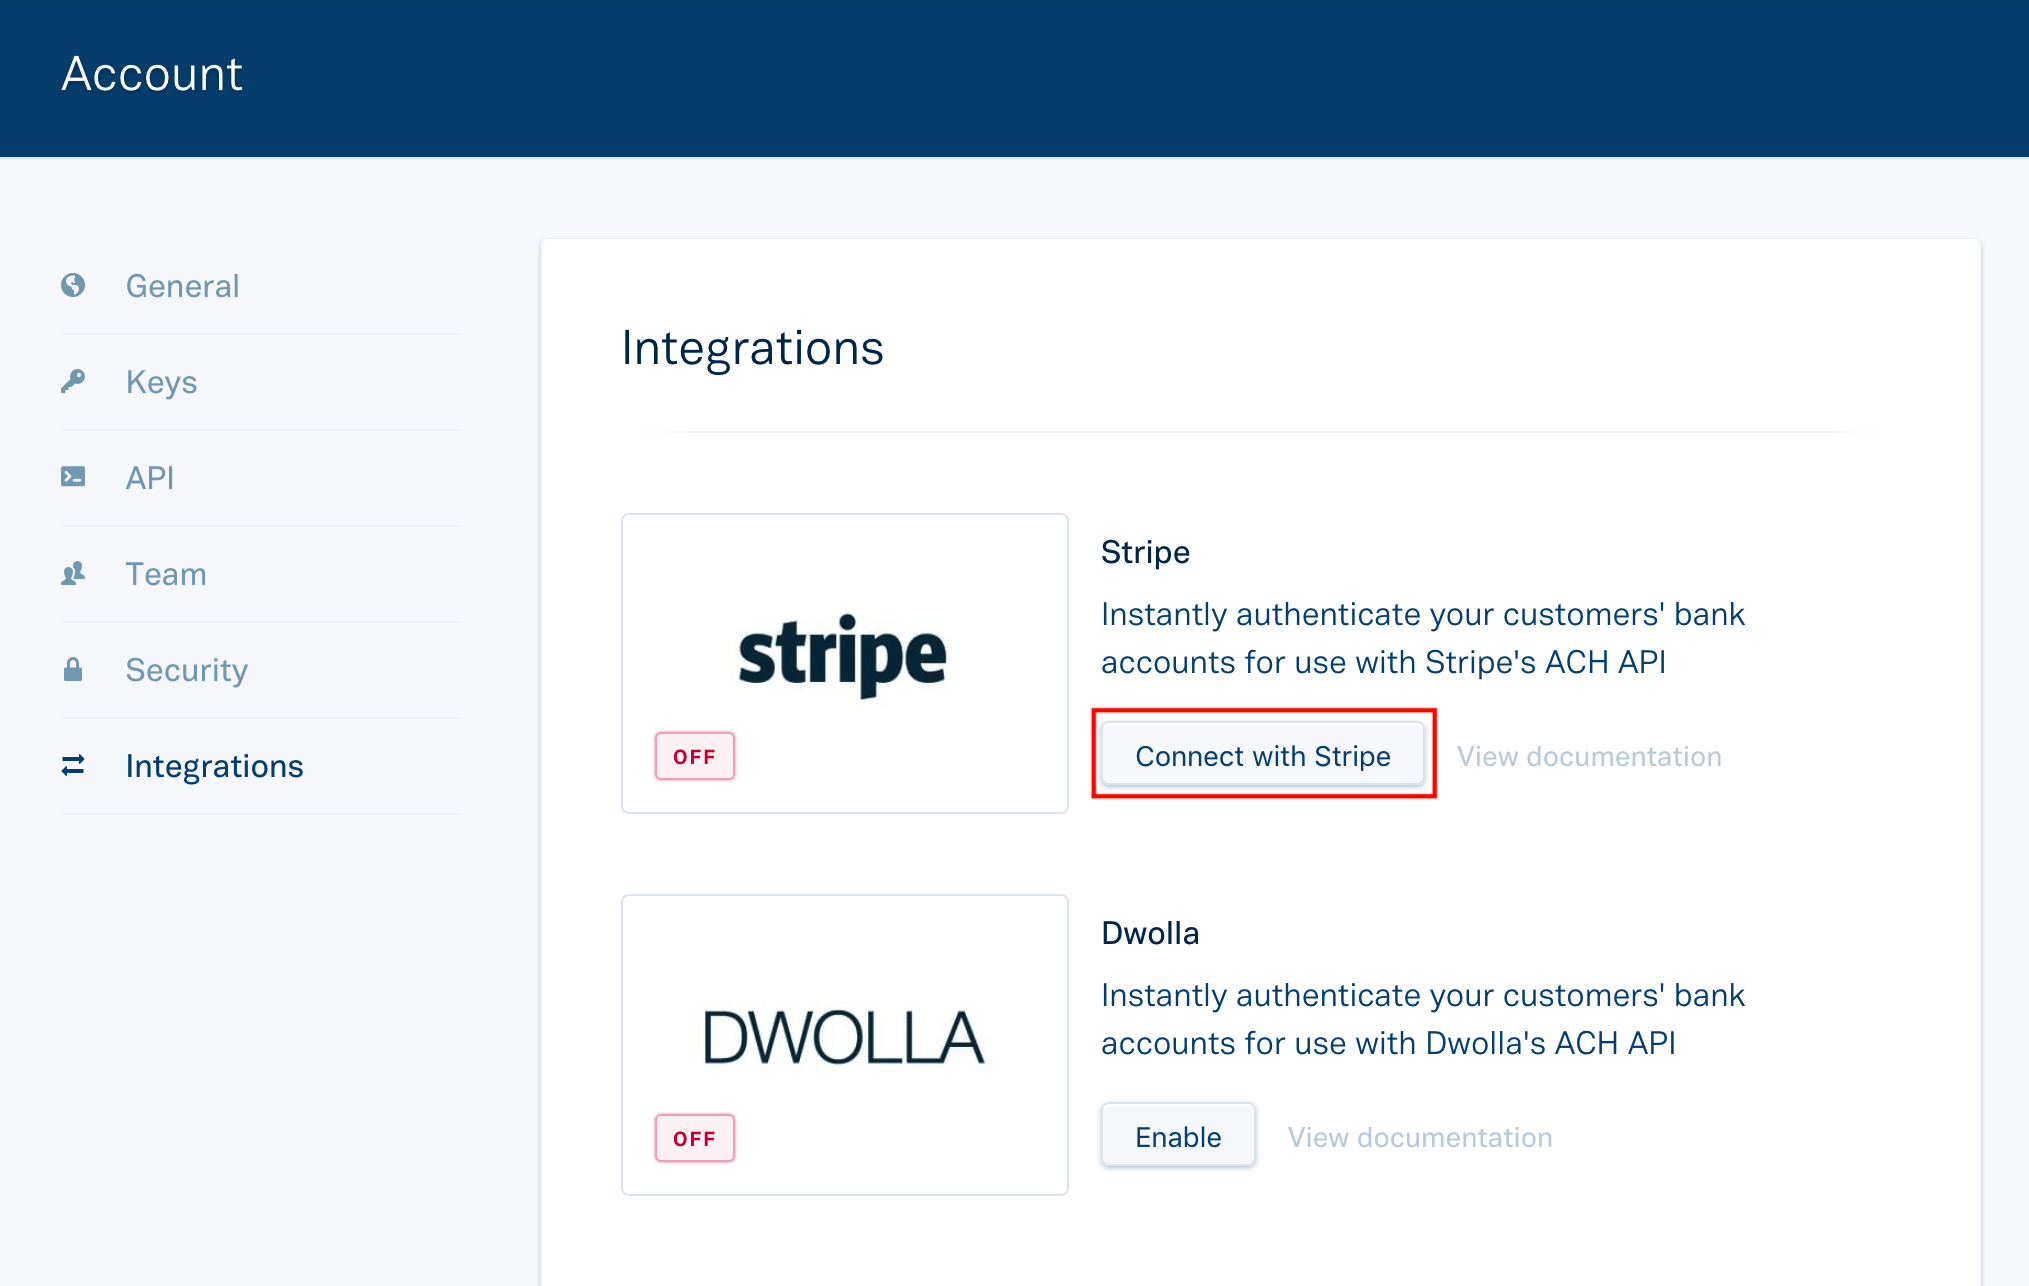
- Click Accounts in the top right corner of the page.
- Select Integrations.
You can integrate with Stripe from this page. Learn more.
After you set this up, you’ll have to ensure that the you have enabled Customer Portal for the customer(s) from whom you wish to receive payments through Plaid. To do this:
- Go to the Contacts module in the left sidebar.
- Select the contact from whom you wish to receive payments through Plaid.
- In the Contact Summary page, scroll down to the Other Details section, click Enable next to the Portal Status and set up the Customer Portal for the customer.
Pro Tip: If you have already invited the customer to the Customer Portal but it is not yet enabled, click Reinvite below the customer details on top of the page. After your customer accepts the invitation, they can access the Customer Portal from where they can pay through Plaid for the invoices you create for them.

You’ll also have to make sure you have enabled your customer to pay through their bank account. Here’s how you can do it:
- Go to the Contacts module in the left sidebar.
- Select the contact from whom you wish to receive payments through Plaid.
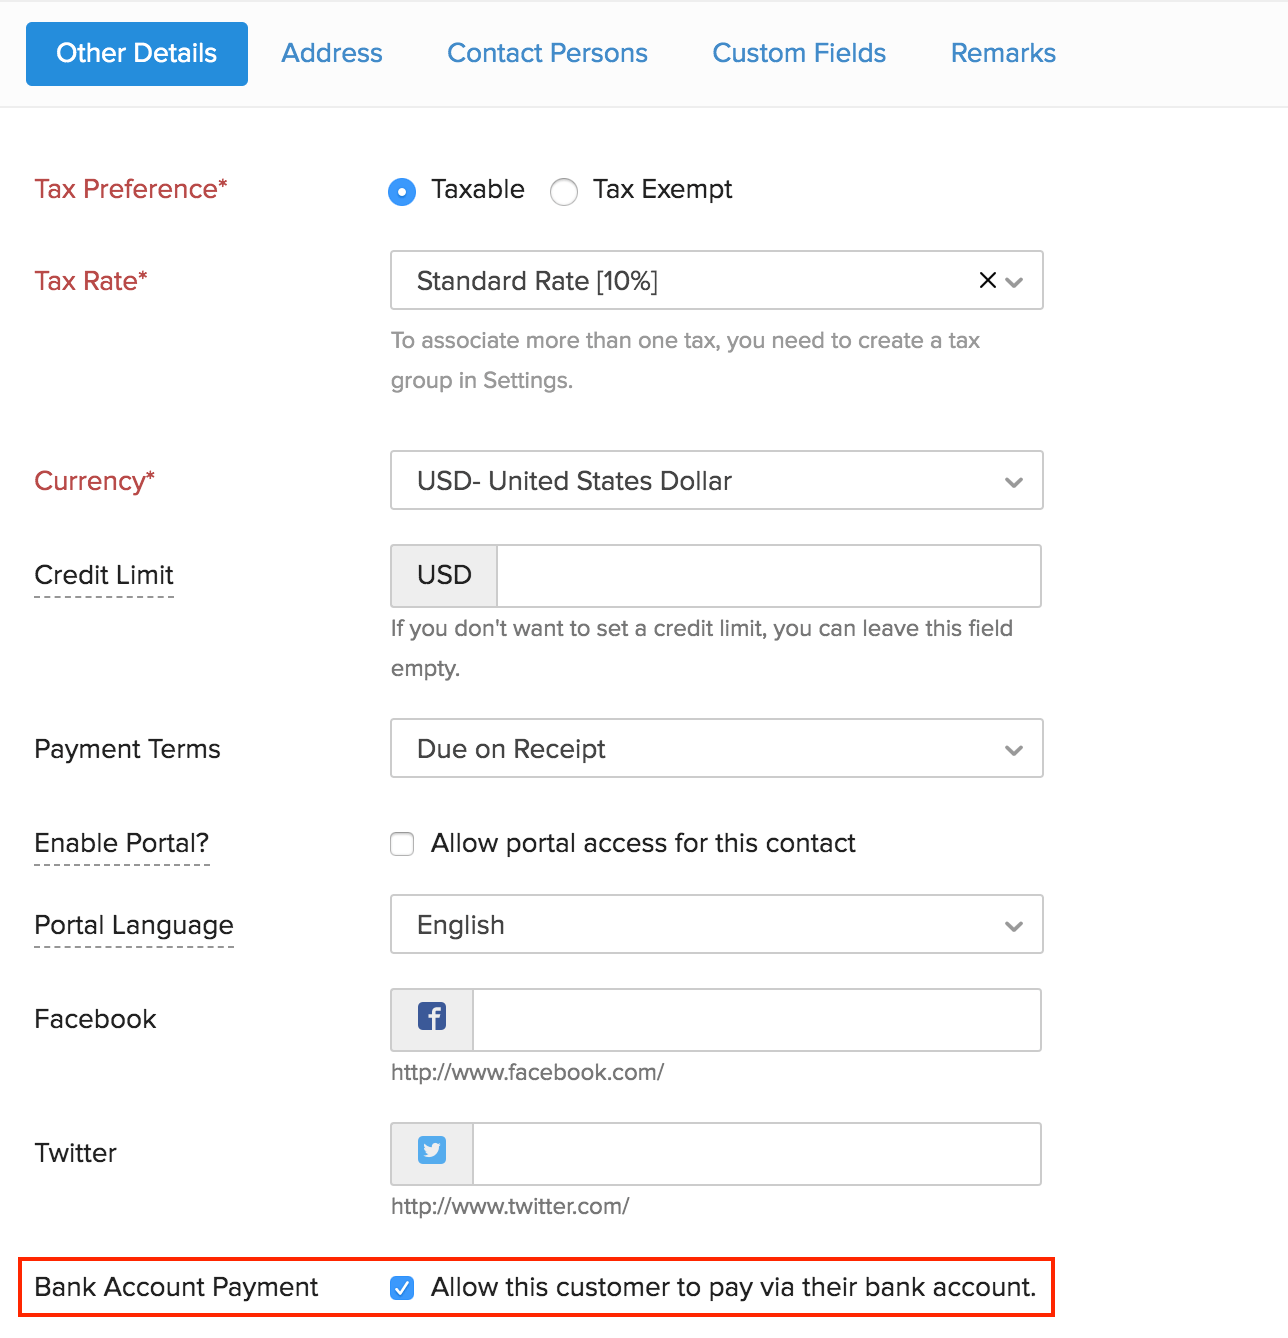
- Click the Edit button in the top right corner of the page.
- Scroll down to the Other Details section and mark the box Allow this customer to pay via their bank account.
- Click Save.
Payment through the Customer Portal
After you have set up Plaid and integrated Plaid with Stripe, your customers can also pay for their invoice(s) instantly by logging in to their Customer Portal. From here, they can choose the invoices and pay for them by logging in to their respective bank through online banking. They can also choose to save the login details, if they wish to.
Here’s how your customers can pay you through Plaid. They need to:
- Log in to their Customer Portal.
- Select the invoice for which they want to pay.
- Click the Pay Now button.

-
Select Bank Account under payment methods.
-
If an existing bank account is present, they can select that account and click Make Payment. To use another bank account other than the existing one, they’ll have to select Use another account and mark the box ‘I authorize…’ to charge the bank account automatically for future transactions.
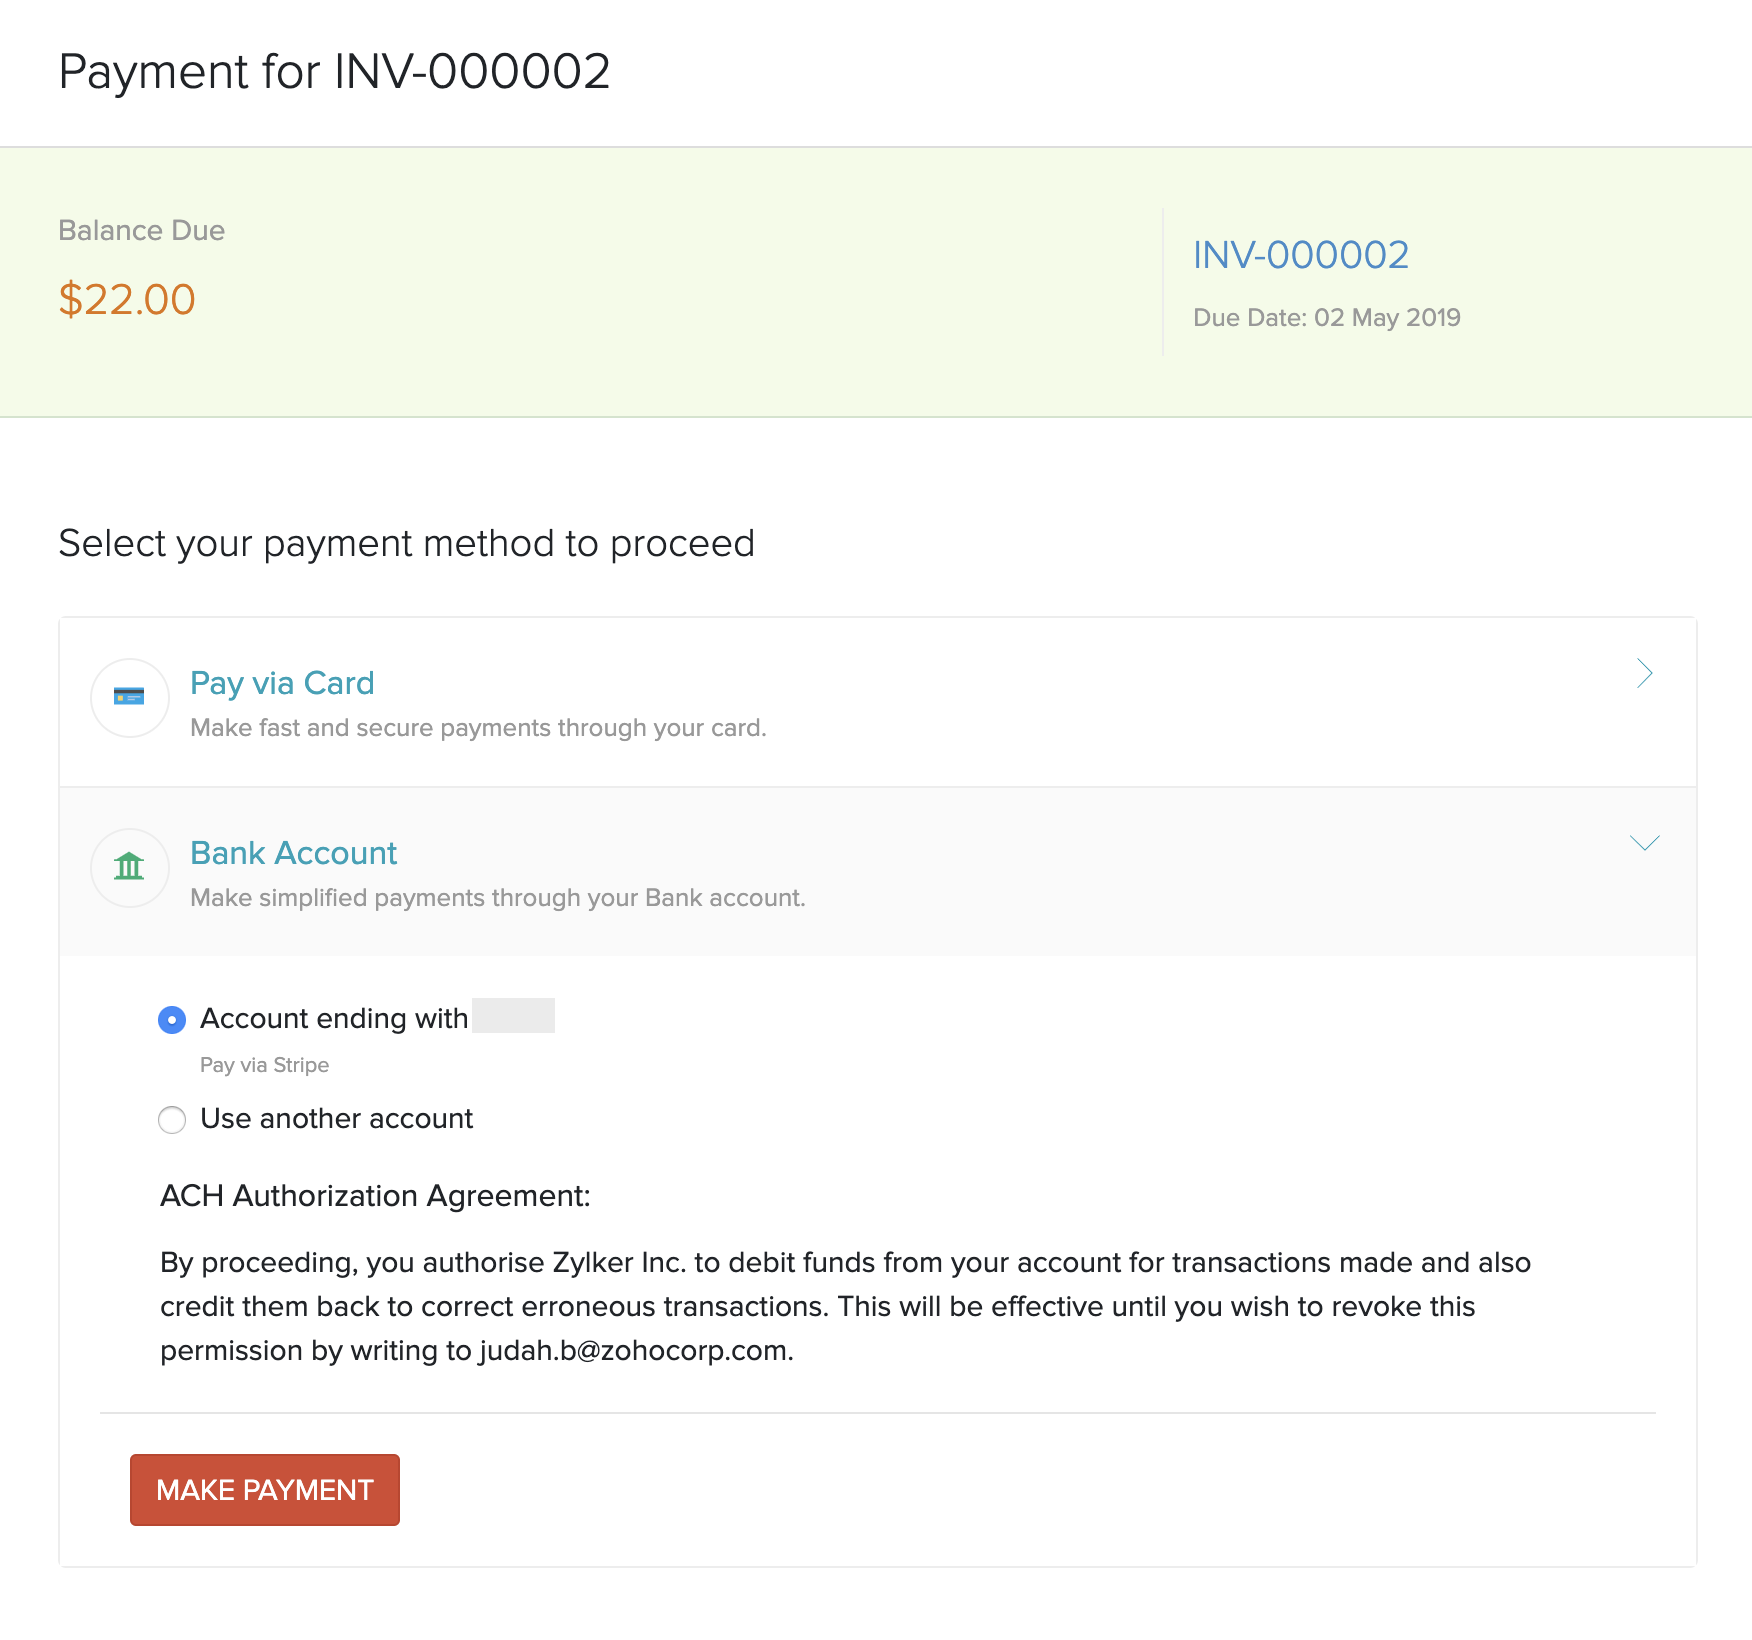
- Click Continue.
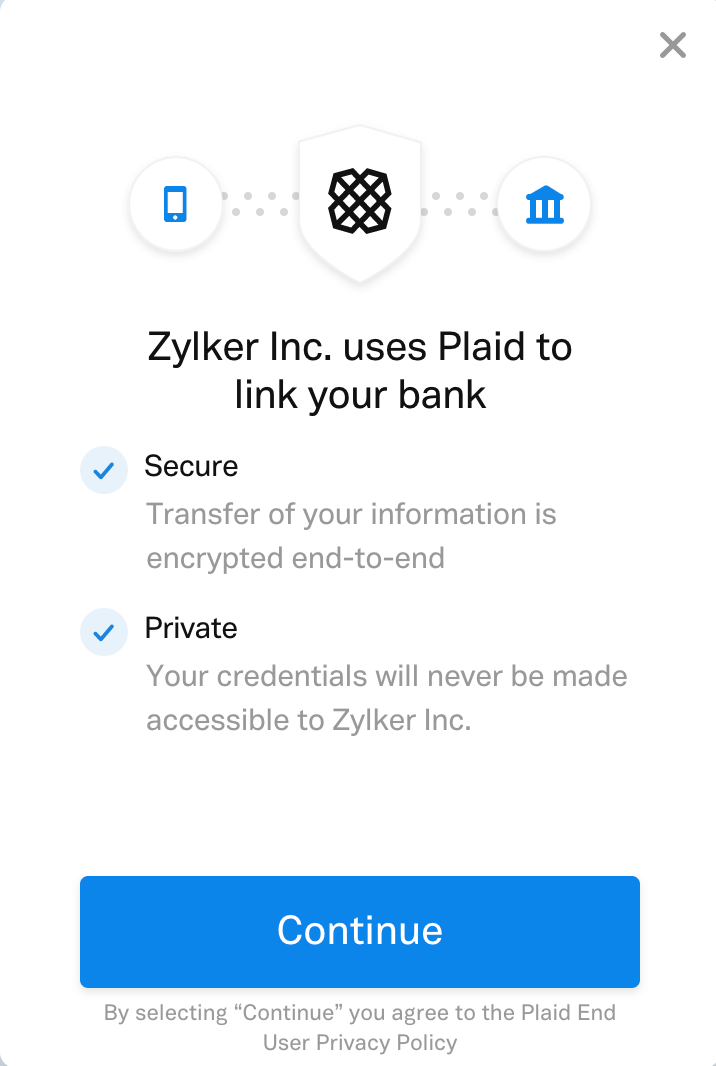
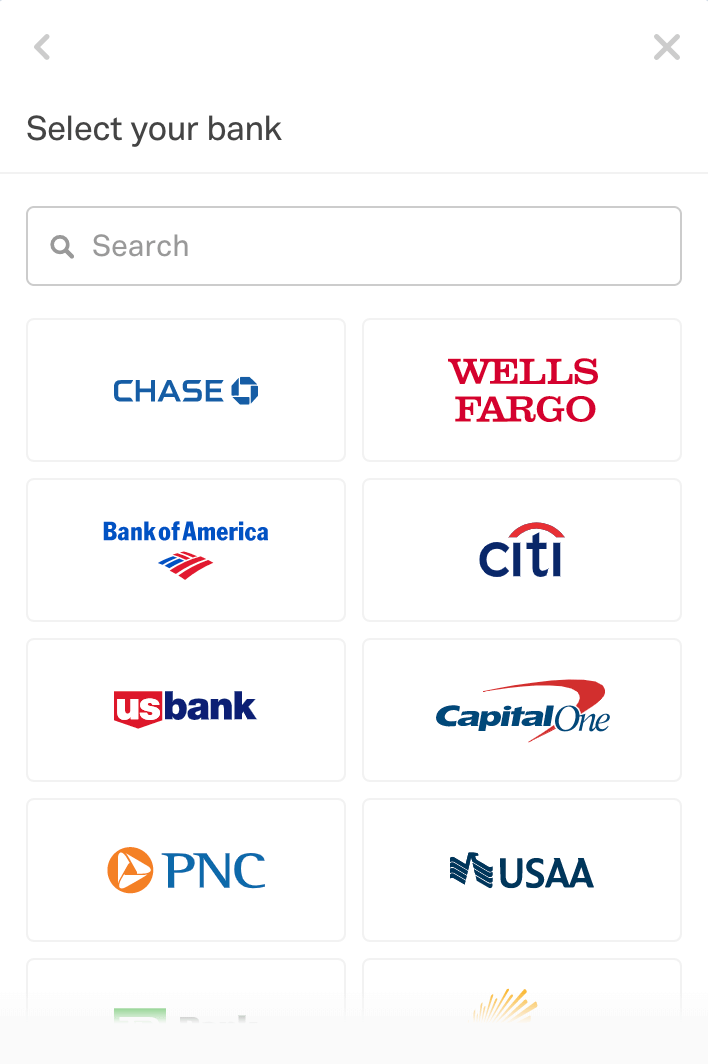
- Select the bank through which they want to pay.
- Enter the online banking credentials and click Submit.
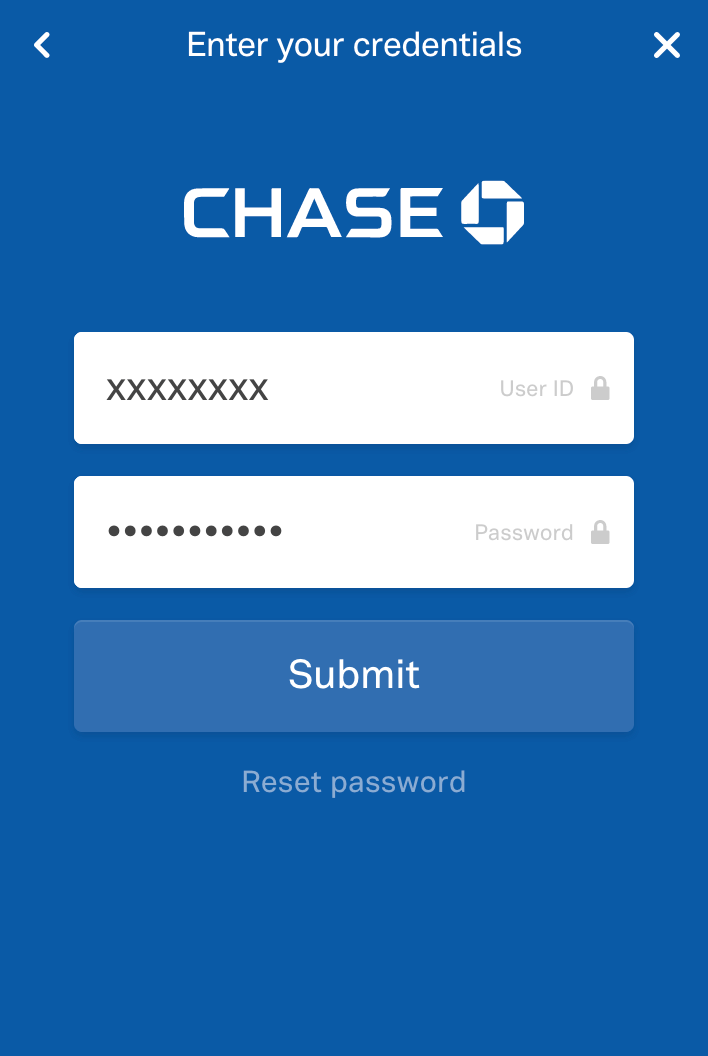
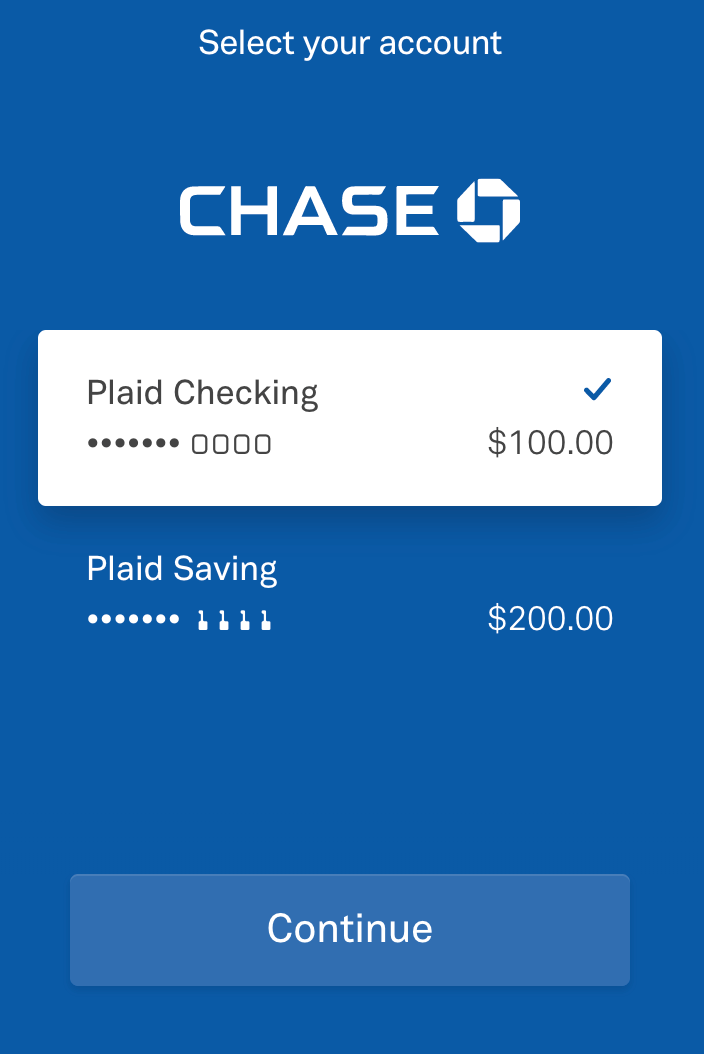
- Select one of the accounts they wish to pay through and click Continue.
Recurring Invoices
If you create recurring invoices for your customers, you can choose to receive payments for the generated invoices by associating your customer’s bank account to the recurring invoice profile. Through this, your customer’s bank account will be charged automatically when they receive a recurring invoice from you.
To associate a bank account for a recurring invoice:
- Go to Recurring Invoices.
- Select the recurring invoice for which you want to receive the payment.
- Click Associate Payment Options in the top right corner of the page.
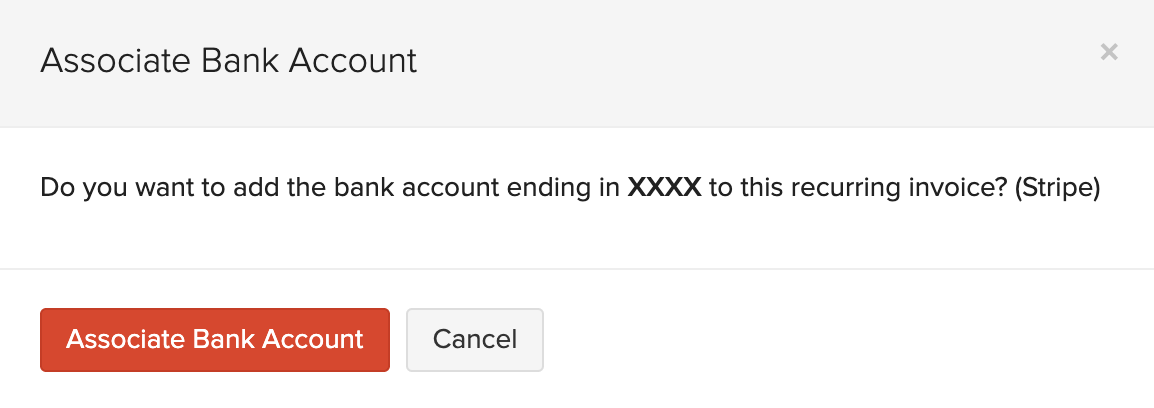
- Select Associate Bank Account.

- Click Associate Bank Account to confirm.
You can also remove the associated bank account for a recurring invoice. Here’s how:
- Go to Recurring Invoices.
- Select the recurring invoice for which you have added the bank account.
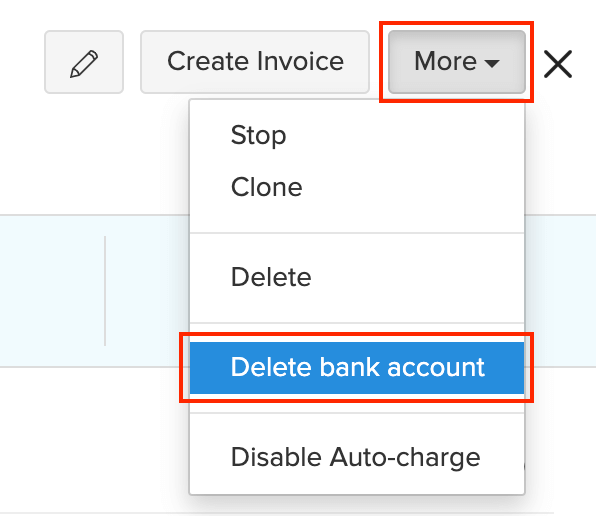
- Select More > Delete bank account.
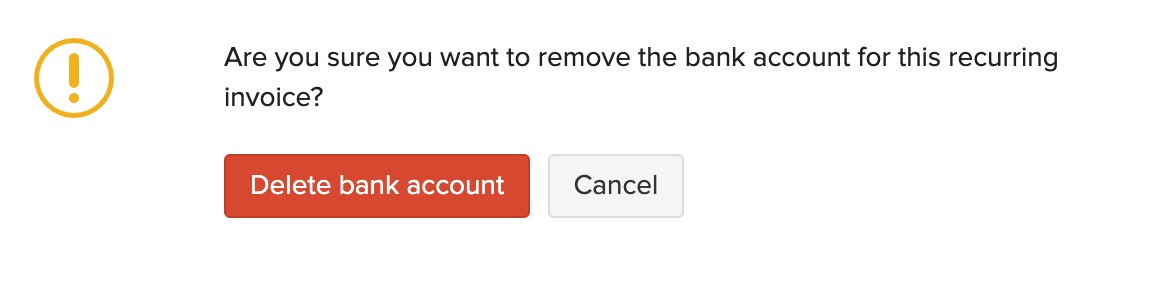
- Click Delete bank account to confirm.
Webhooks
By setting up Webhooks, the payment status of an invoice in Zoho Invoice will instantly get updated when it gets updated in Stripe.
Firstly, you would need to get the endpoint URL from Zoho Invoice. Here’s how you can get it:
- Go to Settings > Integrations.
- Select Online Payments in the left menu.
- Scroll down to Stripe integration.
- Click sync the ACH payment details and expiration details of your customers' card with Zoho Invoice.
- Copy the URL to be called (Point 4).
After copying the URL, you can set up the webhook in your Stripe account. Here’s how:
- Log in to your Stripe Dashboard.
- Select the Developers > Webhooks module in the left navigation menu.
- Click the + Add endpoint button next to Endpoints receiving events from your account.
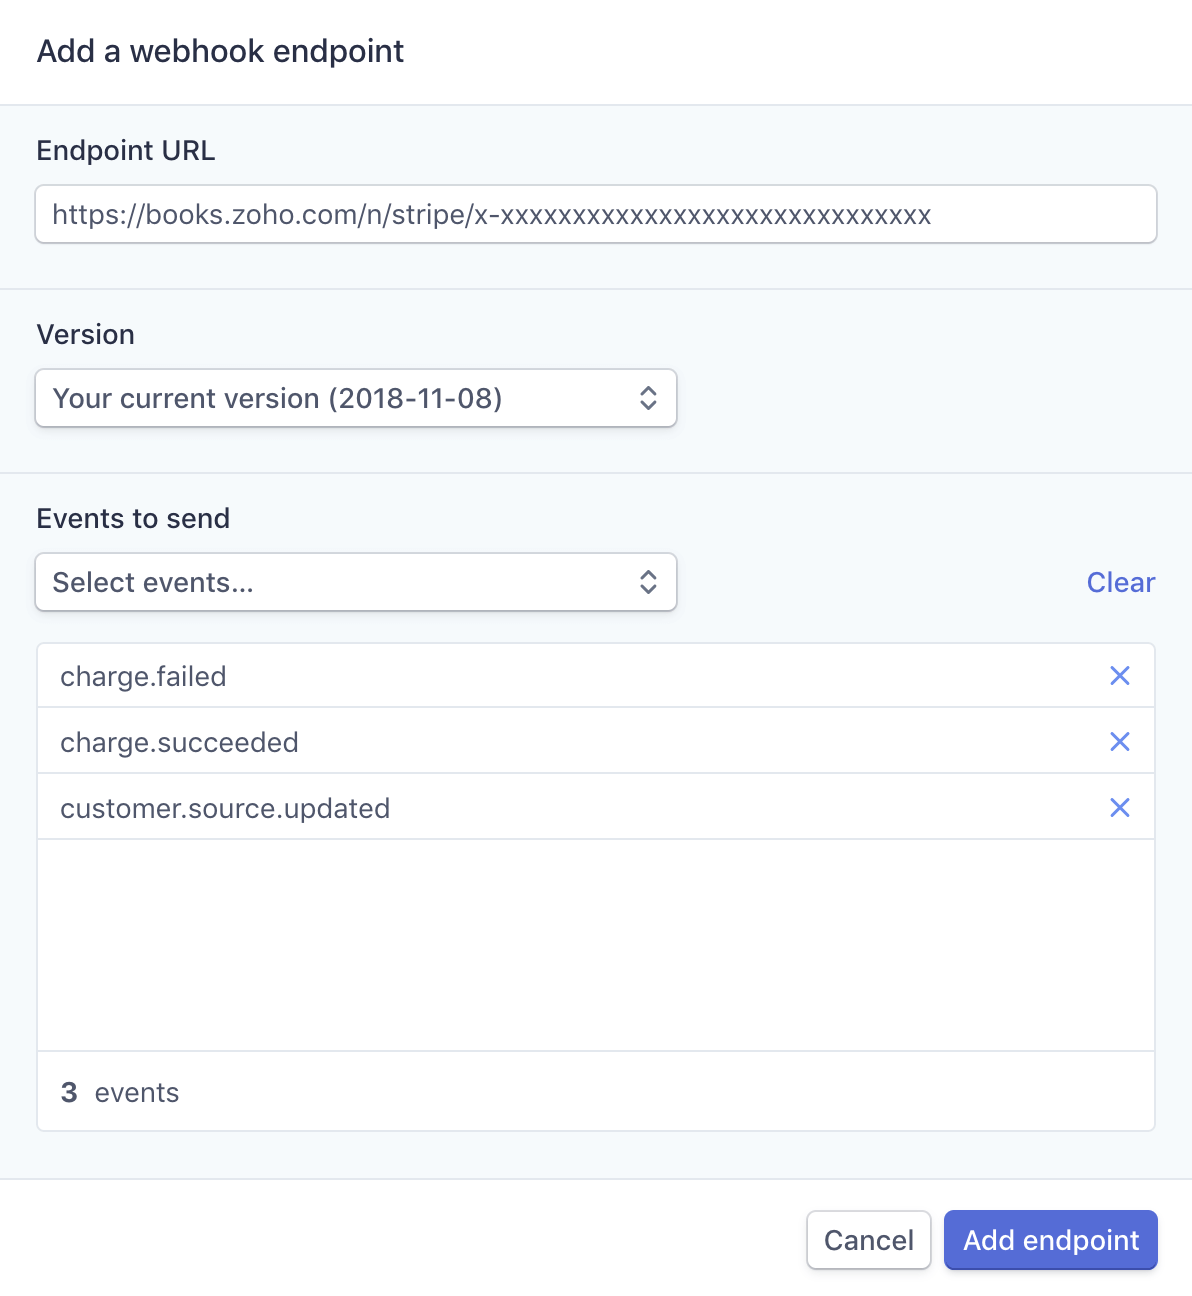
- Copy and paste the link in the Endpoint URL field.
- Choose Select types to send in the Filter event option.
- Mark the boxes customer.source.updated, charge.succeeded and charge.failed .
- Click Add endpoint.
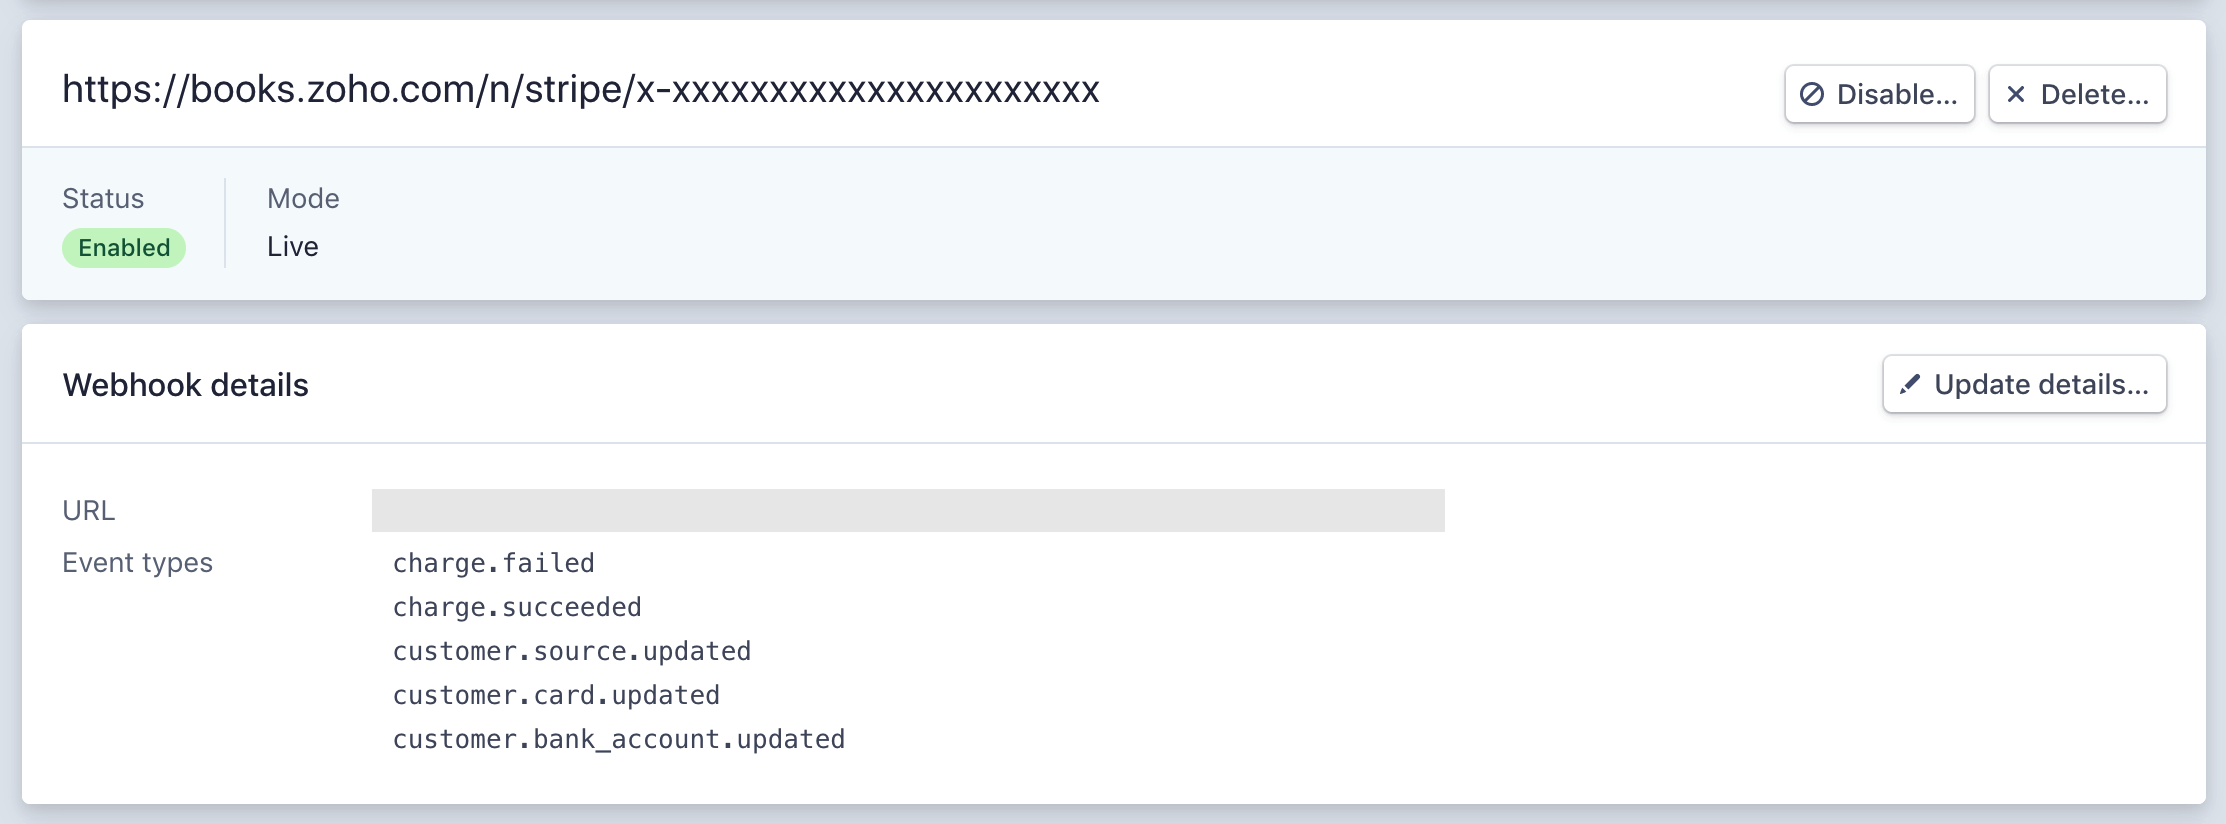
After you have added the endpoint, the webhook will be active. To change any details of the webhook, click the Update details button in the same page. You can Disable or Delete the webhook from the same page.
Edit Settings
You can update settings related to the integration such as the modes of payment through which your customer’s can pay you through the Stripe integration (Credit Card, Bank and iDEAL), and also edit your Plaid keys. Here’s how:
- Go to Settings > Integrations.
- Scroll down to the Stripe integration.
- Click the Edit Settings button next to Stripe.

Changes to Stripe Account
- Click the Pencil icon next to Payment methods.
- Choose the payment modes through which you want to collect payments.
- Click Save after making the changes.
Changes to Plaid
If you have enabled instant authentication, you can change the Public Key, Client ID and Secret Key. To edit these keys:
- Click Go to your Plaid account.
- Log in to your Plaid account.
- From here, you can copy the public_key, client_id and Secret key (Production) and paste them in their corresponding fields in the Stripe integration.
- Click Save after making the changes.
Disable Integration
If you choose to delete/disable the integration, you’ll have to first make sure that you delete the bank details of corresponding customers that were added using this integration.
To delete the Stripe integration:
- Go to Settings > Integrations.
- Scroll down to the Stripe integration.
- Click the Trash icon next to Stripe.
- Click OK to confirm.

 Thank you for your feedback!