

Invoice Preferences
You can configure the invoice preferences, custom fields, terms and conditions in Zoho Invoice settings.
To navigate to the Invoice Preferences page:
- Go to Settings from the top-right corner.
- Click Invoices.
Alternatively, if you’re in the Invoices module, you can navigate to invoice preferences by clicking More at the top and selecting Preferences. You will be redirected to the Preferences tab under Invoices.
- Check the Allow editing of Sent Invoice option to edit an already sent invoice. Leave this option unchecked if you do not want to edit a sent invoice.
- Check the Associate and display expense receipts in Invoice PDF option to be able to attach the expenses incurred on behalf of the customer to the invoice.
- Check the Get notified when customers pay online option under Payments to be notified when you receive payments online.
- Check the Do you want to include the payment receipt along with the Thank You note? option to include a payment receipt along with the thank you note email.
- Check the Automate thank you note to customer on receipt of online payment option to automatically send a thank you note to your customer when they pay online for an invoice.
- Slide the toggle next to Invoice QR Code if you want to display QR code on the PDF copy of your Invoices. You can configure the QR code after sliding the toggle.
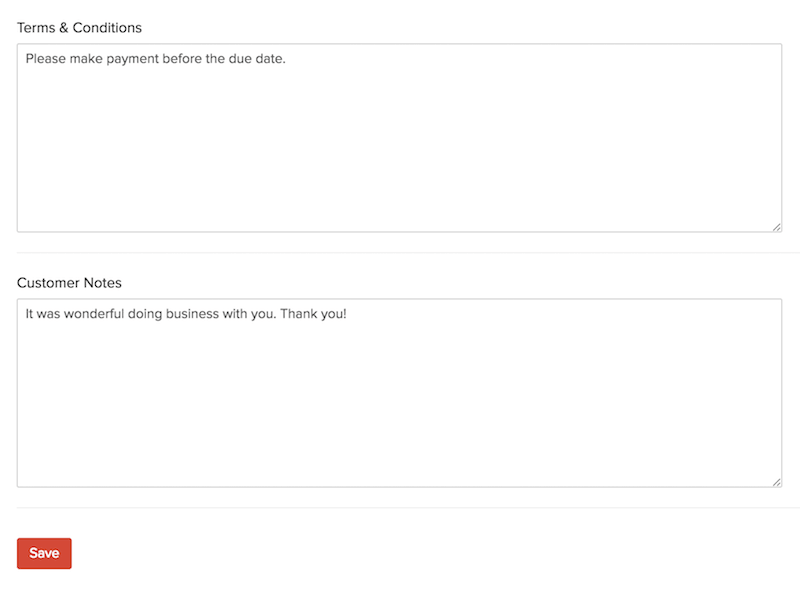
- Enter the Terms & Conditions pertaining to the invoice.
- Enter any general notes that you want to share with your customer in Customer Notes.
- Click Save to save all the changes.
Adding Custom Fields
Let’s take an analogy to understand custom fields better; if you have an office with folders stacked in a shelf, Custom Fields are like extra folders that you can add to your already existing folders to store more files.
Custom Fields are fields that you can manually add to the invoice creation page to store additional information relating to the invoice.
To create a Custom Field:
- Go to Settings from the top-right corner.
- Click Invoices.
- Select the Field Customization tab.
- Click + New Custom Field at the top-right corner.
- Enter the Label Name, Data Type and other necessary details.
- Click Save.
Learn more about Custom Fields.
 Yes
No
Yes
No
Thank you for your feedback!