
VAT Settings
This section will give you a brief overview about how you can configure and add VAT in Zoho Inventory.
Configure VAT in Zoho Inventory
You’ll have to configure your VAT settings by enabling VAT and setting up VAT rates in Zoho Inventory to get started. Here’s how:
Enable VAT Settings
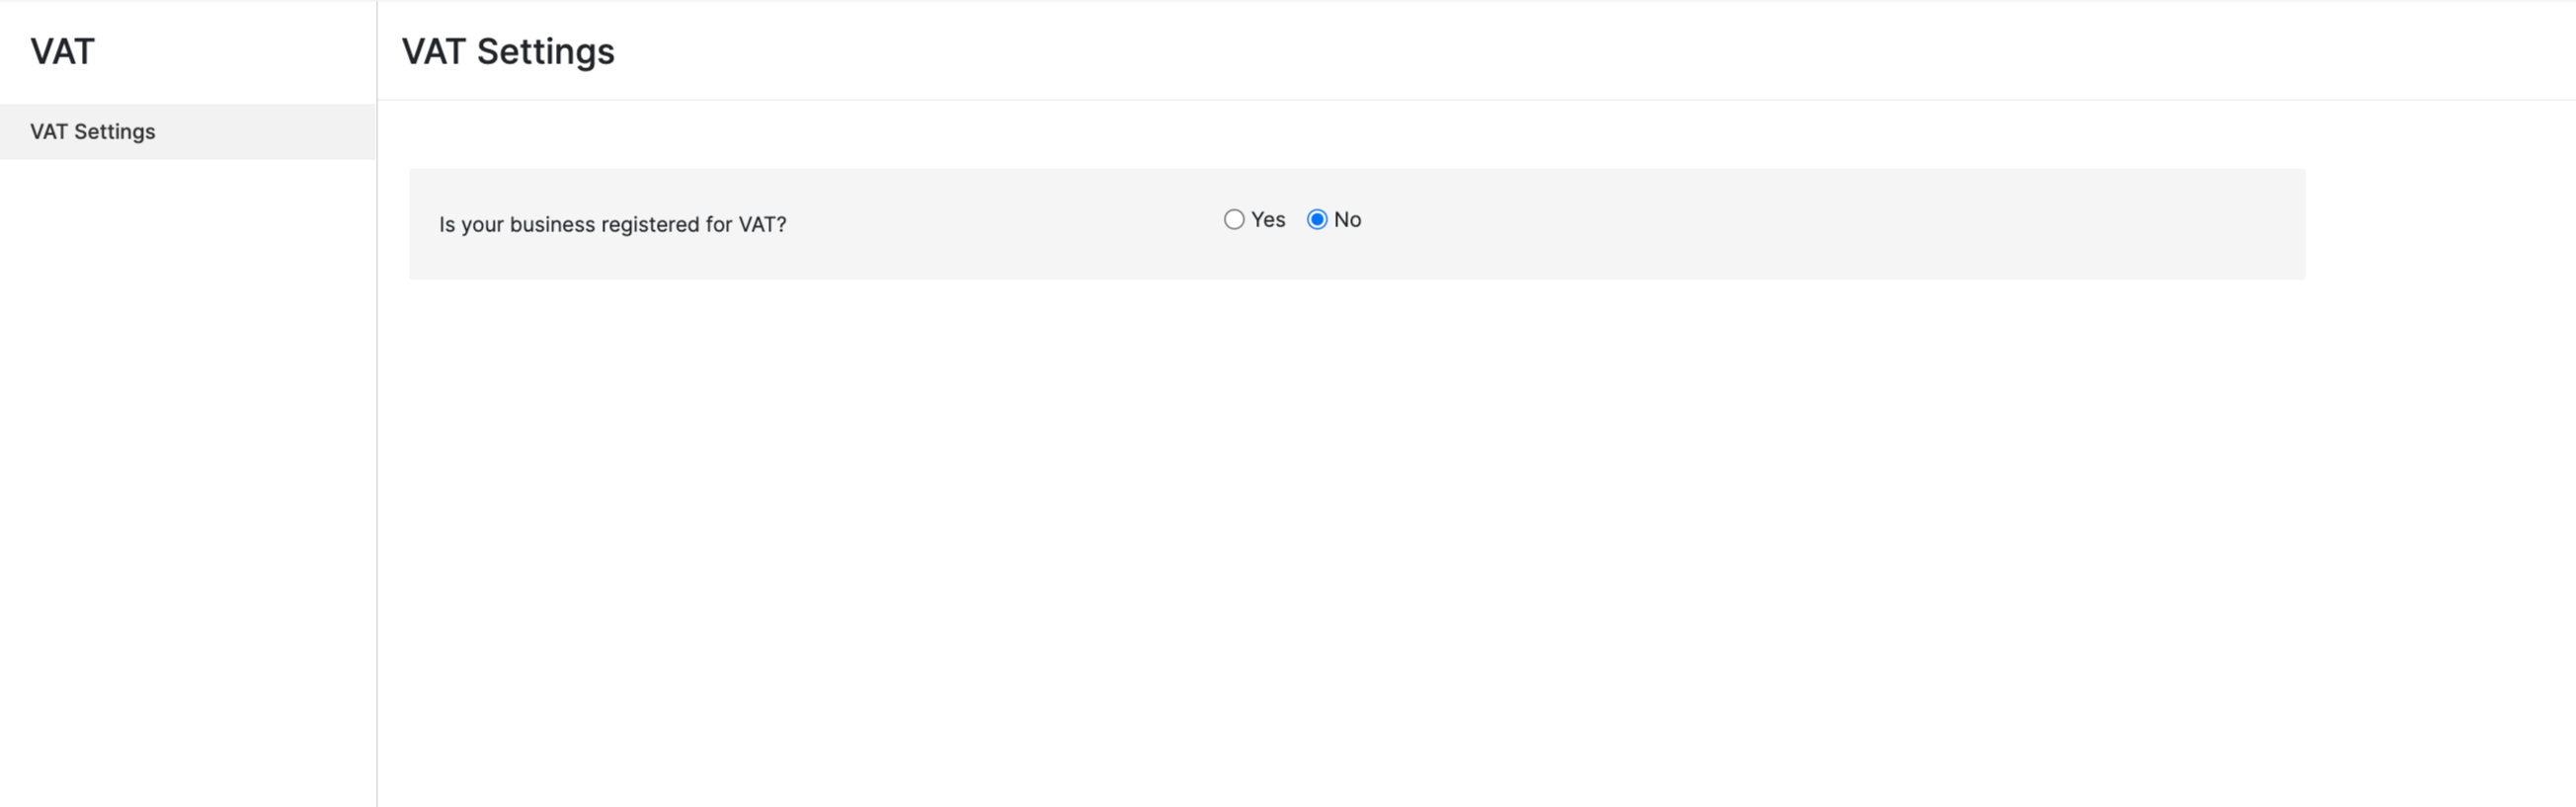
To enable VAT settings for your organisation in Zoho Inventory:
- Click the Gear icon on the top right corner of the page and navigate to VAT.
- Click Yes against Is your business registered for VAT?
- Enter the VAT Registration Number and validate your PIN to authenticate your PIN number by the Kenya Registration Authority. .
- If your business involves in international trade (import or export outside Kenya), check the box Enable trade with contacts outside Kenya.
- Enter your VAT Registered On date.
- Click Save.
VAT Rates
Once you’re done with the VAT Settings, the next step is to add VAT Rates, if required.
There are three default VAT rates:
- General Rate (16%)
- Reduced Rate (8%)
- Zero Rate (0%)
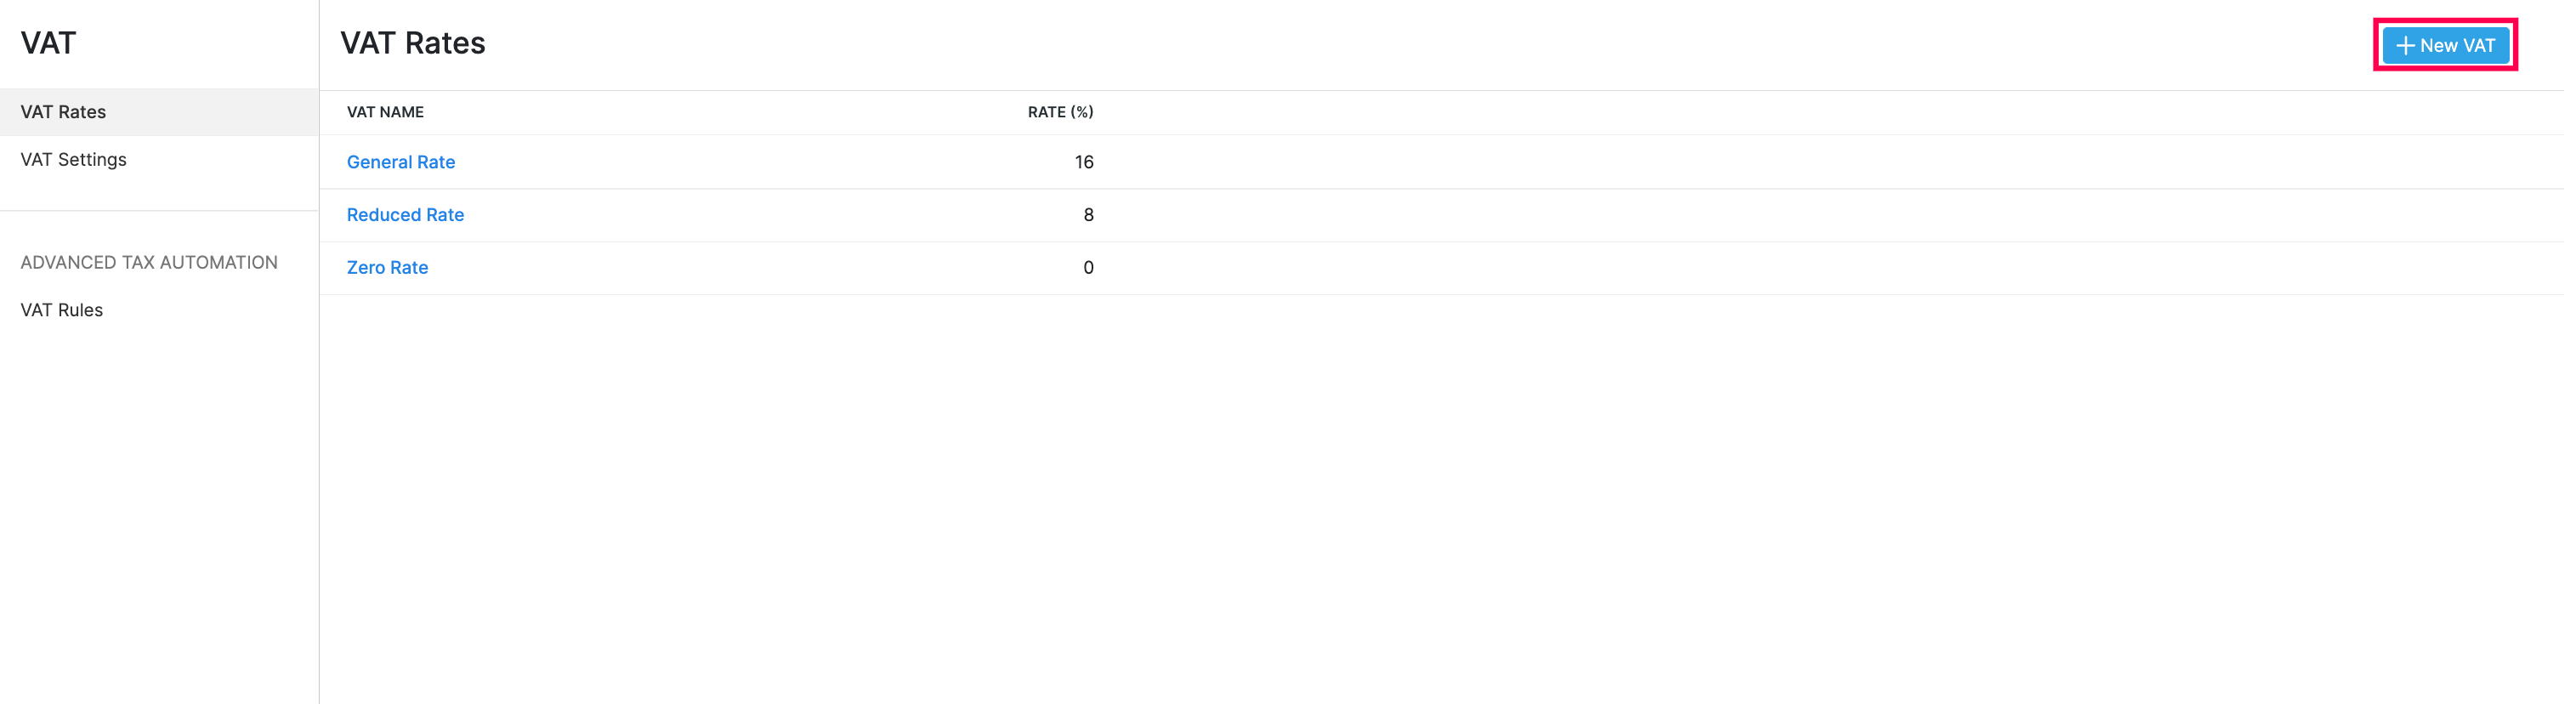
Add New VAT
To create or add a new VAT:
- Click the Gear icon on the top right corner of the page and navigate to VAT.
- Click the VAT Rates sub-module.
- Click + New VAT on the top right corner of the page.
- Fill in the VAT Name and Rate (%).
- Click Save.
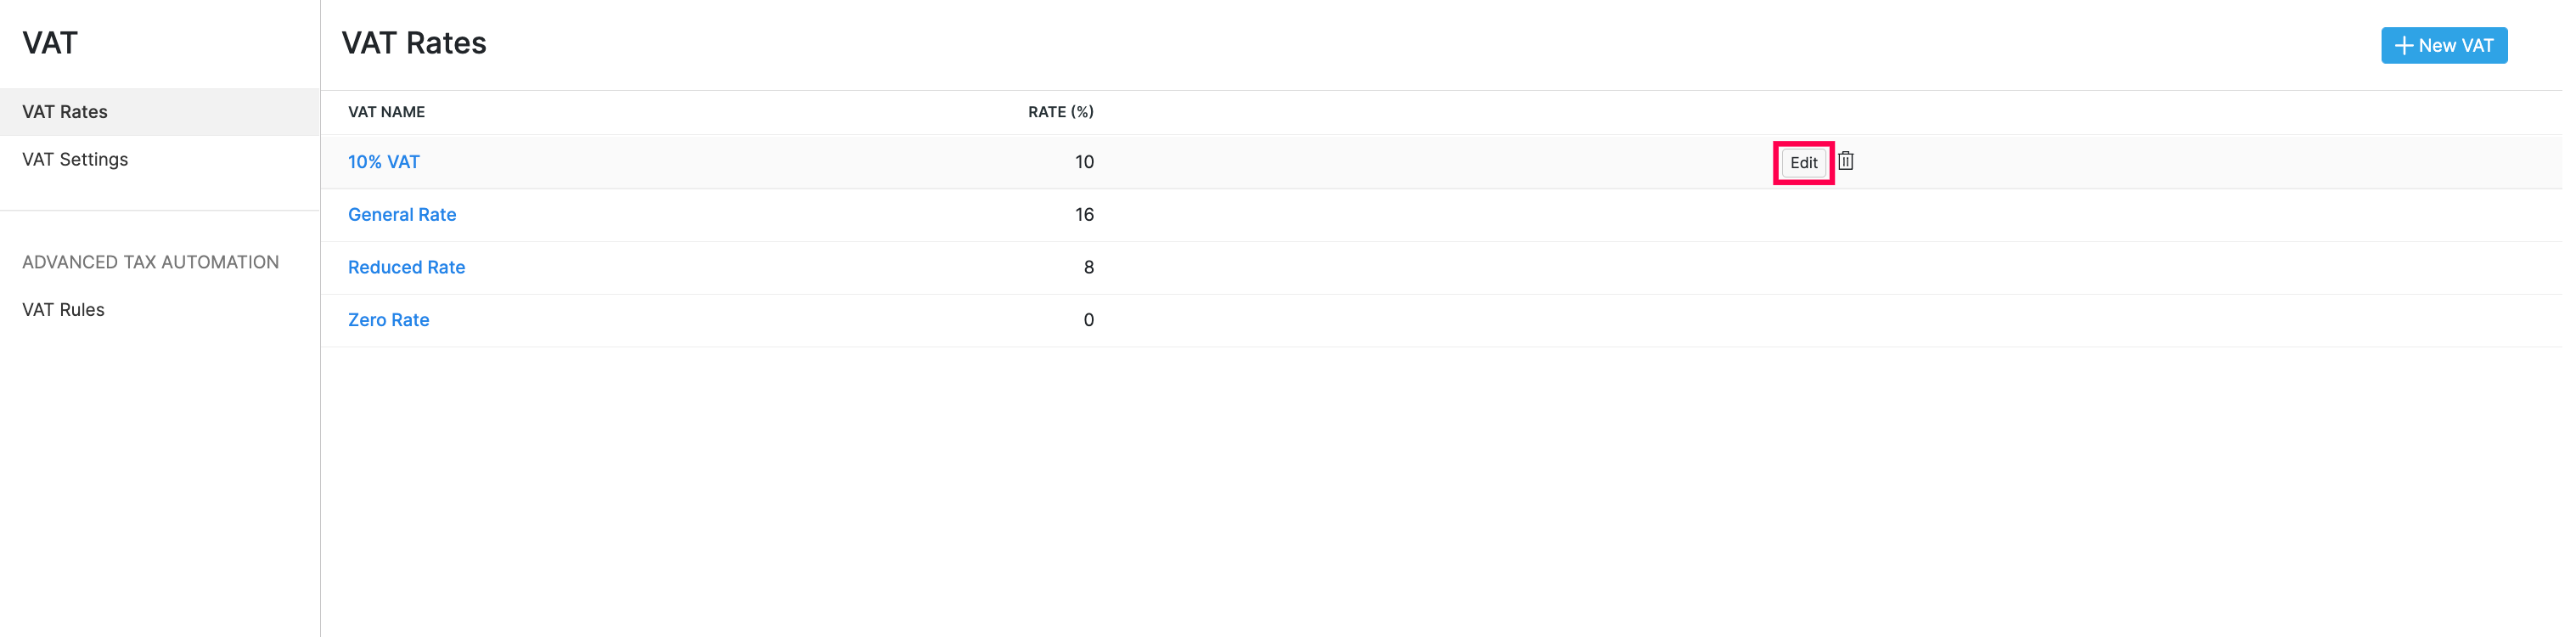
Edit VAT
To edit an existing VAT:
- Click the Gear icon on the top right corner of the page and navigate to VAT.
- Go to VAT Rates.
- Hover over the VAT rate you want to edit and click Edit.
- Click Save after you make the necessary changes.
Note: You will not be able to edit the default VAT.
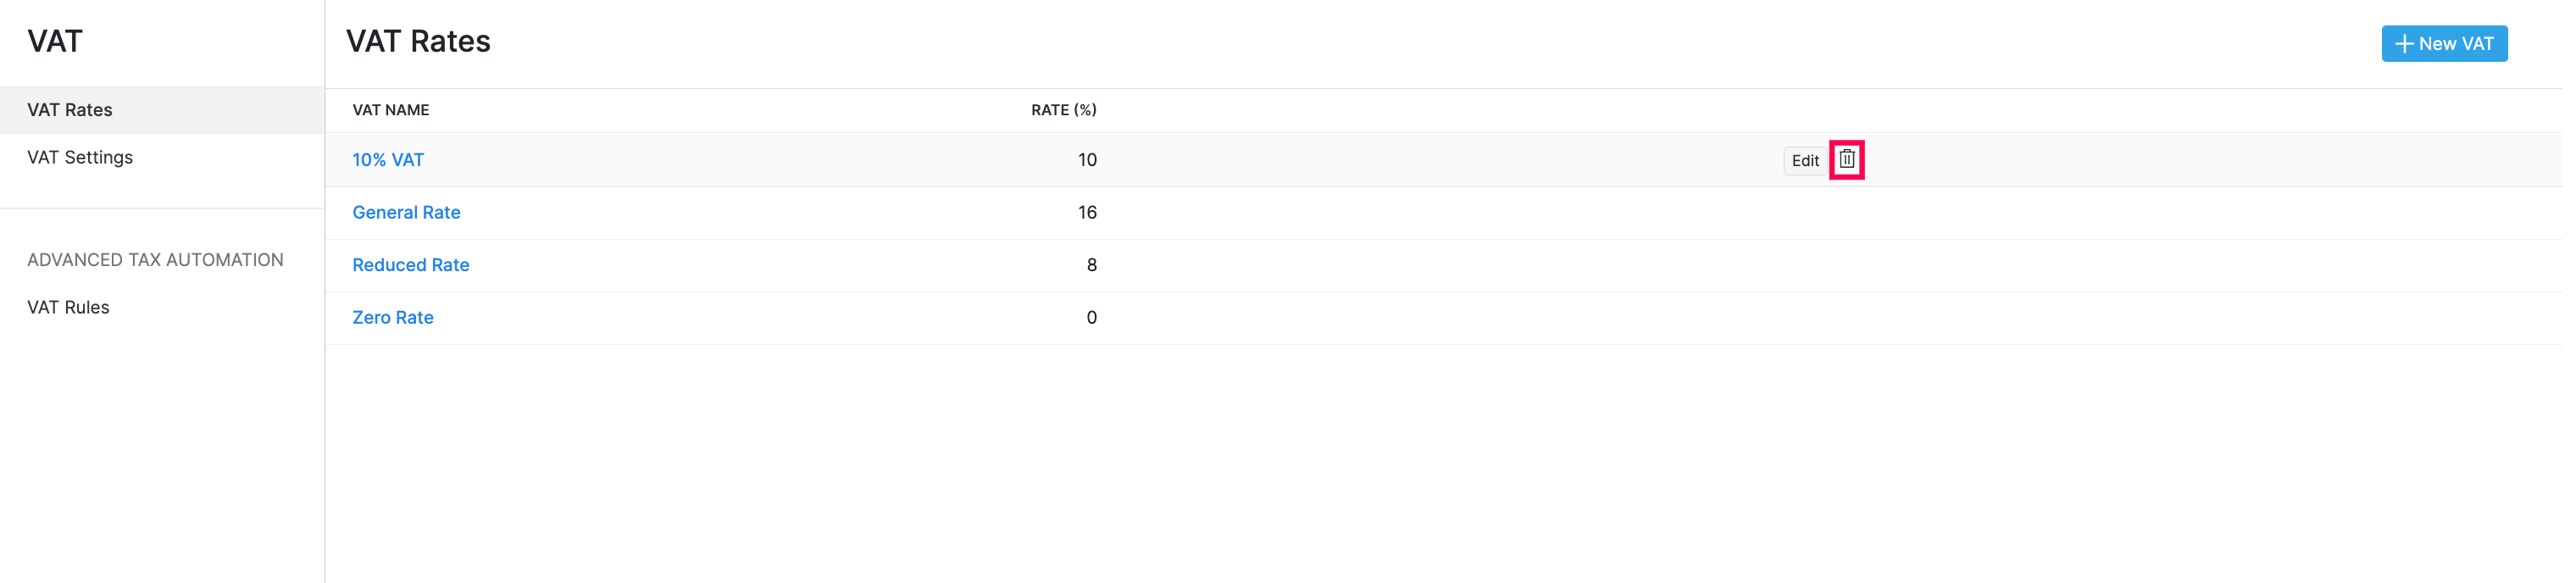
Delete VAT
To delete an existing VAT:
- Click the Gear icon on the top right corner of the page and navigate to VAT.
- Go to VAT Rates.
- Click the Trash icon on the right side of the VAT to delete.
- Click OK.
Note: You will not be able to delete the default VAT.