How to edit Instagram photos for your business
- Last Updated : August 17, 2023
- 7.9K Views
- 13 Min Read

Instagram is one of the most popular social networks today, with over 1 billion active monthly users, and 60% of those users are actively seeking out and discovering new products on the channel. That means there are over 600 million people out there looking for stuff to buy, which is why it makes perfect sense for your brand to spend time on Instagram.
Using Instagram for marketing isn’t a new concept—a lot of brands are already active on the channel. That’s why it’s important for your brand to be there, and to do Instagram marketing well. You’ll have to cut through the noise, and stand out to succeed on this channel.
Instagram is a media-based platform, which means ALL content that you put up will have to be in the form of images or videos. And if you scroll through your favorite accounts on Instagram, or the most successful ones, you’ll notice that they all have one thing in common: high quality, beautiful, captivating images that hold your attention. Quality photos are probably the most important part of your Instagram strategy.
But there’s no need for that to worry you. You don’t need to hire a professional photographer, or take a course on editing images to produce similar quality images on your feed. With the help of the tips in this article, and with a little practice, you’ll be able to do it all yourself.
Editing tips for Instagram
1) Start with a good picture
To succeed on Instagram, you’ll have to know how to take a great picture. There are a lot of things you can do to improve your photos, such as trying to shoot at the “golden hour,” playing with different perspectives, and keeping the rule of thirds in mind. Nowadays, smartphones come with cameras that can take excellent pictures, and also come with heaps of settings that you can use to your advantage. HDR mode, for example, can help make your shots a lot better.
When you take pictures for Instagram, remember to take multiple pictures of the same subject, because this will give you more options to choose from when you decide to upload it to your profile.
However, while it’s necessary to start with a good picture, it doesn’t mean that you have to be the one to take. You can always customize stock images that you find on the internet, and use it for your brand. Sites like Unsplash have a catalog of high-quality images that you can use for free. As good practice, be sure to credit the photographer when you use their images!
Just one more thing, though. Make sure that your photos are the right image size. On Instagram, that’s 1080×1080 pixels for the images on your feed. A picture that’s smaller may look grainy, or blurred, irrespective of how much editing you do.
2) Choose your filter
After you’ve selected the picture you want to upload to your Instagram profile, you’ll be able to choose from a wide variety of filters that Instagram provides. There’s no such thing as “the best filter,” and it’s probably a good idea to go through each of them and pick the one you like. Let’s look at some examples of what filters can do to your image. First, we’ll look at the picture without any filter:
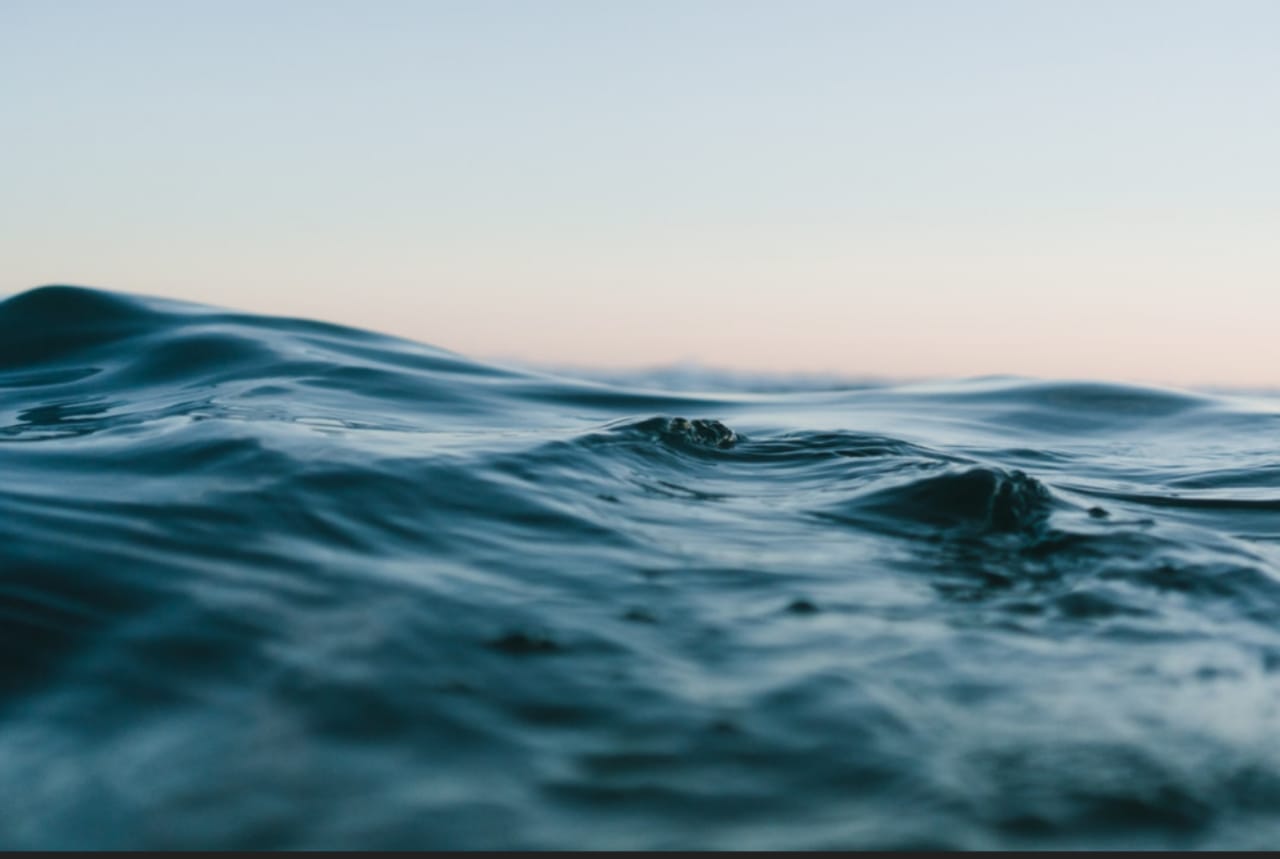
Alright, now let’s just throw a couple of filters on this and then see what happens. First, we’ll use the Lo-Fi filter:

Now, let’s try Slumber:
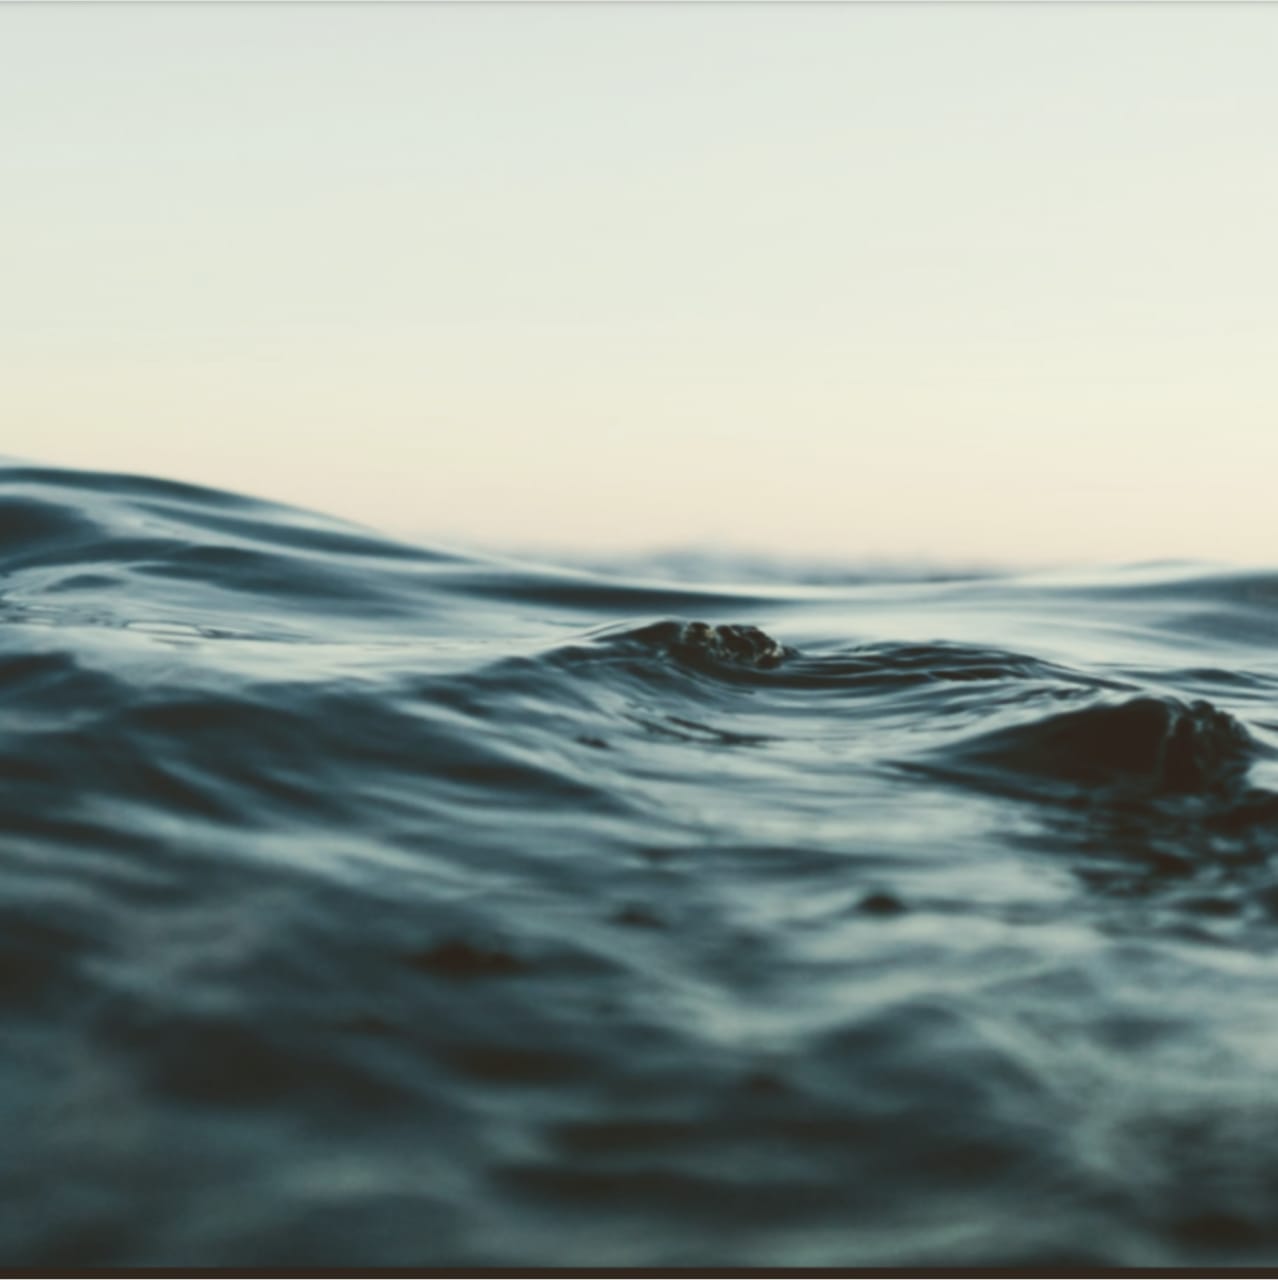
And finally, Juno:

From the above pictures, it’s evident that using a filter can completely change the look and the feel of the picture you’ve taken. That’s why filters are a very powerful tool, and that’s also why it’s important to choose the right one for the images that you’re putting up. Instagram has over 40 filters that you can choose from, and while it’s a good idea to cycle through them and figure out what works best for your images, here’s a list of the filters that you’ll find, and what they’ll do to your image.
Clarendon: Clarendon is a filter that will add light to lighter areas of your picture, and darkness to darker areas. What that means is that it brightens highlights, and intensifies shadows, so that the colors really pop.
When to use: Because the colors pop when you use this filter, it’s a good idea to use it for sunsets, or sunrise. You could also use it on minimalist pictures where you want vibrant colors.
Gingham: Gingham is a filter that can add a vintage look to your images. It works by desaturating the colors a little. When used with pictures that have a lot of light, it can give it a brighter, dreamy look. When used with darker pictures, it can give a yellowish tinge.
When to use: Gingham is a good filter for things like serene, selfie shots, and will give them a vintage effect.
Moon: Moon is also a filter that’s designed to give a vintage feel to your images. It kind of works like a black and white version of the Gingham filter, but with more intense shadows.
When to use: This filter is the best for the ultimate vintage look, and works great for portrait images.
Lark: Lark is a filter that brightens and intensifies colors, except reds. This will give your pictures a cool feel, but doesn’t wash them out. The filter also punches up color, and can be used for a variety of pictures.
When to use: Lark is a great filter to use for outdoor, landscape, nature shots. You can sometimes use it on food to make the colors on your plate pop, too.
Reyes: Reyes is a filter that will saturate your image, brighten it up, and give it an old-time feel. It can sometimes add a yellowish tinge to your images.
When to use: Reyes is a great filter to use for portraits, as it can help hide blemishes on your skin.
Juno: Juno intensifies the red and yellow hues in your picture, and makes them stand out more than the blues. It can give your photos a rich, deep tone.
When to use: The Juno filter is great if you want to add richness and authenticity to urban photos. Street photos look great with this filter.
Slumber: This filter desaturates photos and makes them hazy. It also adds a retro or dream-like quality to your photos. You’ll get a nice vintage look with this filter.
When to use: The slumber filter is great to use for street photography or nature pictures.
Crema: Crema is another filter that will give a vintage look to your pictures. It desaturates colors slightly and smooths out the skin tones in your images.
When to use: Crema is a great filter to use for food pictures, and outdoor nature pictures, as well.
Ludwig: Ludwig is one of Instagram’s more intense filters. Warm colors are made warmer, cool colors darker, and highlights and shadows are enhanced.
When to use: Ludwig is a great filter to use for nature shots or cityscapes. It can also add an interesting effect to selfies.
Aden: Aden is a low-contrast filter which softens images, and desaturates them slightly, giving it a pastel effect. It can also have a skin-smoothing effect.
When to use: It’s a good filter to use for portrait images because of its skin-smoothing effect. Its low-contrast effect can also help with images of food.
Perpetua: Perpetua enhances green and yellow tones, and also brightens your image. It’s to give the pictures a natural, earthy look.
When to use: This filter works great for outdoor shots, especially shots on a beach. Just be sure not to use it on portraits, because it’ll give the skin a very unnatural tone.
Amaro: Amaro adds a lot of brightening to the center of the photo, and also adds a little bit of vignetting to the edge of the pictures as well.
When to use: Amaro is a great filter to add for street photography, and also for shots of the horizon.
Mayfair: Mayfair warms up the colors of your photos, placing a bit of a spotlight in the center of the image, and adds very subtle vignetting around the corners.
When to use: It’s suggested to use Mayfair for brightly lit images, or with underexposed images, along with the Lux feature.
Rise: This filter will give your photos a subtle, yellow glow, brightening up your image and giving it just a hint of a vintage look.
When to use: Rise is a great picture for portraits, as it can help make the skin look soft and smooth. You could also use it for pictures of food, as well.
Hudson: The Hudson filter will cool down the tones in your image. Any warm tones will be tempered, and there will also be a slight vignette added to your image.
When to use: This is a great filter for outdoor shots, where you want to keep things looking modern. You could use it on pictures of buildings, or cars, or even a nature shot, if you’re going for an icy look.
Valencia: This filter will add a yellow hue to your image, making it feel like a bright, yellow lamp is shining on your photo. It can even make delicate colors more prominent, and will warm up the entire photograph.
When to use: Valencia is a versatile filter that you can use for just about anything. Consider adding it to any image that you want to look a little old school.
X-Pro II: X Pro II is probably the least subtle filter of Instagram. It bumps up the contrast, and adds a strong vignette to the image as well. It makes the colors in the image warmer, and also adds a lot of shadow and dark elements.
When to use: X-Pro II works great with wide shots, of either the city, or nature shots—just be sure to start with a bright image.
Sierra: Sierra is pretty similar to Rise, but has a darker feel, due to some vignetting, and a well-lit center, which will also add a glow to your image.
When to use: Sierra is best for pictures of inanimate objects and outdoor nature pictures, and will give them a sophisticated look. However, it can really wash people out of the image.
Willow: Willow is the closest thing Instagram has to a sepia filter. It’s balanced perfectly between a black and white filter and a sepia filter, without appearing awkward.
When to use: Willow makes skin look great, and can also help hide flaws, so it’s great for portrait shots and selfies. It’s also a good filter for outdoor shots, and macro nature shots.
Lo-Fi: Lo-Fi makes the elements in your photo really pop, by adding shadows and bumping up the color saturation of your images.
When to use: Lo-Fi is great if you’re taking pictures of food, but can also help for ones with lots of trees or grass.
Inkwell: Inkwell is Instagram’s basic black-and-white filter.
When to use: Inkwell is a great filter to use on portrait shots, or macro outdoor shots.
Hefe: Similar to X Pro II and Lo-Fi, this is a bright filter. It increases color saturation, adds vignetting, and also warms up the elements in your image.
When to use: Hefe is a filter that is best for pictures with a lot of colors, like flowers or pictures of nature.
Nashville: Nashville has a slightly pink tint, and warms up your images. There’s also some brightening to your picture. It’s somewhat similar to Valencia in terms of the vintage look, but the elements are more pronounced with Nashville.
When to use: Nashville is a versatile filter that can be used for any kind of image, but works best for images that you want to give a vintage look to.
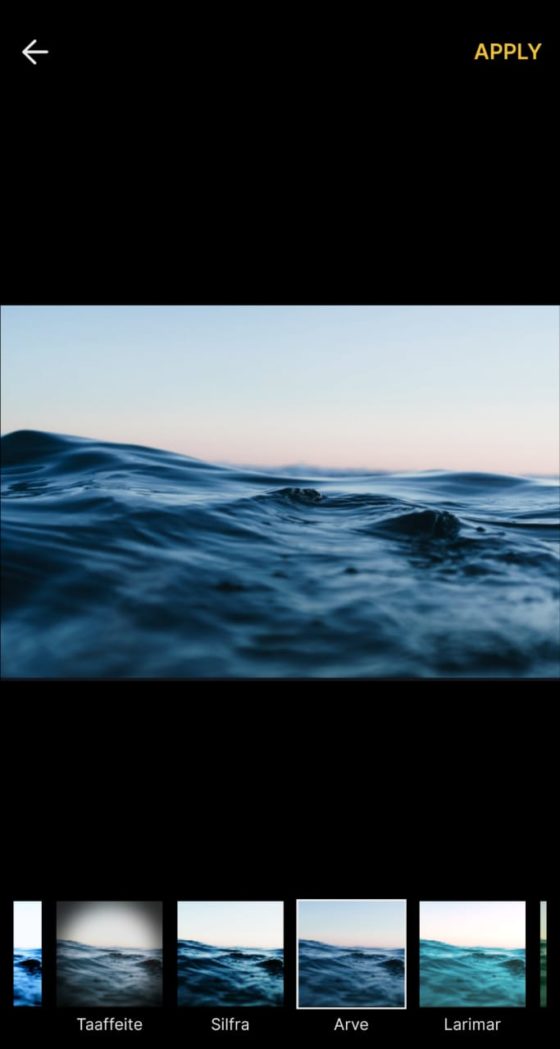
These are all the basic filters that Instagram offers. There’s a little bit of customization that is possible here, too, as you can even adjust the intensity of the filter that you’re using. To do this, all you’ll have to do is apply a filter to your image, and then tap the filter again. This will open up a bar that you can slide to adjust the intensity of the filter, and preview the image as you do it.
Along with the list of filters, you’ll also see Manage, where you can reorder the filters in any way you like, and choose from the other filters Instagram has. Play with each of them and figure out what’s best for you.
3) Adjust Lux setting
Another cool thing you can do on Instagram is to adjust the Lux setting for your image. It makes your photos more vibrant, and brings out the smaller details. This feature is particularly useful for underexposed images.
To turn on the Lux setting, tap on the sun icon above your image after you’ve added your filter.
You can use the slider to decide the intensity you want. It’s a good idea to slide it up and down before you decide on what’s best for the particular image you’re editing. Tap Done once you’re finished, and you’ll be taken back to the filters page.
4) Using editing tools on Instagram
Once you’ve added your filter, and adjusted the Lux setting, you can tap Edit to fine-tune your image even further. These effects will allow you to make adjustments to make your pictures even more eye-catching.
There are a number of settings that you can customize from this page, such as alignment, brightness, contrast, structure, warmth, saturation, highlights, shadows, and sharpness.
To adjust these settings, tap on the respective icons at the bottom of the screen, and then use the slider to adjust the intensity till you find the level that you’re comfortable with.
Remember that you don’t have to adjust every single element for every image. Editing the image is about tuning it for the better. Simply enhance it to highlight the focus of your image, and you should be fine.
After editing the pictures to a sufficient level, tap Next. Add a caption to your image, choose your hashtags, and tag any people who might be in the image. You’re ready to publish!
It’s also important to keep in mind that Instagram is not JUST about taking great pictures, editing them, and then putting them up online. All of this is just one part of an Instagram marketing strategy, and you’ll need a more comprehensive approach to succeed. You should be thinking about your posting schedule, and the time of the day that you want to make these posts.
Because Instagram doesn’t have a scheduling feature built into the app, you could invest in a social media management tool that can help you do that. There are tools that can help you manage your Instagram profile end-to-end, and some tools like Zoho Social even come with built-in filters, so you can edit the images without having to open Instagram at all.
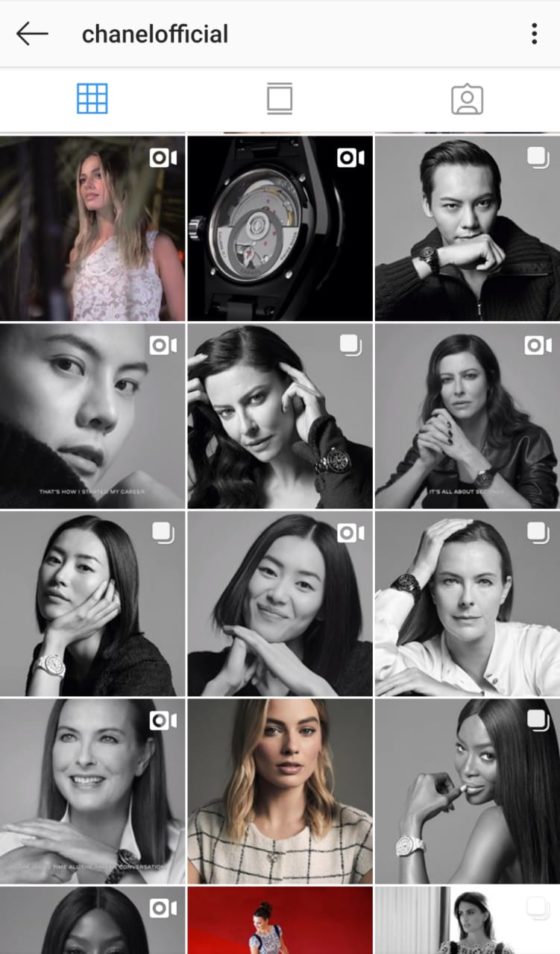
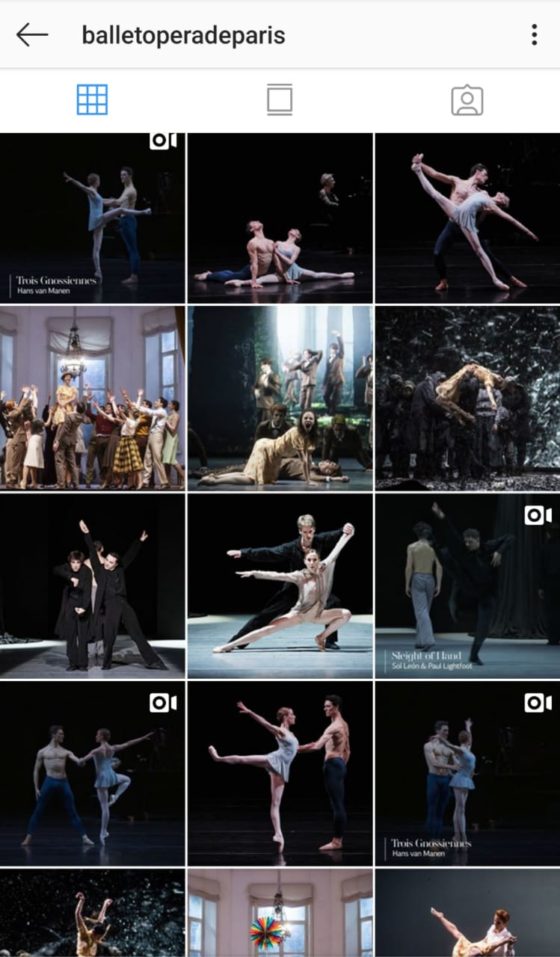
No matter how you choose to edit your pictures though, make sure that you’re consistent in the filters that you use, so that you come up with a consistent looking profile. This will make your profile a lot more appealing to your audience. Here are some examples of brands that have done this well.
Chanel
Coca-Cola

Paris Opera Ballet
External apps to edit images for Instagram
While Instagram has quite a few built-in filters and editing options, there are other apps that you can use for more powerful and precise editing. Using these specialized editing apps can take your Instagram pictures to the next level. Here are some of the best apps out there today:
VSCO
If you google “photo editing apps for Instagram,” VSCO will definitely be on every list you find. VSCO is an extremely powerful—and therefore extremely popular—app that gives a high degree of precision when editing pictures.
A lot of the filters are available free when you download the app, and you can pay for additional filters, as well. These filters are a lot more powerful than the ones on Instagram, and can add a lot of depth to the images you’ve taken.
There’s also an in-app camera, which helps you capture pictures with more precision. You get DSLR-level control, and can adjust metrics like the white balance, ISO, shutter speed, and aperture of the camera. This allows you to take extremely professional pictures, and the best part is that you don’t need to be technically proficient to use these. The settings are easy to play with and figure out for yourself.
On top of all this, VSCO also has editing tools, where you can modify stuff like clarity, exposure, white balance, skin tone, and more.
Snapseed
Snapseed is Google’s photo-editing app, and is excellent in terms of the amount of control you get over your pictures. Instagram tutorials online almost always refer to Snapseed as the photo editing tool to use.
There are tons of features on Snapseed that allow you to edit your pictures to perfection. You have all the standard features that are available on all apps, plus a lot of very specific features, as well. For example, you’re able to adjust the focal distance using the Face Pose tool on the app.
Snapseed also has tools that allow you to edit certain parts of the image separately, while leaving the rest of the image untouched. This means that you can brighten one part of the image, and dull the other if you wish. Another great feature of Snapseed is that every edit functions as a separate image layer. To remove an edit, all you have to do is remove the corresponding layer. So you’ll be able to remove one edit without undoing every edit you made after that.
Snapseed may seem a little hard to use, but with the help of tutorials and practice, you should be able to master the app and edit your photos to perfection.
A Color Story
A Color Story is a user-friendly photo editing app that can make the colors in your photo pop. The user interface is clean and simple to use, and has a host of editing options such as lens flare and bokeh effect.
While the app is free to download and install, you can also pay for additional filters. The free version, however, is more than enough to edit your pictures.
You might have noticed that many of the filters on Instagram make pictures look more vintage. A Color Story is different, as the filters they offer can sharpen the images a lot and make the colors really pop. An additional benefit is that you can layer multiple filters on each other, allowing you to create your own unique looks.
All of these apps can be super helpful for editing your pictures, and helping you create the best image for your Instagram profile. But regardless of the image that you choose, the principle remains the same. Too many filters, and too much editing can make your picture look unnatural, and off-putting. Try to emphasize the best parts of your image, without going overboard, and you’ll have realistic, stunning pictures in no time.
Know something we missed? Leave a comment below, and we’ll get back to you ASAP.
 Vishal
Content writer at Zoho Social, stand up comedian, and lover of dogs. I read a lot.


Comments(3)
You are truly brilliant at what you do! Thanks for the great tips and editing advices.
Absolutely Instagram provides own editing facilities and its also very amazing no need to seek outside. nice blog and content also meaningful oi could relate easily, great job.
Genial justo esto es lo que me faltaba para terminar mi trabajo, al fiiiiin T.T GRACIAS!