User Profile Section
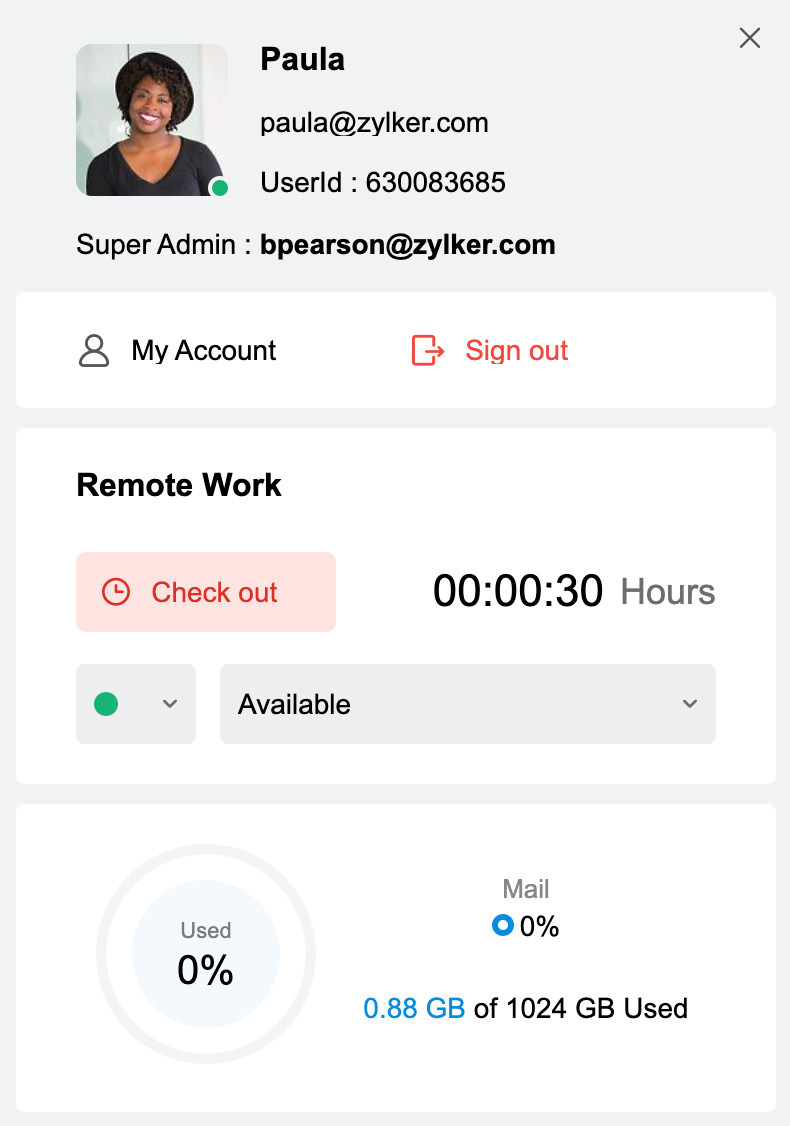
The User Profile section of your Zoho Mail account, accessible by clicking your Display picture at the top right corner of the mail interface, is a consolidated section with all necessary features to manage your Zoho Mail account and remote work.
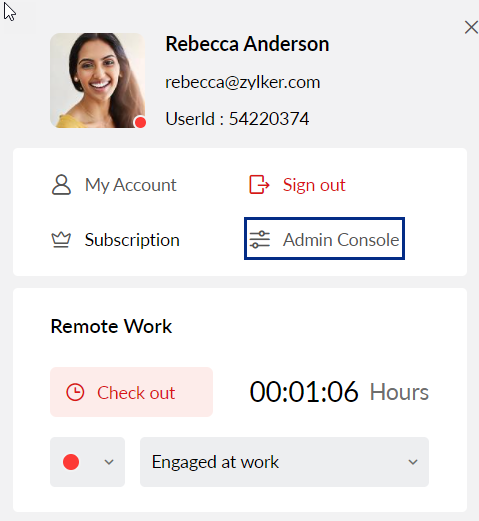
User account details
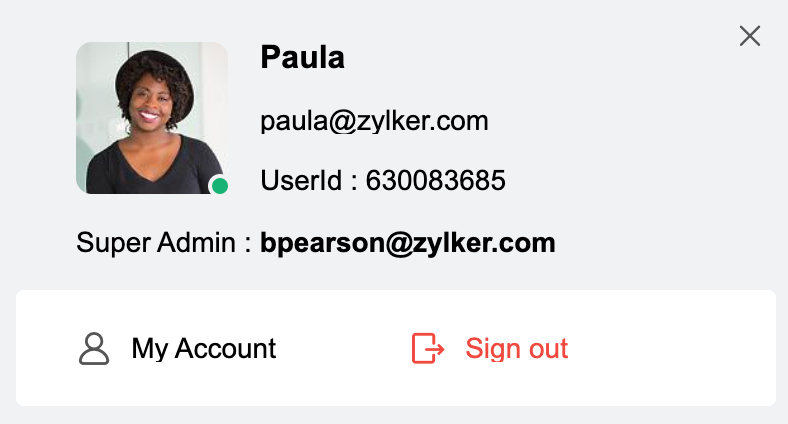
The first part of the User Profile section shows details about your Zoho Mail account. It displays the Display Name, Primary email address, User ID, and Super Admin email ID. Other than the account details, My Account and Sign Out options are also provided here. If you click on My Account, you will be redirected to your Zoho Accounts page. Clicking on Sign Out will log you out of your account.
Change Profile Picture
The display picture associated with your email address can be changed from your account. Your profile picture will also be visible to your chat contacts, your community posts, recipients who also have a Zoho account, and your organization users. This will be based on the Profile picture permissions that you set.
- Login to Zoho Mail
- Click the Avatar on the right corner of your mailbox.
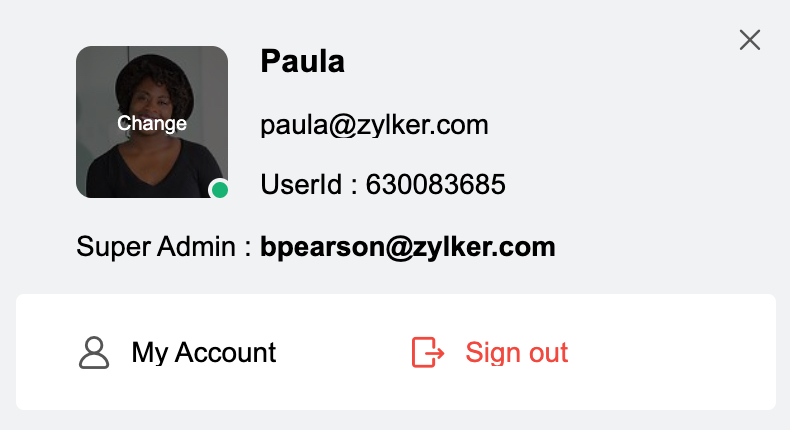
- Hover over the avatar and click Change. You will be redirected to your Zoho Accounts page.
- On the Accounts page, click your Avatar and upload an image file from your computer
- You can give or revoke permission to control who can view your profile picture.
- Only registered Zoho users - All users of Zoho will be able to view your profile picture.
- Only contacts I chat with - Only the contacts who you chat with will be able to see your profile picture.
- Only users in my organization - Only your organization users will be able to view your image.
- Everyone - Your profile picture will be visible to everyone. Suppose you participate in a community post, anyone who accesses the post will be able to view your image.
- Only myself - The image will be visible only to you and not to any of your contacts, colleagues, or other members.
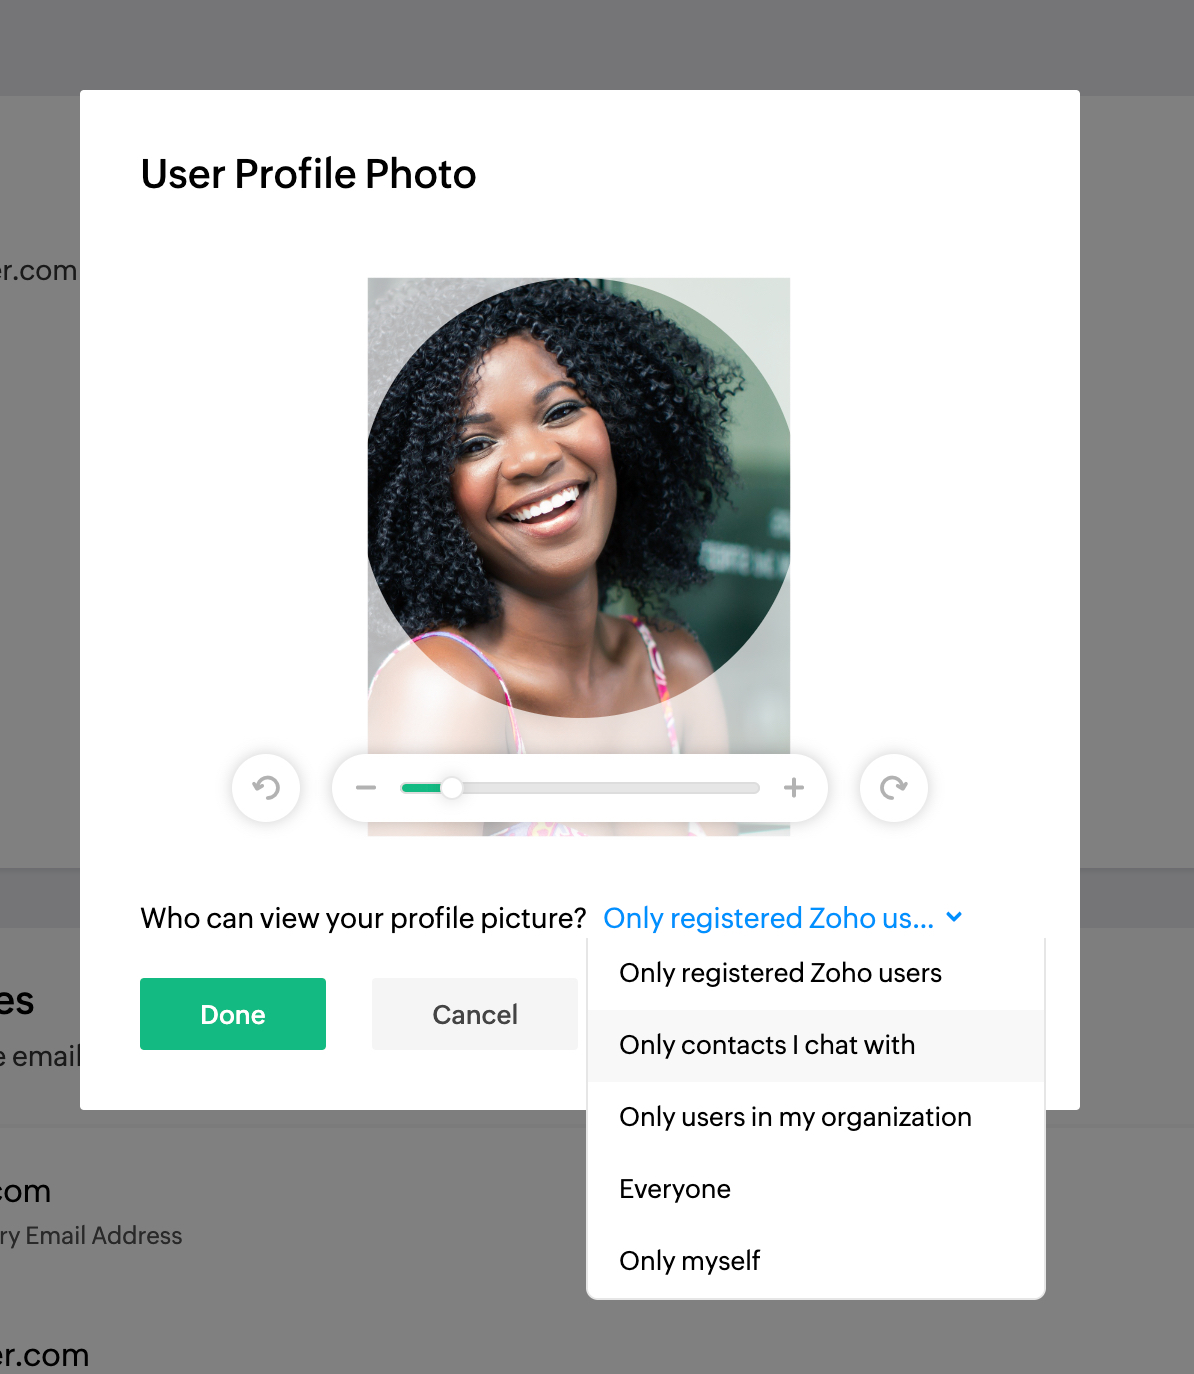
- Click Done


Note:
The maximum permitted file size for the upload is 10 MB.
Gravatar
Gravatar (Globally Recognized Avatar) is an online service that allows you to associate a unique digital avatar or profile picture with your email address. Once you link an avatar to your email address, it will be automatically displayed on platforms integrated with Gravatar, offering a consistent and easily recognizable online identity. By associating an avatar with your Zoho Mail email address, your Gravatar becomes visible to others on blogs, websites, emails, and other places where you use your Zoho Mail email address. For example, when you send an email from an email address associated with a Gravatar account, the recipient's email client fetches the corresponding avatar linked to that email address and displays it in the emails as the sender's profile picture or avatar. To learn more about Gravatar profiles and how to configure it for your Zoho Mail account, click here.
BIMI
BIMI (Brand Indicators for Message Identification) provides a standardized framework for organizations to display their official brand logos in email recipients' inboxes, contributing to a consistent and recognizable brand presentation in email communications. This visual representation enhances brand visibility and helps recipients quickly recognize and trust the sender's identity. Configuring BIMI reinforces email security by ensuring that only authorized senders can display the associated brand logos, thereby preventing unauthorized senders from impersonating trusted brands.
Additionally, a Blue tick will be displayed in the email listing against the sender's email address when the email is received from a BIMI-verified domain. To learn more about BIMI and configure it for your organization, refer here.
Change Time zone
The time in the email is listed based on the Time zone set for your organization.
In case the emails are displayed with incorrect or irrelevant times that do not match your current time, it is possible that the time zone chosen is incorrect for your account. Follow the steps below to choose the correct time zone.
- Login to Zoho Mail
- Click your Avatar, and select My Account
- In the Zoho Accounts dashboard, choose My Profile Info section
- Under Personal Information, Select Country/Time zone option.
- Choose the values from the drop-down.
- Click Save to update the changes
- You have to refresh the Zoho Mail page, for the changes to take effect.
When you have 'Daylight Saving Time' followed in the region you choose, you can select the Time zone with Daylight Savings autocorrected. With this option chosen, the time details in your Zoho Mail will be automatically corrected to your region's time and will be displayed correctly.
Managing your work
With the help of the Remote Work section in your user profile, you can check-in, check-out, manage your availability status right from your profile.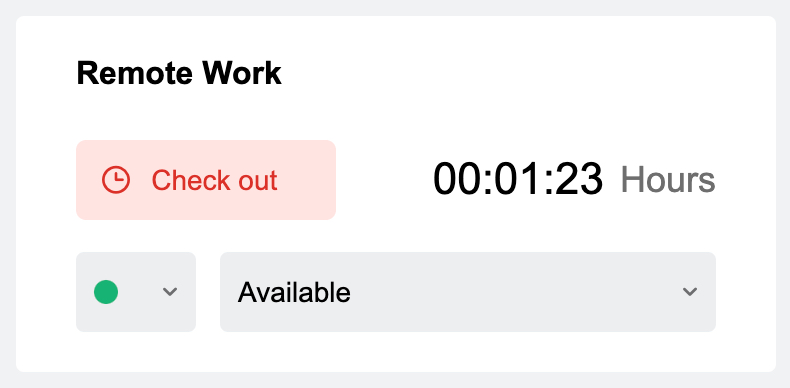
The status of availability and check-in, check-out will also reflect in other Zoho apps like Zoho People, Zoho Cliq, to name a few.
Accessing Admin console and Subscription details
The Admin Console and Zoho Payments to manage your subscription can be accessed from the User Profile section by clicking on Admin Console and Subscription buttons respectively. The details of the existing plan of your Zoho Mail account such as time of expiry, storage used are displayed as well. In case you have deleted any emails or files recently to free up space, you can hover over the storage chart and click on Refresh to update the storage information. Any changes in the plan can be made by the Super Admin from the Zoho Stores.
Note:
The Zoho Mail Admin Console can be accessed only by the Super Administrator and other Administrators. The option to access the same will appear only under the profiles of Administrator accounts.
Zoho Mail Mobile Apps
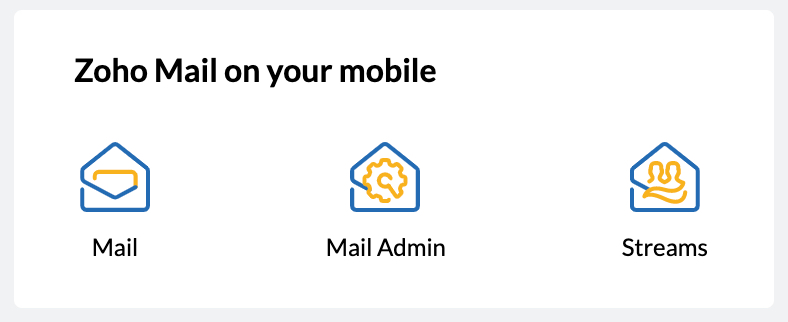
The User Profile section displays Zoho Mail Apps available for Mobile. The apps include Mail, Mail Admin, and Streams. Clicking on each icon will redirect you to the page of the respective app.
Zoho Mail Desktop Apps
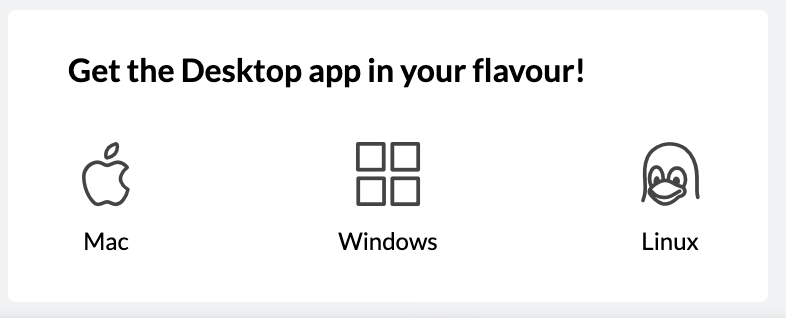
You can download the desktop apps for your choice of operating system right from the User Profile. Click the icon to download the app for the OS of your choice.