Incoming Call Configuration
Zoho Voice offers incoming and outgoing calls as separate services, giving you complete control over how each type of call is handled. For incoming calls, you can configure a range of settings to suit your business needs.
From choosing how calls are routed (via agent, IVR, queue, extension, or forwarding) to customizing welcome, feedback, and goodbye messages. You can also set up call action handlers to manage calls when agents are unavailable, enable call recording and voicemail transcription, and define business hours to ensure smooth and efficient call handling at all times.
To configure incoming calls:
Go to the Call Config module in the left sidebar menu.
Under the Active tab, click the Edit Config icon next to the desired number.

Note
Ensure that the incoming calls toggle button for the number is enabled.

Modes for assigning incoming calls
In the Call Config → Edit page, you can assign incoming calls to a number using the following methods:
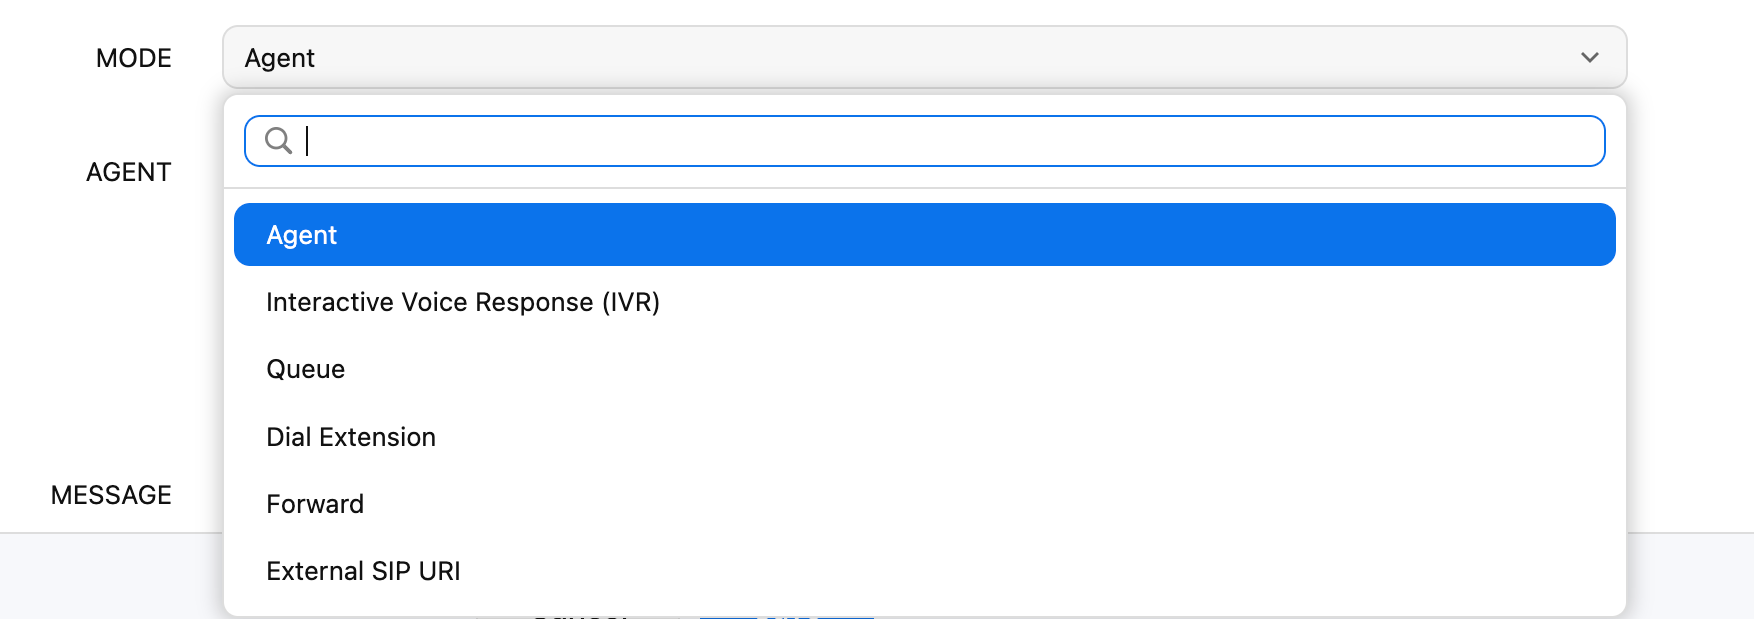
Directly to an agent
You can assign the number to a designated agent, ensuring that only this agent receives incoming calls to that number.
Agent configuration fields
Mode: Set to Agent.
Agent: Select the agent's name from the dropdown list.


IVR for incoming calls
Zoho Voice allows you to configure IVR (Interactive Voice Response) for a phone number and respond to your callers with a pre-recorded audio file. Callers can use the menu to select their required service, and calls will be assigned to the right agents.
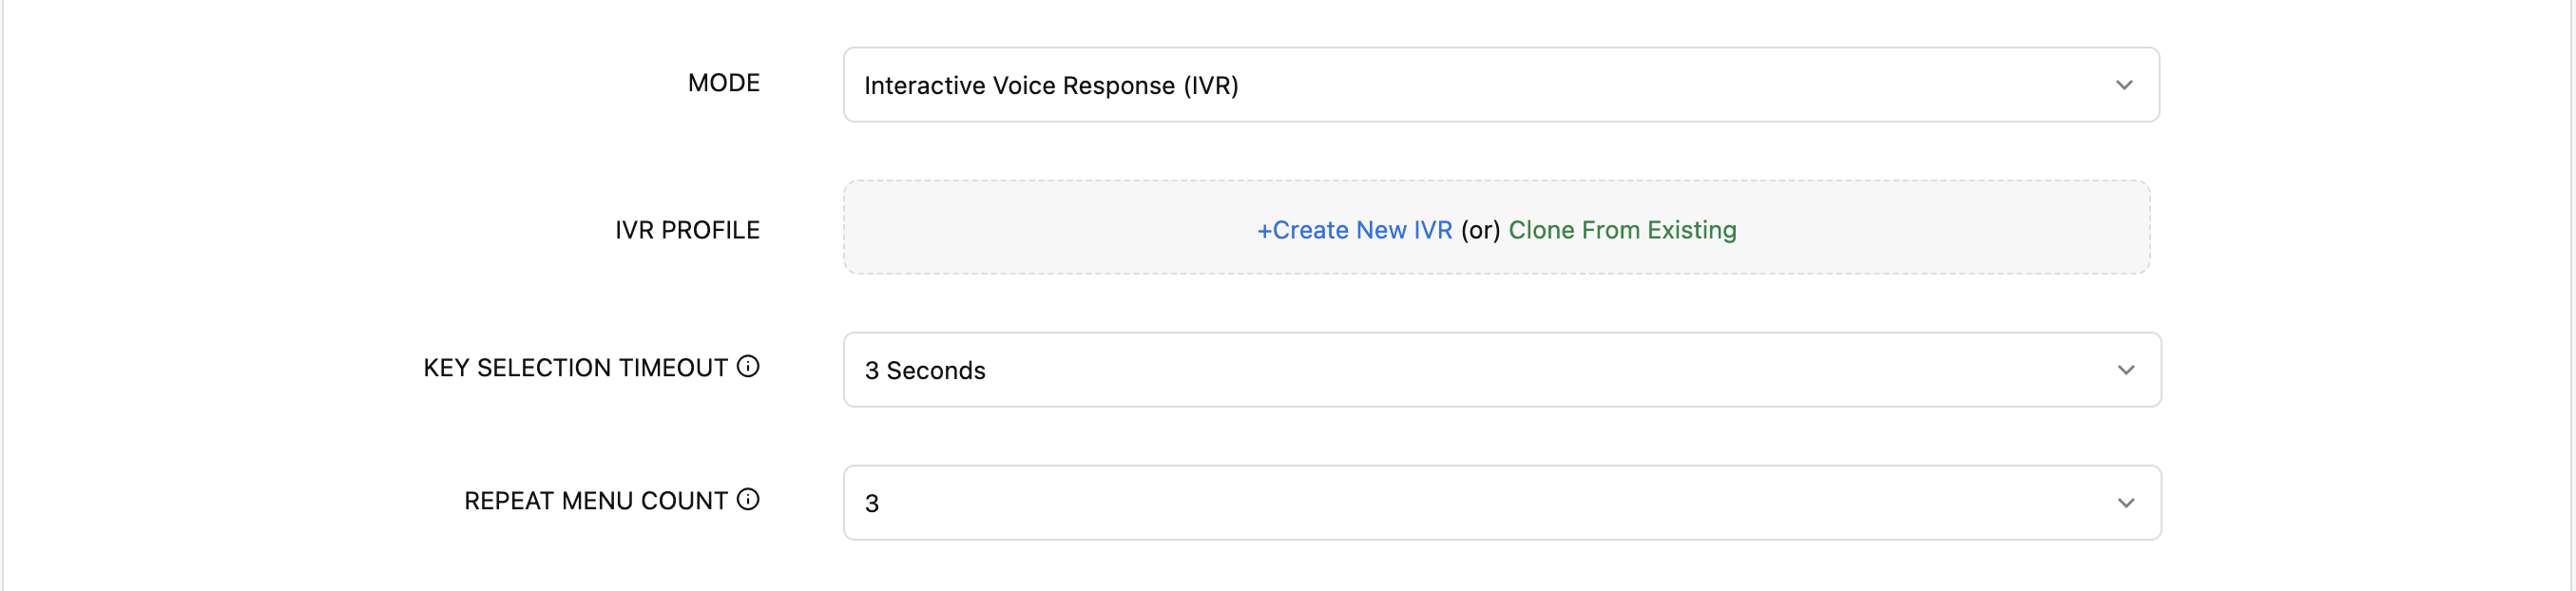
IVR configuration fields
Mode: Set to IVR.
IVR Profile: Choose to create a new IVR profile or clone an existing one. To create a new IVR, refer to this document. Cloning is possible only if at least one IVR profile already exists.
Key Selection Timeout: Defines the duration within which a caller must press a key. If no key is pressed, the IVR menu will be repeated.
Repeat Menu Count: Specifies the number of times the IVR menu will be repeated if the caller does not press a valid key.

Directly to a queue
You can assign the number to a designated queue, ensuring that only the agents in that specific queue will receive incoming calls to that number.
Queue configuration fields
Mode: Set to Queue.
Queue: Select the queue's name from the dropdown list. The queue must be created in the Queue module beforehand for it to be listed in the dropdown. For details on queue creation, refer to this document.


Dial extension
On connecting to this number, the caller will be asked to type in an extension, and they will be connected to that agent/queue.
Dial extension configuration field
Mode: Set to Dial Extension.
Note
Ensure that your callers know in advance the extension number of the required agent/queue.
Forward to a number
You can forward calls you receive on a Zoho Voice number to another phone number. This number can be a mobile number, landline number, or even another Zoho Voice number.
Forward configuration fields
Mode: Set to Forward.
Forward to: Mention the mobile/landline number to which the call needs to be forwarded.
Disclaimer
Forwarded calls are billed as outbound calls. This means you pay the incoming charge for your Zoho Voice number plus the outgoing charge to the forwarded number. For example, forwarding a US Zoho Voice number to a US mobile costs 0.021 credits/min (0.0085 for incoming + 0.0125 for outgoing). Calls can be forwarded to mobile, landline, or another Zoho Voice number. Note that forwarding between Zoho Voice numbers incurs charges for receiving, making, and receiving the call again (billed thrice).
External SIP URI
You can route inbound calls to external AI voice agents and SIP-enabled applications. Before configuring this mode, create an External SIP URI profile under Settings → External SIP URI.
External SIP URI Configuration Fields
Mode: Set to External SIP URI.
External SIP URI: Select the required External SIP URI profile from the dropdown.


Learn more about External SIP URI
Message configuration
Once your mode configuration is set, you can continue to configure your welcoming, feedback, and goodbye messages for incoming calls to this number in the Message field.
Welcome Message: A welcome message is played to the caller after the call is answered.
Feedback Message: Enable this option to request caller feedback after a call ends. The system prompts the callee to rate the service by pressing a number between 1 and 5.
Goodbye Message: A hang-up message is played to the caller before ending an answered call.
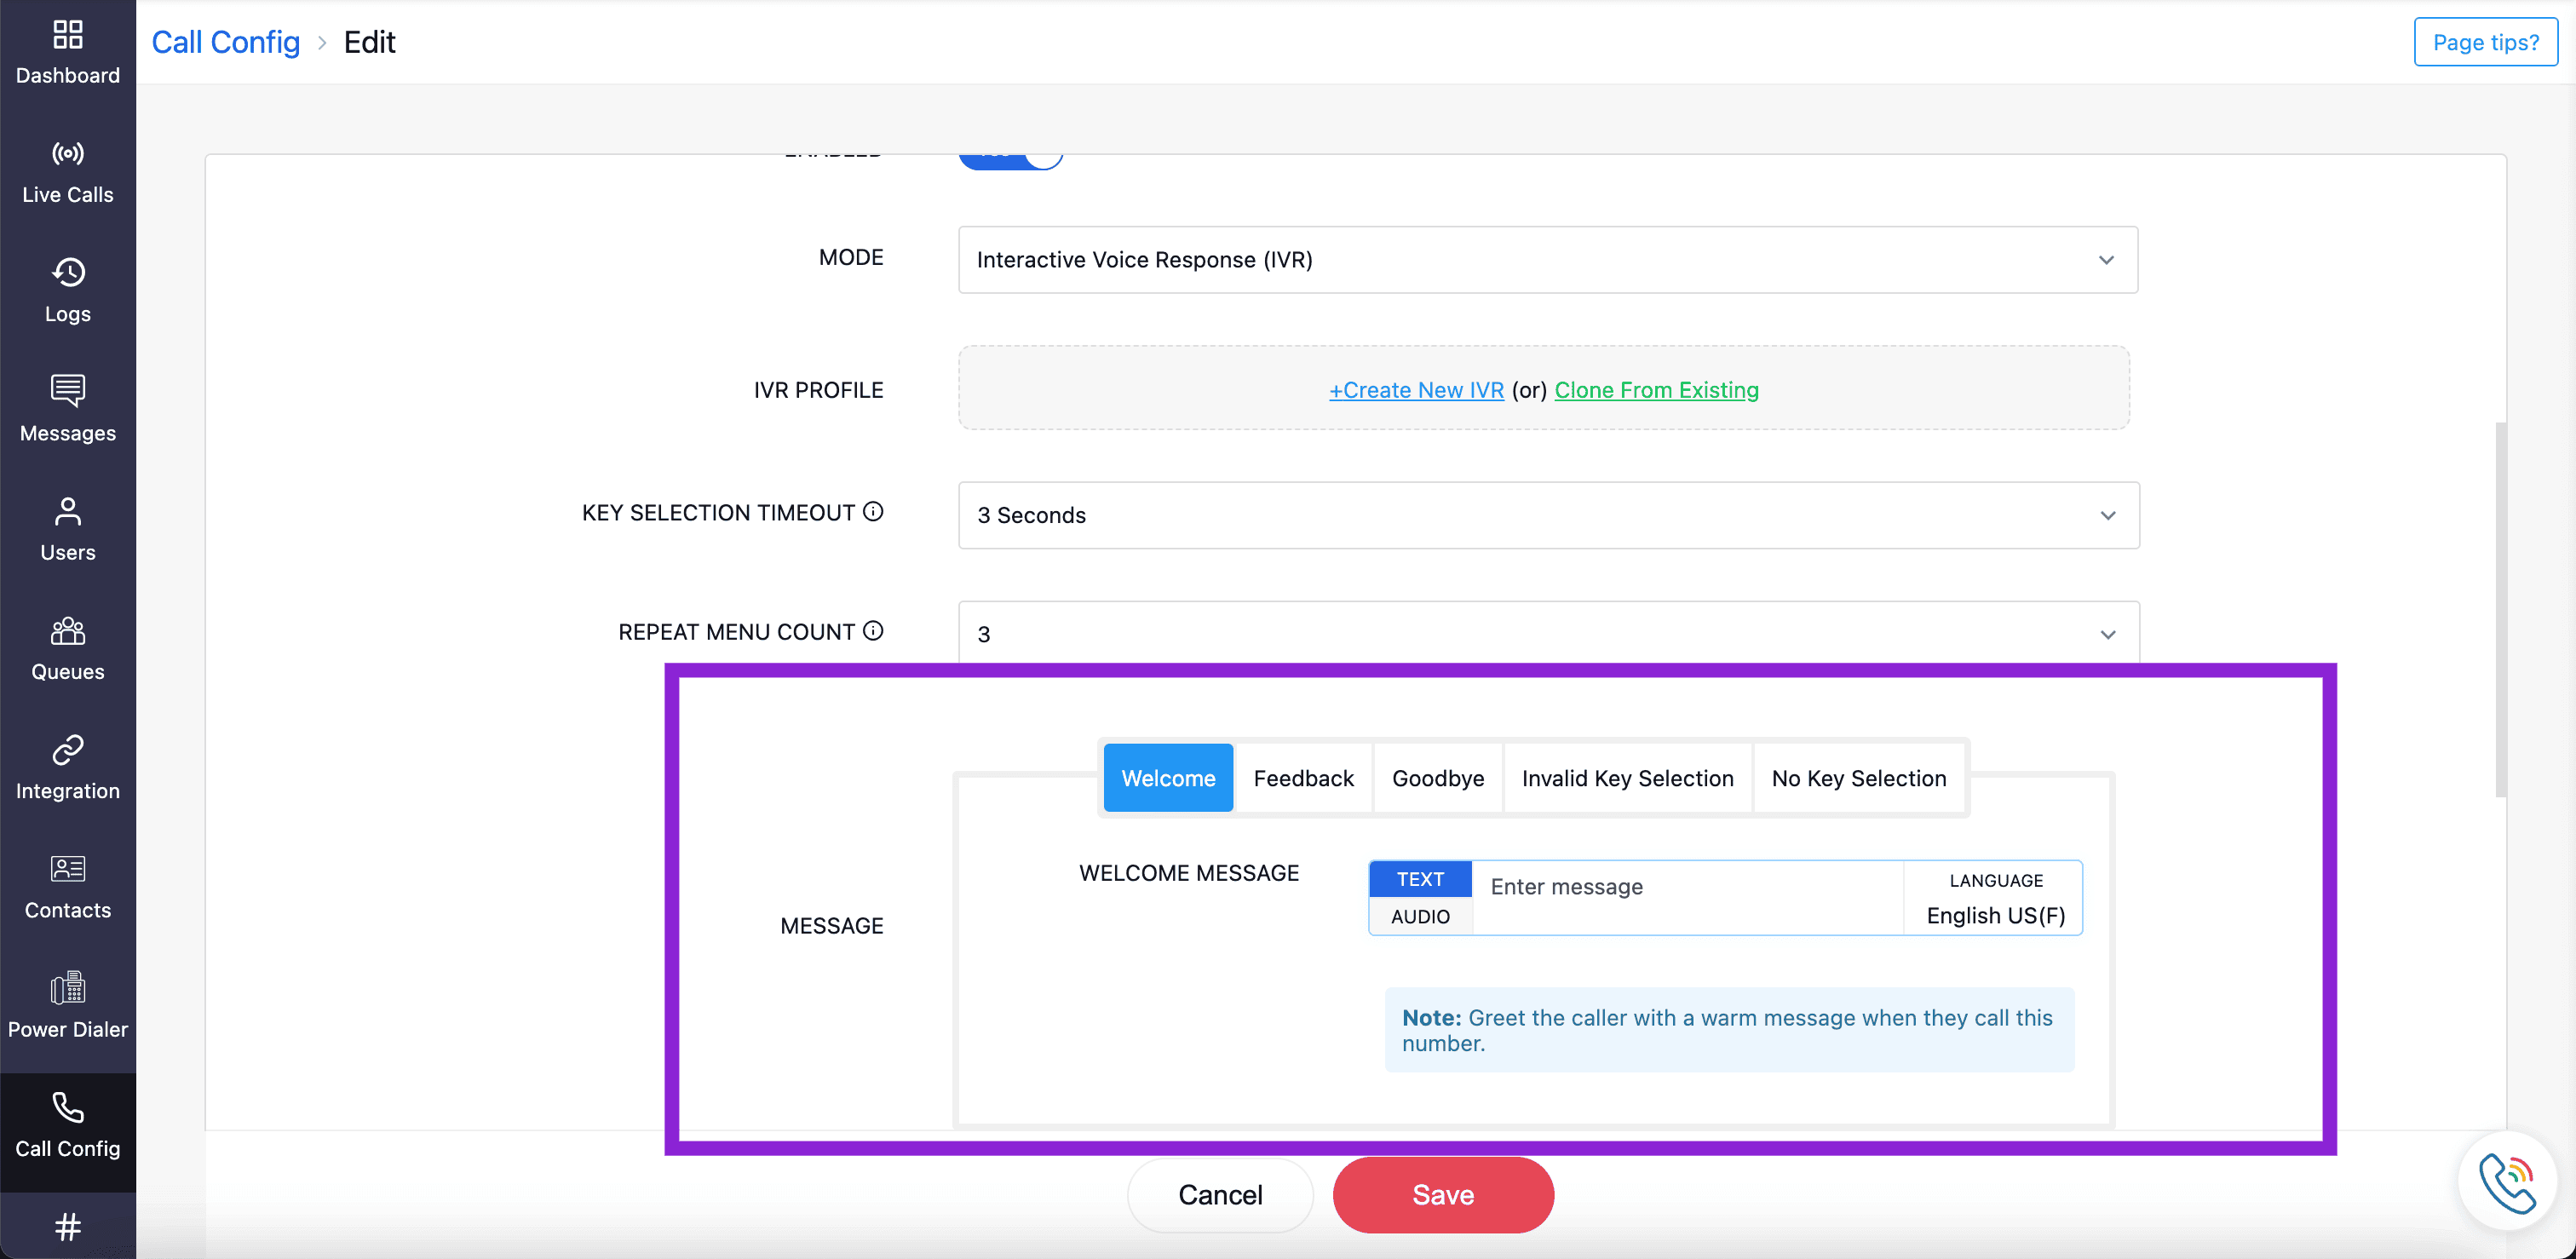

You can choose either text or audio:
Text: Enter the message in the language selected for the configuration.
Audio: Click the Audio tab and select a file from the dropdown list. (These are pre-uploaded files from the Settings → Audio File page). If the required audio is not available, click the upload icon, name the file, and upload your audio. The created audio profile will be available in the dropdown for future use.
Note
- Audio files supported are .mp3, .wav.
- For IVR mode, you will also have option to set audio messages for Invalid Key Selection and No Key Selection scenarios.
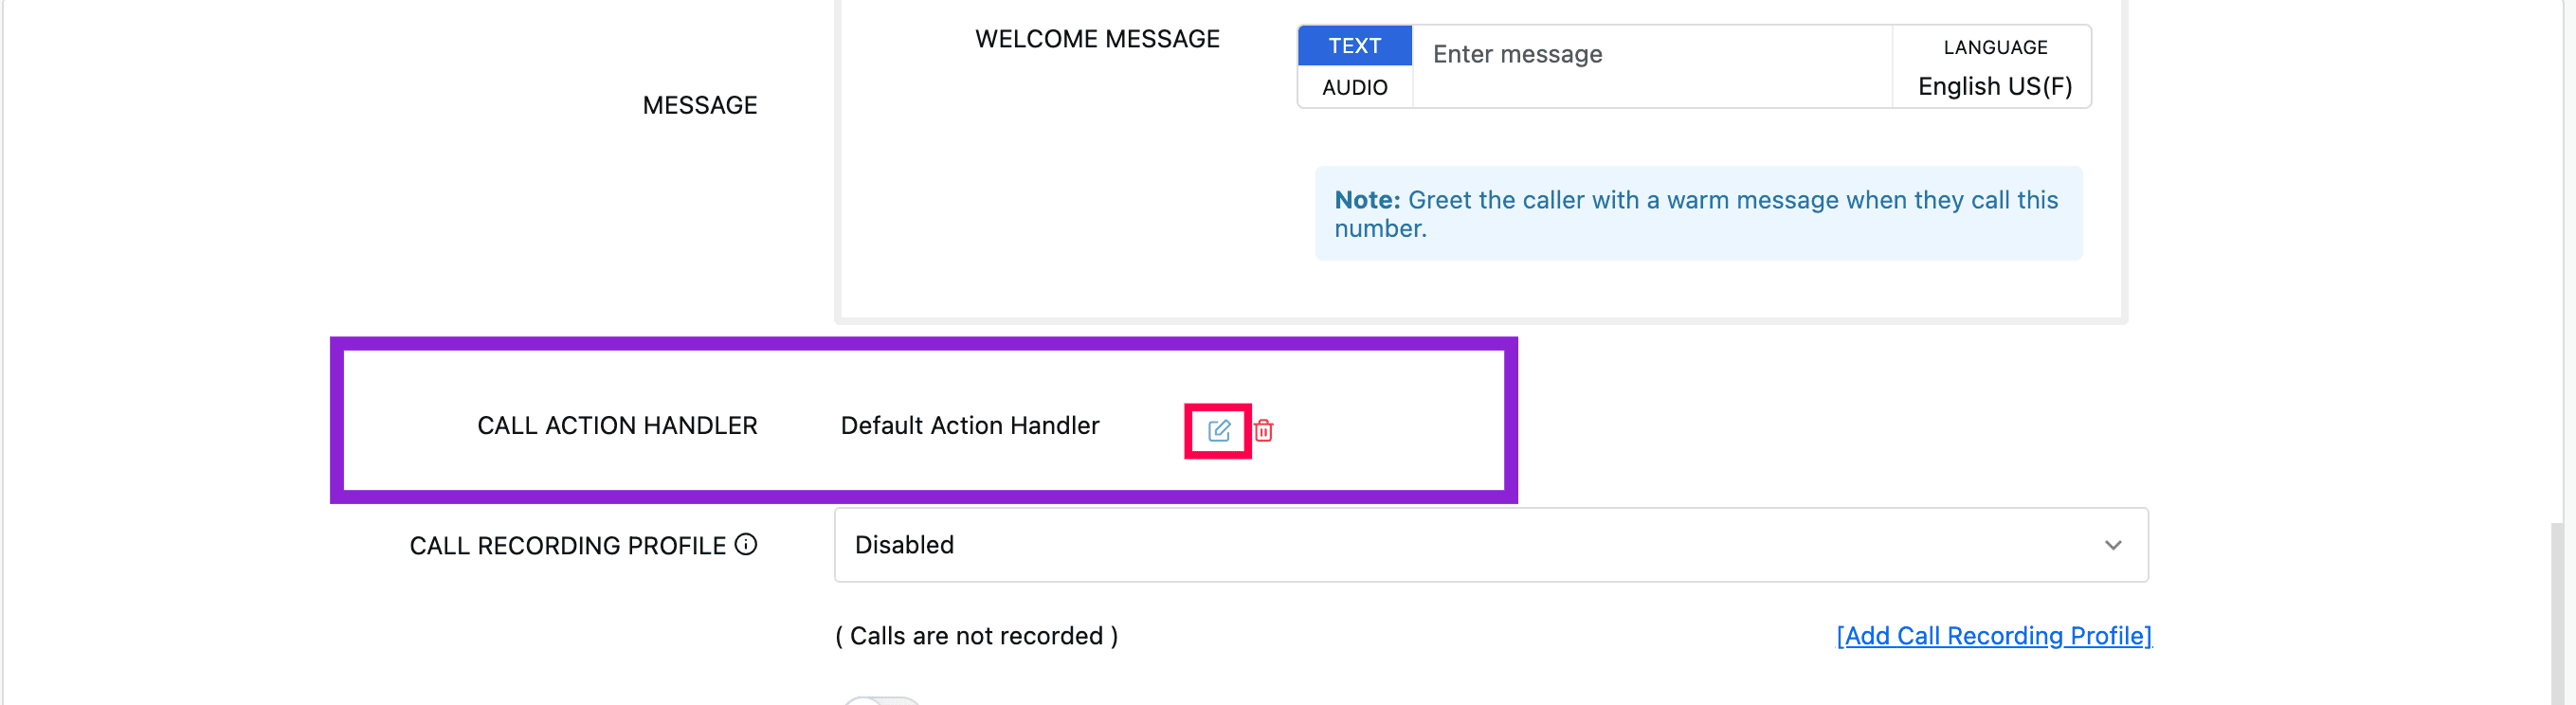
Call Action Handler configuration
Next, you can define the Call Action Handler, which allows you to define actions when the agent is busy, offline, during holidays, or outside the business hours. You can divert calls to sub-agents, prompt the caller to leave a voicemail, or disconnect the call.
To configure the call action handler:
Click the edit icon near the Default Action Handler.
On the Call Handler page, edit the name if required.

Under If the agent is unavailable, select the action from the dropdown:
Voicemail: The caller will be asked to leave a voicemail if the agent is busy or offline. You can choose to deliver the audio message via text or by uploading the required audio file.
Sub-Agent/Queue: Calls are routed to a configured sub-agent or queue when the primary agent is unavailable. If the sub-agent or agents in the selected queue do not answer, you can choose to route the call to voicemail or disconnect it.
Forward To: Calls will be redirected to the number you specify in the field.
Hang-up: The caller's call will be disconnected if an agent is busy or offline.
External SIP URI: Calls will be redirected to the configured external voice AI agent. Learn more about External SIP URI.


Based on the mode selected, the call action handler options will differ. Refer to the below table for more information.
MODE |
CALL ACTION HANDLER OPTIONS | ||||
Voicemail | Sub-agent | Forward to | Hang-up | External SIP URI | |
Agent | ✅ | ✅ | ✅ | ✅ | ✅ |
IVR | ✅ | ✅ | ❌ | ✅ | ✅ |
Queue | ✅ | ✅ | ✅ | ✅ | ✅ |
Dial Extension | ✅ | ❌ | ❌ | ✅ | ✅ |
Forward to | ❌ | ❌ | ❌ | ❌ | ❌ |
External SIP URI | ✅ | ✅ | ✅ | ✅ | ✅ |
Click Save, once the required call action handler is configured.
Configure Call Recording Profile
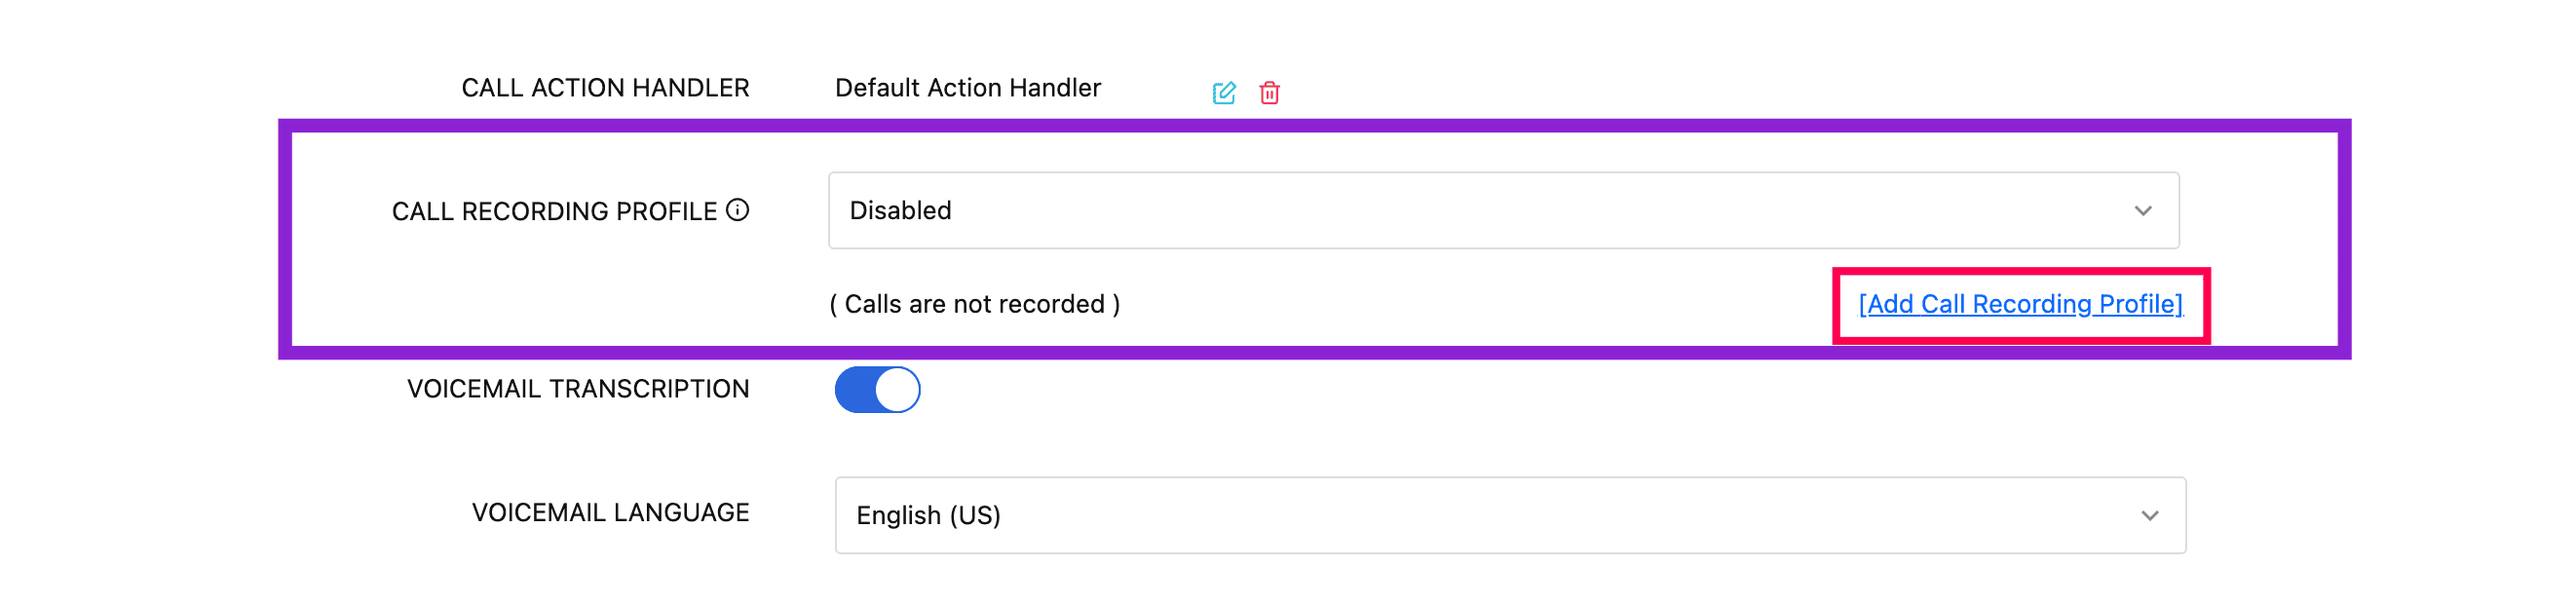
Here, you can configure when and how the call recording should be performed for incoming calls. To configure call recording profile:
Call Recording Profile: Specify when call recording should be performed. You can choose to disable recording, select an existing profile, or create a new one by clicking Add Call Recording Profile. For detailed steps on creating a profile, refer to this document. Once created, the profile will be listed in the dropdown for future use.
Note
Recording charges of 0.0025 credits per minute and storage charges of 0.0005 credits per minute per month apply when recording is enabled. These charges do not apply to users on the Unlimited plan.

Configure Voicemail Transcription
Here, you can choose to transcribe voicemails left by callers when incoming calls are missed, such as when agents are busy, unavailable, during holidays, or outside of business hours.
If the Voicemail option is selected in the Call Action Handler (which defines actions during agent unavailability), the system will record the caller's message. You can then choose to enable transcription for these recorded voicemails.
Voicemail Transcription configuration fields
Voicemail Transcription: Enable this option to automatically transcribe voicemails left by callers.
Voicemail Language: Select the language of the recorded voicemail. The transcription will be generated in the selected language.
Note
Transcription charges of 0.025 credits/minute is applicable. However, this charge does not apply to users on the Unlimited plan.

Learn more about voicemail and the available transcription options
Configure Business Hours Profile
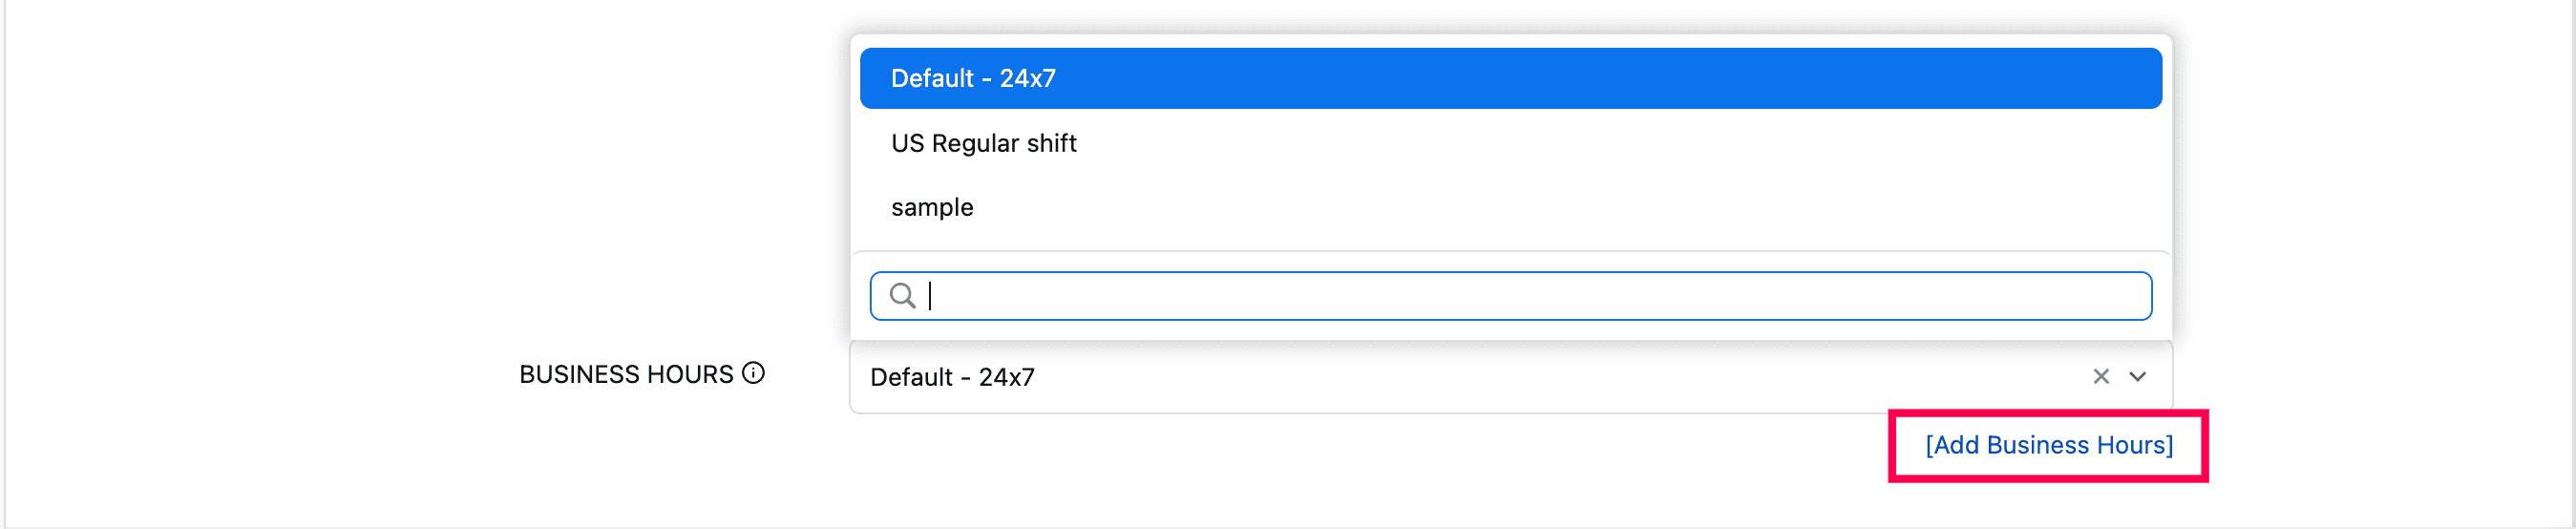
Here, you can configure your organization's business hours and holidays. To configure business hours profile:
Business Hours: Select an existing profile from the dropdown or create a new one by clicking Add Business Hours. For detailed steps on creating a business hours and holiday profile, refer to this document. Once created, the profile will be listed in the dropdown for future use.

Click Save, once all the required incoming call configuration is completed. 