How to set default team signature in shared inboxes
- Published : March 29, 2024
- Last Updated : September 13, 2024
- 1.3K Views
- 2 Min Read
There are multiple ways to make your emails more credible and reliable for your recipients. Adding an email signature is one of the simplest amongst them. An email signature contains important information like the sender's designation, contact details, their organization's information, URLs, logos, links to social media platforms, and legal disclaimers. It provides recipients with clear information about whom they are dealing with, which is a great way to establish trust with them.
Why do email signatures matter for shared inboxes?
In shared inboxes, where various team members communicate from a single address, signatures help in maintaining a consistent appearance to the replies and offer more clarity to the clients. When team members use uniform signatures, they create a uniform brand image on the recipients.
Here are some key benefits that signatures can add to shared inbox conversations:
Adding clarity to the emails
Clarity is crucial in shared inboxes where multiple team members are handling different aspects of communication. Email signatures, including inbox details and responsibilities, help recipients know whom they are communicating with and they can reach the right place for any specific queries.
For uniform branding
Creating team signatures with consistent logos, colors, and standard formatting ensures that all emails sent from the shared inboxes have uniformity. Signatures help you maintain a unanimous brand image for all the communications in shared inboxes.
Subtle brand promotion
A well drafted signature with company websites and social media profiles links also provides opportunity for subtle marketing and brand promotion.
For legal and compliance
Signatures can include legal disclaimers and compliance-related information. This ensures that all outgoing communications from the shared inbox comply with legal requirements and standards.
Creating team signatures in Zoho TeamInbox
In Zoho TeamInbox, team admins can create a shared signature for all the members in the team and have them assigned to specific inboxes. Multiple signatures can be created for the same inbox, and when you draft an email, you can choose the signature that should be sent out.
Steps for setting up team signatures
- Login to your Zoho TeamInbox account.
- Click the Settings icon. Click More Settings.
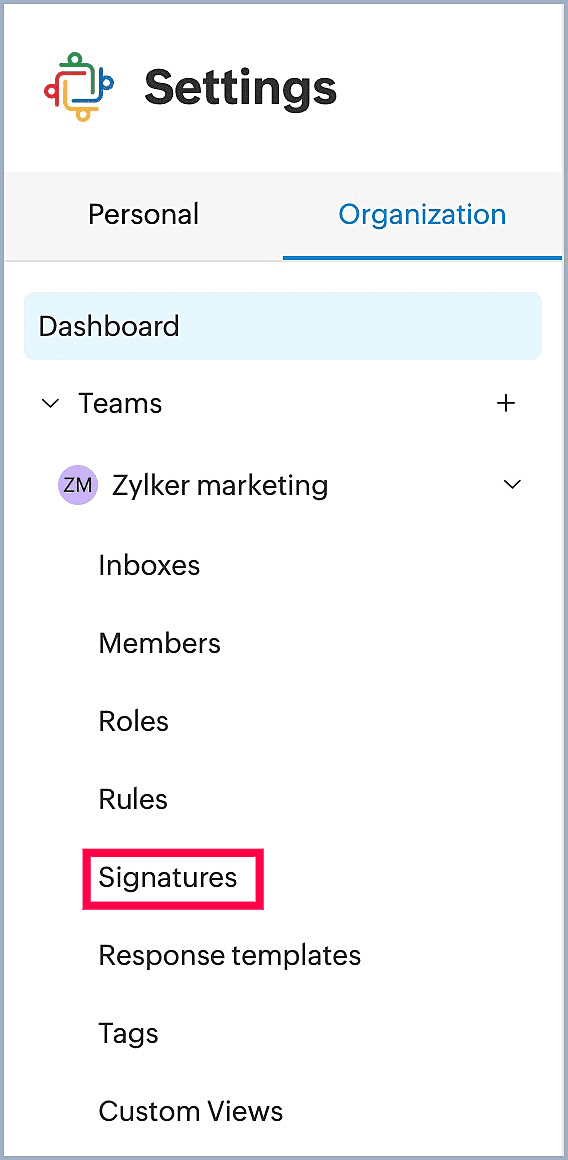
- Select the Signatures tab from Organization, and click Create signature.
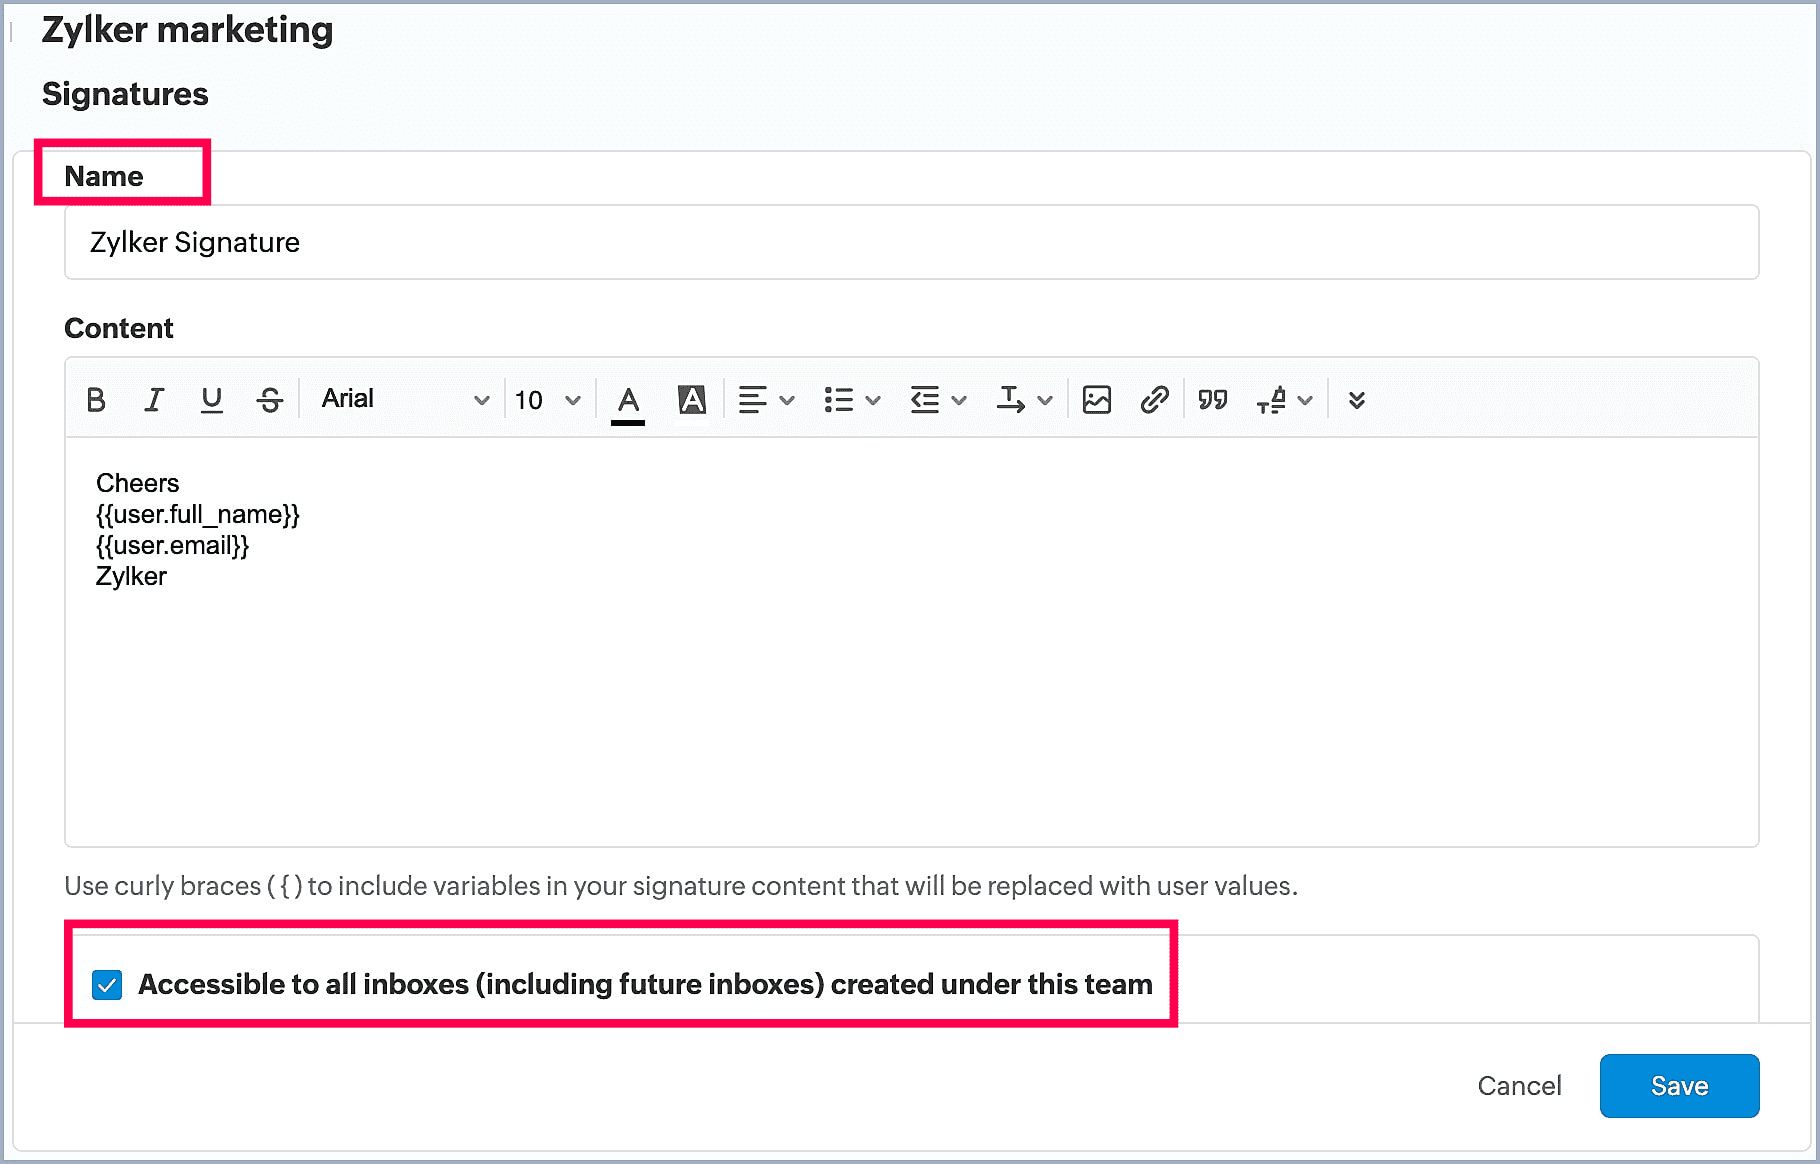
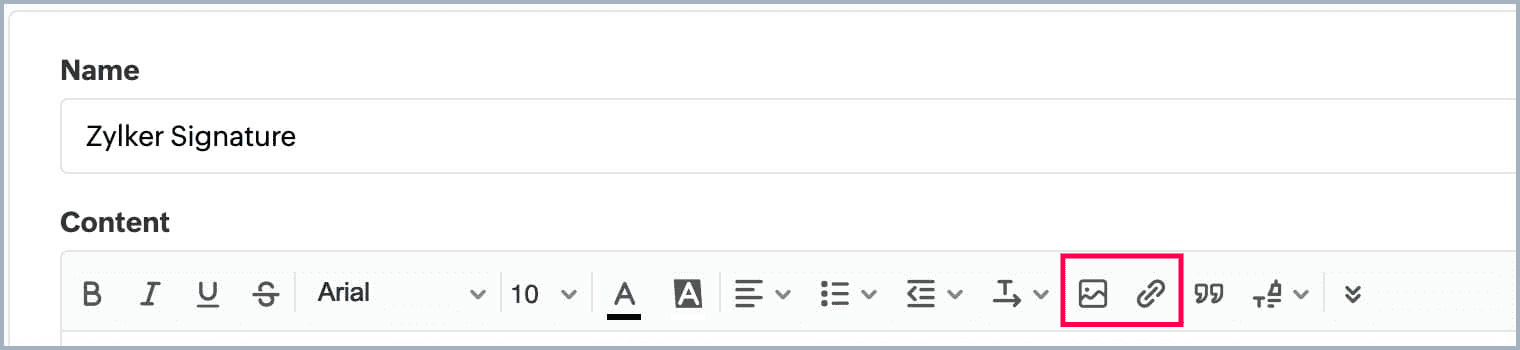
Enter a Name for your signature.
Enter the signature content into the editor. You can also include variables that will be replaced with users' values. Type '{' (curly bracket) into the editor, which will show you a list of the variables you can use.
Choose if this signature should be accessible to all the inboxes under the team or only specific inboxes.
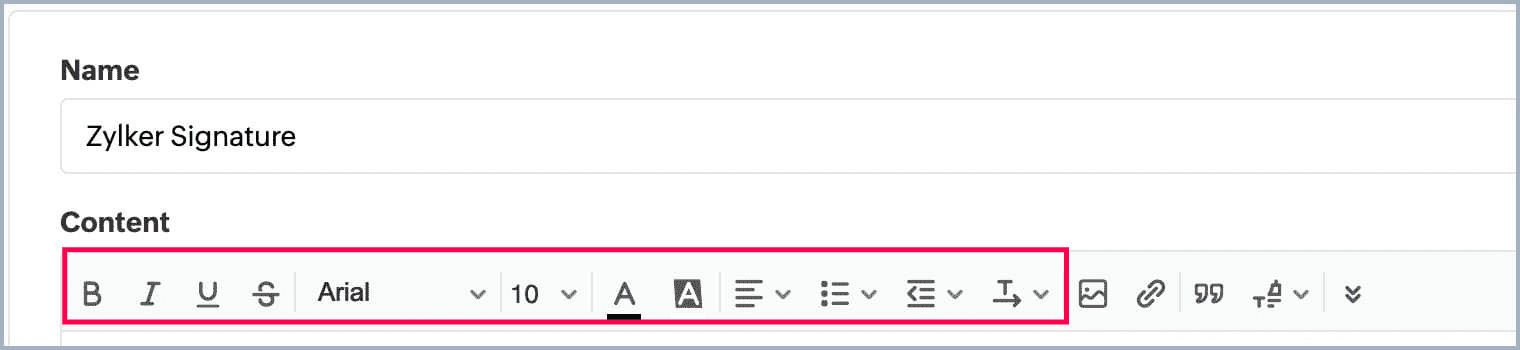
Customize your signature appearance from the editor menu.
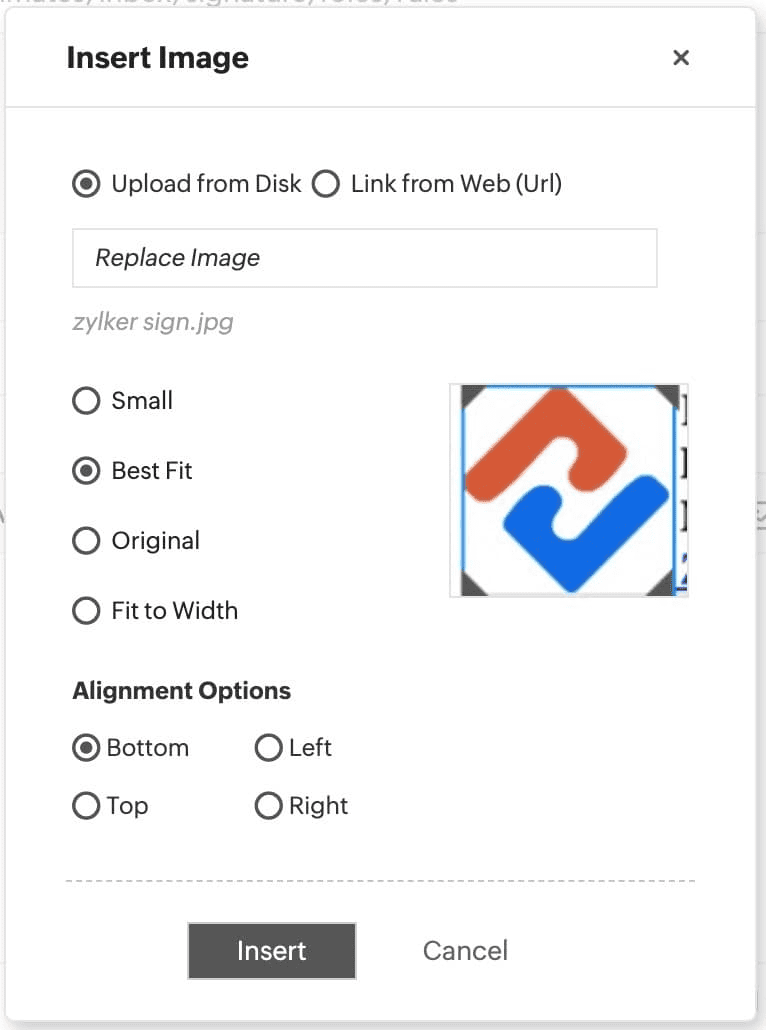
Add logo images, URLs, and social media links to enhance brand visibility in your signature.
To add an image, click Insert Image. Select the size and alignments from the given options. Click Insert.
Draft your team signature and click Save.
The team signature will be available for the inboxes that you have selected.