Compose Preferences
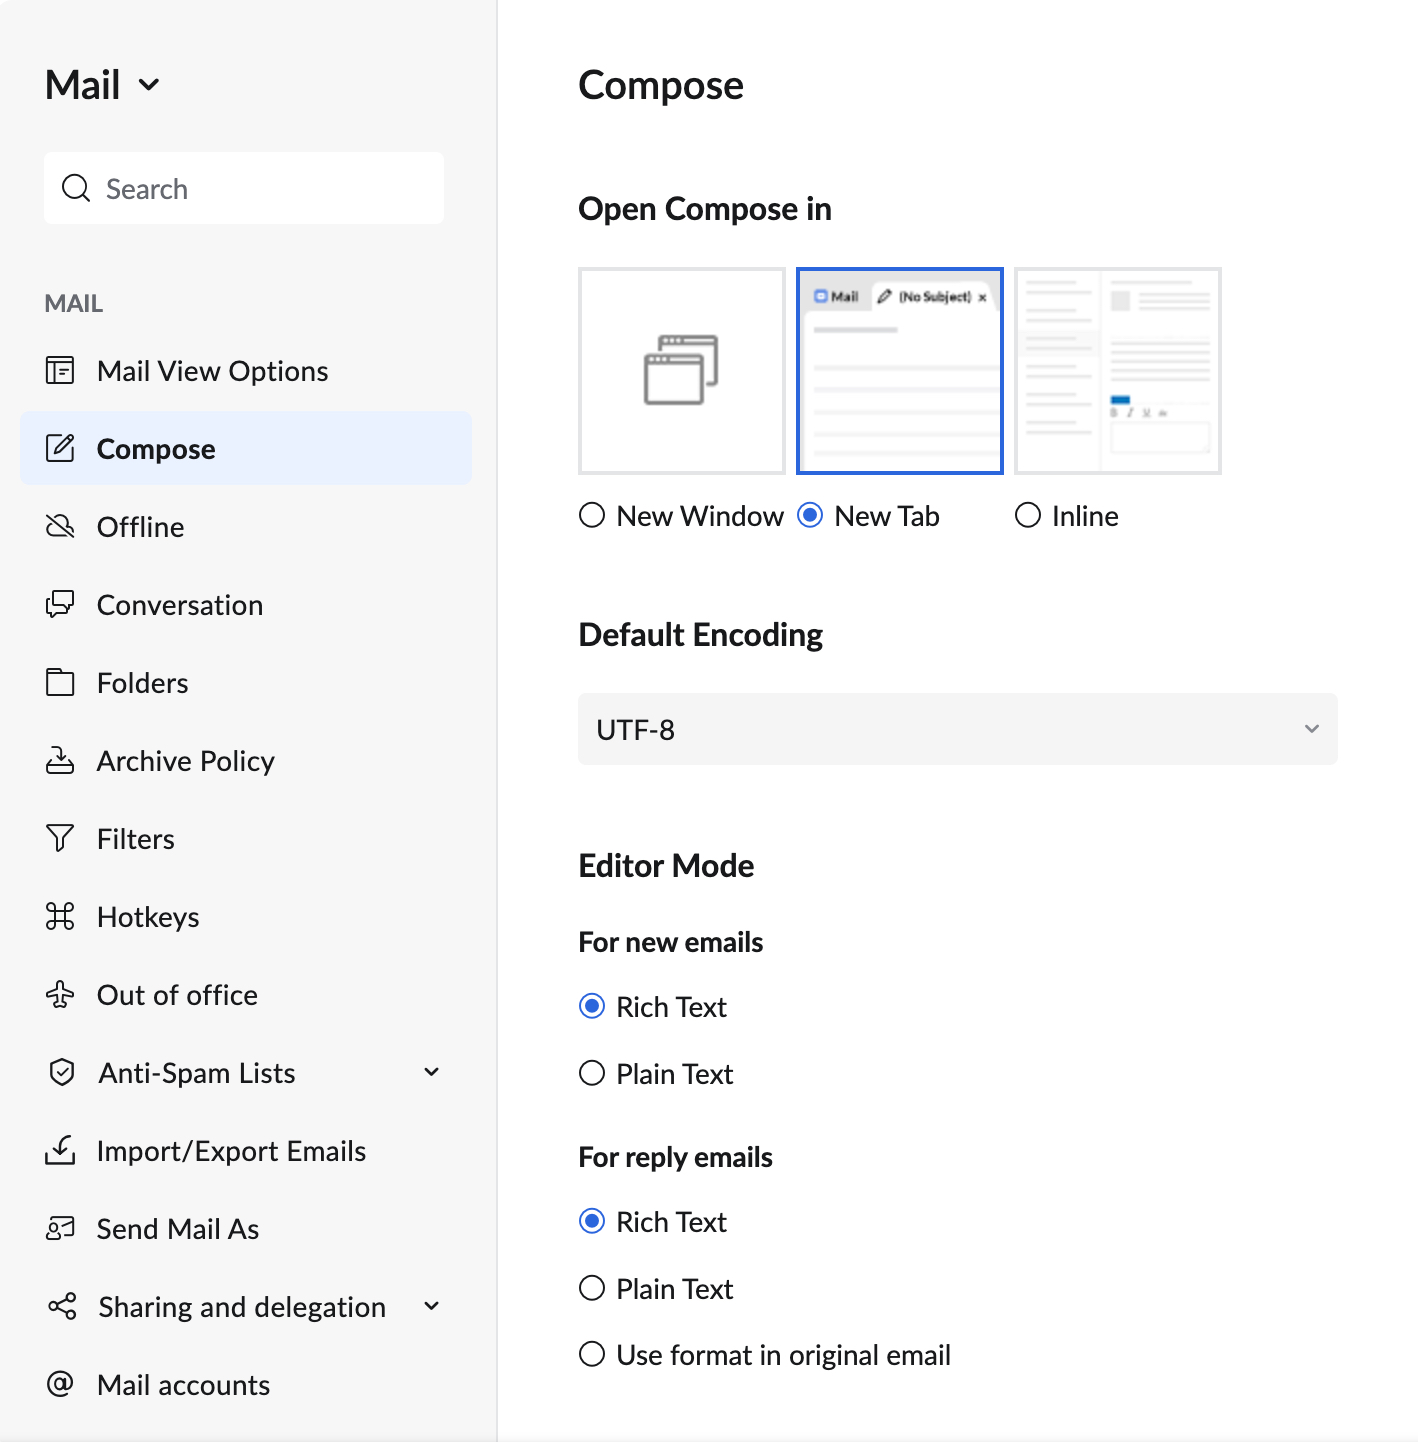
You can customize the default preferences for the email composer using the Compose Settings. The preferences can be set for the default Font settings, Encoding, Reply behavior and so on.
Go to Settings, and select Compose to set your preferences for the email composer.
Refer to the video below to learn more about Compose Preferences:
Reply/ Forward Behaviour
Reply editor view
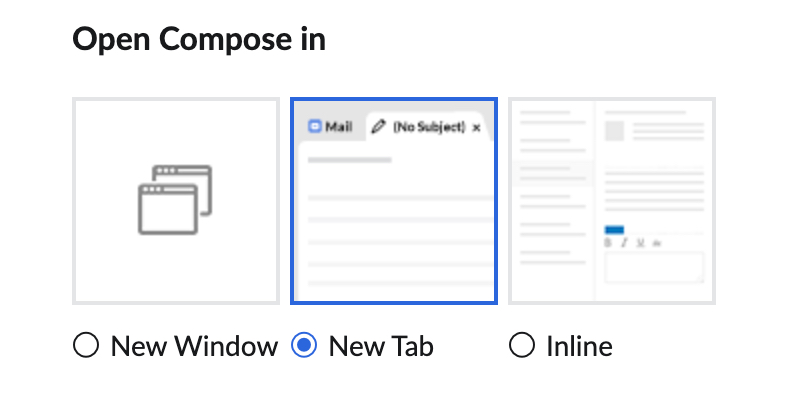
When you Reply to/ Forward emails, the composer will open as per your preferences. You can choose to open the composer in a new window or new tab or compose inline, from the Compose settings.
- Login to Zoho Mail
- Click the Settings icon.
- Navigate to Mail > Compose settings.
- Under Open Compose In, the following options are listed:
- Select Inline to reply/forward the message as inline text.
- Select New Tab to open the composer in a New Tab.
- Select New Window to open the email composer in a New Window.

If you have chosen the Compose Inline option, Zoho Mail opens a composer within the same tab, below the original email.
From address when replying
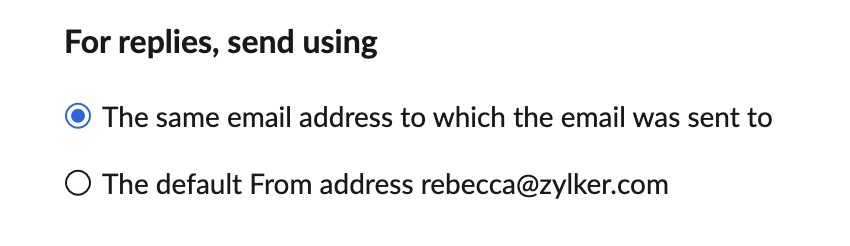
When you reply to/ forward emails, you can choose the email address from which the reply is sent.
- Login to Zoho Mail
- Click the Settings icon.
- Navigate to Mail > Compose settings.
- Under For replies, send using section, choose from the following options:
- Same email address to which the email was sent to - Reply to any email will be sent from the address the email was sent to.
- Default From address - Reply to any email will be sent from the address that you have set as the default email address.

Editor Mode
You can choose the type of editor you need to set as default for your Composer.
- Login to Zoho Mail
- Click the Settings icon.
- Navigate to Mail > Compose settings.
- Under Editor mode section, you will find the settings for new emails and replies/ forwards
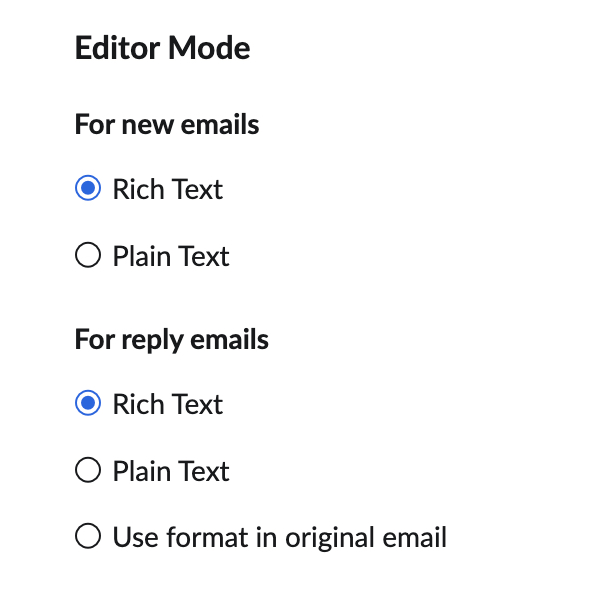
- For new emails
- Rich text - If you want the default composer to include formatting options
- Plain text - If you do not want formatting options in the default composer
- For replies/ forwards
- Rich text - If you want the default composer to include formatting options
- Plain text - If you do not want formatting options in the default composer
- Use format in original email - The format of the email you are replying to/ forwarding will be set as the default composer format
- For new emails

Reply Header Style
When replying to emails, you can choose how the reply header is displayed. Zoho Mail offers two options: Compact and Full header style. Follow the steps mentioned below to choose Reply header style:
- Log in to Zoho Mail
- Click the Settings icon.
- Navigate to Mail > Compose settings.
- Under Reply header style.

- Select your preferred option:

- Compact header style - Displays key details (date, sender, and email address) in a single line
- Full header style - Displays complete header details as in the original message, including Date, To, and Subject.
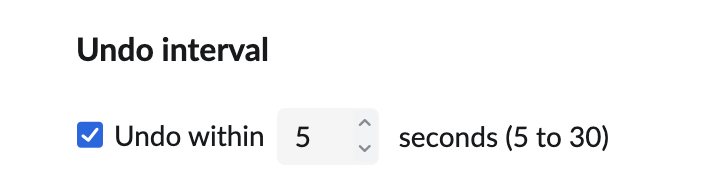
Undo Send
After clicking Send on an email, you can stop the sending using the Undo Send option
- Log in to Zoho Mail
- Click the Settingsicon.
- Navigate to Mail > Compose settings.
- Under Undo Send, set the duration for which you want the Undo option to be displayed after sending an email.

Refer to the video below to know more about Undo send:
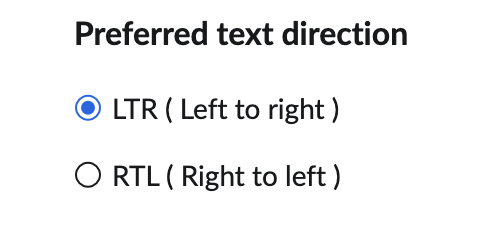
Text direction
You can decide the direction of typing in your email composer from the Compose settings
- Log in to Zoho Mail
- Click the Settingsicon.
- Go to Mail > Compose settings.
- Under the Text direction section, choose between LTR (Left to right) and RTL (Right to left).

Default Font Settings
You can set the font for your Outgoing messages from the Compose settings.
- Login to Zoho Mail
- Click the Settings icon.
- Go to Mail > Compose settings.
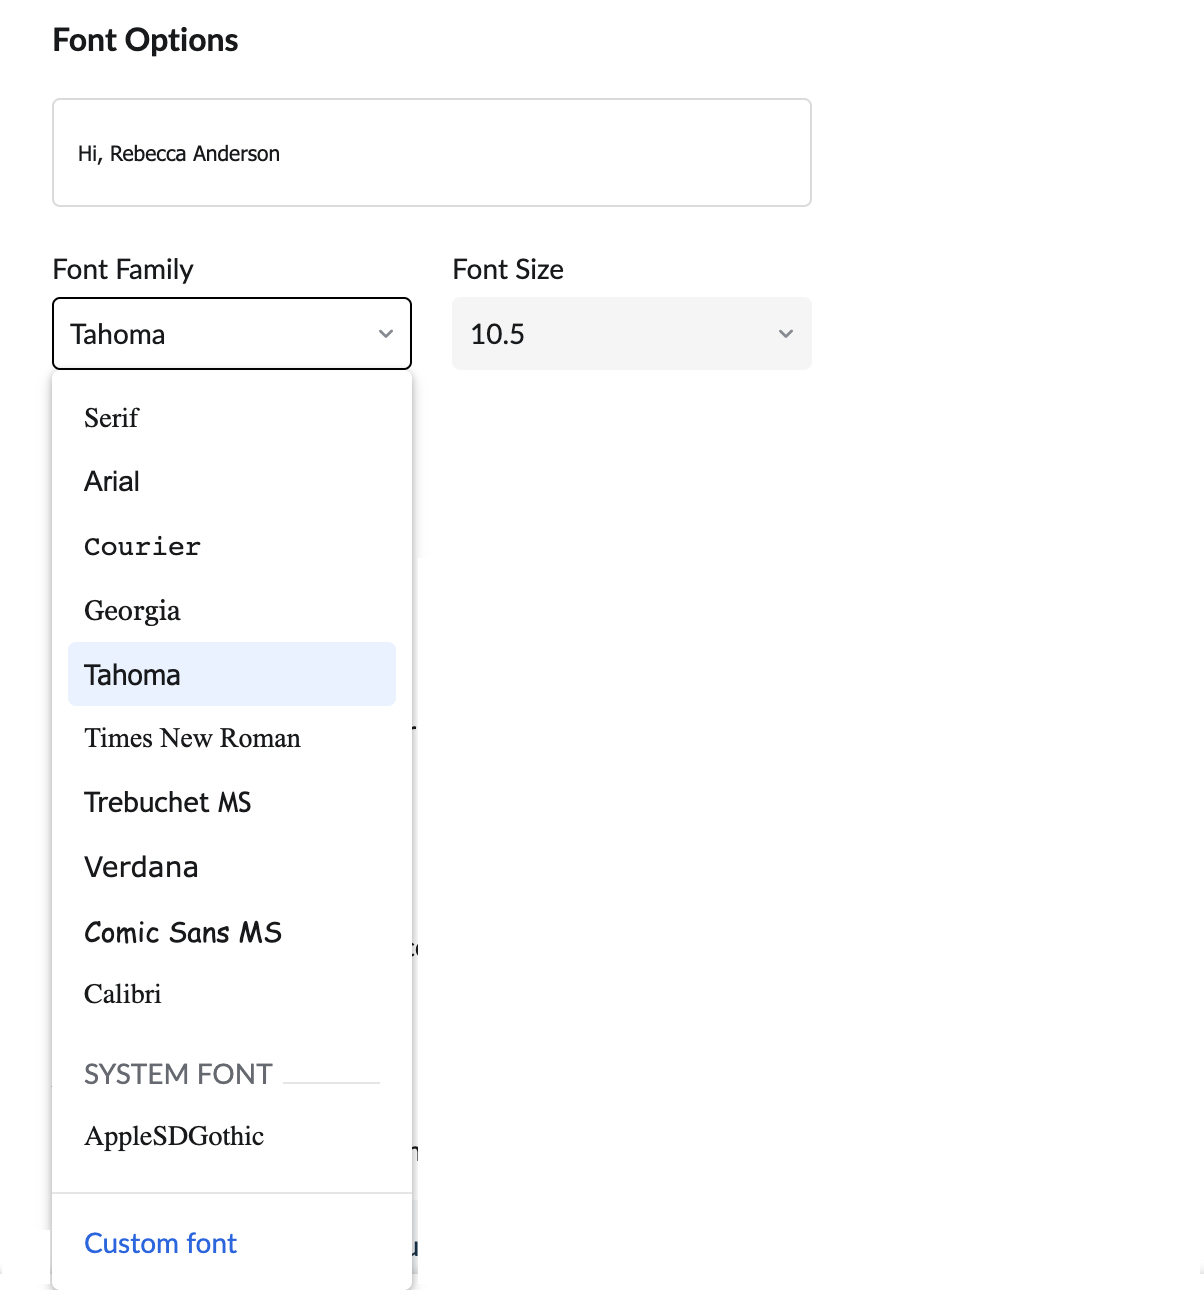
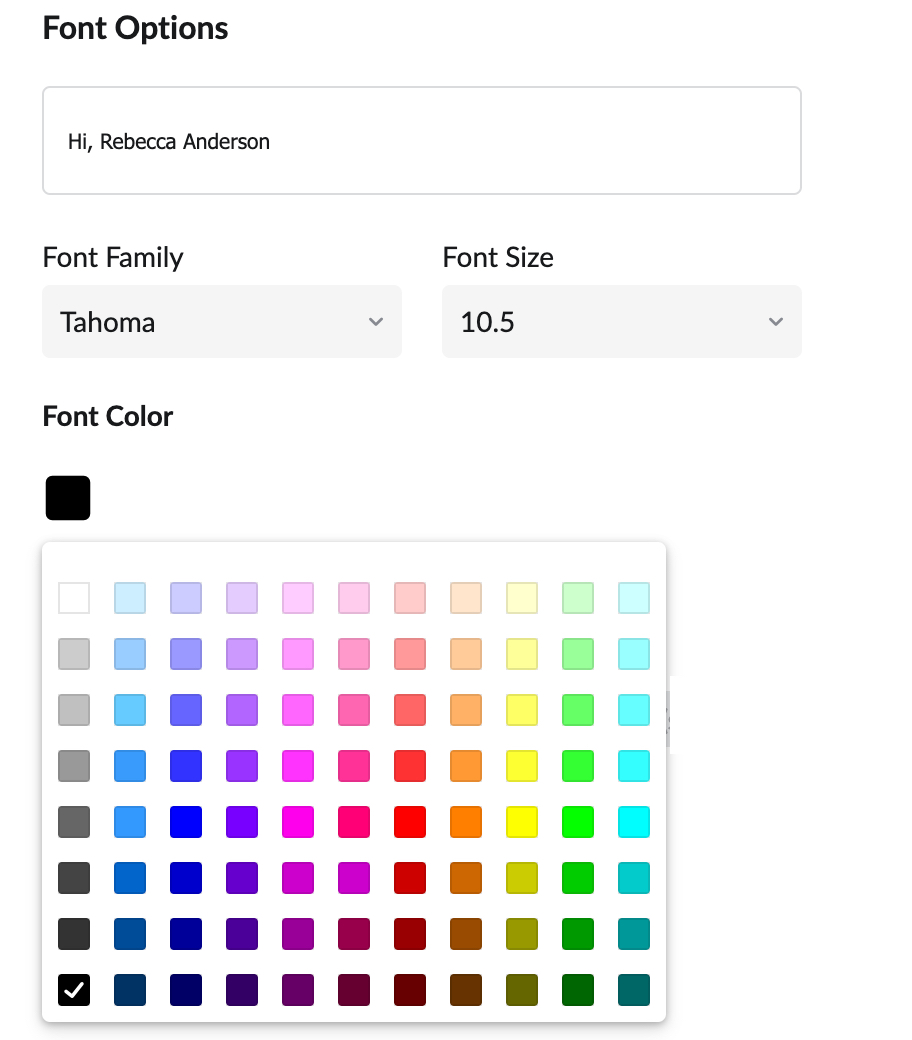
- Locate Font Options settings.
- Select the preferred settings for the following:
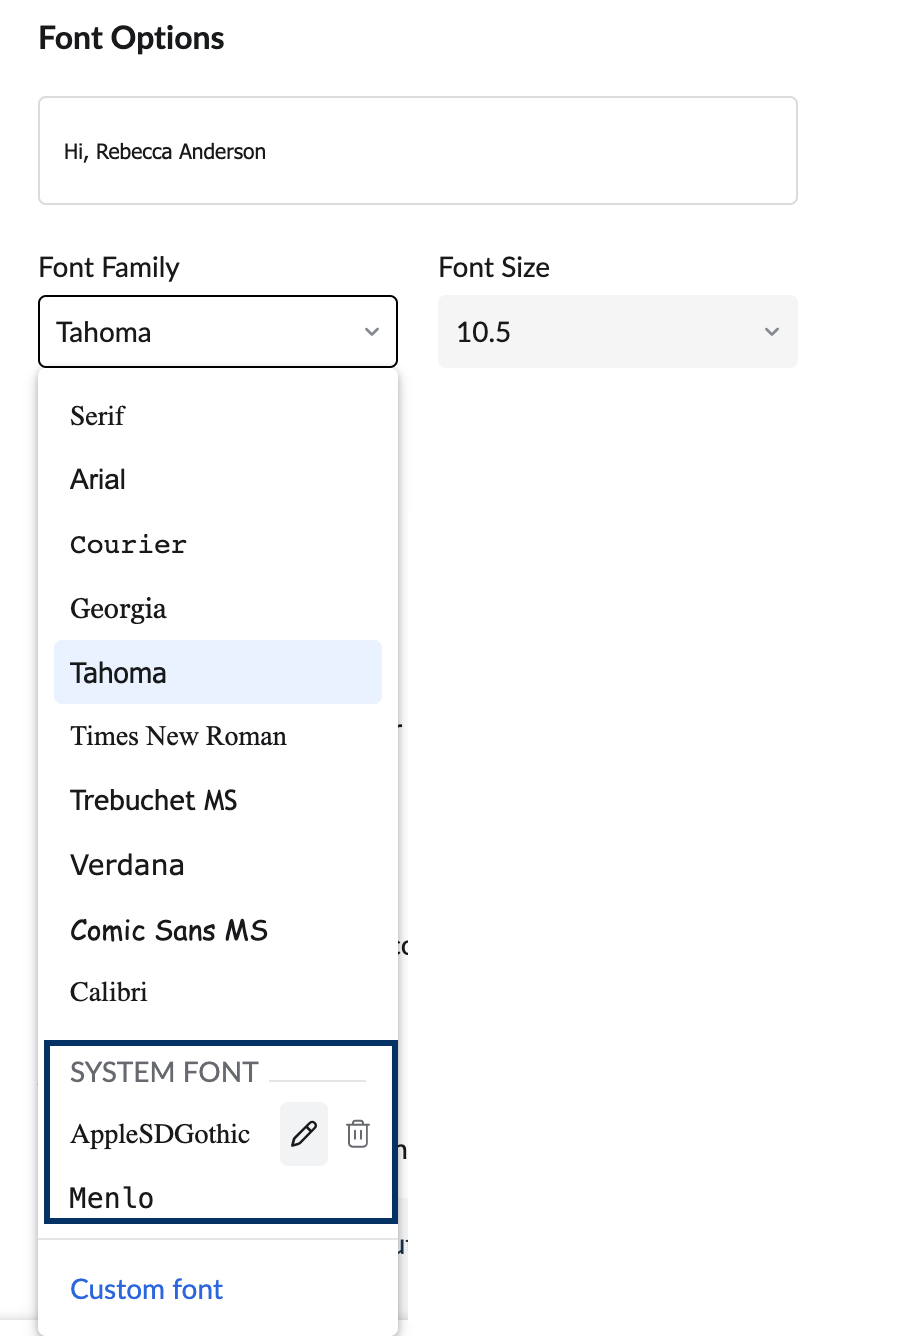
- Font family - Default font used in the Compose editor. You can choose from the given fonts or create your own custom fonts. Enter the font name in the System font box and press Enter to create the custom font. You can add upto 5 Different custom fonts.
- Font size - Default font size for Compose. Enter the desired Font size in the custom font size box at the end of the Font size field and press enter to create custom Font size. Floating point support is also provided for the font sizes.
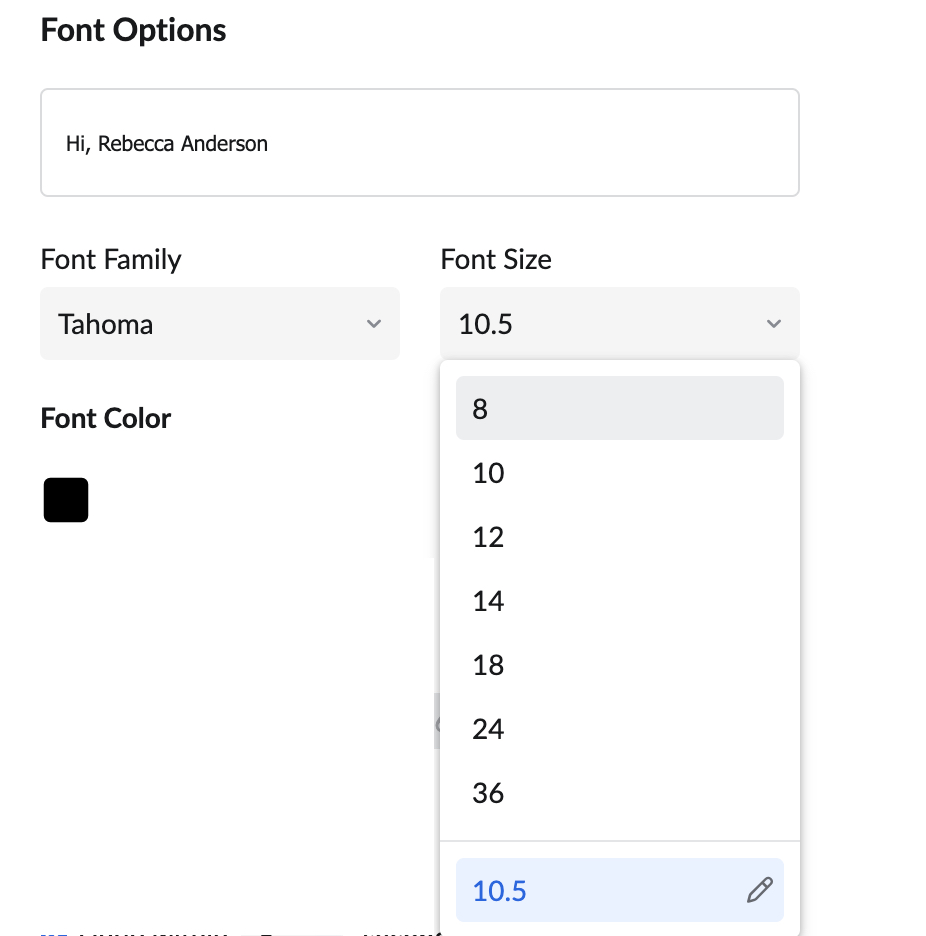
- Font color - Default font color used while composing emails.
- Font family - Default font used in the Compose editor. You can choose from the given fonts or create your own custom fonts. Enter the font name in the System font box and press Enter to create the custom font. You can add upto 5 Different custom fonts.


A preview of the selected font style and size will be displayed below the Font options.
Using System font as default font
You can choose a system font as the default font, to choose some font, not in the available options. Follow the steps below to choose a system font.
- Login to Zoho Mail
- Click the Settings icon.
- Go to Mail > Compose settings.
- Locate Font Properties Settings.
- Select System Font and type in the font you prefer.
- Select the newly added font.
- In the confirmation popup, click OK to make the custom font as the default font for outgoing emails.

To make sure that the emails are correctly displayed, ensure the following
- Make sure that the system font is installed in your system.
- When you type the font name, make sure that you do not make any typos in the font name. Font names are case-sensitive.
- The recipients should also have the same font installed in the system, for them to view the email correctly. Otherwise, the content will be displayed in the default font chosen in their browser.
- You can choose a single 'Custom font' as the default font for your outgoing emails.
Default Encoding
The encoding setting is mainly to make sure that the email text is readable at the recipient end. By default, the UTF-8 encoding is chosen and the emails sent with non-ASCII characters appear without any errors at the recipient end. Optionally based on the language you use to write emails, you may choose a different encoding option from the listing.
- Login to Zoho Mail
- Click the Settings icon.
- Go to Mail > Compose settings.
- Locate the Default Encoding section.
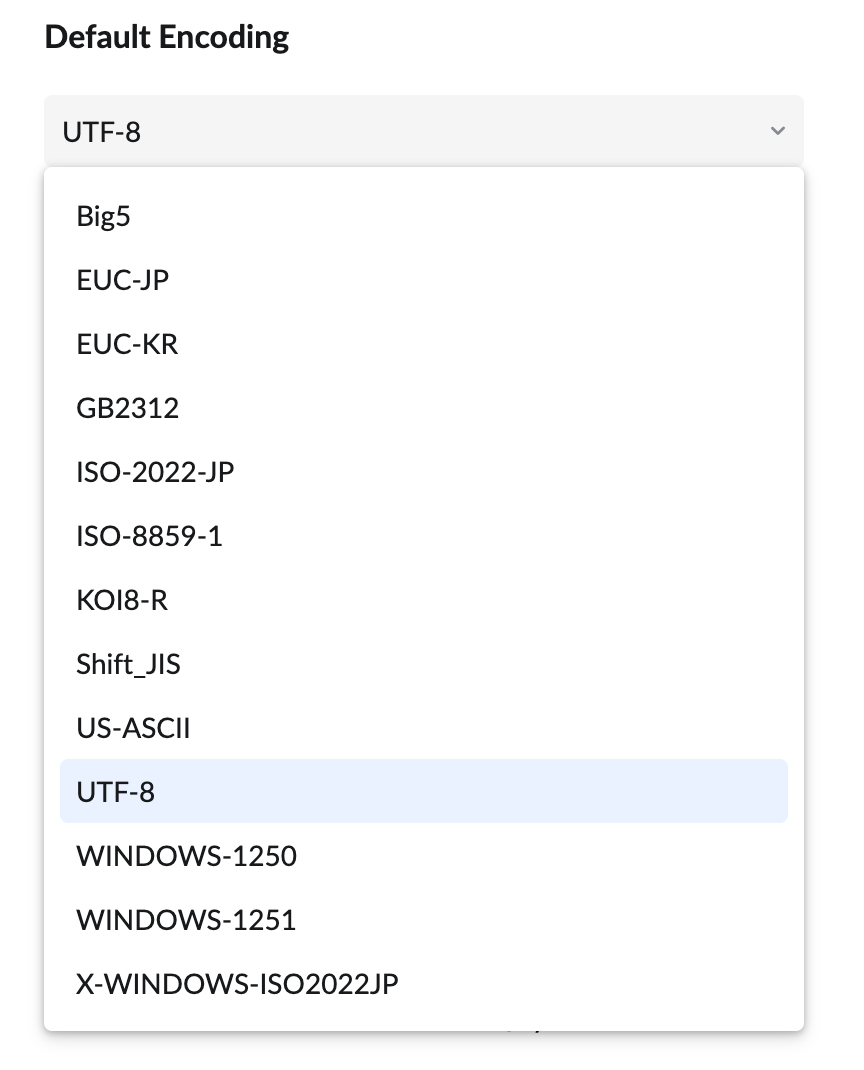
- Select the encoding of your choice from the drop-down.

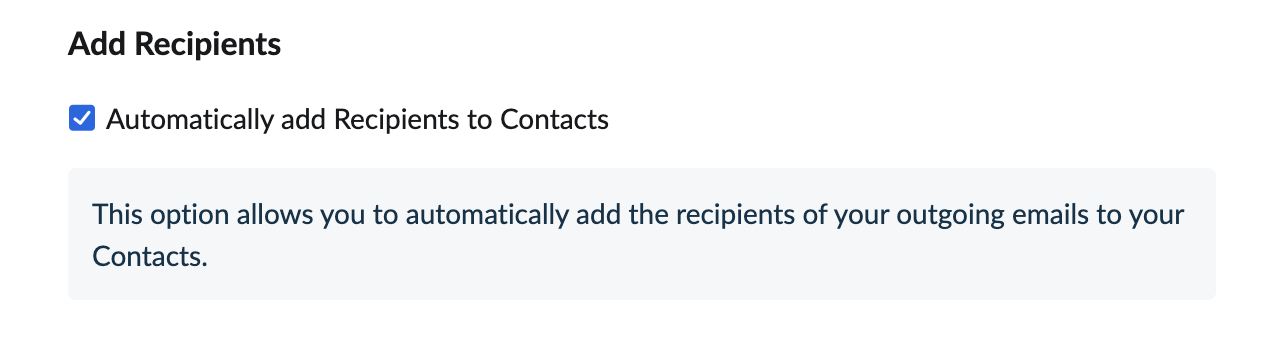
Automatically add recipients to Contacts
When you compose an email, the recipients who are not part of your address book already will be added by default. You can also opt to not add these recipients to your Contacts automatically.
- Login to Zoho Mail
- Click the Settings icon.
- Go to Mail > Compose settings.
- Check/ uncheck the Automatically add recipients to Contacts check box.

Enable/ Disable Outbox Delay
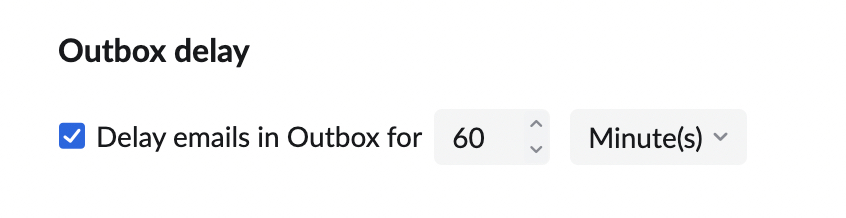
The Outbox Delay option lets you delay an email for a pre-defined duration, even after you hit the Send button. You can set the delay duration from 1minute to 120 minutes. All the emails that you send can be edited or even deleted from the outbox, in case you change your mind before the specified time period elapses. The emails in Outbox will be moved to the Drafts folder in Zoho Mail.
The Outbox delay is an alternate way to Undo Send after you hit the Send button. Even if the outbox is enabled, you can use the Send Right Now option (Ctrl+Shift+Enter)/ (Command+Shift+Enter) by clicking the drop-down next to the Send button in the email compose window to avoid the delay and send the email immediately.
You can also use the Send Later option to Schedule your email to be sent at a specific time. These scheduled emails will be moved to the Outbox folder.
To know more about Outbox Delay, refer to the video below:
Steps to enable/ disable Outbox:
- Login to Zoho Mail
- Click the Settings icon.
- Go to Mail > Compose settings.
- Locate Outbox delay section.
- Uncheck the check box if you want to send your emails without any delay.
- Check it, if you want to send your email after a predefined period. In this option, you can set the delay period in terms of the minutes or seconds by which you want the email to be delayed.

Refresh your webmail to apply the changes. If Outbox is enabled, the email will be moved to Outbox, once you click Send. It will be sent after the specified delay time elapses or when you click Send Right Now in the outbox. In case you scheduled emails using Send Later option the emails scheduled will also be moved to Outbox folder and sent at the specific scheduled time.
All the emails in outbox can be sent by selecting the emails, and choosing 'Send Right Now' from the top menubar. The emails that have been delayed will be sent to the recipients after the chosen delay period even if you are not online. Apart from the normal emails, the Scheduled emails will also be stored in the outbox.
Compose fields Settings
You can choose the fields you want to see in your email compose window. You can show or hide the Cc and Bcc fields.
- Login to Zoho Mail
- Click the Settings icon.
- Go to Mail > Compose settings.
- You can select the checkboxes to show or hide the fields
- Show CC in Compose - Select to view CC field in compose window.
- Show BCC in Compose - Select to view BCC field in compose window.


Automatic follow-up Reminders
Sometimes, the email you send may contain a meeting time or words like 'ASAP' making it a high-priority email and requiring a follow-up. To ensure you are reminded of it, enable the option Remind to Follow up when sending emails in Settings. This option when enabled will automatically trigger a reminder to follow up on the email based on selective keywords. To enable the option, follow the below steps.
- Login to Zoho Mail
- Click the Settings icon.
- Go to Mail > Compose settings.
- Scroll down and find the option Remind to follow up when sending emails.
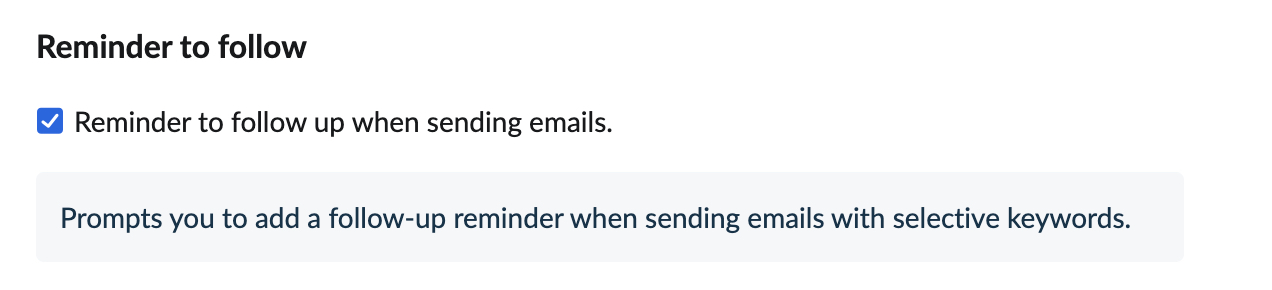
- Select this option and any further emails containing the selective keywords will automatically trigger a follow-up reminder.

Auto-hide recipient fields
If you turn on the Auto-hide recipient setting, the recipient field (To, Cc, and Bcc) will be hidden when you start drafting your email. This provides more space to focus on composing your email. Even though the recipient fields are hidden, you will still see how many email addresses you have added for each field. To enable the option, follow the below steps:
- Login to Zoho Mail
- Click the Settings icon.
- Go to Mail > Compose settings.
- Scroll down and find the option Auto-hide recipient fields.

- Select the checkbox to only focus on your compose body when you start drafting your email.

Related Pages
Sending Emails | Manage Mail Settings | Email Scheduling | Email Reminders and Follow-ups