
How do I enter customer advances and vendor advances in opening balances?
To enter customer advances or excess payments in opening balances:
- Go to Settings and navigate to Opening Balances.
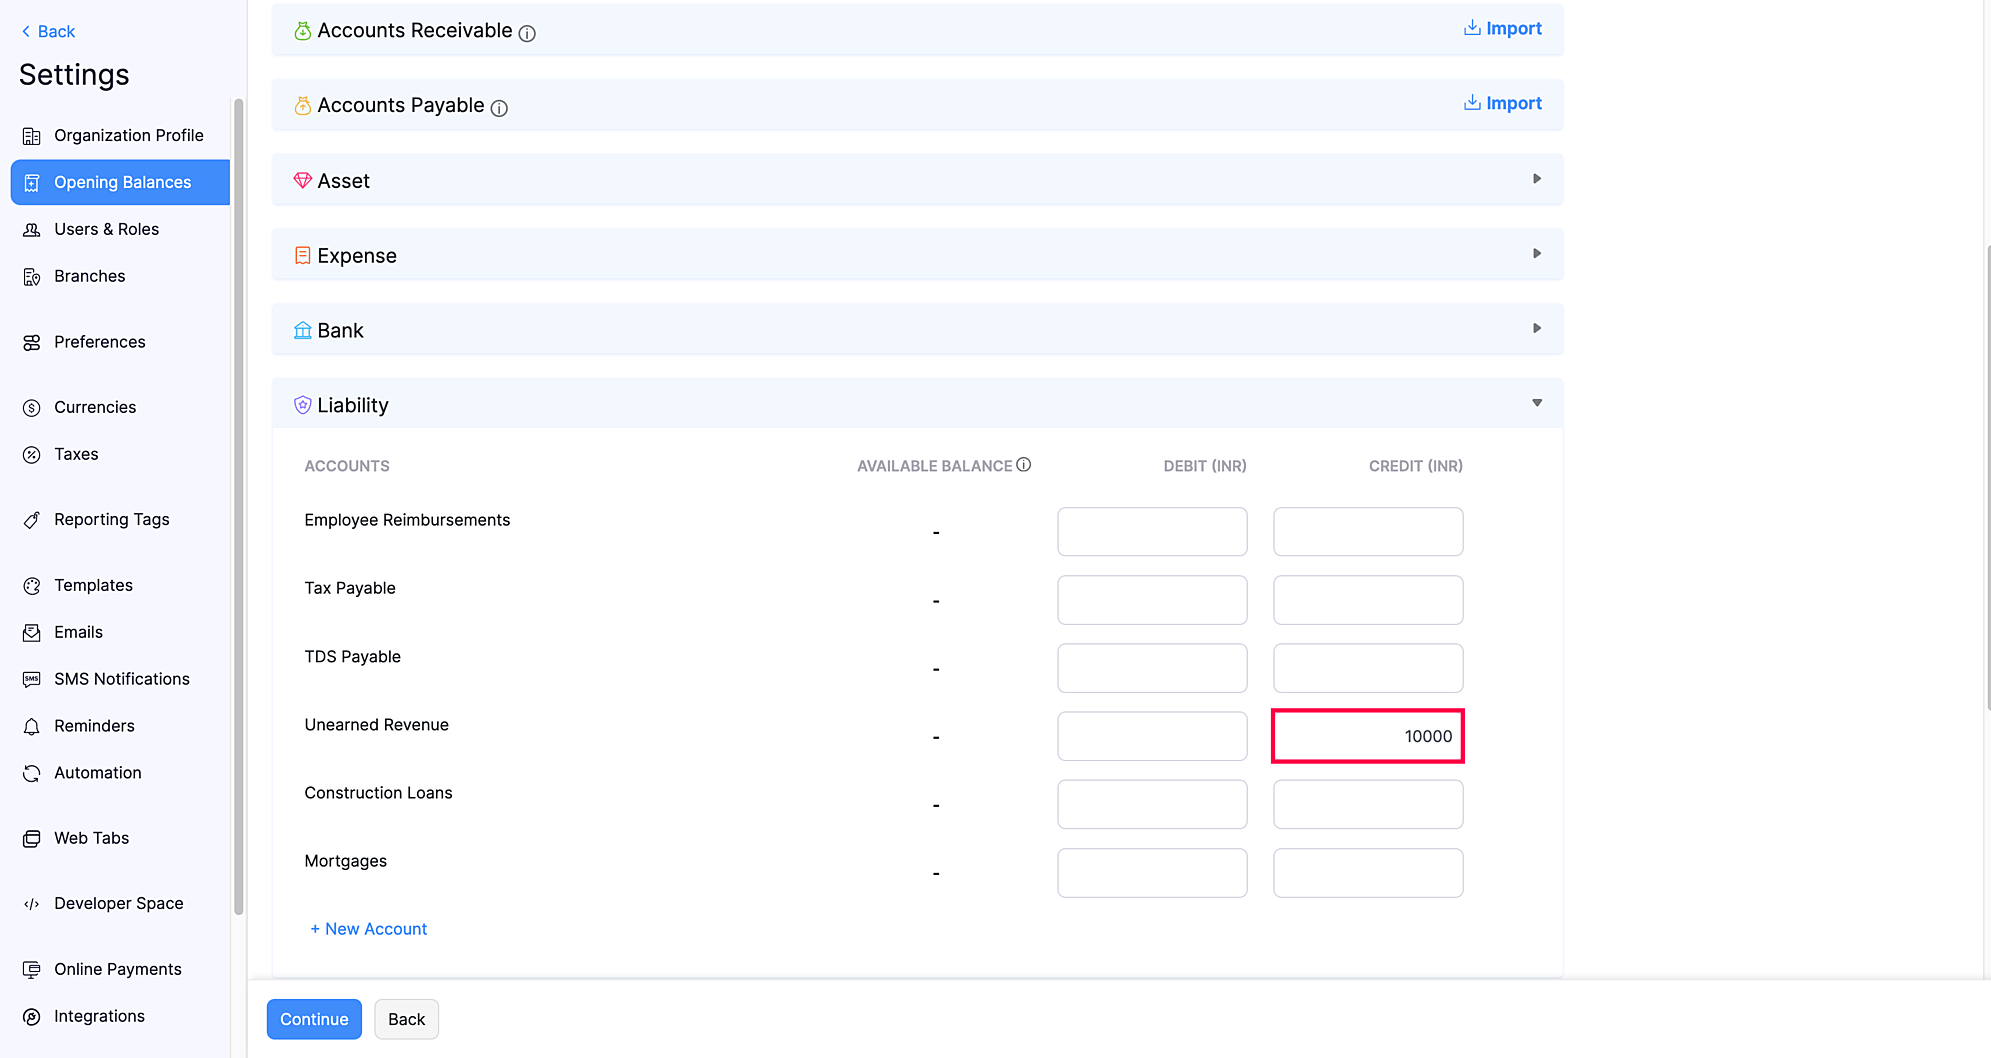
- Click the Edit button and go to the Liability section.
Note: If you’re entering opening balances for the first time, you can directly go to the Liability section and enter the amount.
- Enter the consolidated opening balance amount in the Unearned Revenue’s Credit column under the Liability section.
- Click Continue and verify the amount in the Preview page.
- Click Confirm.
You’ll have to create Customer Advance with the date as the previous date of the opening balance date. For example, if the migration date entered is 1 April 2022, you’ll have to create a customer advance with the date on or before 30 March 2022. To create a customer advance:
- Go to the Payments Received module under Sales on the left sidebar.
- Click the + New button on the top-right corner.
- Go to Customer Advance tab and fill in all the necessary details.
- Click Save to proceed.
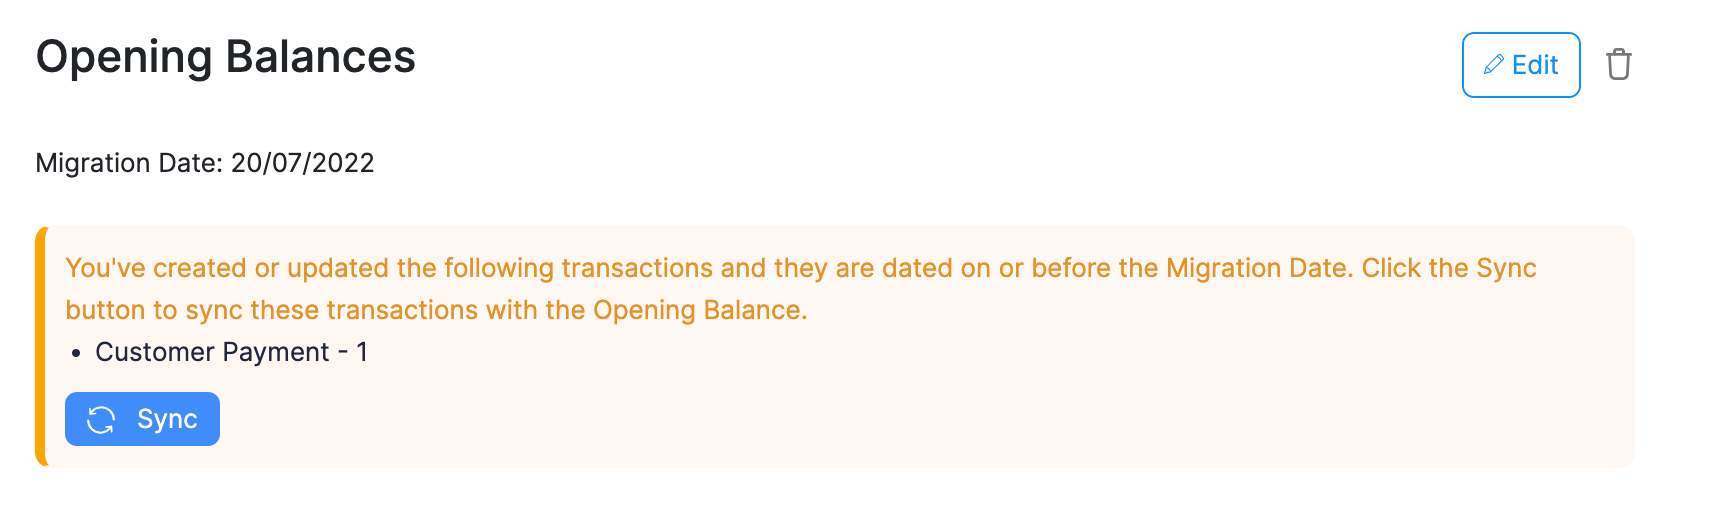
After creating the customer advance, you’ll have to sync these transactions with the opening balance date to record it as a customer advance or an excess payment. Here’s how:
- Go to Settings and navigate to Opening Balances.
- Click the Sync button under Opening Balances.
The payment will be recorded as an excess payment and the amount will be shown under Unused Credits of that particular customer’s detail page.
To enter vendor advances or excess payments in opening balances:
- Go to Settings and navigate to Opening Balances.
- Click the Edit button and go to the Asset section. If you’re entering opening balances for the first time, you can directly go to the Asset section and enter the amount.
- Enter the consolidated opening balance amount in the Prepaid Expenses’ Debit column under the Asset section.

- Click Continue and verify the amount in the preview page.
- Click Confirm.
You’ll have to create Vendor Advance with the date as the previous date of the opening balance date. For example, if the migration date entered is 1 April 2022, you’ll have to create a vendor advance with date on or before 30 March 2022. To create a vendor advance:
- Go to the Payments Made module under Purchases on the left sidebar.
- Click the + New button on the top-right corner.
- Go to Vendor Advance tab and fill in all the necessary details.
- Click Save to proceed.
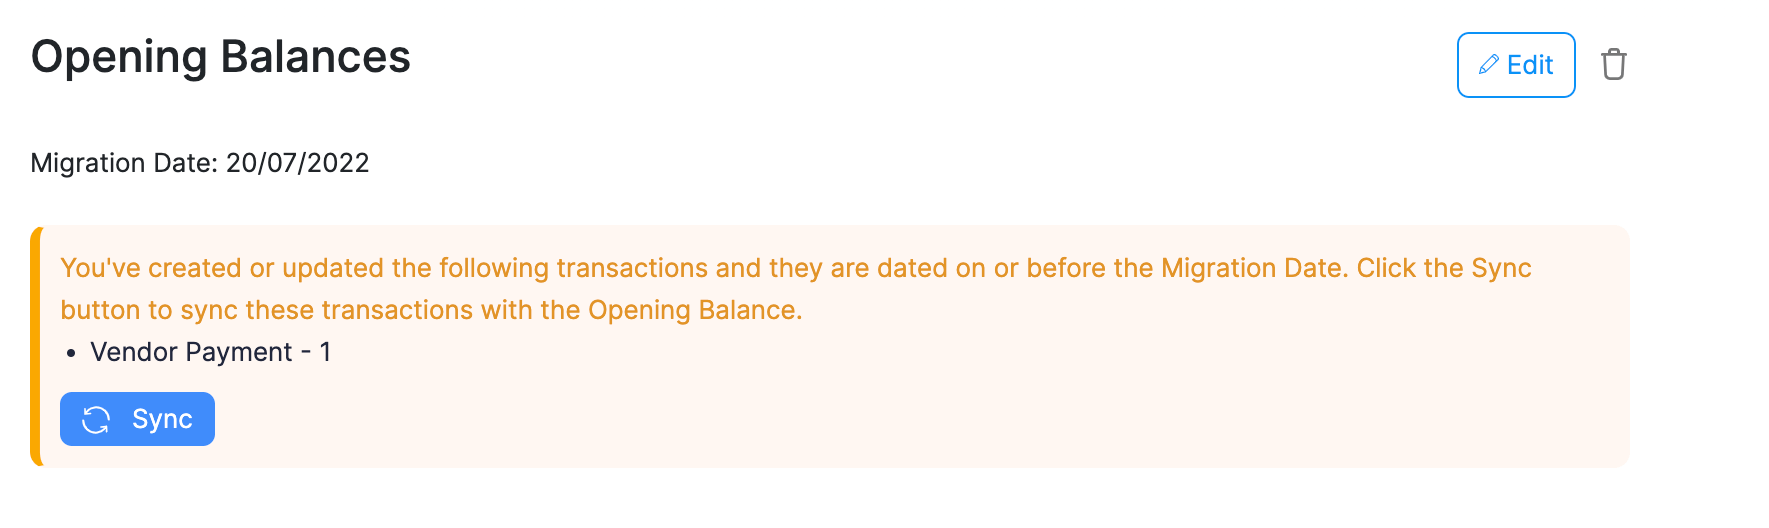
After creating the transactions, you’ll have to sync these transactions with the opening balance date to record it as a vendor advance or an excess payment. To do that:
- Go to Settings and navigate to Opening Balances.
- Click the Sync button under Opening Balances.
The payment will be recorded as an excess payment and the amount will be shown under Unused Credits of that particular vendor’s detail page.
 Yes
No
Yes
No
Thank you for your feedback!