Installing Zoho Creator On-Premise
This guide will help you in successfully installing Zoho Creator on your Windows and Linux machines.
System requirements
| Hardware | Minimum | Recommended |
| Processor | 2.4 GHz or faster, 4 core, x64 bit processor | 3.4 GHz or faster, 8 core, x64 bit processor |
| RAM | 8 GB* | 16 GB* |
| Disk space | 200 GB* | 500 GB* |
* Additional space might be needed based on the increasing number of Apps, Reports, Files, Users, Concurrent Accesses, Workflows, and Schedules.
Prerequisites
- Exclude anti-virus scan for the folder where Zoho Creator onpremises is installed (eg. C:/Zoho/Creator/onpremises)
- The hostname of the server where Zoho Creator onpremises is to be installed should not contain the underscore ( _ ) symbol in it. The underscore may affect the application startup and make certain services inaccessible on TCP/IP networks. For example, use the server hostname: https://zoho-creator:8443 instead of https://zoho_creator:8443
- The default port used by the application is 8443. 8443 (configurable at the time of installation) is the webserver port, on which the web client will be accessible. This port should be open on your firewall in order to access the application from other workstations on your network.
- Zoho Creator onpremises can be installed on virtual servers. In such cases, Dynamic Resource Balancing should be turned off by configuring Distributed Resource Scheduler (DRS) at the ESX/VMlevel.
Domains to whitelist in firewall
| Domain | Reason | |
| creatorapp.zohopublic.com | Notification banner for security fixes, EOS announcement and new release | Mandatory |
| securitycontact.manageengine.com | To save and update security advisory contact info | Mandatory |
| forms.manageengine.com | For Presales and customer support | Optional |
| maps.zoho.com/maps.zoho.eu | To load maps | Optional |
Inbound and Outbound Port rules
| Inbound | Port |
| Creator app server | 8443 |
| Widget port | This may vary based on the customer's infrastructure setup. |
| Outbound | Port |
| ISMTP | 25, 465, 587 |
| IMAP | 993 |
| Proxy server | This may vary based on the customer's infrastructure setup. |
| Integrations from Creator | This may vary based on the customer's infrastructure setup. |
Recommended web browsers
Zoho Creator can be accessed using any of the following web browsers:
- Google Chrome version 100 or above
- Mozilla Firefox 90 or above
- Safari 14.1.2 or above
- Internet Explorer version 11 or above ( For IE 9 & IE 10 settings should be changed on the customer end to enable TLS1.2 )
* Always use the latest version of the browser for better security and the best possible experience.
Supported DBMS
- PostgreSQL - bundled by default within Zoho Creator's Windows and Linux installables
Install Zoho Creator on Windows
- Download the required installable for Windows.
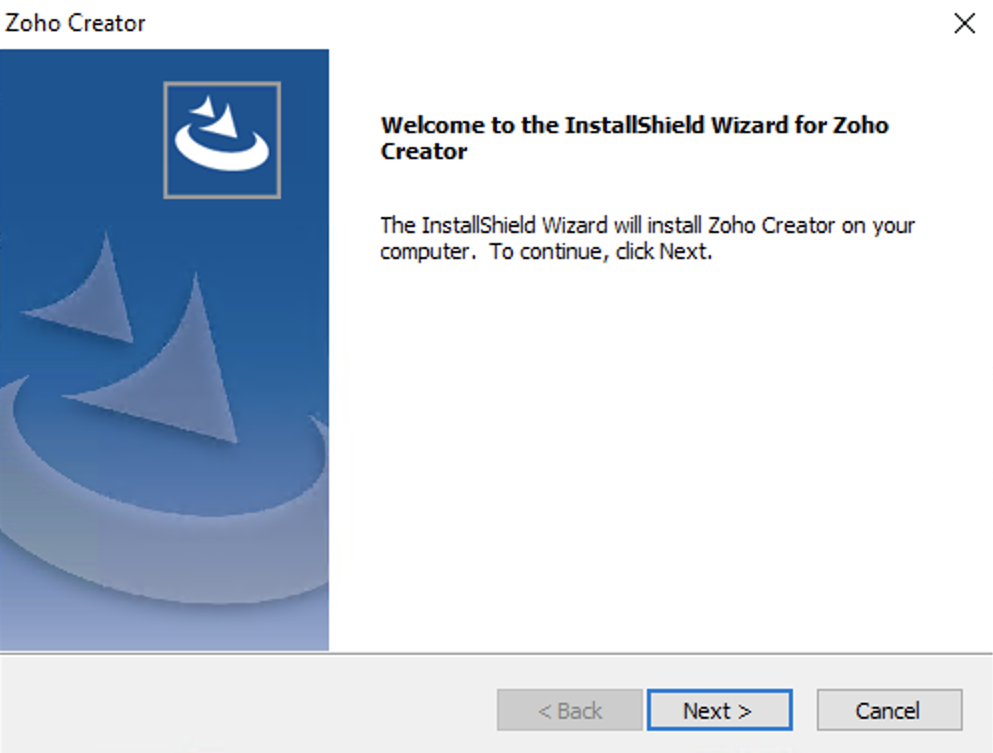
Double click the downloaded file. Click Next in the InstallShield Wizard for Zoho Creator:
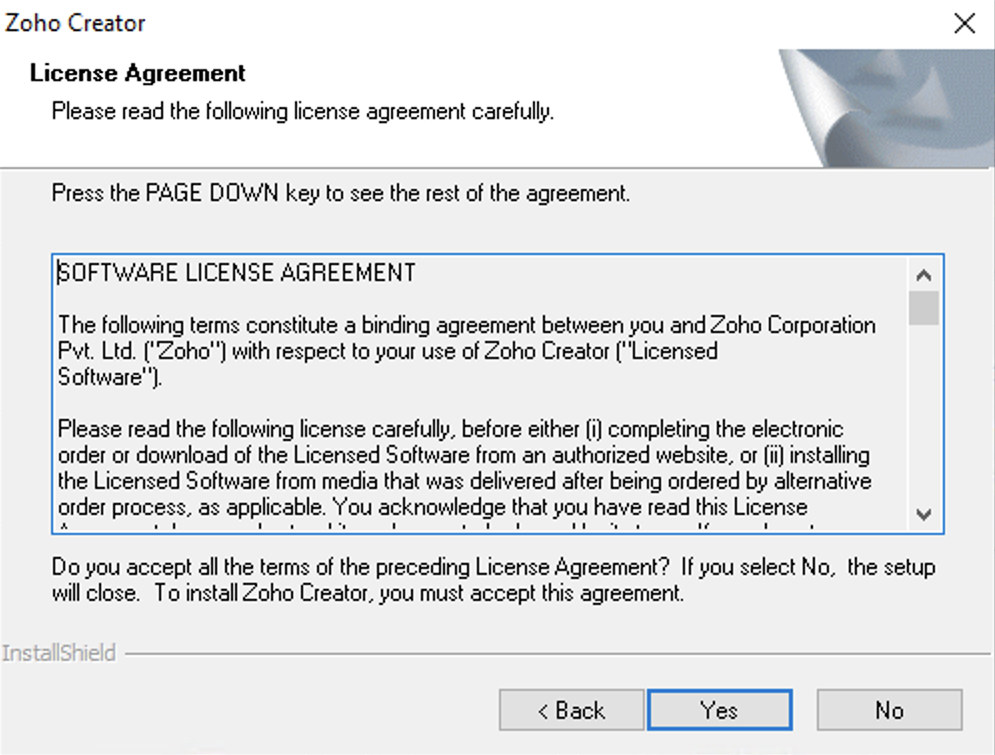
Read the License Agreement, then click Yes:
- Select the Primary Server radio button in the following screen, and click Next to proceed with the installation process. Upon successful installation, your primary server will be configured.
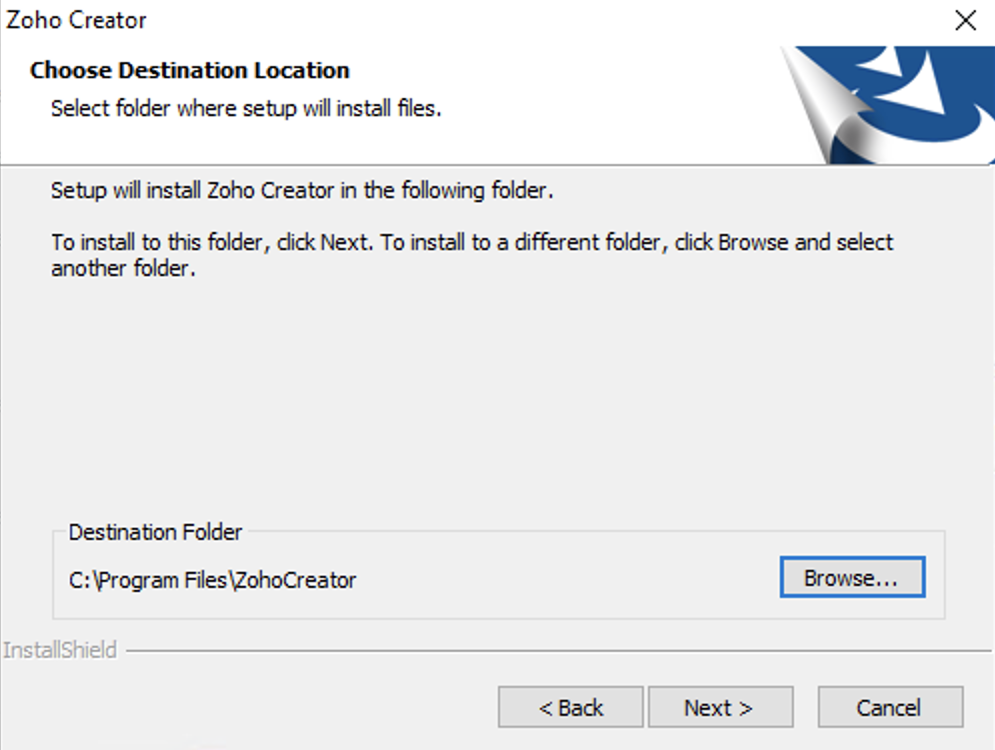
Set the Destination Folder, then click Next:
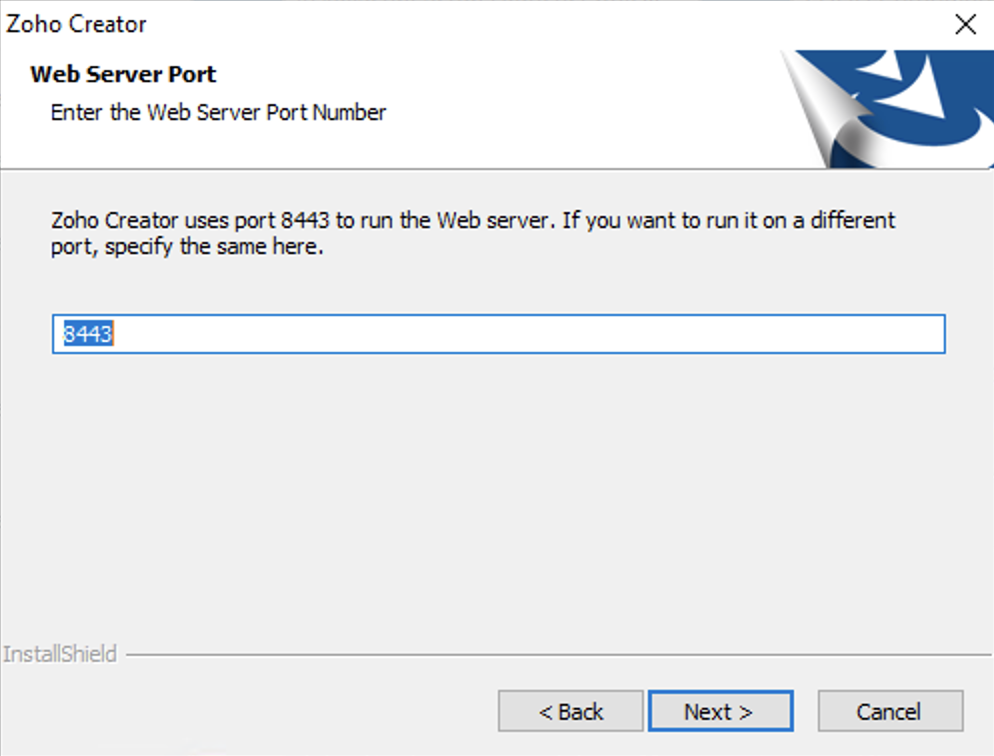
Set the Web Server Port, then click Next. It'll be set as 8443 by default.
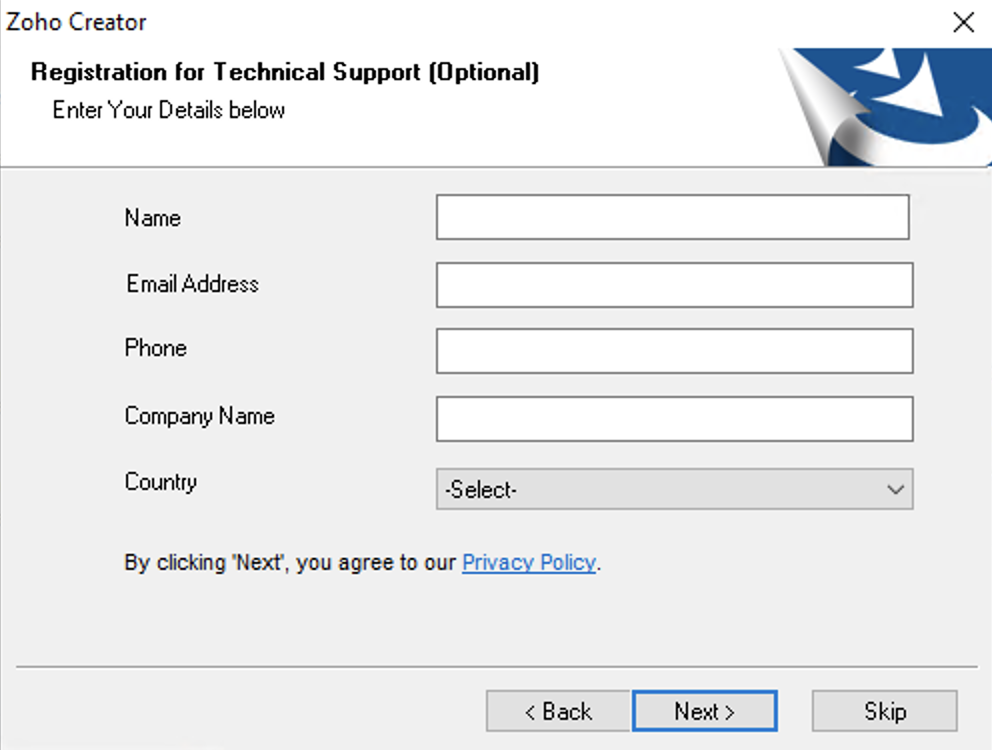
(Optional) Enter your details for contacting Zoho's technical support:
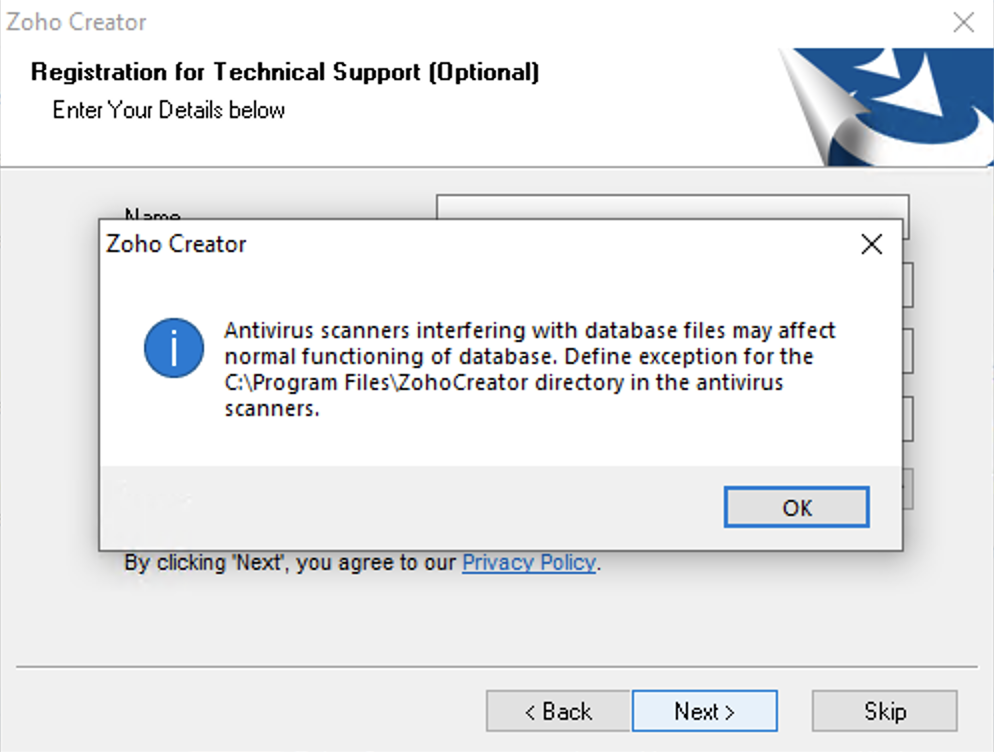
You'll be prompted to define exceptions for the ZohoCreator directory from the antivirus scanners:
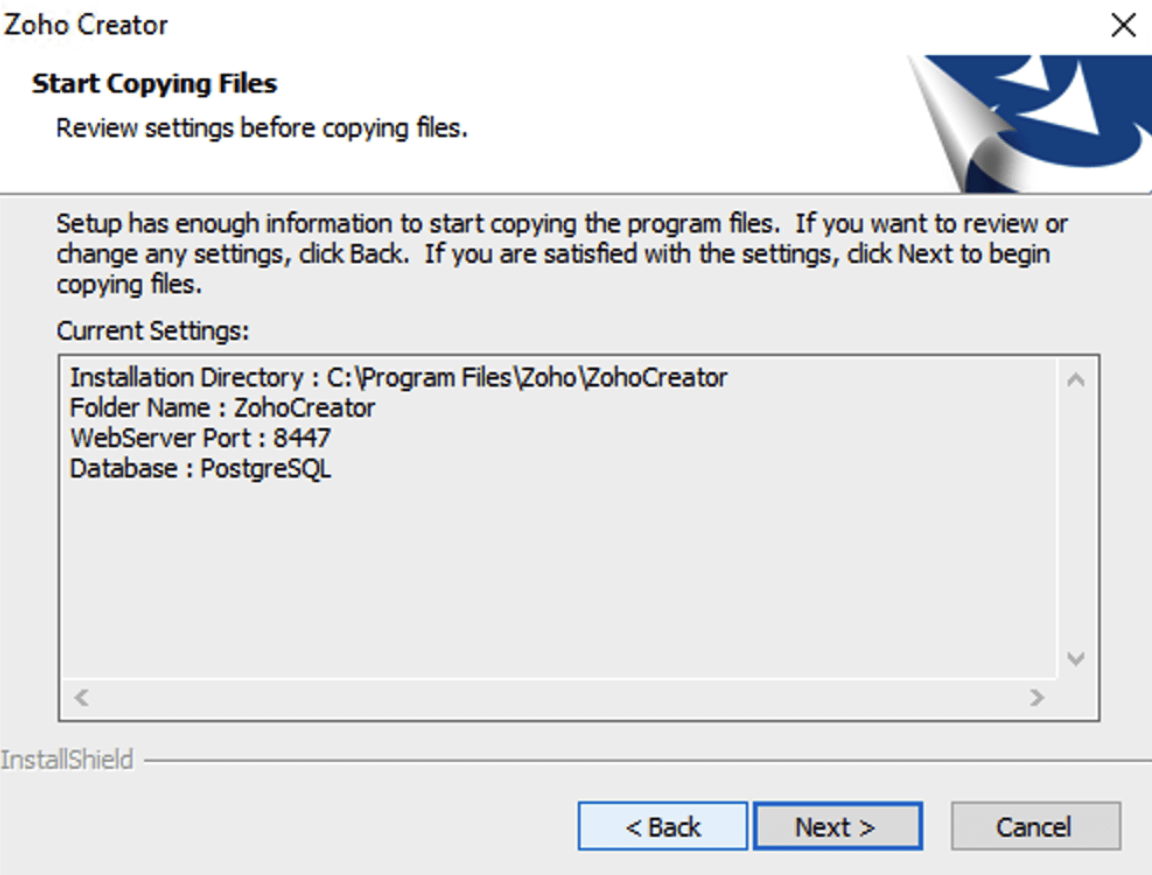
Review the setup information then click Next:
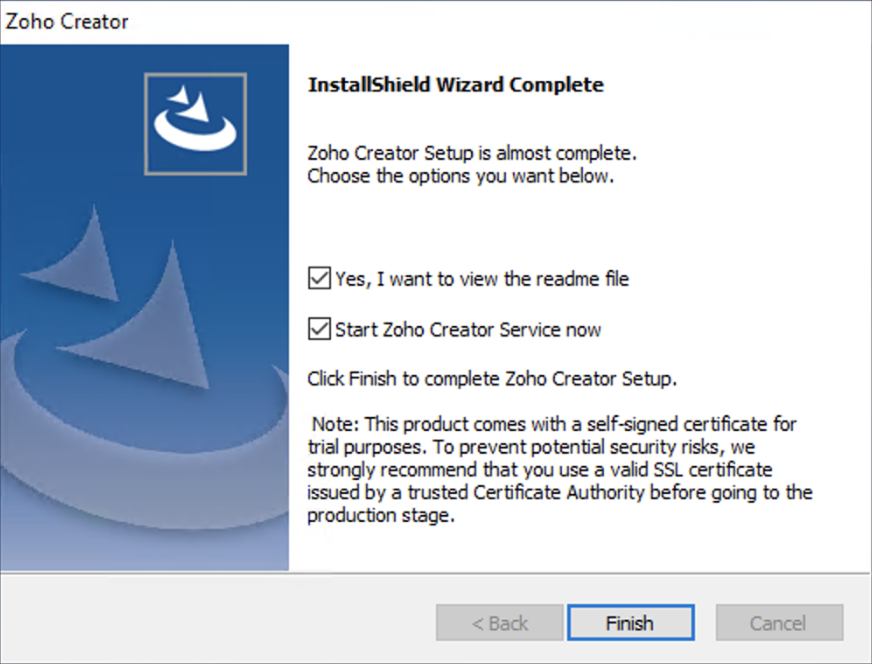
Click Finish:
- Once the service has successfully started, the Creator login page will open in a browser window where you can login using the default username/password combination of admin/admin. These credentials must be changed after your first login.
- Alternatively, you can start the Creator server by following the steps in this page.
Install Zoho Creator on Linux via GUI
- Download the required installable for Linux.
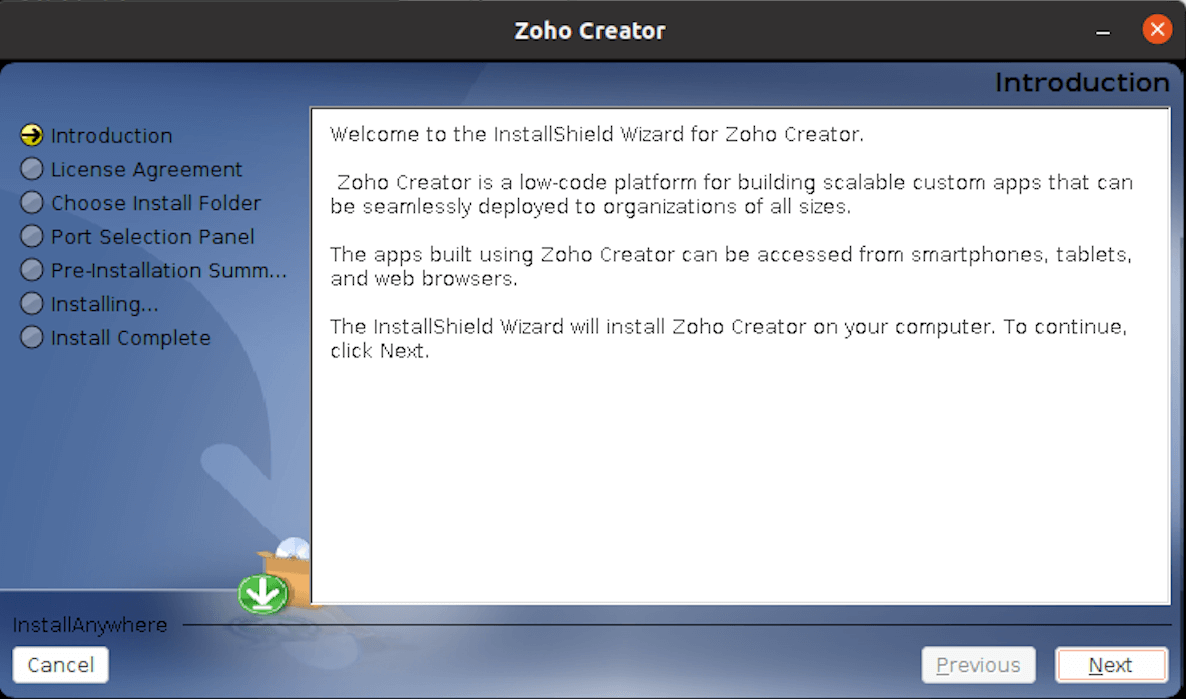
Double click the downloaded file. Click Next in the InstallShield Wizard for Zoho Creator:
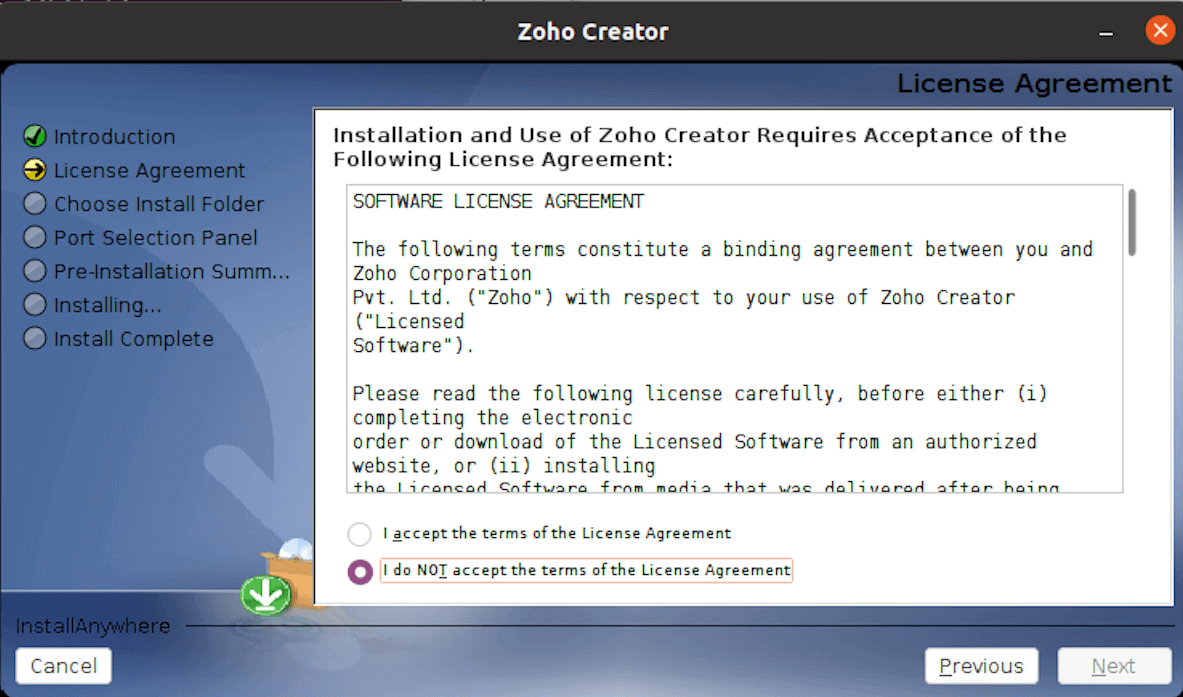
Accept the terms of the License Agreement, then click Next:
- Select the Primary Server radio button in the following screen, and click Next to proceed with the installation process. Upon successful installation, your primary server will be configured.
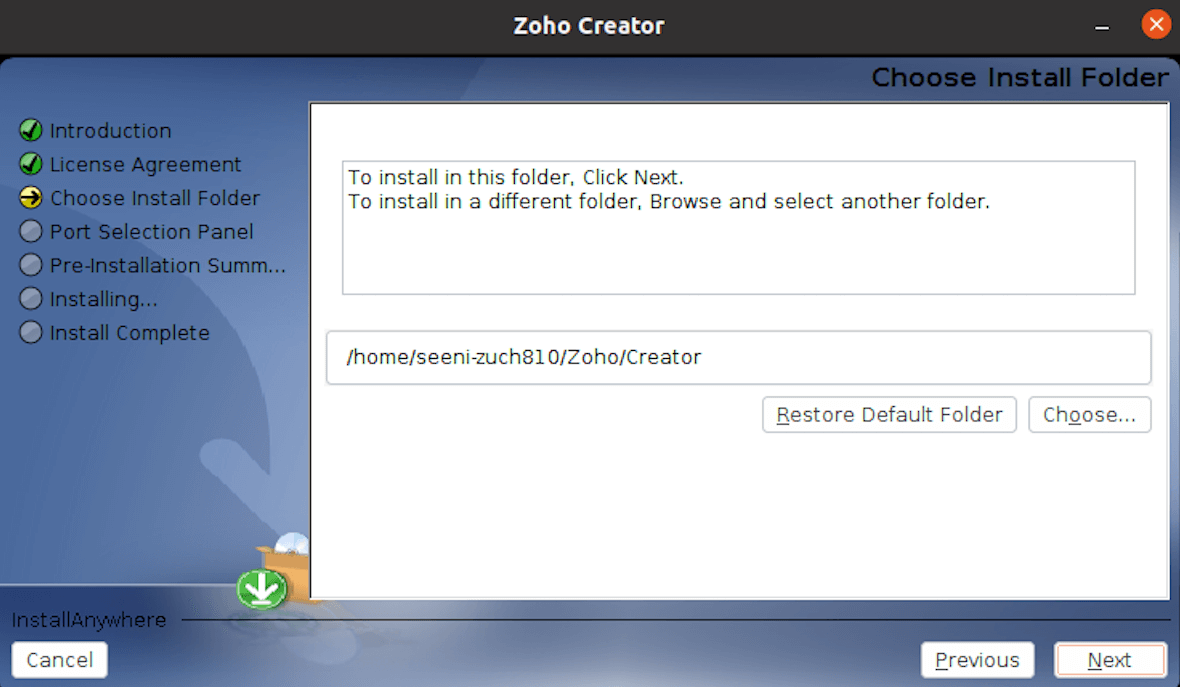
Set the Installation Folder, then click Next:
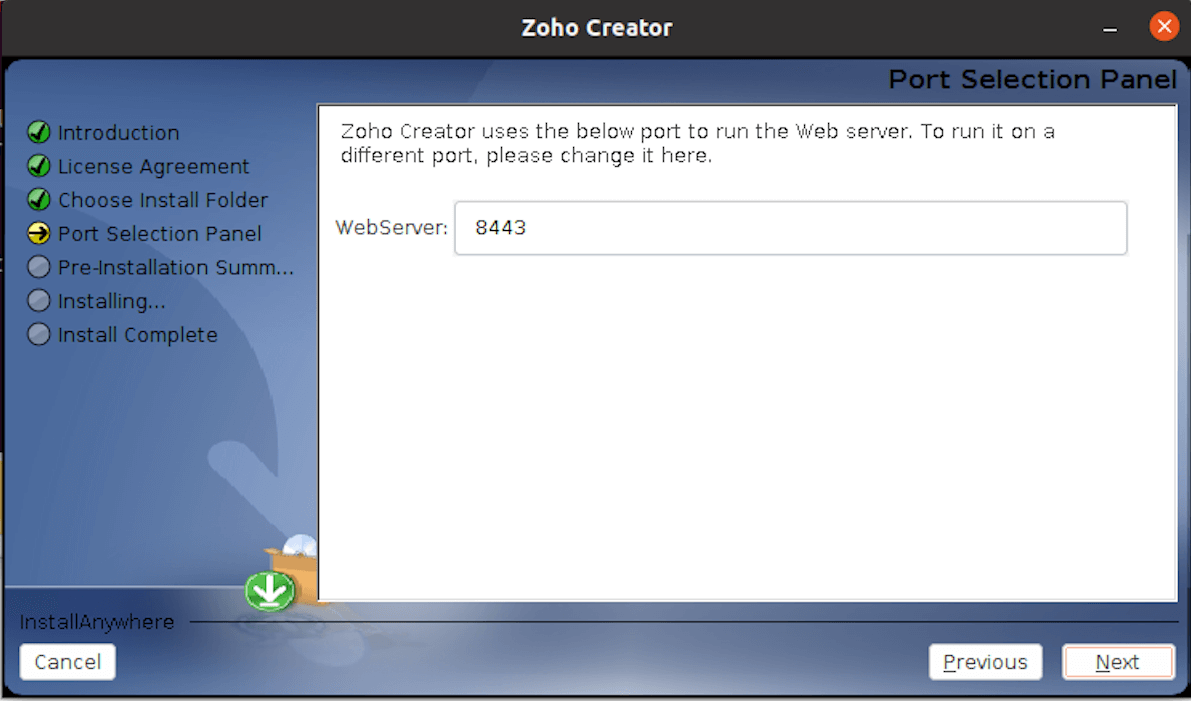
Set the Web Server Port, then click Next. It'll be set as 8443 by default.
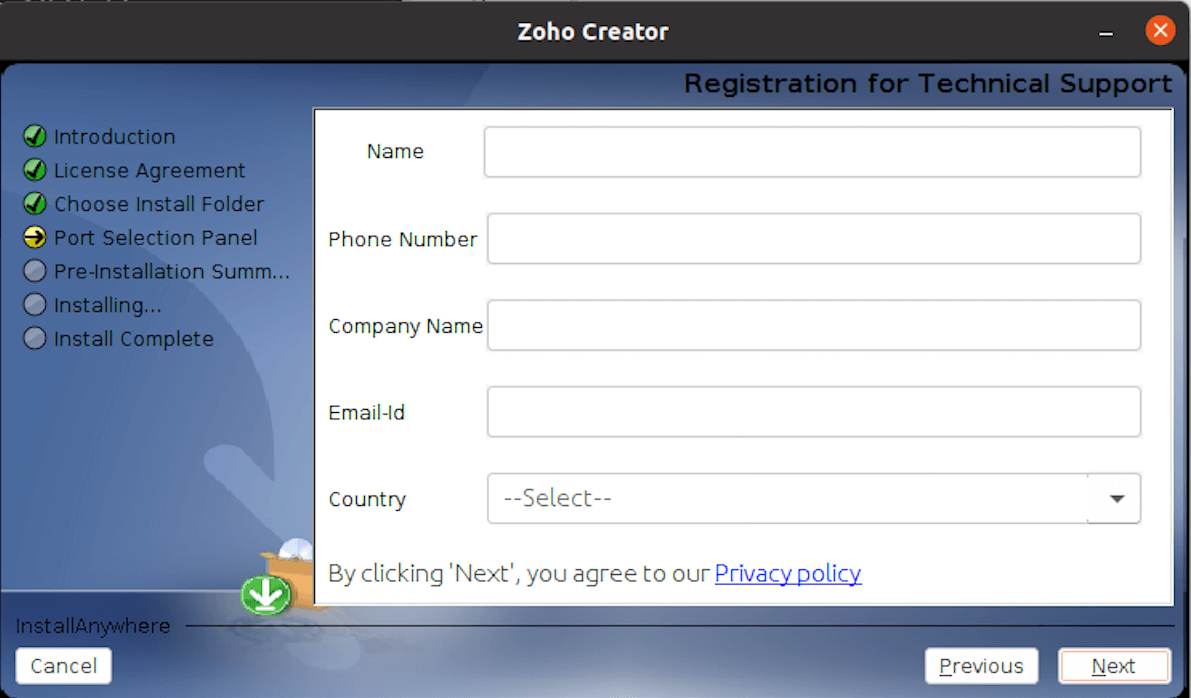
(Optional) Enter your details for contacting Zoho's technical support, then click Next:
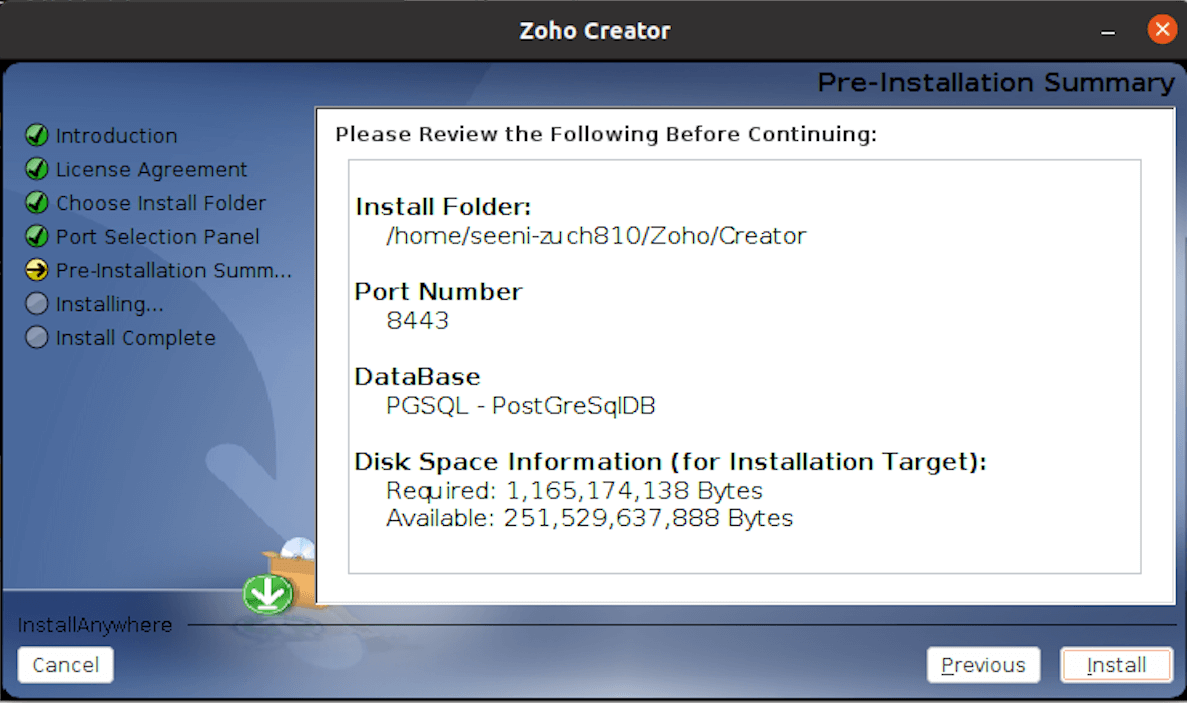
Review the installation summary, then click Install:
Click Done:
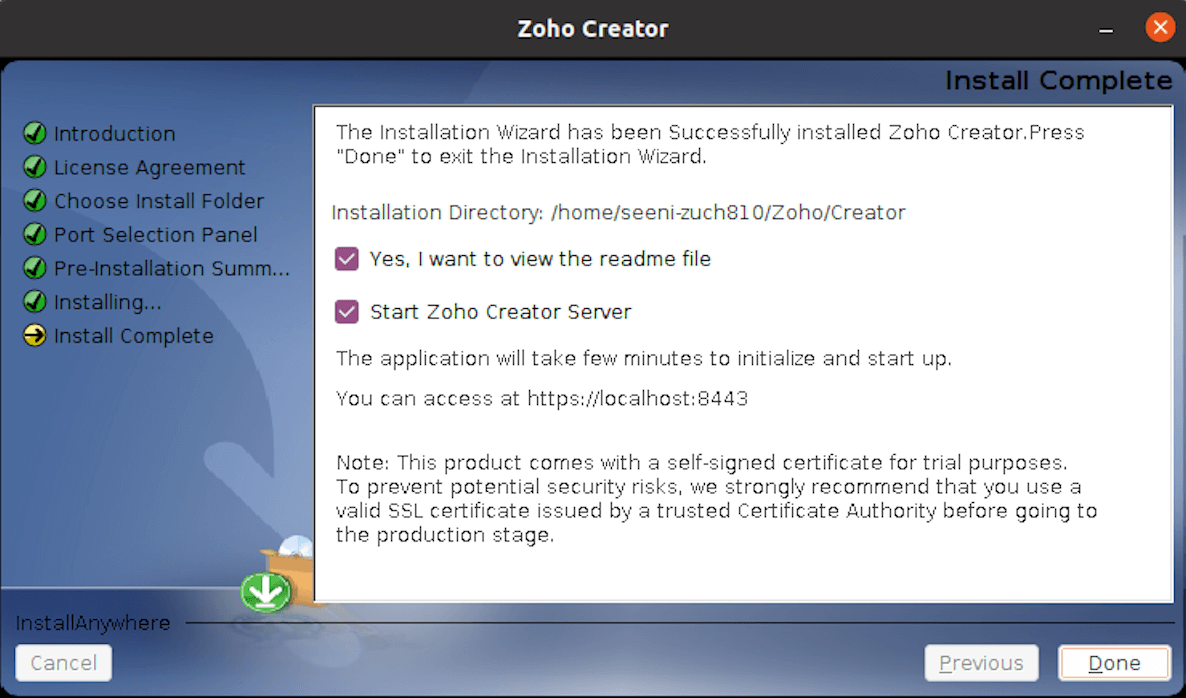
- Once the service has successfully started, the Creator login page will open in a browser window where you can login using the default username/password combination of admin/admin. These credentials must be changed after your first login.
- Alternatively, you can start the Creator server by following the steps in this page.
Install Zoho Creator on Linux via console
- Download the required installable for Linux.
Update the installation file's permission using the following command:
chmod a+x ZohoCreator_64bit.binExecute the installation file using the following command:
./ZohoCreator_64bit.bin -i console- Carefully read and accept the license agreement.
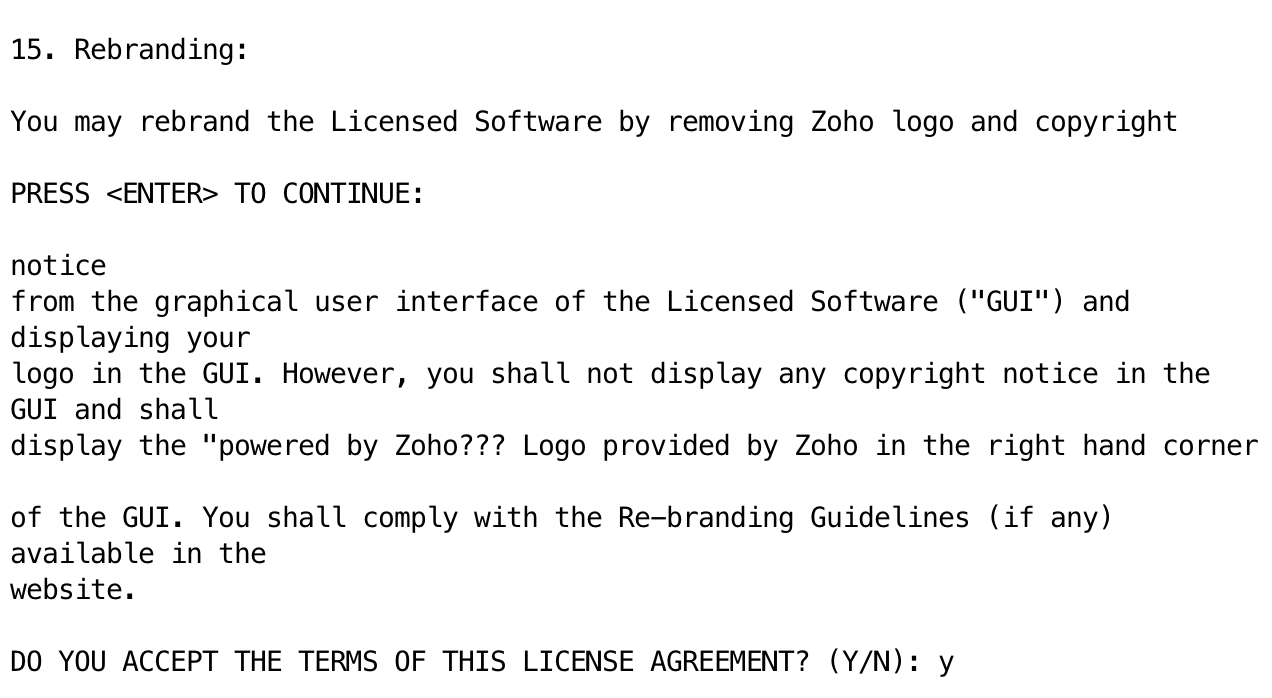
Set the installation folder, then confirm it. You may either proceed with the default folder or enter the absolute path of the required folder.
Note: The chosen folder must be empty.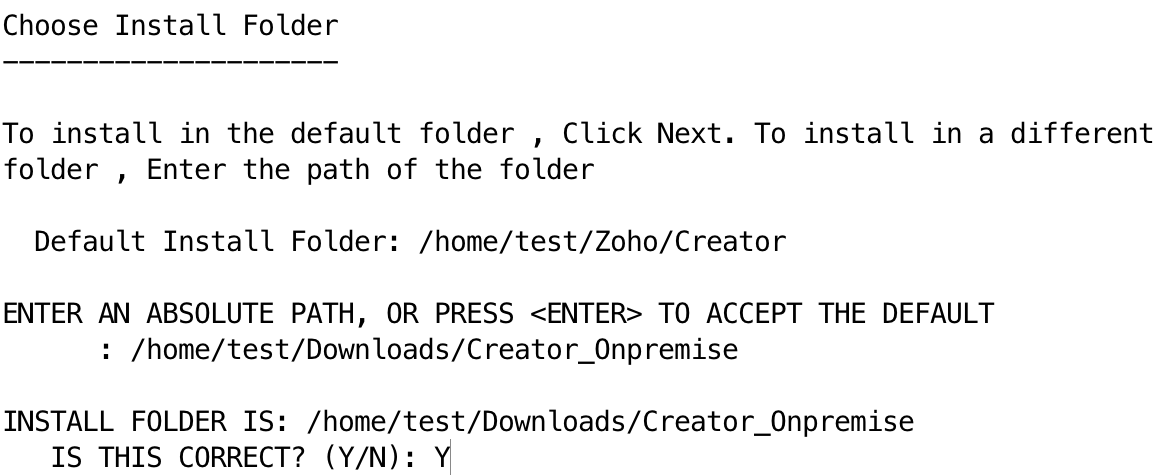
- Set the web server port, then confirm it. You may either proceed with the default port (8443) or enter the required port. Please ensure that the port you set is not used by any other application.

- Review the installation summary, then press Enter to continue (and exit the installer).
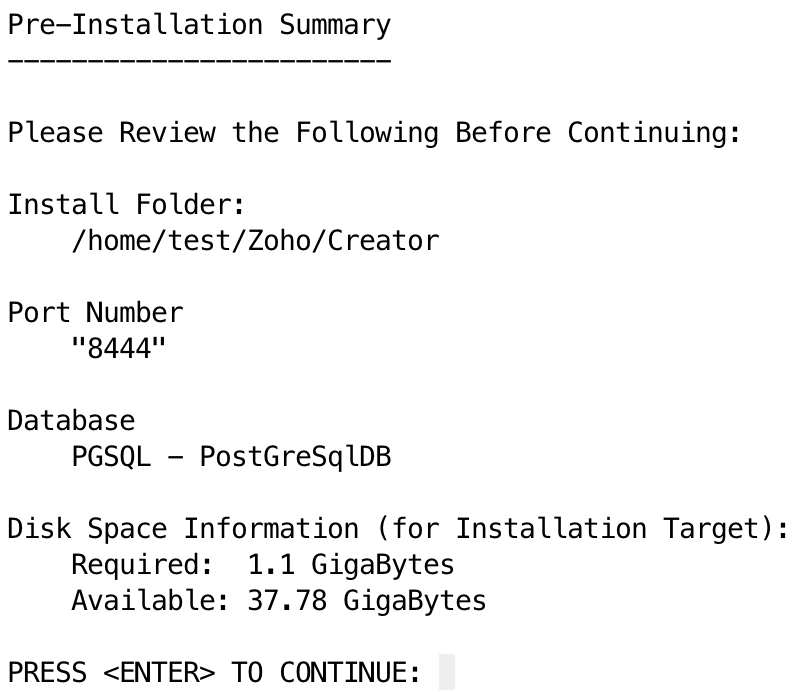
- Upon successful installation, you'll see the host where you can access Zoho Creator. Also, you'll see prompts to start the server and to view the readme file after the installation is completed.
- After choosing to start the server, the Creator login page will open in a browser window where you can login using the default username/password combination of admin/admin. These credentials must be changed after your first login.
- Alternatively, you can start the Creator server by using the commands in this page.


