Create Connections
Summary
This guide explains how to create connections in Zoho Sigma for integrating your extension with third-party services. It covers both default services and custom services with step-by-step instructions.
Prerequisites
- Sigma workspace created
- Account with the target third-party service
- Required API credentials or OAuth access
Creating Connections via Default Services
Step 1: Access Sigma Connections
- Navigate to Zoho Sigma
- Click Connections in the left navigation
Step 2: Create New Connection
- At the top of the Connections page, select Service as "Zoho Writer"
- Click Create Connection (top-right corner)
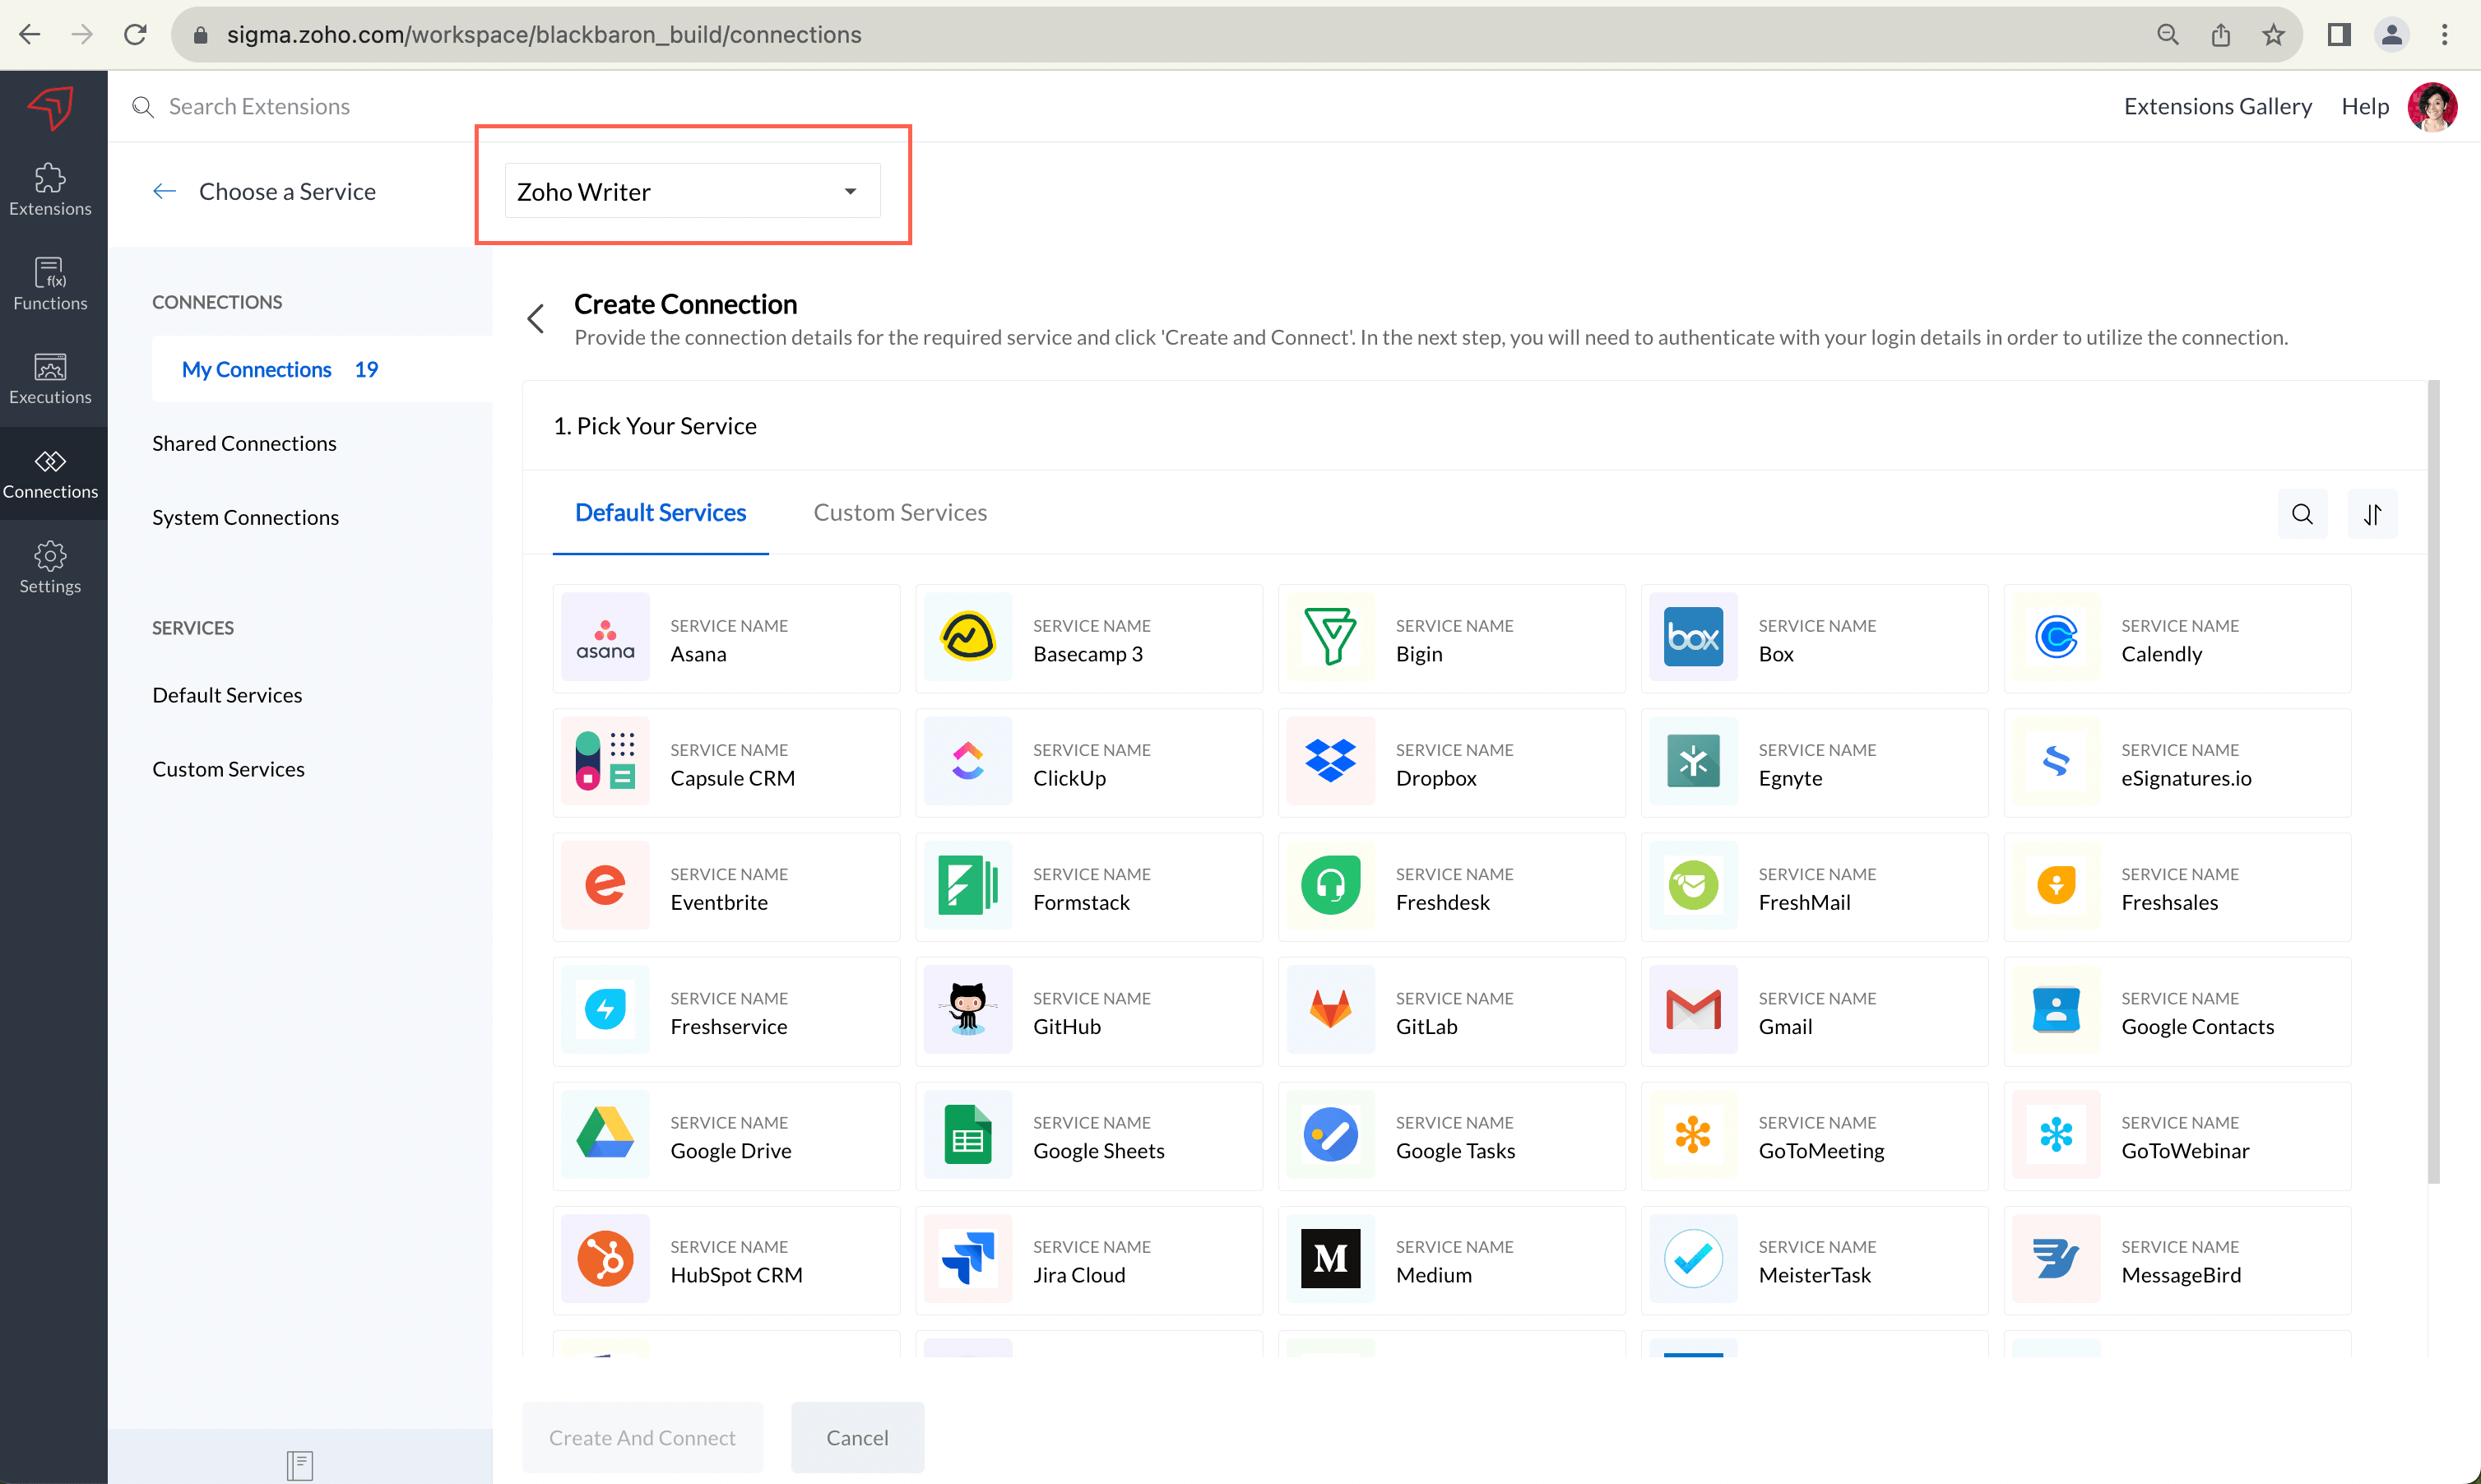
Step 3: Select Third-Party Service
Under Pick Your Service, browse and select the third-party service you want to connect (e.g., Salesforce, Slack, Google Services).
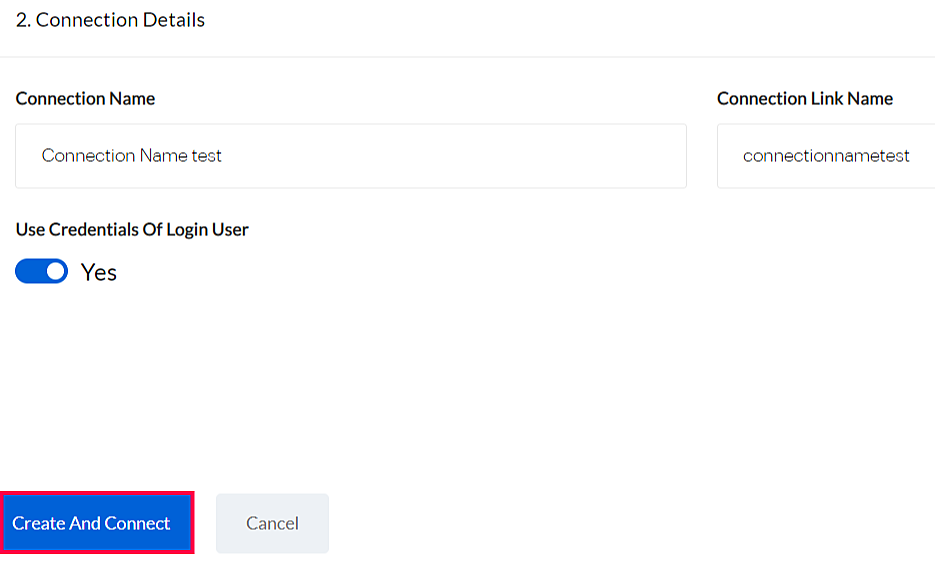
Step 4: Enter Connection Details
| Field | Description |
|---|---|
| Connection Name | Human-readable display name (up to 50 characters) |
| Connection Link Name | Auto-generated unique identifier used in code (no spaces) |
| Use Credentials Of Login User | Enable if each user should authenticate independently |
| Scopes | Select required access permissions for the service |
Note: The Connection Link Name is used in
plugin-manifest.json and in your extension code. It cannot contain spaces and cannot be changed after creation.Step 5: Authenticate the Service
- Click Create And Connect
- A service-specific login page appears
- Enter credentials and grant permissions
- Verify successful authentication
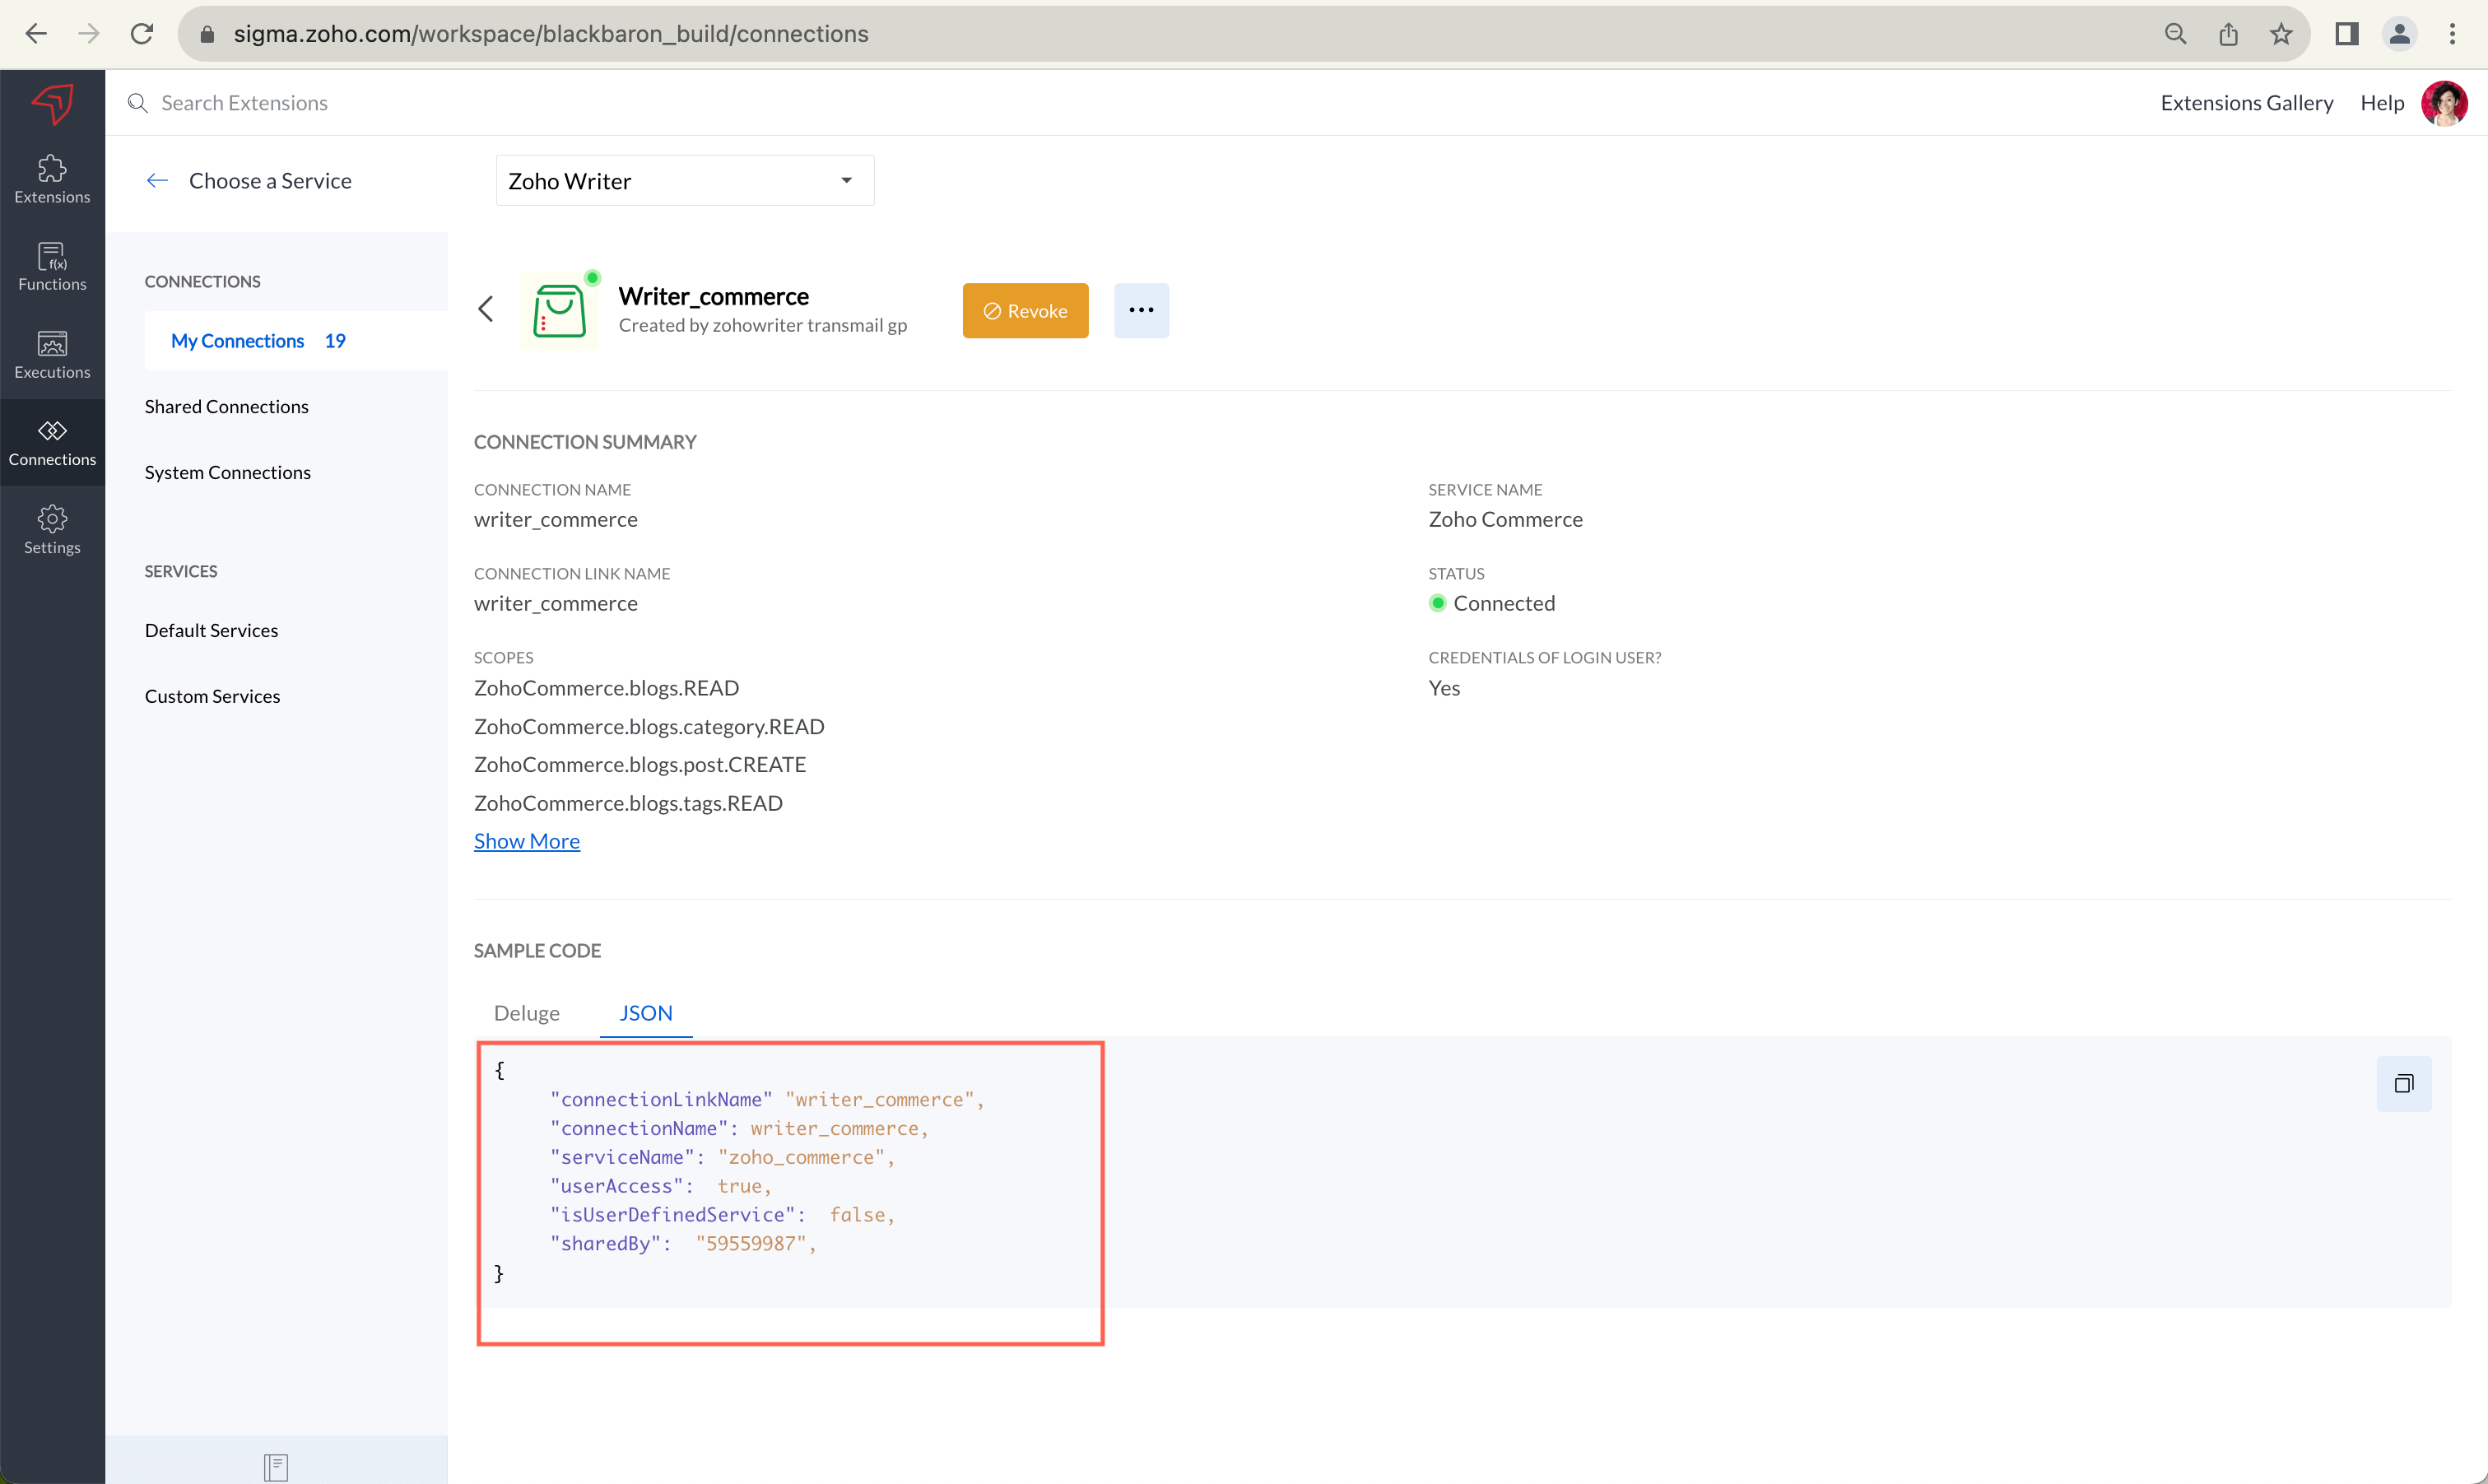
Step 6: Get Connection JSON
- On the Connection Summary page, click the JSON tab under "Sample Code"
- Click Copy to copy the JSON snippet
{
  "name": "salesforce_connection",
  "type": "OAuth",
  "authorizationUrl": "https://...",
  "scopes": ["api", "refresh_token"],
  "userAccess": true
}
Step 7: Add to Plugin-Manifest
- Open your extension's
plugin-manifest.json - Locate the
"connectors"attribute (or create it) - Paste the connection JSON into the connectors array
- Save the file
{
  "service": "WRITER",
  "modules": { ... },
  "connectors": [
    {
      "name": "salesforce_connection",
      "type": "OAuth",
      "authorizationUrl": "https://...",
      "scopes": ["api", "refresh_token"],
      "userAccess": true
    }
  ]
}
Creating Connections via Custom Services
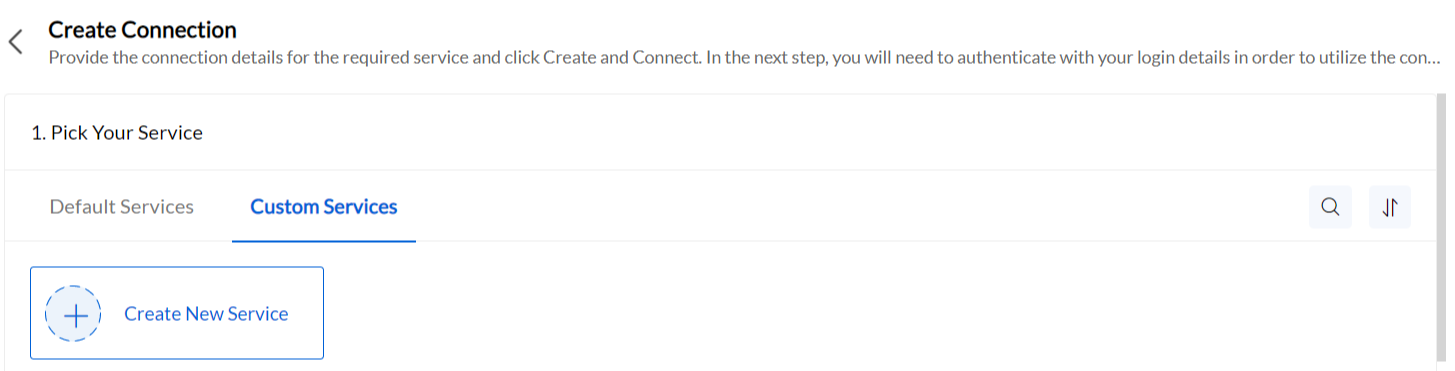
Step 1: Create Custom Service
- In the Connections page, go to the Custom Services tab
- Click Create New Service
Step 2: Define Service Details
| Field | Description |
|---|---|
| Service Name | Name of your custom service |
| Service Link Name | Auto-generated unique identifier |
| Authentication Type | OAuth 2.0, Basic Auth, API Key, or Custom |
| Authentication Parameters | Fill based on chosen auth type |
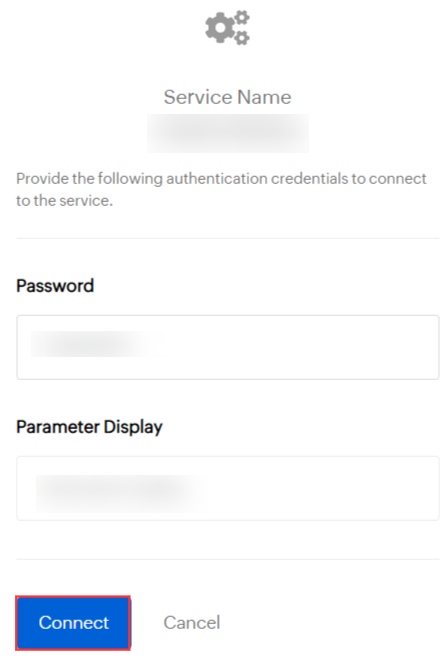
Step 3: Configure Authentication
| Auth Type | Required Parameters |
|---|---|
| OAuth 2.0 | Authorization URL, Token URL, Client ID, Client Secret, Scopes |
| Basic Auth | Username field name, Password field name |
| API Key | Key name, Key value location (header/parameter) |
Troubleshooting
Problem: Authentication fails during connection creation
Solution: Verify your credentials for the third-party service are correct and that the required scopes are enabled in the service's developer settings.
Problem: Connection JSON is empty or missing fields
Solution: Ensure the connection was successfully created and authenticated. Refresh the Connection Summary page and try copying the JSON again.