Migration from Microsoft 365 to Zoho Mail
Zoho Mail provides flexible options to migrate from Microsoft 365 accounts. Use the one-click migration method to easily migrate Mail, Contacts and Calendar data from Microsoft 365 accounts to Zoho Mail. The respective user accounts need to be created in Zoho Mail before adding the migration. Refer to our help page for detailed instructions on user addition.
Important Note
- Microsoft has announced the retirement of Exchange Web Services (EWS) in Exchange Online. Service blocking will begin on October 1, 2026, followed by a complete shutdown on April 1, 2027.
- Zoho Mail currently uses EWS to migrate data from Microsoft 365, including in-place archive mailboxes. Since Microsoft Graph (EWS's replacement) does not currently support access to in-place archive mailboxes, archive mailbox migration may not be possible after EWS is retired.
- As a result, the In-Place Archive Migration option will be disabled in Zoho Mail after October 1, 2026.
- If you plan to migrate in-place archive mailboxes from Microsoft 365 to Zoho Mail, we recommend completing the migration before October 1, 2026. Migrations started after this date may be unable to access archive mailbox data.
Migration from Microsoft 365 accounts
Disabling EWS throttling
Exchange Web Services (EWS) is a web service that allows access to Exchange Online data. By default, Exchange Online enforces EWS throttling policies to ensure server reliability and prevent excessive resource consumption. When performing mailbox migrations, these restrictions can significantly slow down or interrupt the migration process. To prevent migration delays and ensure a seamless transition, you can temporarily disable EWS throttling.
Follow the steps below to request an increase in EWS throttling limits:
- Login to the Microsoft 365 Admin Center.
- Navigate to Help & support under the Support section.

- In the search bar that appears, type "EWS Throttling Policy" and select EWS Throttling Policy Increase from the results.
- Click Run Tests to initiate a diagnostic test for throttling policies. Wait for the test to complete.

- Once the test is completed, use the Duration (Days) dropdown to select the number of days for which EWS throttling should be disabled.
- Ensure the acknowledgment checkbox is checked, then click Update to proceed.

- The update to the EWS throttling policy will be initiated and should be completed within approximately 15 minutes.
- After 15 minutes, run the diagnostic test again to confirm that throttling has been disabled.


EWS throttling will now be disabled for the duration you specified, allowing for a smoother migration process.
Adding the Microsoft 365 migration
Adding server details for migration from Microsoft 365
Follow these steps to add server details for the migration:
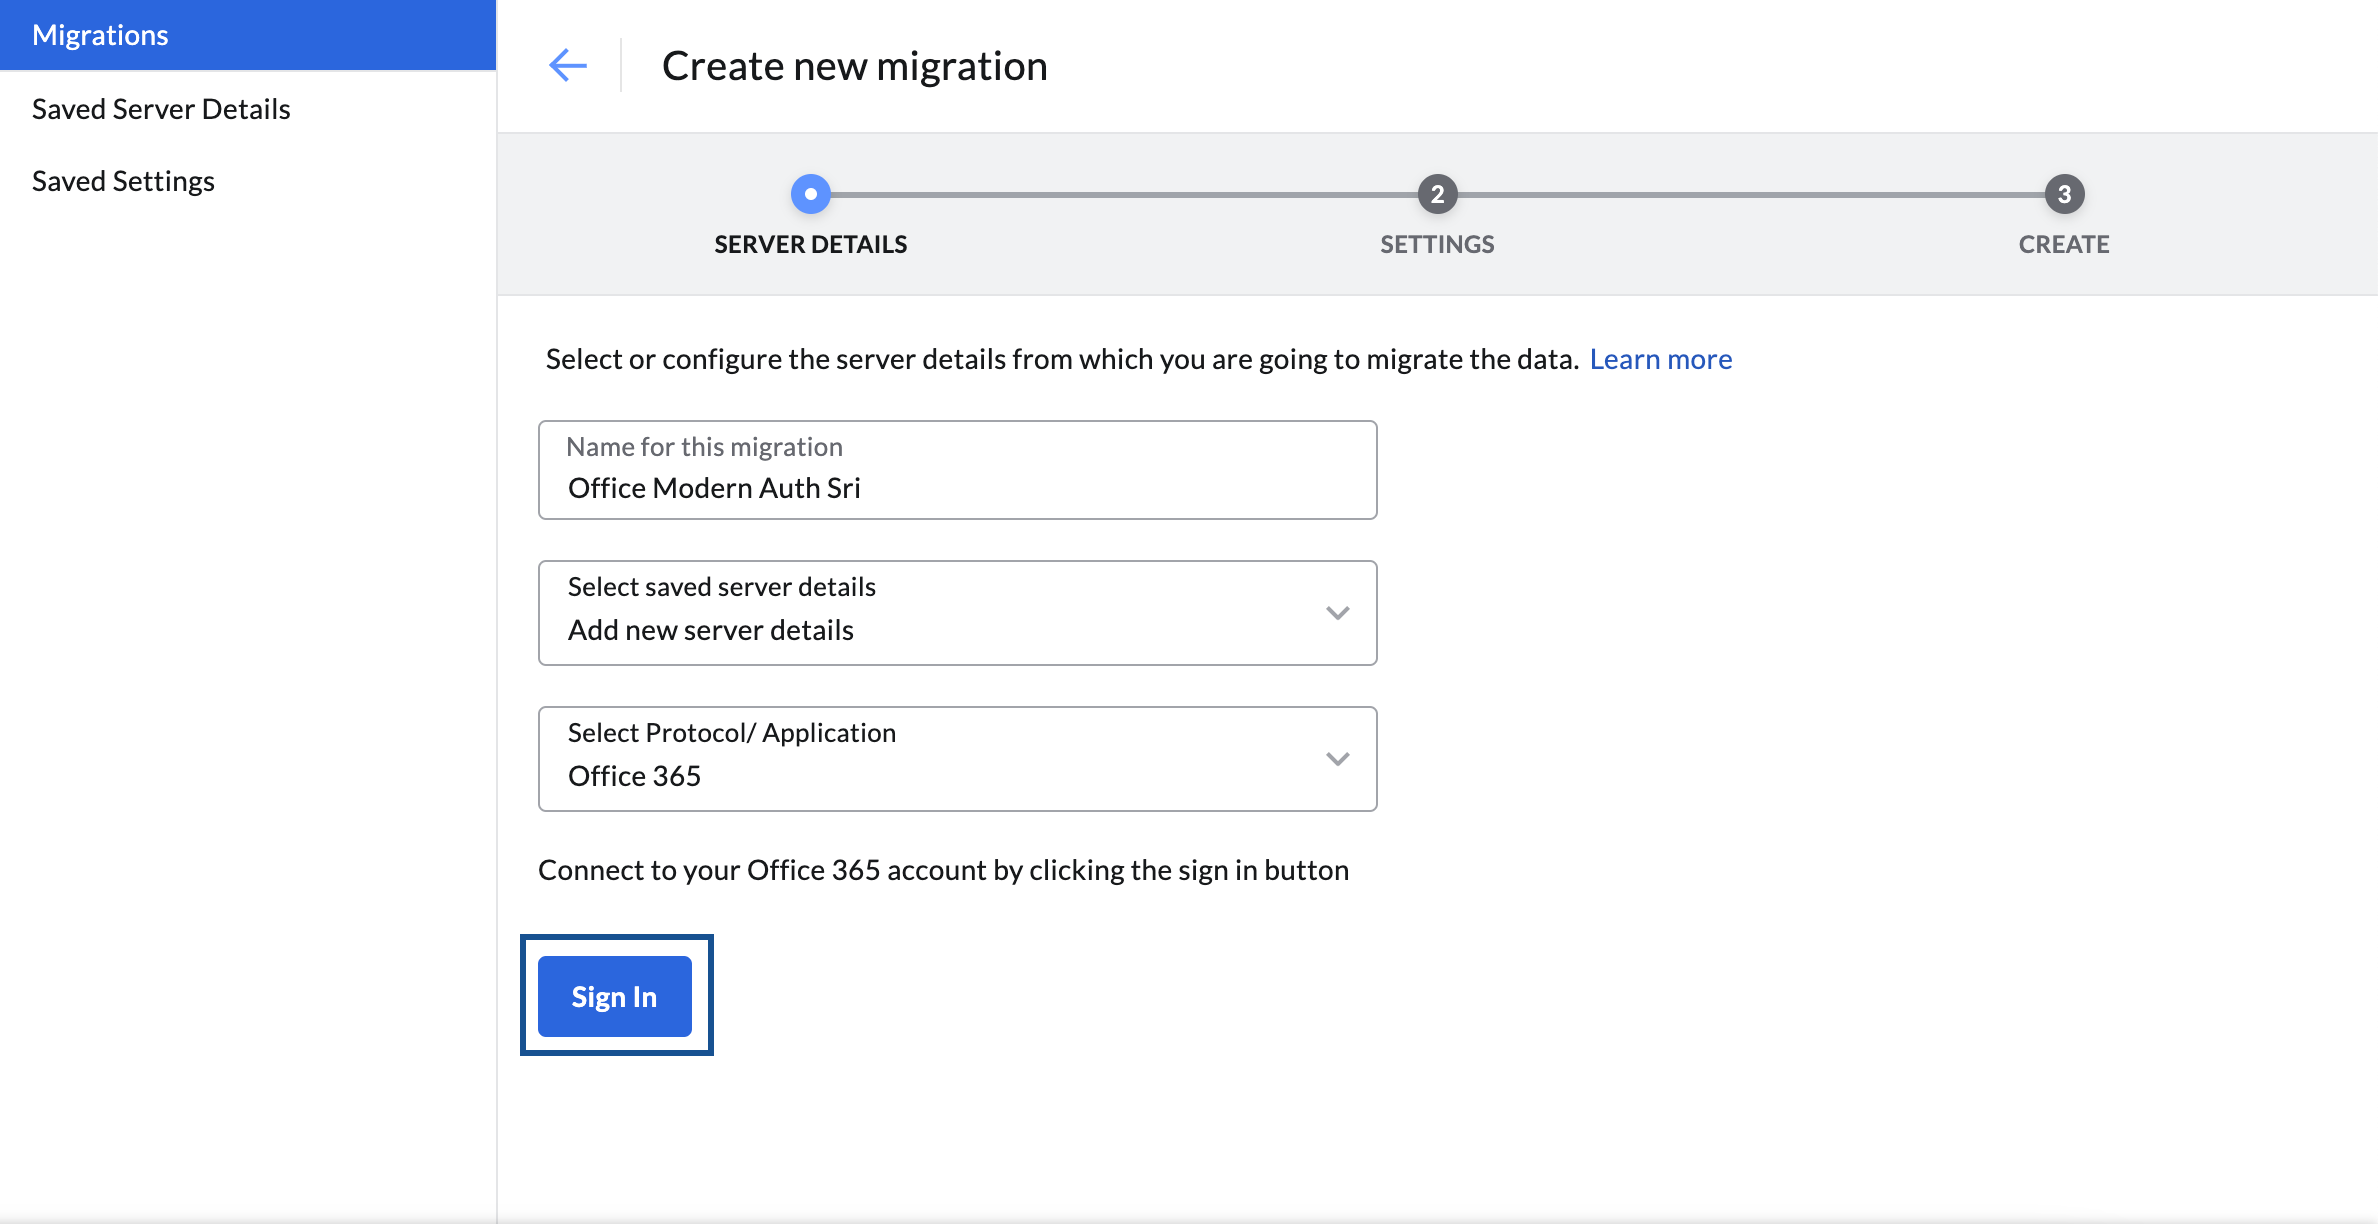
- Log in to Zoho Mail Admin Console and select Data Migration from the left menu.
- Click Start Data Migration or click the Create button from the top menu for creating subsequent migrations.

- Enter a name for the server configuration, for your reference.
- In the Select saved server details drop-down, choose to Add new server details.
In the Select Protocol/Application dropdown menu, choose Microsoft 365 and click Sign In. Microsoft login window appears.
Note:
If you are already logged in to a Microsoft 365 account and wish to migrate data from another account, you must first click Sign out and then click the Sign In button.

- Enter your source administrator credentials and click Sign In.
- Click Accept on the Permission requested page. You will be redirected to the server SETTINGS page.


The server details you added will be saved in the Saved Server Details page, and you can use it for performing other migrations just by picking it from the dropdown.
Adding the settings for migration from Microsoft 365
Follow these steps to add server settings for the migration:
- In the next step, enter a name for the setting, for your reference.
- Select the checkboxes respective to the data that you'd like to migrate. You can migrate, mail, contacts and calendar data.
- When you select Contacts, all contacts from your previous account will be migrated to Zoho Mail under the relevant categories.
- Selecting the Calendar option under Data will create the respective calendars in Zoho Mail and migrate the data to each calendar. Ensure that the prerequisites are in check for Calendar migration from Microsoft 365.
Folder specific migration
If you wish to migrate certain folders or exclude some of them, select the appropriate options in the Folders to migrate section as per your requirement as given below:
- Choose All Folders to migrate the user's entire mailbox data or Specific Folders to migration only the required folders.
- If you choose the All Folders option, you can choose to skip any folders during migration using the Exclude Folder List option.
- The skip folders option will be handy when the admin reruns migrations for the same set of users for some new emails or missed emails. Enter the names of the folders within double quotes ("Folder1"), in which case only that folder will be excluded. If you want all subfolders under a parent folder to be migrated enter the folder name followed by /* within double quotes ("Folder1/*"). For detailed information on the convention, refer here.
- If you choose the Specific folder option, you can specify the folders that need to be included in the Include Folder List.
- In the Include Folder List, enter the names of the folders within double quotes ("Folder1"), in which case only that folder will be included. If you want all subfolders under a parent folder to be migrated enter the folder name followed by /* within double quotes ("Folder1/*"). For detailed information on the convention, refer here.
Migration based on a specific date range
Narrow down the migration date range by making the required selections in the Email to migrate section.
- Select All emails if you wish to migrate the entire mailbox of the user right from the date of creation.
- Choose Emails in a specific date range to migrate data based on the selected dates.
- If you choose the specific date range option, select the From and Till dates for which you wish to migrate the data.
- In Enable POP access for the migrated emails, select Yes if you want your users to view the migrated emails when the account is configured as POP in other email clients. Otherwise, select No.
- Finally, click Add.


The settings you added will be saved in the Saved Settings page, and you can use it for performing other migrations just by picking it from the dropdown.
Prerequisites for Calendar Migration from Microsoft 365
- To ensure complete migration, all the users present in the respective Microsoft 365 account need to be created in Zoho Mail before calendar migration.
- For the Calendar data to be migrated correctly, the domain name in Zoho Mail has to be the same as the domain name in Microsoft 365. For example, if your domain in Microsoft 365 is abc.com, your domain name in Zoho Mail should be the same.
Convention for mentioning folders
- In case you want to mention a specific parent folder (E.g. Reports), enter it as "Reports".
- In case there are multiple subfolders under Reports and you want to mention all the subfolders, enter it as "Reports/*"
- In case there exists a subfolder under Reports named 2016, and you want to mention this particular subfolder, enter it like this - "Reports/2016".
- If you want to mention all the subfolders under Inbox, only the Marketing folder without the subfolders, and a specific subfolder, 2012, alone under the Sales Reports folder to be mentioned, you will have to type the Folder List like this - "Inbox/*", "Marketing", "Sales Reports/2012".
Creating a new migration
- In the next step, Enter a Maximum Connection Limit. This refers to the maximum number of users whose data can be migrated at one time. For example, if you provide 5 as the maximum connection limit when the migration is started, the migration process will be started simultaneously for 5 users. The migration process will be faster when there are parallel migrations happening between the servers.
- Select whether you would like to pause migration when storage reaches 80% or 95%, and finally, click Create.


Adding user details for Microsoft 365 migration
Zoho Mail provides three options to add user accounts for migration. They include
- Manual user addition
- Migration of multiple users accounts through the CSV option
Manual User Addition
Follow these instructions to add users manually for migration:
- From the Migration list, select the migration to which you want to add the source and destination user account details.
- Navigate to the Users tab and click Add to add the account details manually. The Add account dialog appears.

- Provide the user's source email address in the Microsoft 365 username field.

- Select the respective Zoho account email address for this user.
- Choose whether you want to prioritize the migration of this user over other users.
- To migrate a specific user's mailbox, select User mailbox under Mailbox Type and proceed to this step.

- Select In-place archive mailbox to migrate only the emails in the In-place Archive Mailbox of your Microsoft 365 email account and proceed to this step. To learn more about In-Place Archive Mailbox, click here.
- To migrate a shared mailbox to a specific user's account, follow these steps:
- Add the shared mailbox moderator's email address in the Microsoft 365 account field.

Choose the corresponding Zoho email address in the Select destination email address drop-down.
Note:
The shared mailbox emails will be migrated to the folders in the user's mailbox along with the folder structure (for example, emails in the Inbox folder of the shared mailbox will be migrated to the user's Inbox).
- Select Shared mailbox in the Mailbox Type.
- Add the source email address in the Sourceshared mailbox address field and proceed to this step.
- Add the shared mailbox moderator's email address in the Microsoft 365 account field.
- To migrate a shared mailbox to an existing shared mailbox in Zoho Mail, follow these instructions:
- Add the shared mailbox moderator's email address in the Microsoft 365 account field.
- Choose the corresponding Zoho Shared mailbox address in the Select destination email address drop-down.

- Select Shared mailbox under Mailbox Type.
- Add the source email address in the Sourceshared mailbox address field.
- Once you select the appropriate Mailbox Type, click Add.


This will add the user for migration. Repeat the same steps to add more users or follow the steps to import bulk users from a CSV file.
Note:
Migrating emails from the In-Place Archive Mailbox doesn't affect the emails in your existing mailbox.
Steps to Import users from CSV file
Instead of manually adding the users for migration, you can also add the user details to an excel sheet, save it as a CSV file and upload it. The user accounts mentioned in the CSV will be uploaded for migration.
- From the Migration list, select the migration to which you want to add the source and destination user account details.
- Select Users from the top pane and, click Import to upload the user accounts using a CSV file.

- The format for entering the User Details in the CSV file can be found in the sample file attached in the popup.
- Once you have prepared your CSV file, click Browse Files, and choose the CSV file that you would like to import.

- A preview of all the users in the CSV file, along with details about whether they were imported or not will be shown on screen.


Note:
The source account and the destination account details should mandatorily be entered in the CSV file.
Starting the migration process
Once you have added the user accounts for the migration, you can start the migration. Ensure that the source passwords are not changed after adding the users for migration. The password should be the same until the entire migration process is completed.
- Click the Start Migration button after adding the users. If you have navigated out of the page where you added the users, select the migration that you want to start from this page, and click Start.
- You can view the progress and statistics regarding the migration on the same page.
- Detailed statistics regarding each user's migration can be viewed by clicking on their email address on the migration progress page.
- For mail migration, detailed reports along with folder information will be available.
- Click Mail Failures to view the detailed information about the folder-wise migration details.
- Similarly, you can also view the statistics for Contacts migration by going to the Contacts tab.
- The Calendar migration details can also be viewed from the same page. Go to the Calendar tab to view the details.
For more information on reasons for migration failure, refer to the Troubleshoot Migration help page.