Summary
Packages can either be shipped manually or by using the shipping carrier that is integrated with Zoho POS. The shipment can also be tracked in real time if Aftership is integrated.
Ship Manually
This option lets you add information about packages that are shipped manually. The appropriate carrier and the tracking number can be specified here, which will be used to effectively track the status of the shipment using the Aftership integration. Customers can also be notified about the status of those shipments.
To ship manually
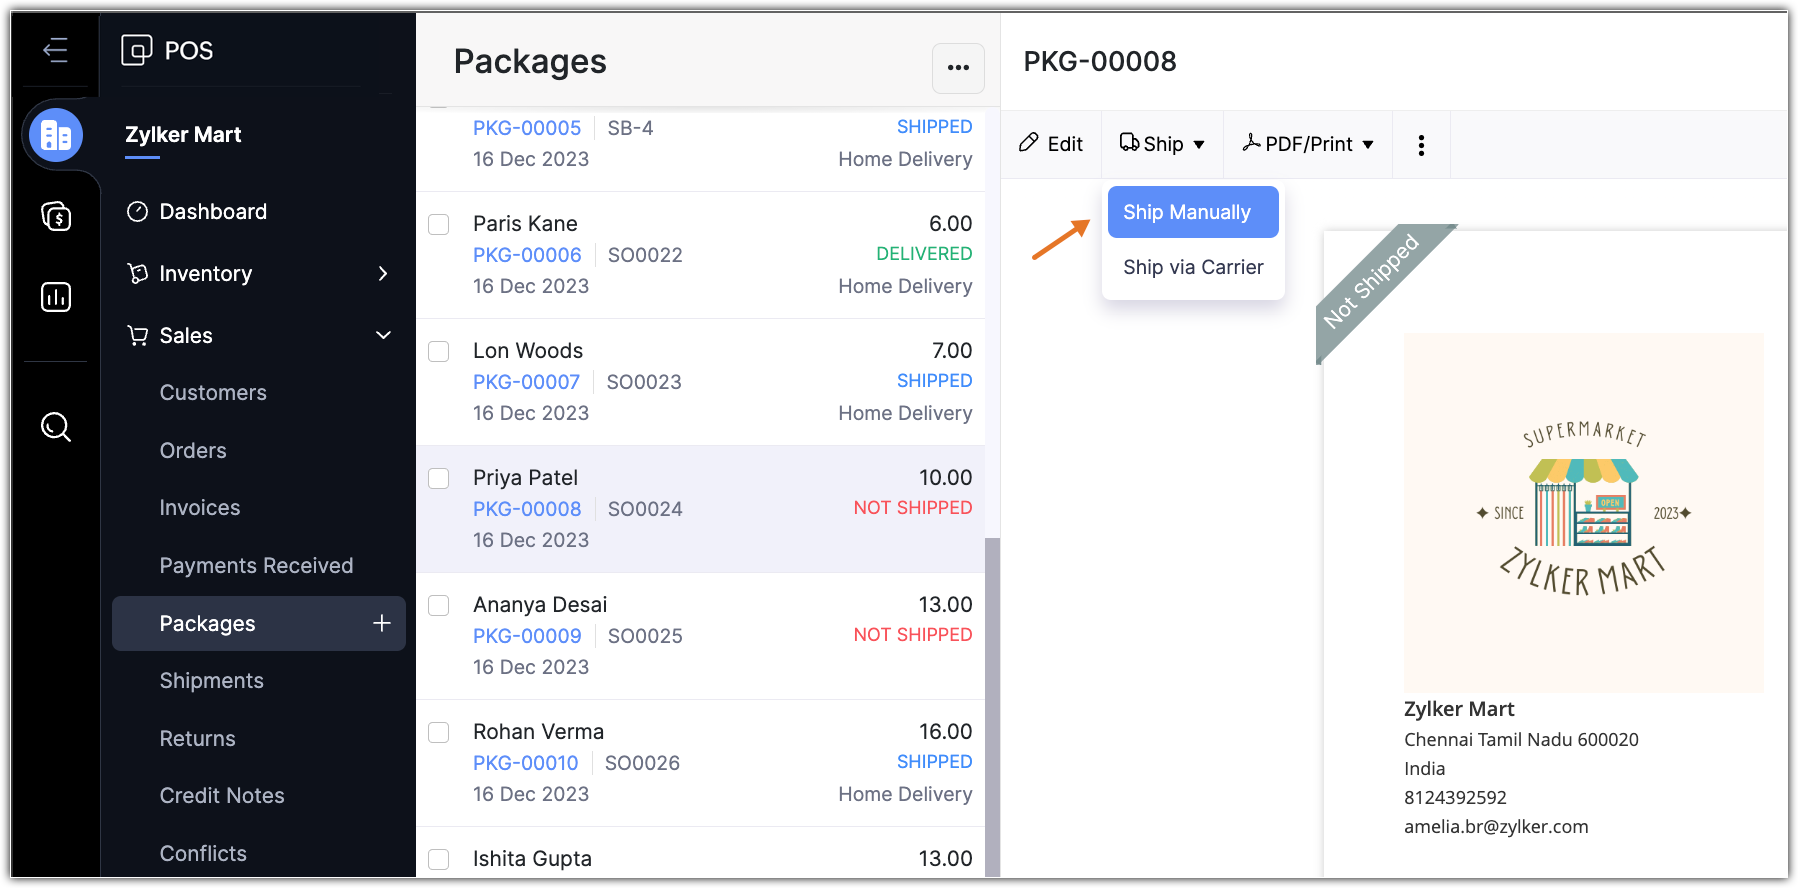
Go to Sales > Packages and select a package that is yet to be shipped.
Click Ship > Ship Manually.
Enter the Shipment Order#. To auto-generate Shipment Order#, do the following:
Click the Settings icon next to the Shipment Order# field.
Click Continue auto-generating shipment numbers.
Enter the Prefix and Next Number.
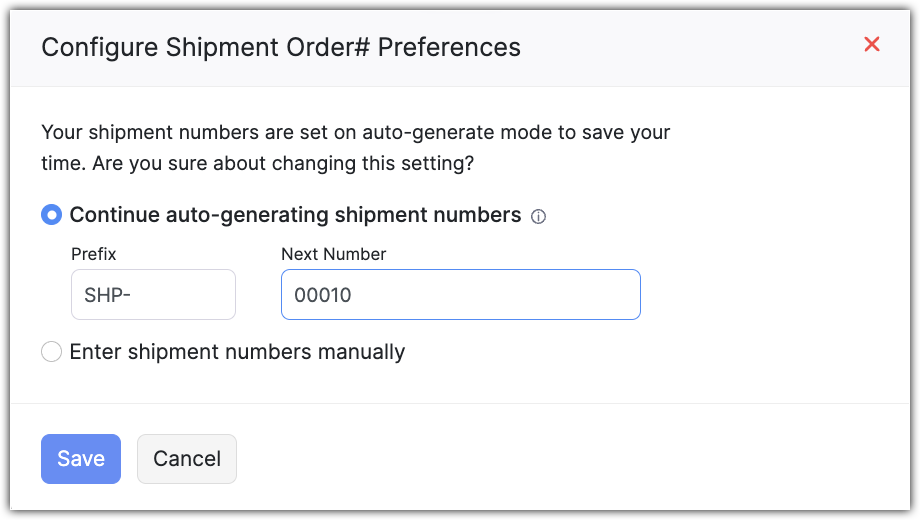
Click Save.
Select the Track this shipment in real time? checkbox if required.
Select the Carrier from the dropdown list and enter the Tracking#.
Enter Shipping Charges if any.
Select Send Status Notification to send the status of the shipment to the customer.
Select Shipment already delivered checkbox if the package has already been delivered to the customer.
Ship multiple packages together
If there are multiple packages for a sales order, they can be shipped together as one shipment. This is possible only when the packages are shipped manually.
To ship multiple packages together
Go to Sales > Packages and select a packages that are yet to be shipped.
Click Ship > Ship Manually.
Select the packages from the Package# dropdown list.
Specify the shipment information.
Click Save.
Ship via Carrier
You can integrate Zoho POS with a shipping carrier of your choice and start shipping packages right from Zoho POS. There are three stages in creating a shipment via carrier:
Validate Address: Here you can select the carrier and verify if the dispatch and the destination addresses are valid or not with the built-in address verification system. You can also add a Dispatch address or modify the Destination address if required.
Create Shipment: In this section, all the information about the shipment—such as the parcel type, package dimensions, and the shipping method—can be specified.
Generate Label: The shipment label will be created and can be downloaded if required.
To ship via carrier
Go to Sales > Packages and select a package that is yet to be shipped.
Click Ship > Ship via Carrier.
In the Validate Address stage, do the following:
Select the Carrier from the dropdown list.
Click Change Address to modify the Dispatch Address. You can click the Edit icon to modify the dispatch address or click + Add new address to add a new dispatch address.
Click Update Address to modify the Destination address. Modify the address in the Edit Address page.
Click Save.
Click Save and Continue.
In the Create Shipment stage, do the following:
Select the Ship Date in the Create Shipment stage.
Select the Package from the dropdown list. Enter the Shipment Order# or auto-generate it by clicking the Settings icon.
Select the Parcel Type from the dropdown list.
Enter the Package Dimensions.
Select Saturday Delivery if the parcel can be delivered on a Saturday as well.
Select Signature Option if you want the customer's signature upon receiving the parcel.
Select Cash on Delivery and enter the Invoice Amount if you want the customer to pay when the items are delivered.
Specify the appropriate Service Tracking Preferences.
Click Calculate Rates and select an appropriate option.
Click Create Shipment. The shipment label will be displayed.
In the Generate Label page, click Download Label to download the Shipping label.