Setting up your CRM Application
The first step in building your vertical CRM is to configure certain basic settings and choose the application modules you'd like to include.
To create and setup a new application:
- Log in to your Zoho Developer account and click CRM for Verticals.
- In the Vertical CRM page, click Create App.
- In the New CRM for Verticals page, input the name of your application and your URL.
Note: Your URL can be mapped to your custom domain later when you are branding your application. - Click Select Category to choose an industry vertical.
The category denotes the industry (Automobile, Insurance, Health care, etc.) for which your application is being developed. - Select the preset modules that you'd like to include in your application by checking the boxes next to the available options.
Note: By default, all modules are preselected. If you choose not to use any of the preset modules for your application, you can deselect all the modules, and create new modules when you customize your application. - Provide a Short Description about your application.
- Click Create.

Edit your Application Details
Editing your application details enables your to modify the details provided at the time of creation. Editing app details includes changing the Application Name, Category, Description, etc. You cannot edit the application URL that you provided at the time of creation.
To edit your application details
- In Zoho Developer Console home page, click CRM for Verticals.
- In the Vertical CRM page, click Edit corresponding to the application whose details have to be edited.
- In the App Details page click the Edit icon [
 ] next to the title.
 - In the General Settings page, make the necessary changes and click Save.
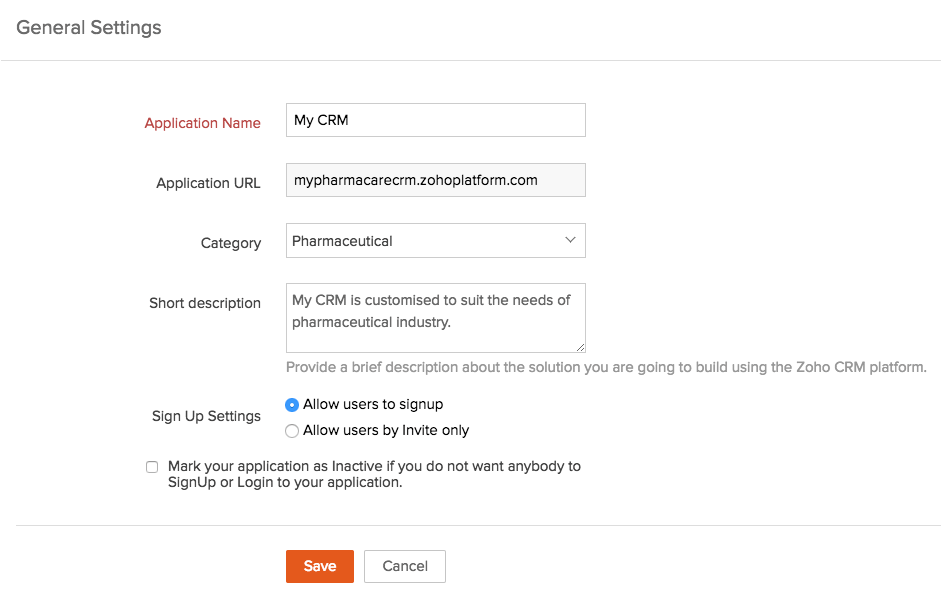

Note
- Two options that were not configured initially while creating the app will be available in the General Settings page.
- Sign Up Settings allows you to control the way customers can sign up for your application
- Allow users to signup - This option enables user to sign up for your Vertical CRM.
- Allow users by Invite only - Use this option to allow only those users to sign up for the application who are invited by you.
- Mark your application as Inactive - This option is used to deactivate your application.
See also Reviewing & Publishing your CRM.
- Sign Up Settings allows you to control the way customers can sign up for your application