Manage Email Settings
The Email setting allows you to manage the email configuration for the mails triggered by Zoho Analytics. You can send mails to your users using Zoho Analytics in the following scenario.
You can send emails from your email address, or from one of the org email addresses that you have added.
Email Deliverability Configuration
In case your receiver has set up DMARC policy, an email authentication protocol that allows both senders and receivers to protect the domain from mail spoofing and fraudulent email. The emails triggered from Zoho Analytics might end up in the Spam folder or get blocked by your receiver.
To improve the deliverability of emails, and enable a secured mailing option, we allow you to configure Zoho Analytics as a valid email source to mail using your email address.
With this, you indicate that the emails sent by you using Zoho Analytics aren't spam.
Follow the below steps to validate Zoho Analytics.
- Login to your account.
- Click the Setup icon at the top right.
- The Subscription details page will open. Open the Email tab.
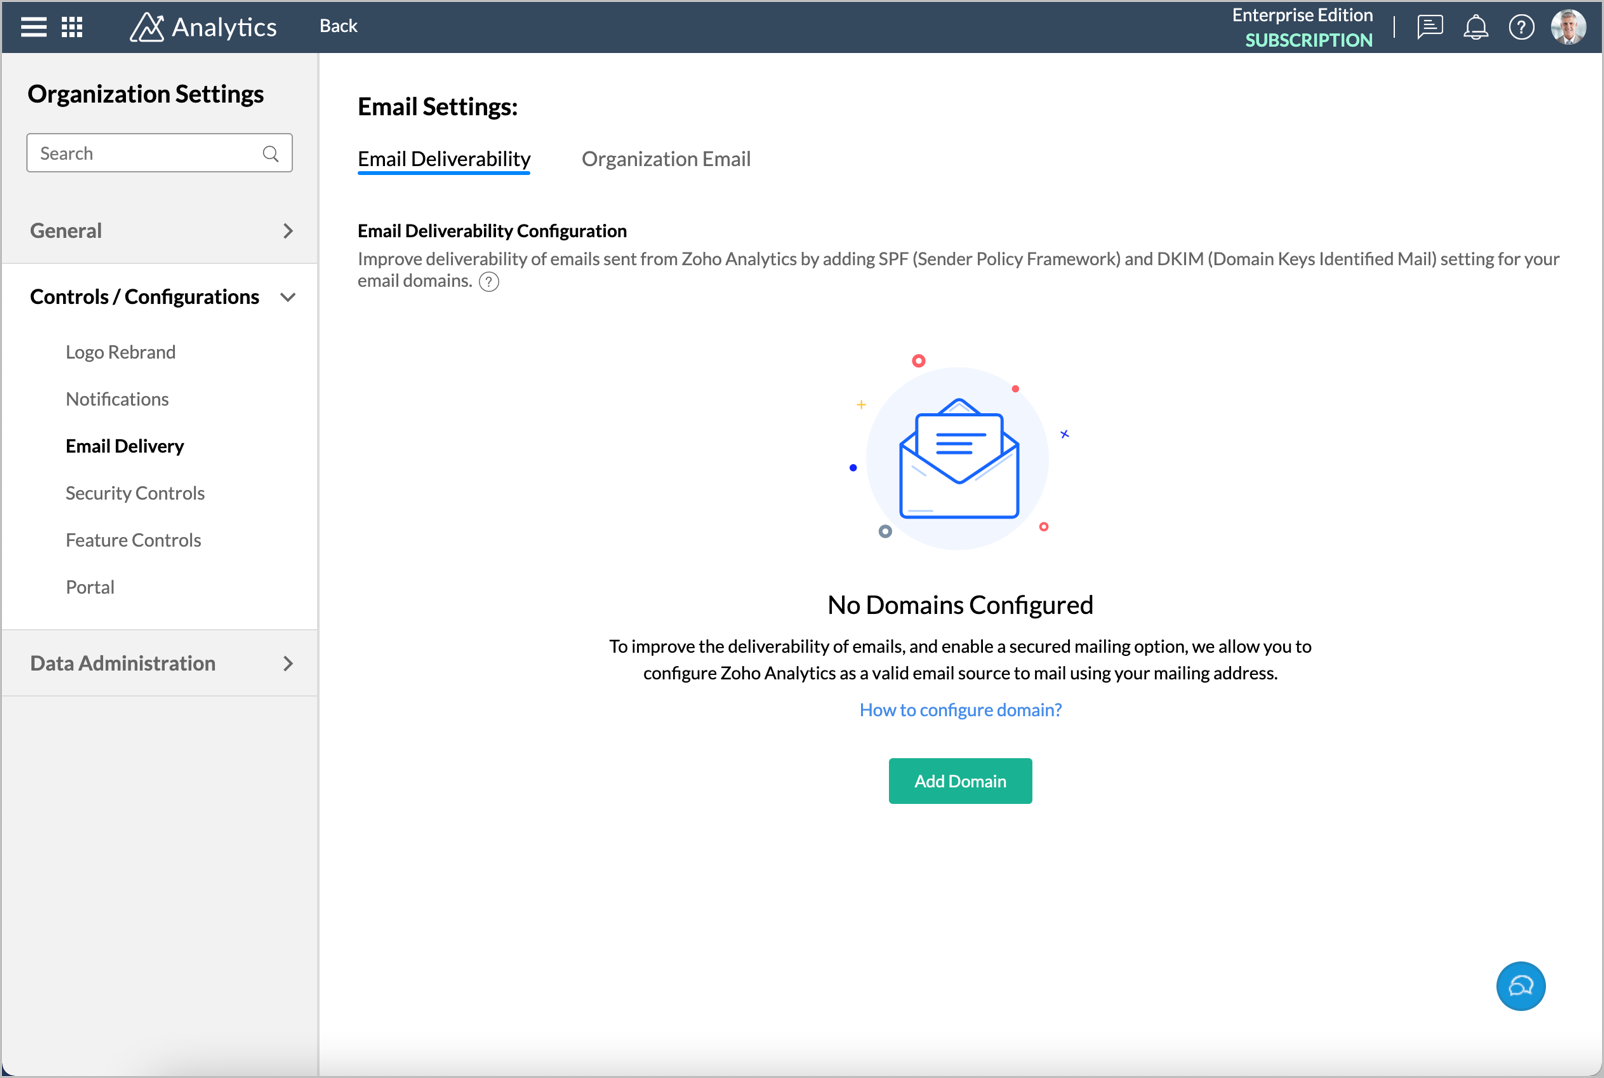
- Click Add Domain. The Add Domain dialog will open.
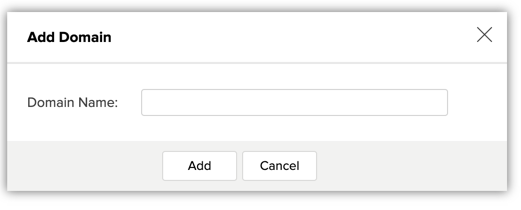
- Enter your domain name.
- Click Add.
- The domain will be added. Now you can get the validation codes for the SPF and the DKIM. Click Get Code to proceed.
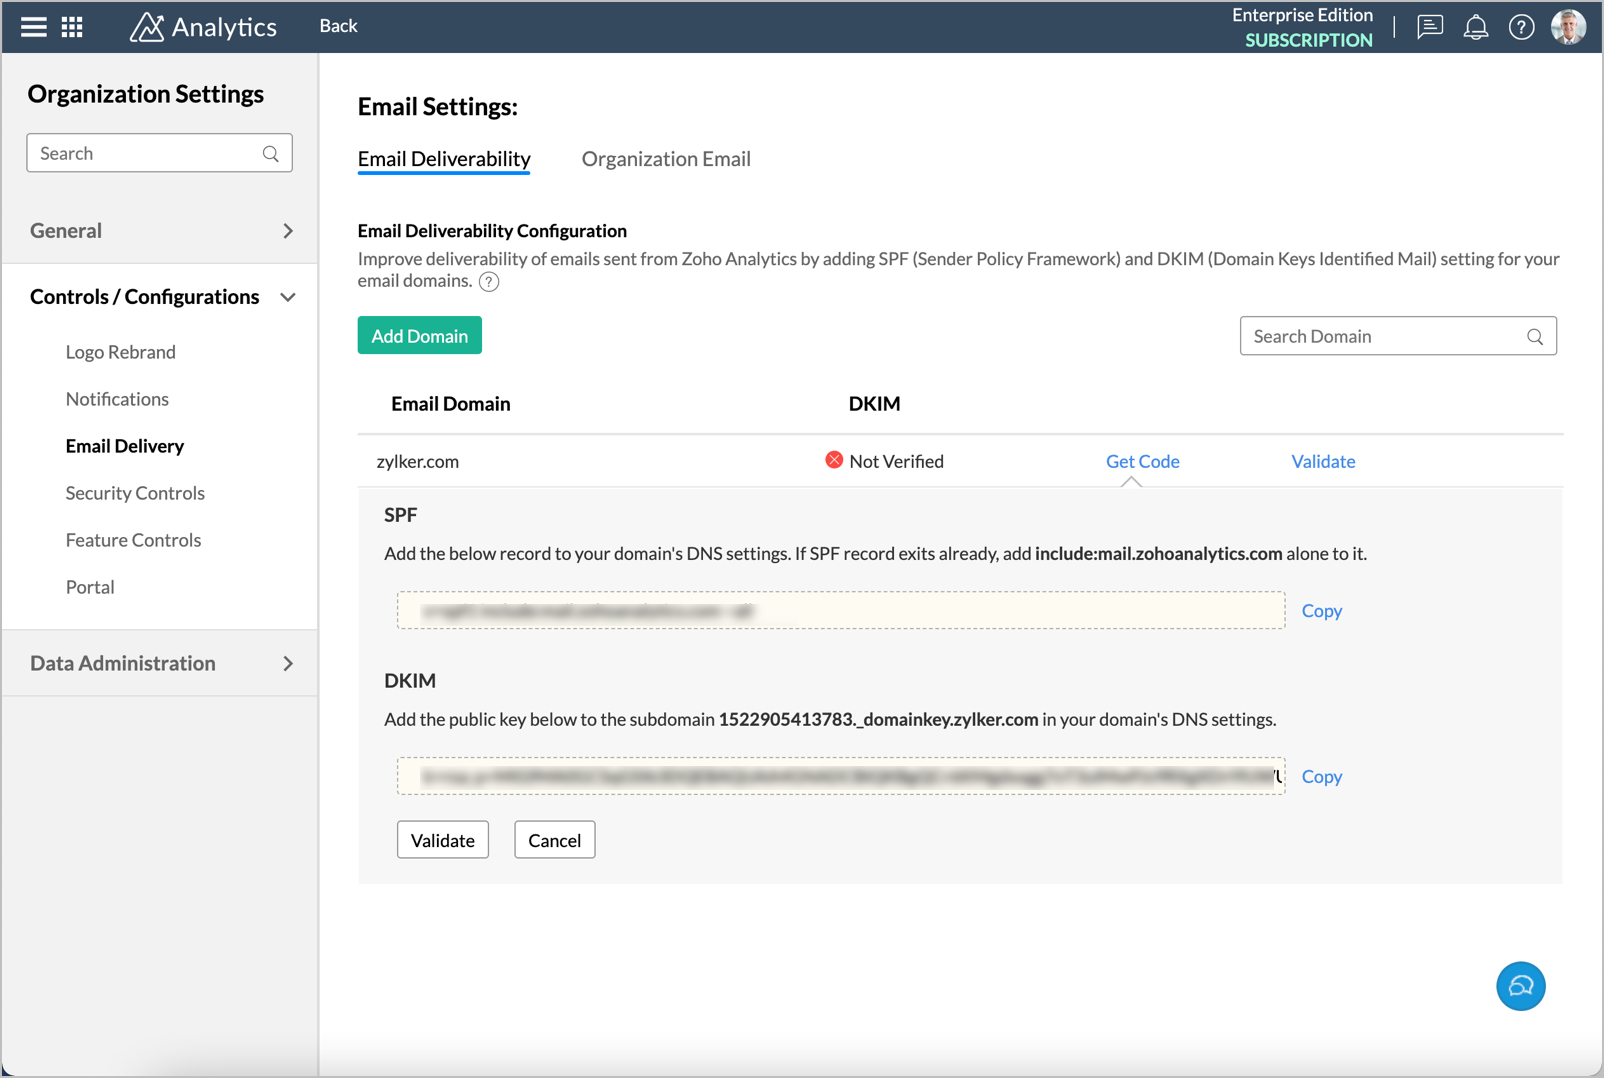
- Copy the corresponding codes and add them in your DNS settings. Click here to learn how to configure the DNS settings.
- Once you have added the validation code in your DNS settings, click Validate button in the Email tab. The domain will be marked as verified.


Now, you will be able to send data alerts and report emails using Zoho Analytics. Your emails won't end up in the spam folder of your recipients.
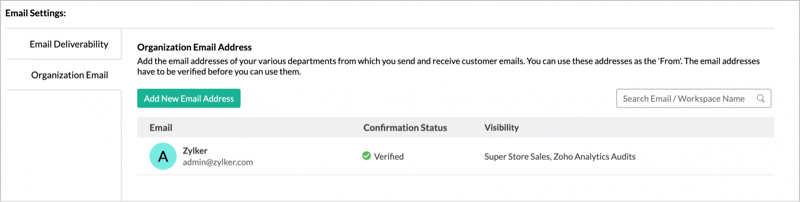
Adding Organization Email Address
Zoho Analytics allows you to send emails from the primary email address of your account. Apart from this, you can also add organization email addresses to send emails.
Follow the below steps to add Organization Email Address.
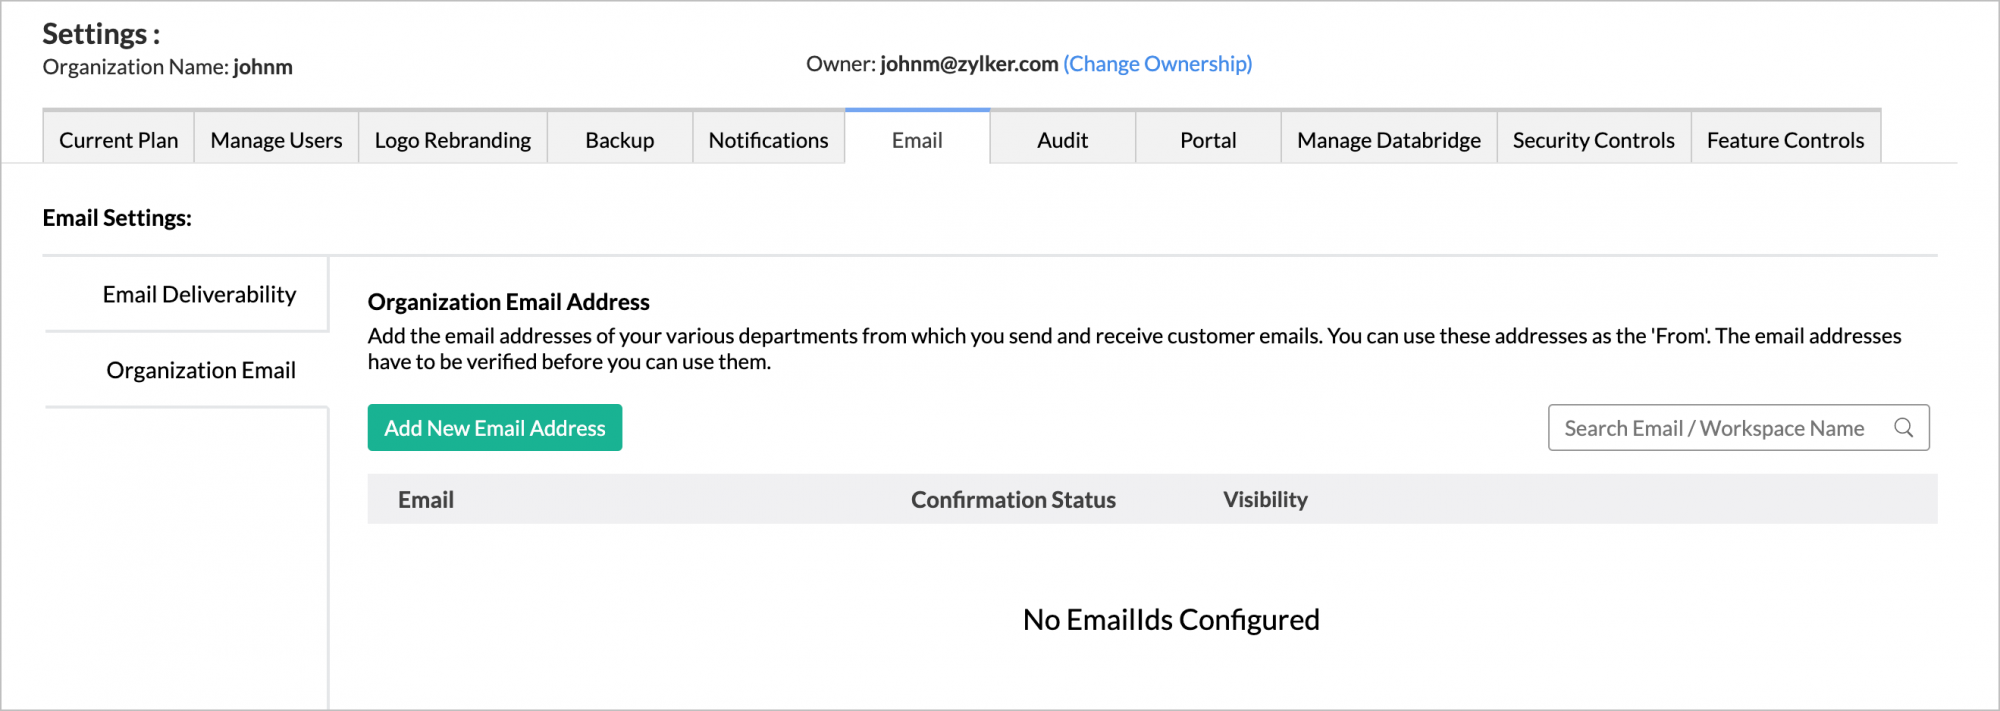
- Open the Email tab of the account Settings page.
- Click Organization Email. The Organization Email Address section will open.
- Click Add Email Address button. The Add New Organization Address dialog will open.
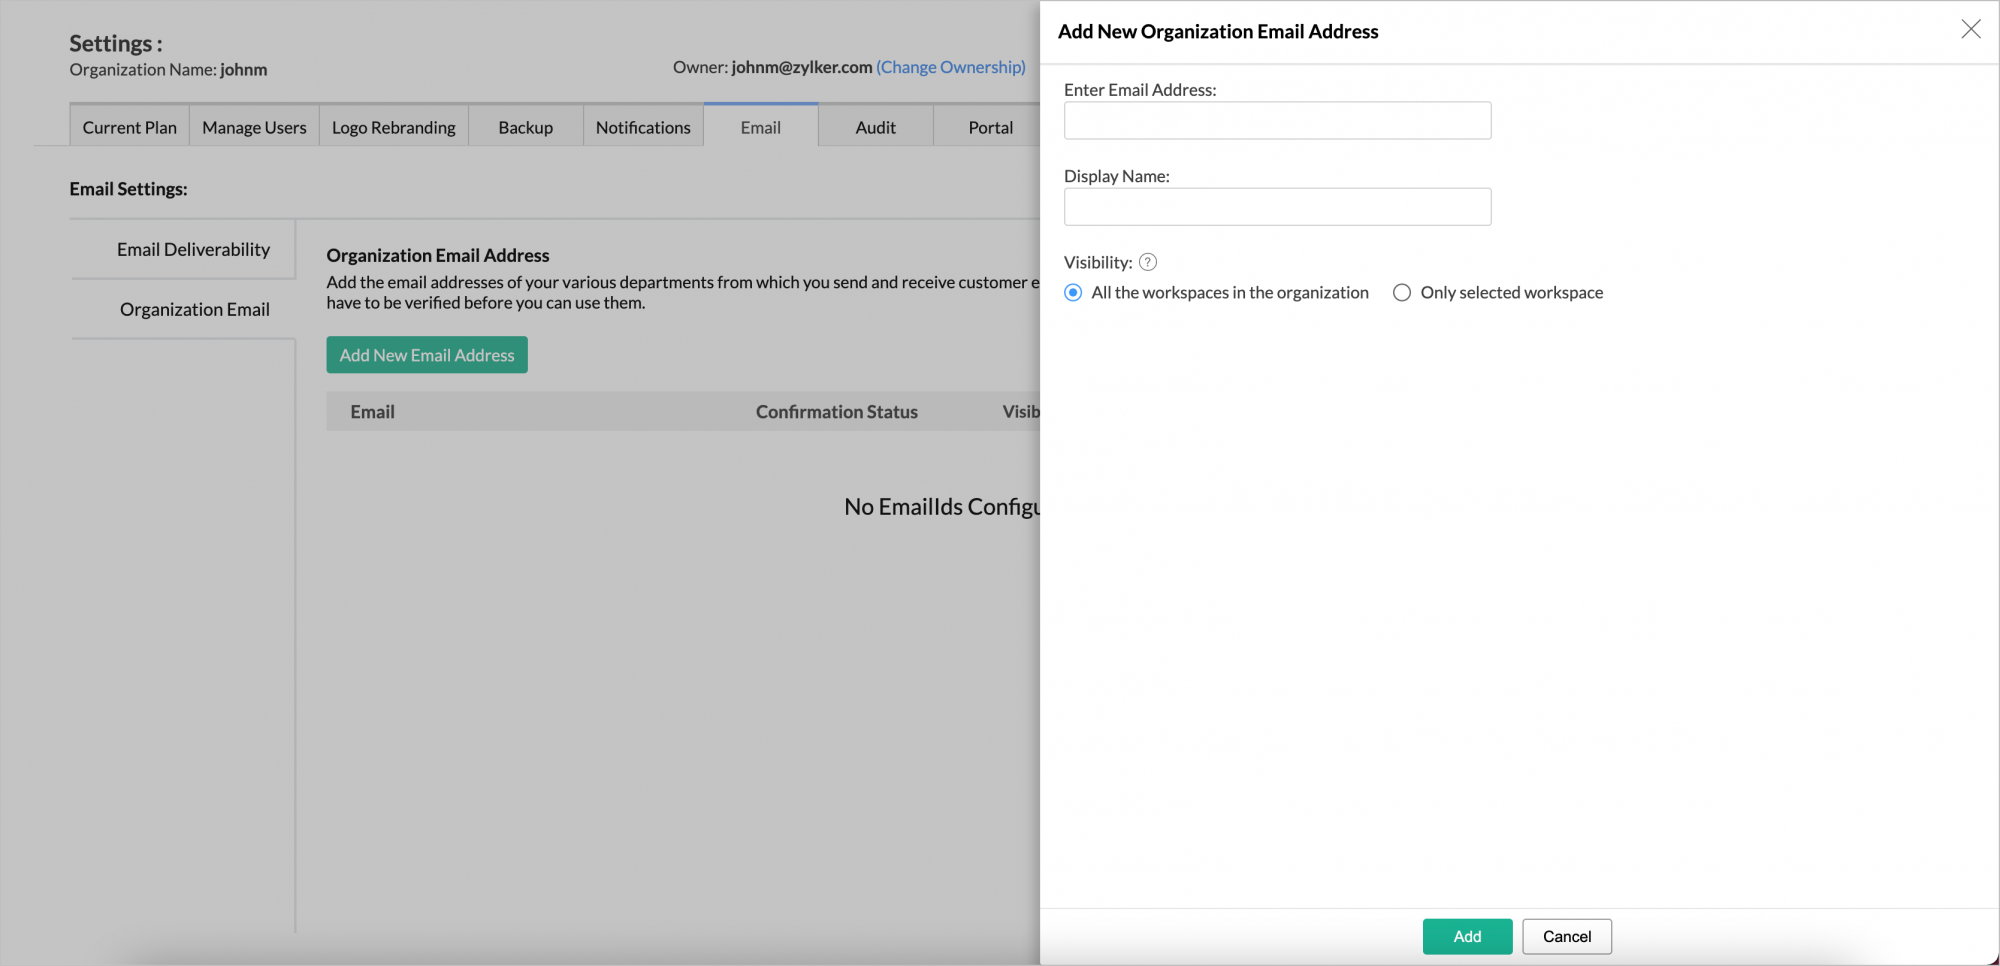
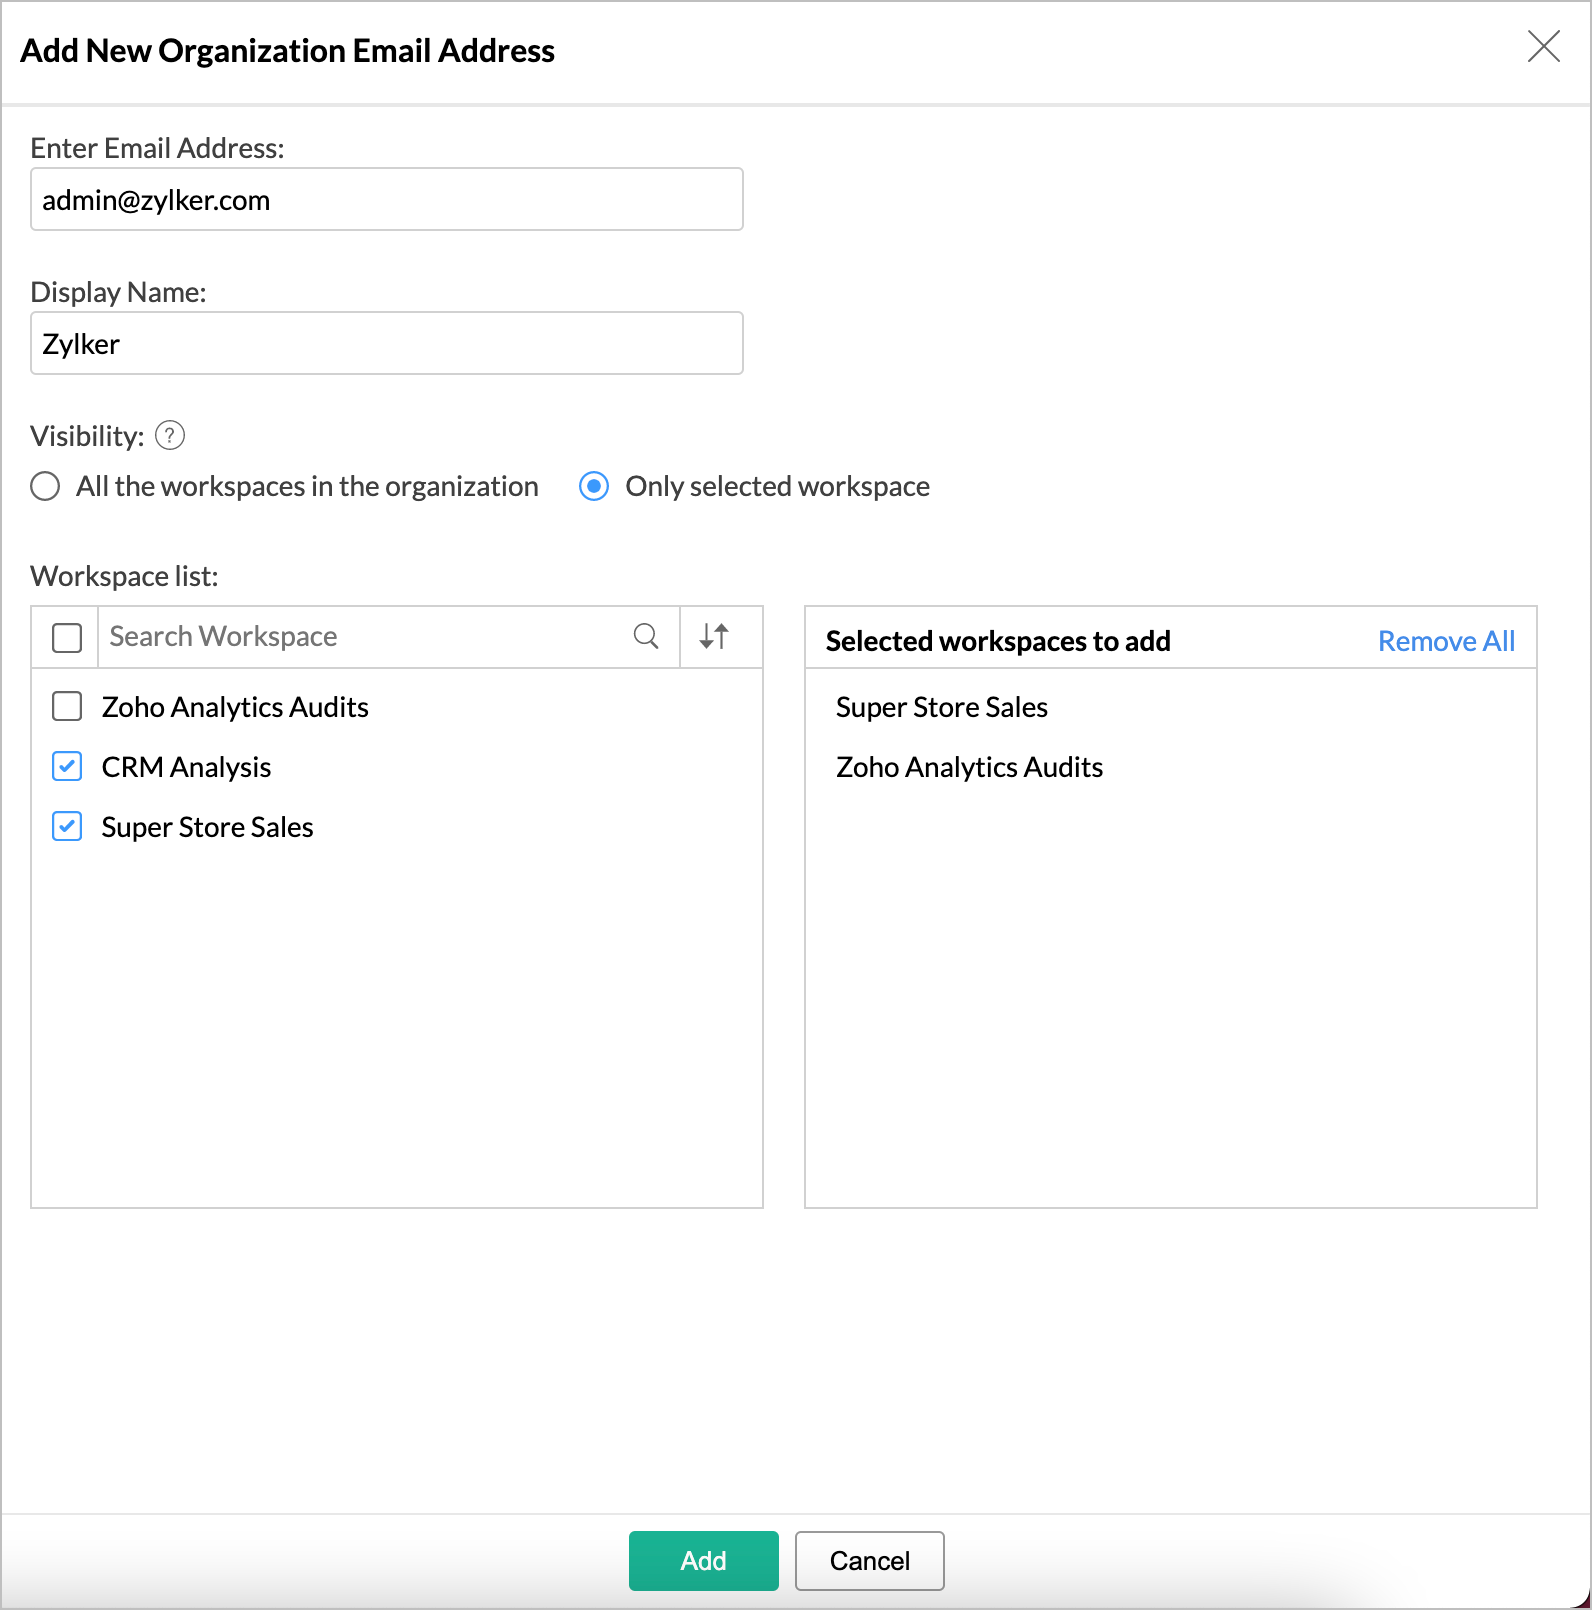
- Provide the organization email address in the Enter Email Address field.
- Enter a Display Name.
- In the Visibility section, specify where the email address needs to be used.
- Select All the workspaces in the Organization to add the email address for all the workspaces. This will add the email address to any new workspace created later.
- Select Only selected workspaces to add the email address for selected workspaces.
- Click Add. The email address will be added.
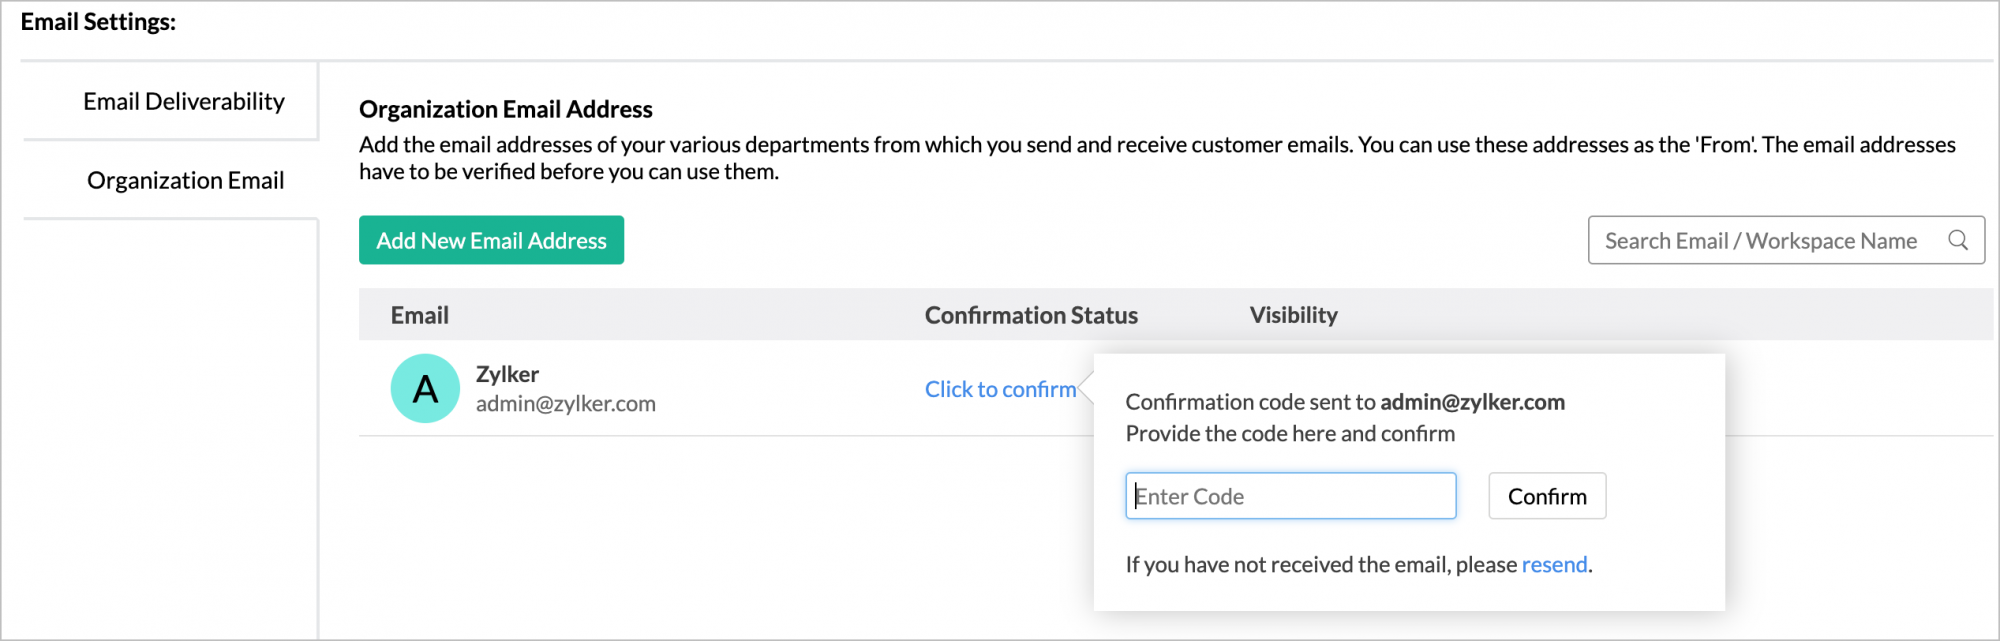
- Now you need to verify the email address to send emails using it. Use the Click to confirm link.
- A confirmation code will be sent to the added email address. Provide the code and click Confirm.
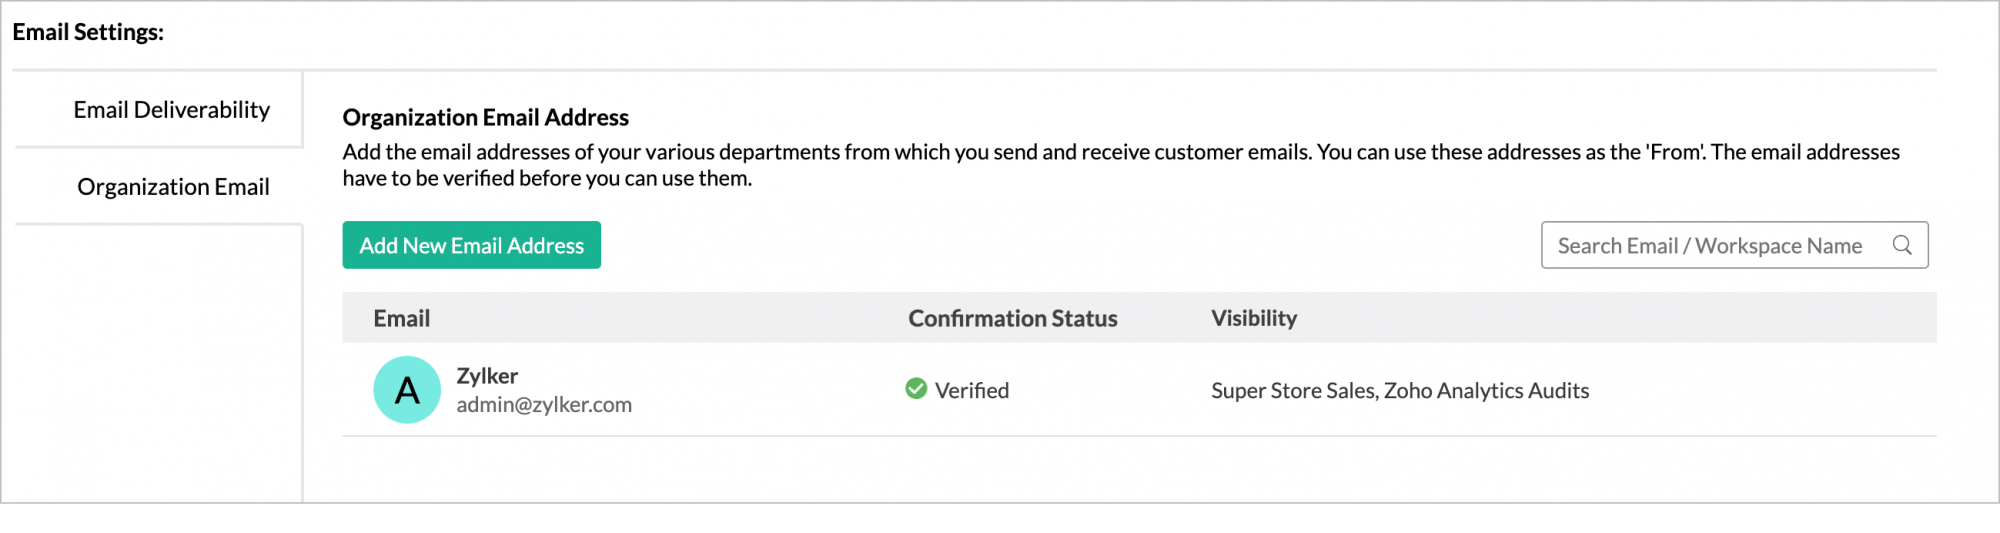
- The email address is verified. You can send mail using this email address from now on.


- You can add multiple email addresses as Organization Email Address.
- For now, organization email address can be used only for emailing reports. Support for sending Data Alerts from org email addresses will be done soon.