Domain Addition & Verification
Domain Verification is a pre-requisite for sending emails using ZeptoMail. It confirms your ownership over the domain and prevents unauthorised use. Emails sent from a verified domain are more likely to be trusted by recipient servers. To verify a domain, you should add the DKIM and CNAME records to your domain's DNS settings.
Note
ZeptoMail uses CNAME record to validate the return-path parameter, which is also validated by SPF. To avoid redundancies, we recommend adding only the DKIM and CNAME records for domain verification in ZeptoMail.
DNS records
SPF
The Sender Policy Framework (SPF) record lists all the servers authorized to send emails on behalf of a domain. When an email reaches the recipient server, it checks for the return-path domain in the envelope address — this is available in the email header and is not visible to the recipient. The server then looks up the SPF record of the return-path domain and checks if the sending server's domain or IP is listed. If it is, then SPF passes. SPF mainly helps prevent the misuse of a domain for phishing and other scams.
SPF value: v=spf1 include:example.com ~all
DKIM
Domain Keys Identified Mail (DKIM) is an authentication method that ensures that an email's content has not been altered in transit. It uses a public-private key pair to achieve this. The sending server creates a hash value of the email's contents and encrypts it using a private key. This is called a signature and is added to the email header. When the recipient server receives the email, it retrieves the public key from the sender's DNS. It uses this key to decrypt the signature. Simultaneously, it creates a separate hash value. This new hash value is compared with the decrypted value. If they match, the DKIM check is cleared. DKIM ensures that the email content is not modified to carry out phishing activities.
DKIM value: <selector>._domainkey.subdomain
CNAME
The Canonical name (CNAME) record is a type of DNS record that maps one domain name (usually a sub-domain) to another domain. This acts as an alias allowing multiple domain names to point to the same source without duplicating the DNS records.
CNAME record added in ZeptoMail specifies the subdomain that will be used to capture the bounced emails, i.e., the bounce or return path address.
Note
Refer here for instructions specific to popular DNS providers like GoDaddy.
Add your Domain
Follow the steps given below to add your domain in your ZeptoMail account:
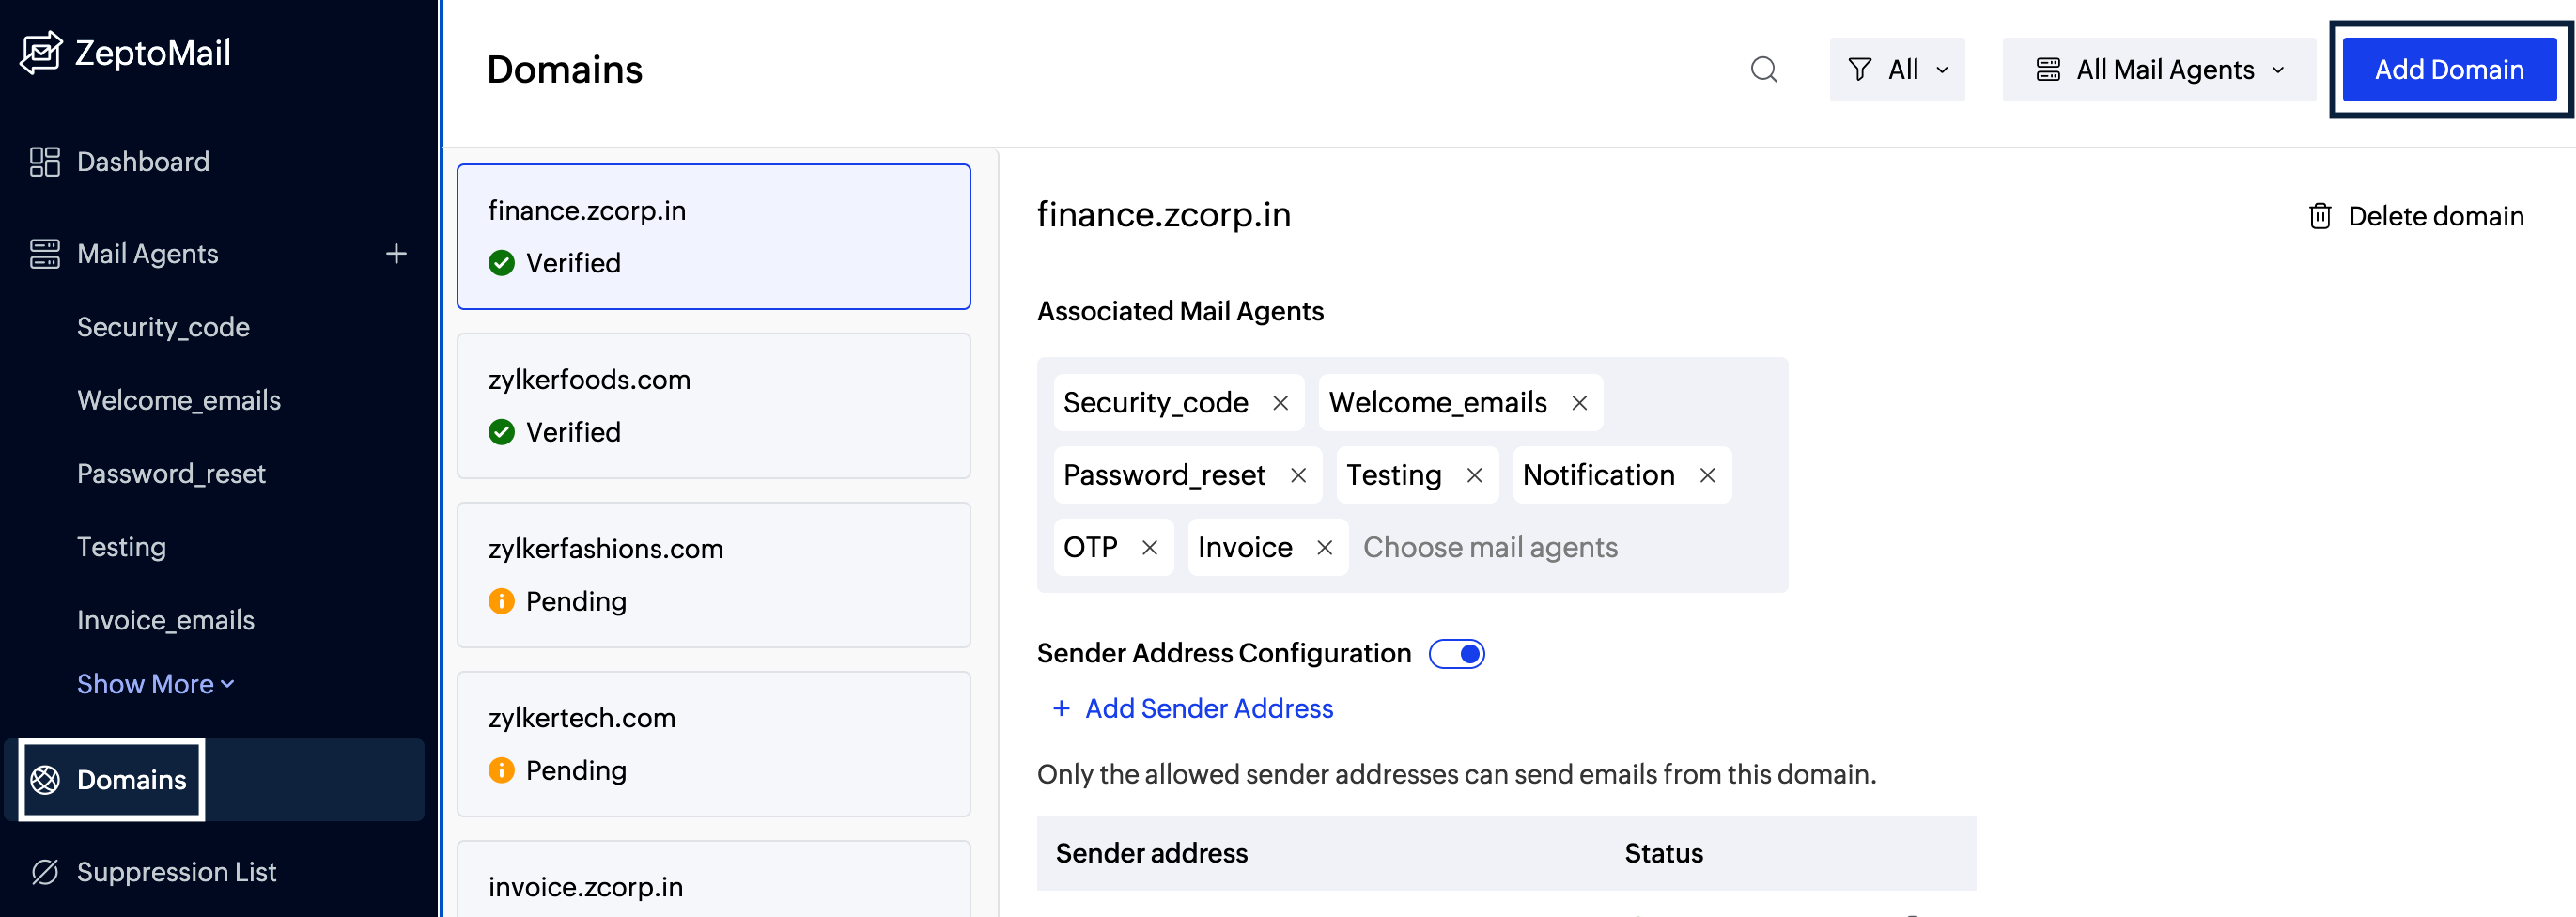
- From the left panel, click on Domains.
- Select Add Domain.
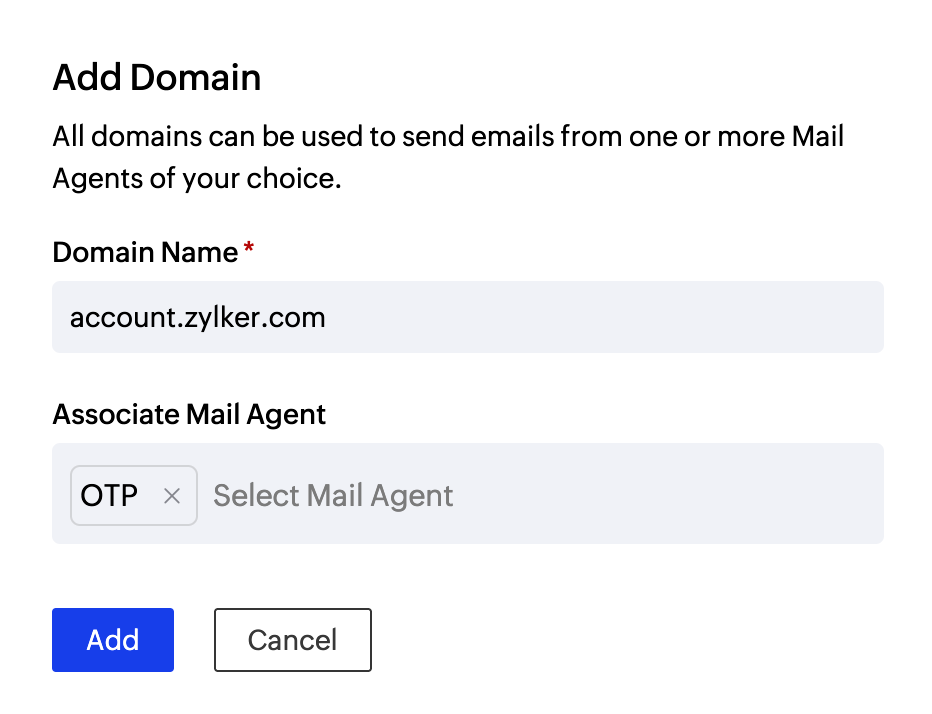
- Enter your domain name.
- Select the Mail Agent(s) to which this domain has to be associated. You can select multiple Mail Agents too.
- Click Add to complete the domain addition process.
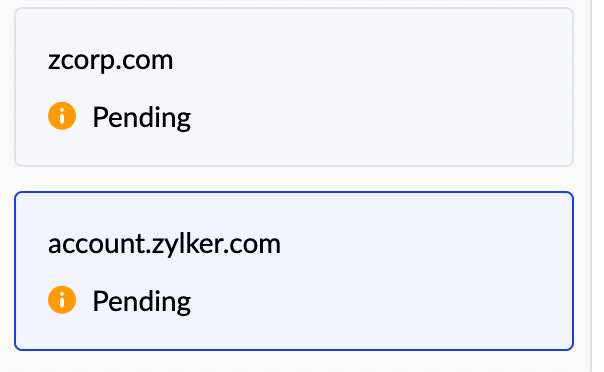
- The new domain will be successfully added.
Note
You can add a total of 100 domains in the Domains section.
Edit your Domain
If you have mis-spelled any of your un-verified domains, you can edit it. Follow the steps given below to edit your domain:
- Hover over the unverified domain and click on the edit icon next to the domain name.

- Enter the new domain name and click the save icon.

Verify your Domain
Once you add your domain, you'll find the DKIM and CNAME values for it.
Multiple DKIM values
You can add multiple DKIM keys to your domain for rotation. Key rotation involves replacing old public-private key pairs with new ones. Regular rotation ensures your DKIM keys are secure and reduces the risk of them being deciphered. 
In ZeptoMail, you can either auto-generate a selector or add one manually. You can also choose the desired key length. Every DKIM key you generate should be verified to use it. 
Domain verification
To verify your domain, copy paste the DKIM and CNAME values to your DNS settings. Once you add the records, click Verify domain. The domain will be verified if the values are valid.
Note
It may take 24-48 hours for the records to be published in the DNS. Your domain will not be verified until then and you will not be able to send any emails.
You can authenticate your domain using any of the two methods:
Self Authentication
- Choose the unverified domain from the Domains section. You will find the DKIM and CNAME values listed there.
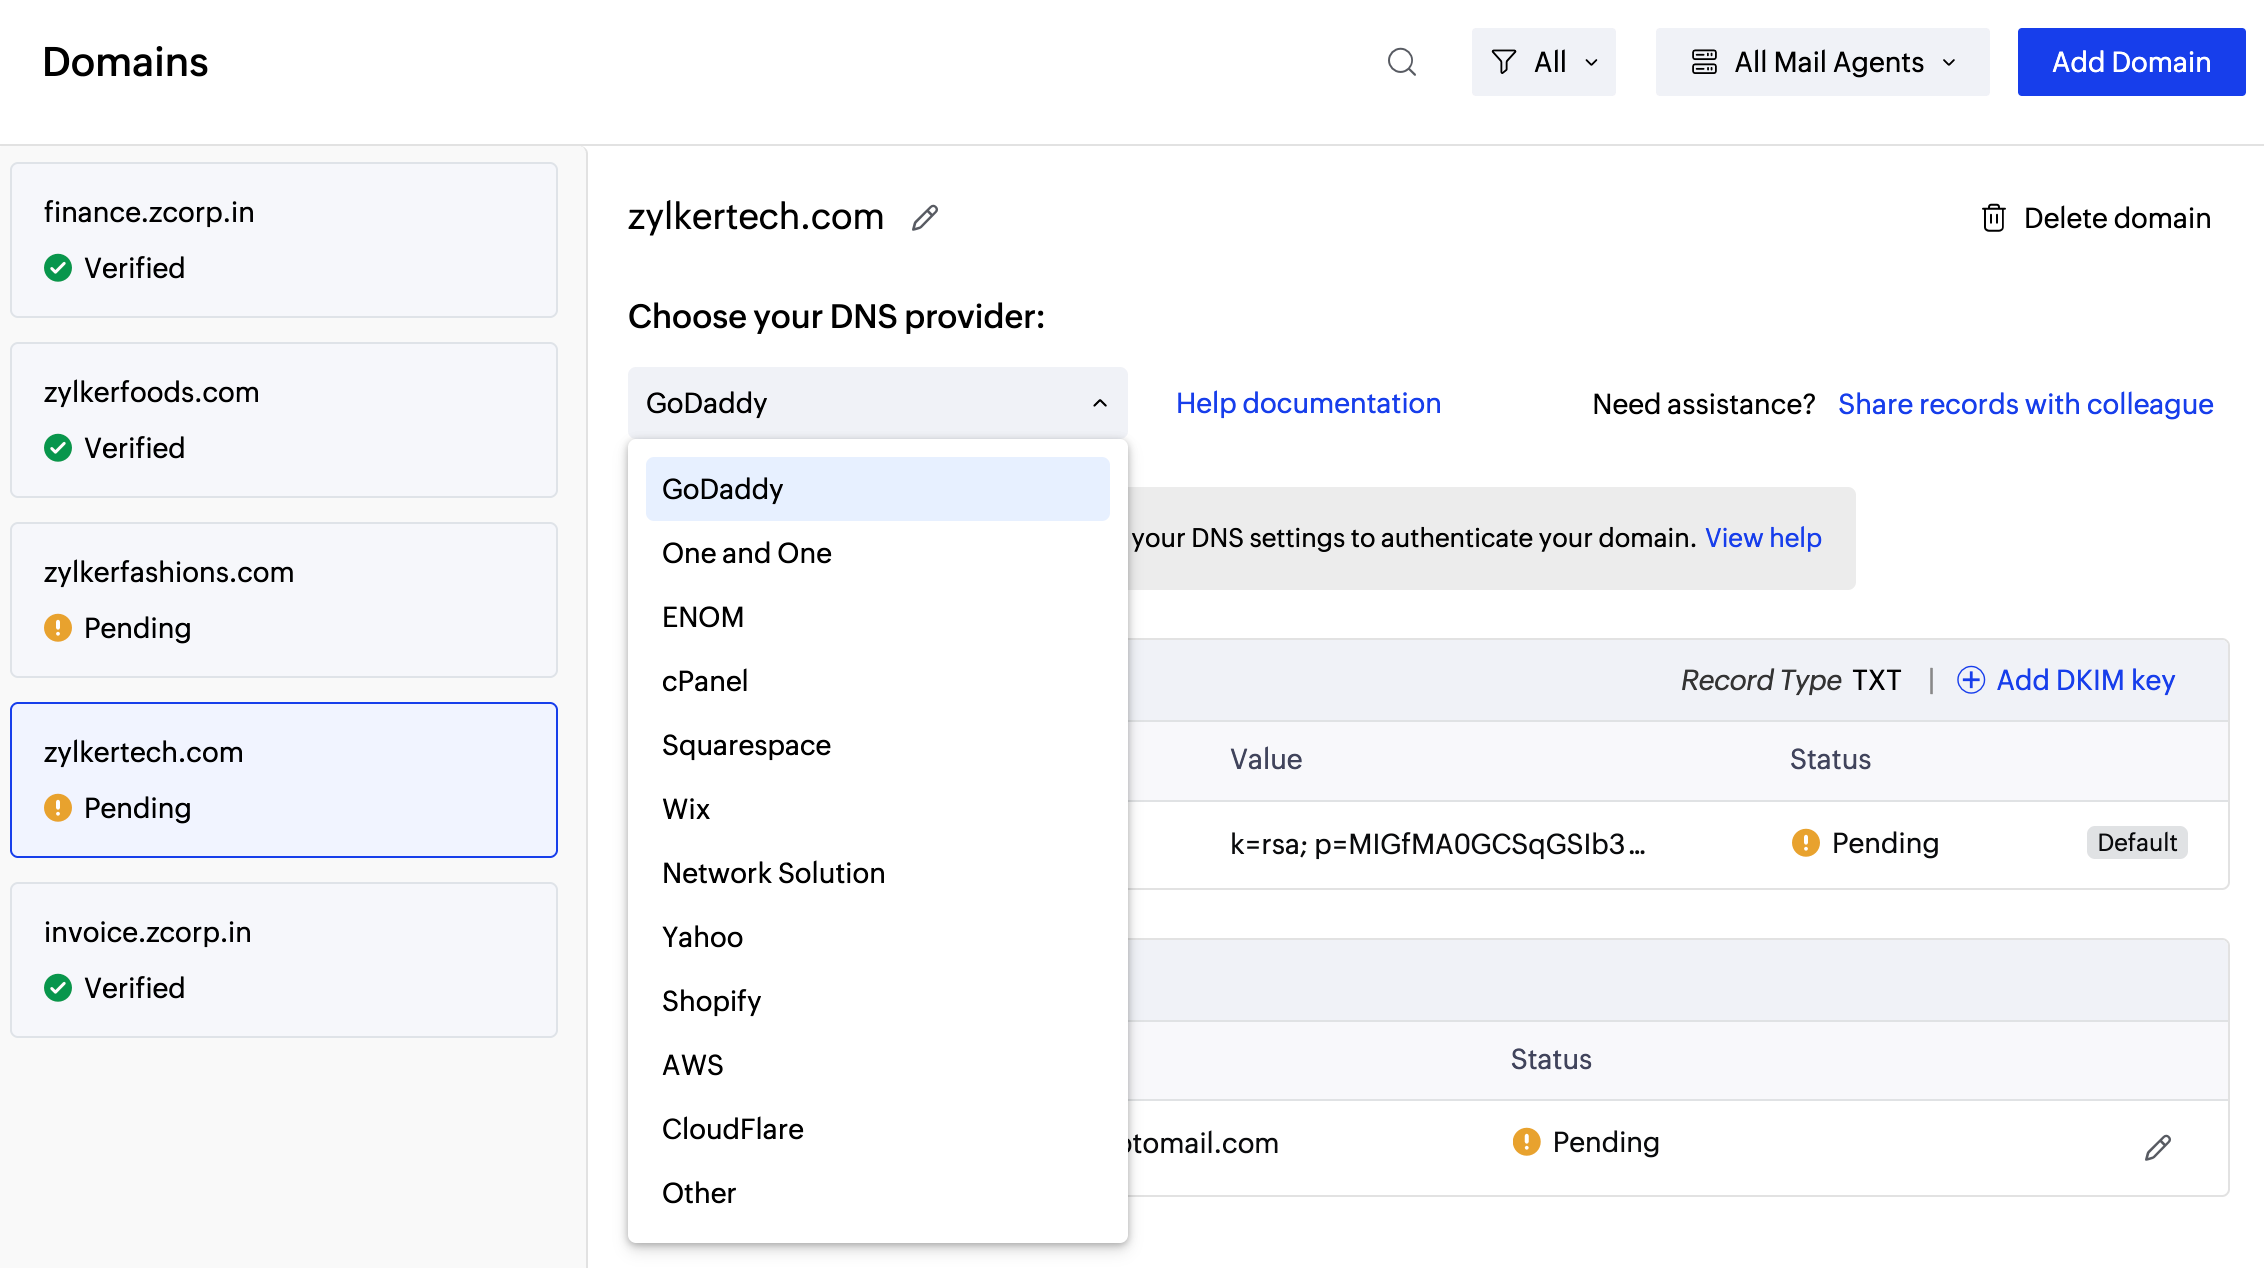
- Choose your DNS provider from the drop-down.
- The Host Value will be populated according to your DNS provider. Refer here for instructions specific to popular DNS providers like GoDaddy. If your DNS provider is not listed, you can select Other from the drop-down.
- Copy DKIM Record and CNAME Record and publish them to DNS.
- Click Verify once the records are published.
- It may take 24-48 hours for the records to be published in the DNS. Your domain will not be verified until then and you will not be able to send any emails.
- The verification status of the domain will change once it is verified.

Authentication with the help of IT administrator
Sometimes you may not be handing your domains directly. In such cases, you can get help from your IT administrator or your colleague to publish DNS Records. Follow the steps given below to share your records:
- From the left panel, click on Domains.
- Click on Share records with colleague for help.
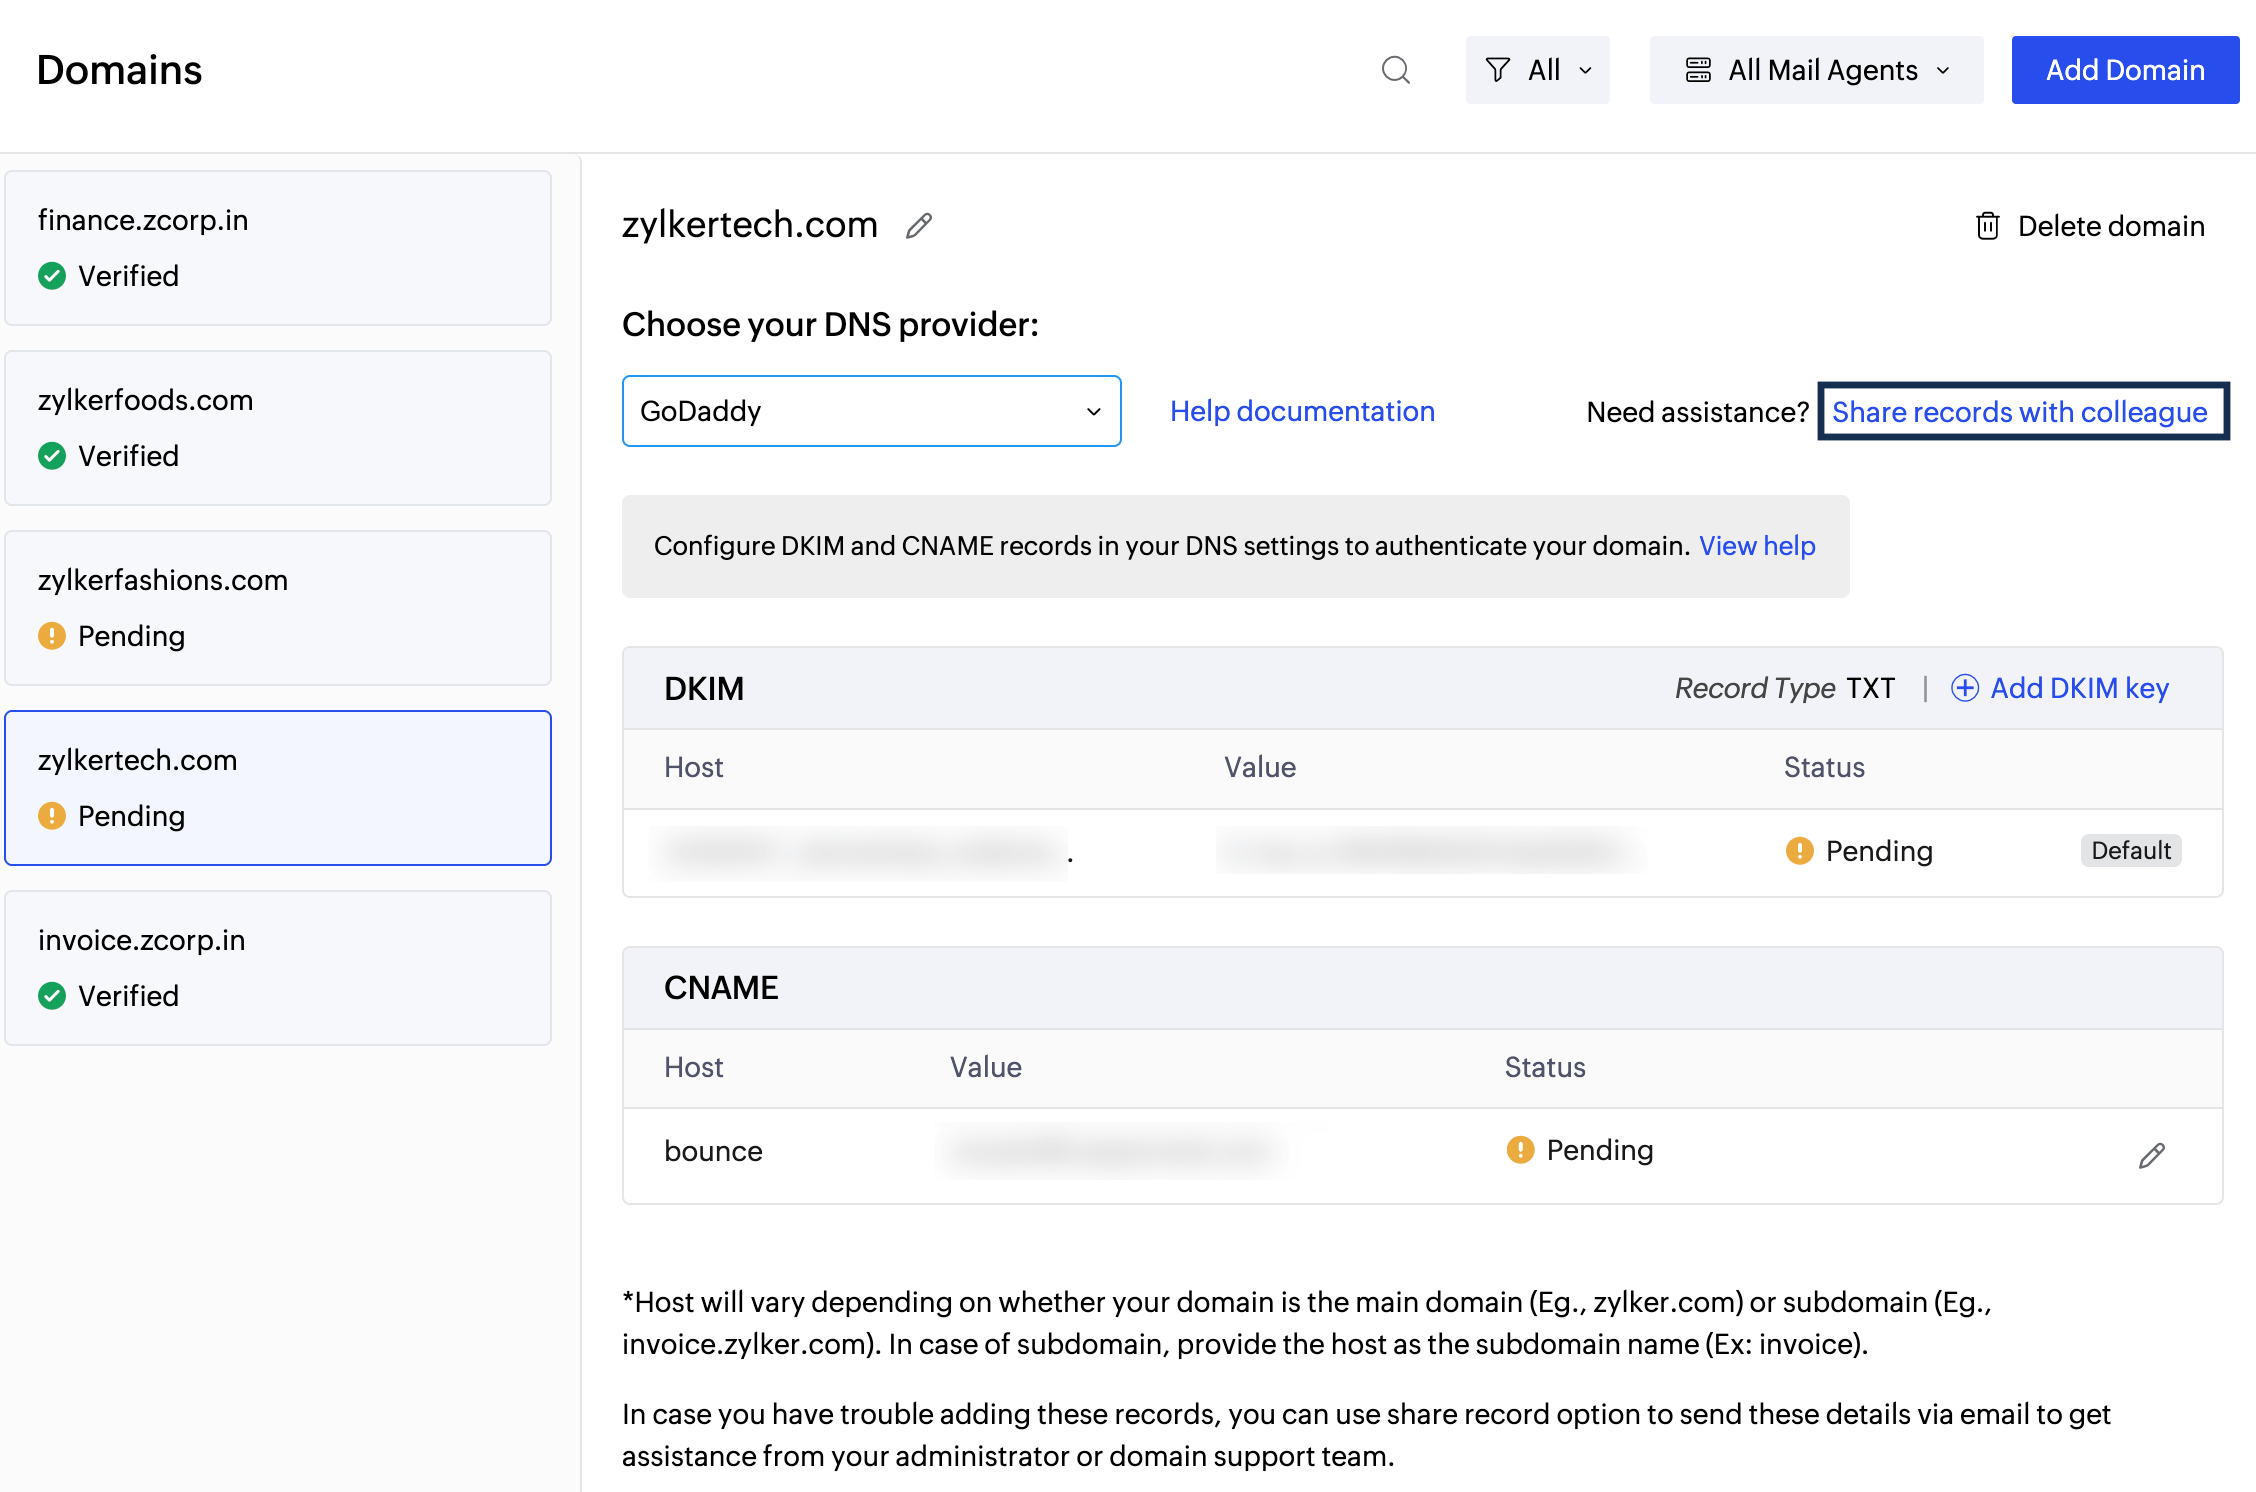
- The share record pop-up appears.
- Enter the email address of your IT administrator or colleague in the pop-up. Add a suitable description or message in the Description section. Click Send.
- Click Verify once the records are published.
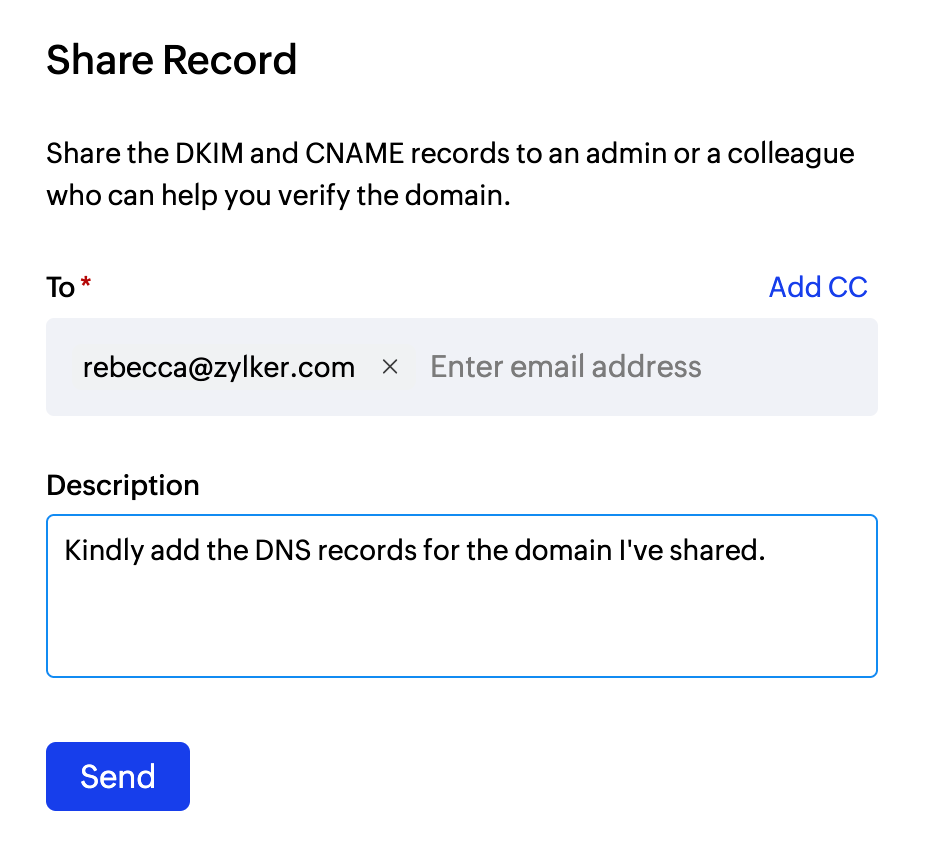
- It may take 24-48 hours for the records to be published in the DNS. So your domain will not be verified until that time and you will not be able to send any emails.
- The verification status of the domain will change once it is verified.

Note
The share record feature is available only for users with Postmaster and Engineer role. Refer this section for more information on user roles in ZeptoMail.
One click verification
ZeptoMail also supports one click verification for accounts hosted with certain DNS providers. This allows you to automatically add the DNS records to your domain providers without having to manually add them.
You can refer our guides on Go-daddy and 1&1 DNS providers to use the one click verification.
Domain validation
The domains associated with your account will be constantly checked for the published DNS records. If any discrepancy arises in the published records, you will be given a certain period to publish the relevant DKIM records. Failing to do so within the given time will result in the suspension of emails being sent from that particular domain.
To authenticate your domain again, follow the above mentioned verification methods.
DNS Missing and Domain suspension
In cases where your DNS records have been modified or deleted, you will be shown the Domain verification warning pop-up when you login. This pop-up lists the domains whose DNS settings have been changed.
There are two cases :
- DNS missing
- Domain suspension.
DNS missing case:
When the DNS records - DKIM and CNAME, of a particular domain have been deleted or modified, a pop-up warning about the changed data will be displayed along with the modified records. Click the view button near the domain to view the details corresponding to it.
The deadline to verify these records will also be shown in the pop-up, post which email sending will be suspended for it. Apart from this, we will also be sending you email intimations about the modified records. 
Domain suspension case :
Further, the domains whose email sending has been disrupted will be shown in the pop-up when you login. You can add the missing data in your DNS settings and verify your domain to start sending your emails again.
Follow the steps given above to add and verify your records.
Alternatively, you can view the information about the missing DNS record in the Domains section of your account too. 
Note
Before you get started it is important to know that ZeptoMail is for sending transactional emails like welcome emailers, password resets emails, OTPs. We do not support sending of bulk emails or promotional emails like newsletters or marketing campaign emails. If you are looking for a bulk email provider, you can visit Zoho Campaigns.


