Bounce Subdomain Setup
Bounced emails are emails that failed to deliver. The email delivery failure might be due to permanent reasons (hard bounces) or temporary ones (soft bounces). Some of the common reasons for email bounces:
- Recipients mailbox being full.
- Recipient has left the organization and their mailbox is deleted.
- Recipient server did not accept emails.
- An incorrect recipient address.
Such bounced emails are returned to a specified address called bounce address. This helps you to understand the delivery issues and sort them out. Bounce address is also called as mail-from address or return-path address. It is mandatory to specify a bounce address before you can send an email. You will be prompted to add the bounce address as a part of your account creation process. Refer the guide here to view the steps in creating your account in ZeptoMail.
To capture the bounced emails, you should create a suitable bounce sub-domain value. This sub-domain value will be used to create a bounce address that will be used to capture the bounced emails. This will be of the format : prefix@subdomain.domain.com. For example, for the subdomain name - bounce and domain name - zylkerstore, the bounce value would be : prefix@bounce.zylkerstore.com. The prefix value will be added by ZeptoMail to the subdomain value created by you.
The bounce address created, will be sent as a hidden parameter in the email header along with your emails. When your emails bounce, we will fetch the email address causing the bounce and display the data within the processed emails section of your ZeptoMail account. Having a separate sub-domain to receive your bounced emails will help categorising them better.

Note:
- Bounce Address can be created only for verified domains (SPF, DKIM, and CNAME).
- Information about bounced emails can be viewed in the Processed Email tab within your Agent.
Create your Bounce subdomain
When you create an account, you will be prompted to add the subdomain value. This value will be used to create the bounce address. Apart from this, you can create the bounce address when you add a new domain in your ZeptoMail account.
Create Bounce Subdomain within the Domains tab
- From the left panel, click on Domains and click on Add domain.
- Fill in the Domain name, subdomain name which will be used to create the bounce address and the Agent with which you would like to associate the domain.
- Click on the Add button.
- The bounce address created using the subdomain value added will be used to capture the bounced emails.

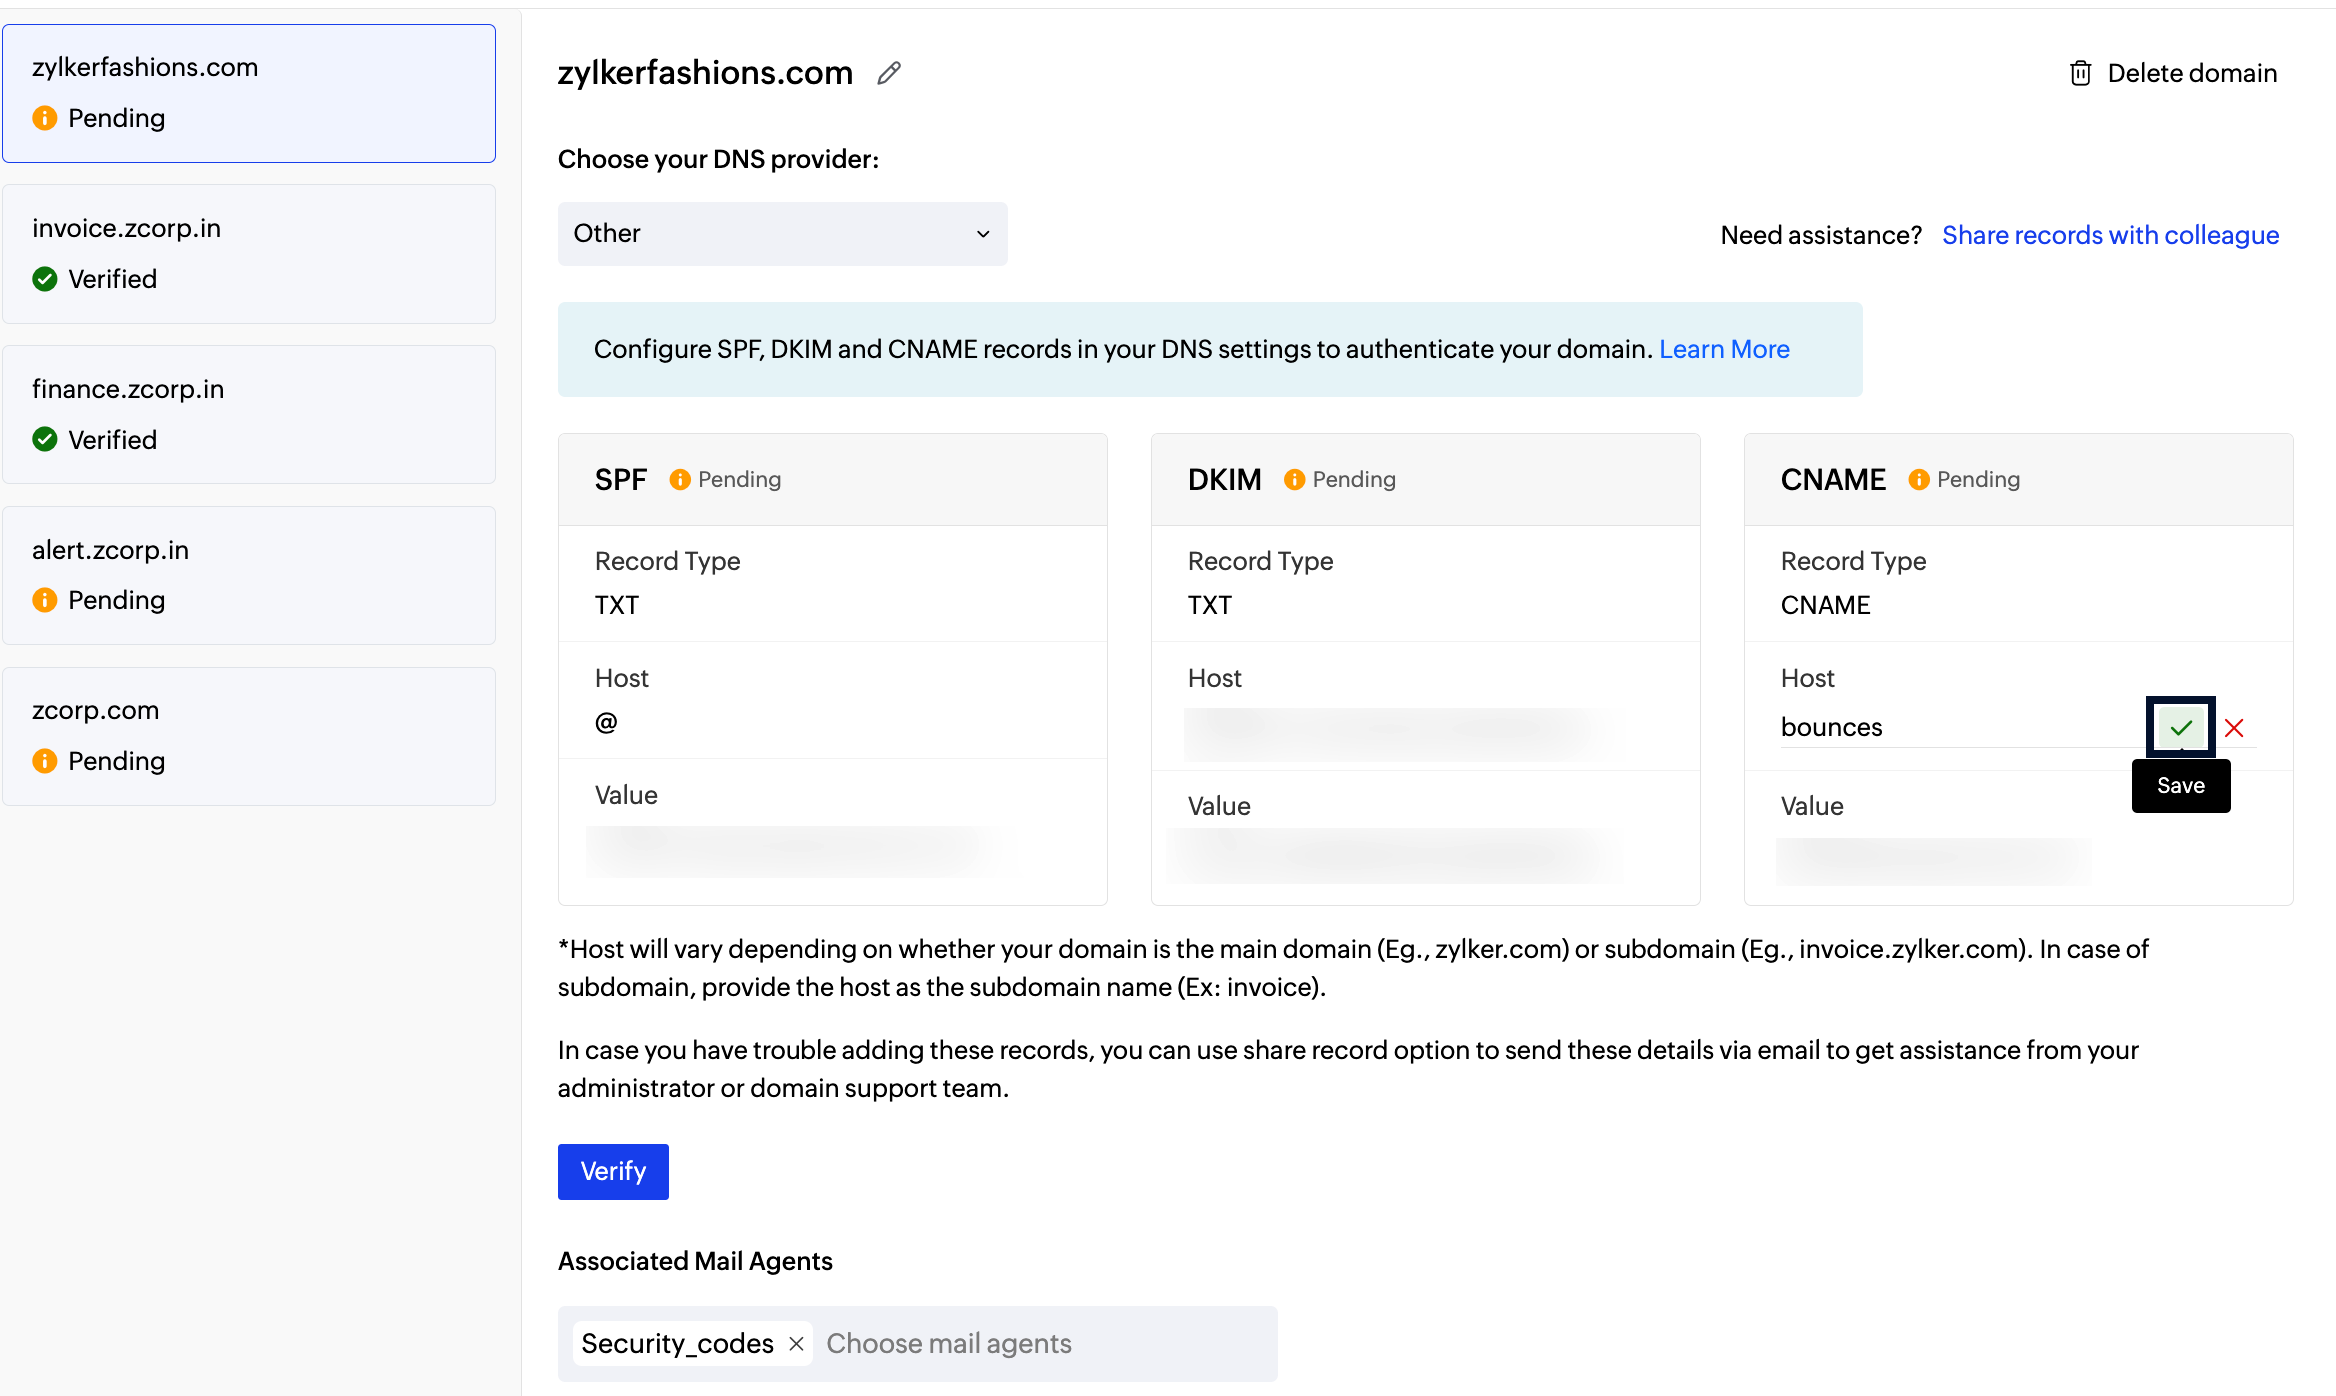
Editing Bounce Subdomain
You can edit the bounce subdomain value for those domains for which verification is pending. To do so :
- Navigate to the desired domain.
- Click on edit in the host value field.
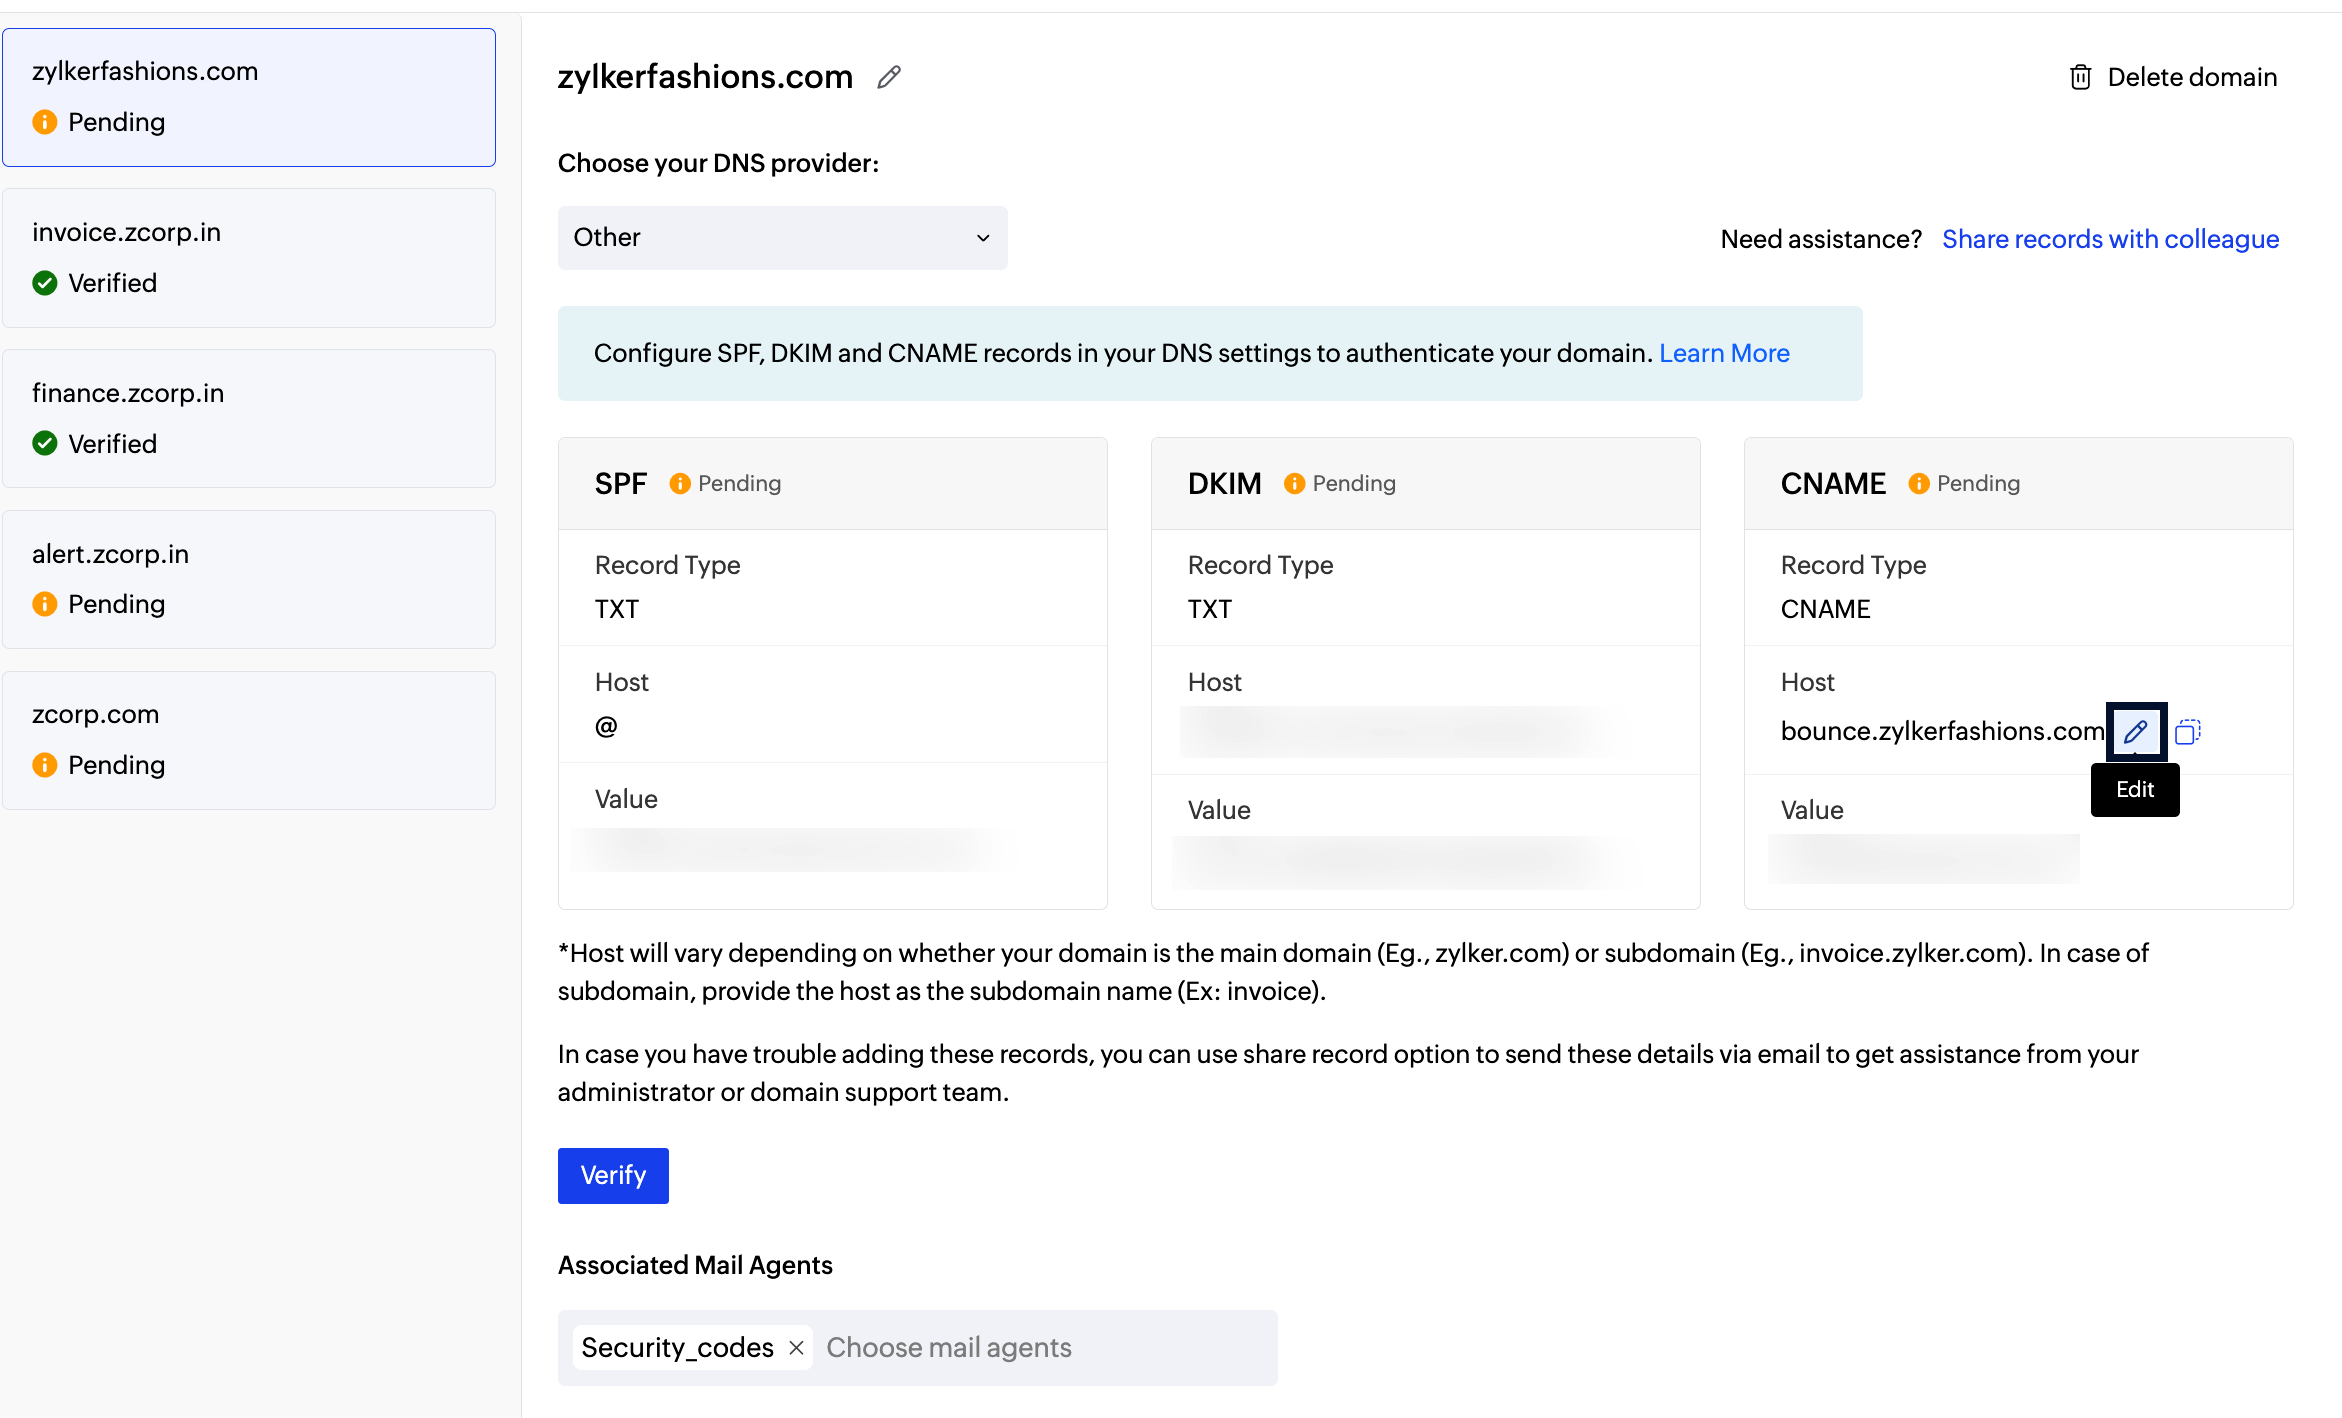
- Enter the new value.
- Click the save button to confirm the change. The new value will be updated.


Note:
Before you get started it is important to know that ZeptoMail is for sending transactional emails like welcome emailers, password resets emails, OTPs. We do not support sending of bulk emails or promotional emails like newsletters or marketing campaign emails. If you are looking for a bulk email provider, you can visit Zoho Campaigns.