Maximizing your webinar impact:
Record, share, and reap the benefits
Record your webinar and share it with those unable to attend. Use the recorded webinar as either a product demo or a helpful guide for new users. You can choose to stream it online or download and view it later.

How to record a webinar
Zoho webinar software helps you to capture audio (through VoIP or telephone), video, and screen sharing in recordings. Watch recordings online, share recordings with anyone you want, and download them to your computer.
There are two options to record a webinar on a Mac or PC:
Initiating live webinar recording:
A step-by-step guide
If you’re interested in manually recording your webinar, here’s how you do it:
1. Start your webinar session
Schedule and start broadcasting your live webinar session.
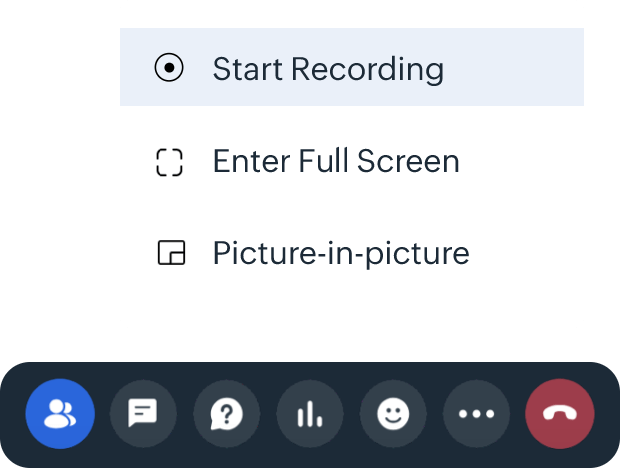
2. Enable the record button
Click More from the webinar toolbar and then click Start Recording. Your webinar will start recording automatically, without the need for an external screen recorder.
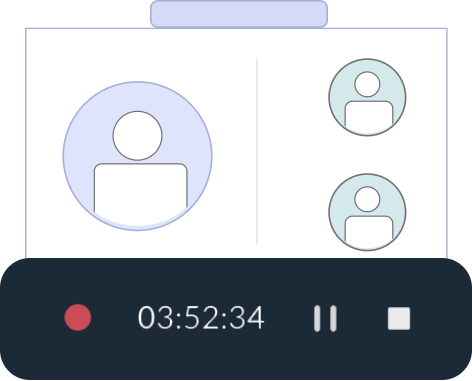
3. Stop recording
When you’re done recording your session, you can click Stop Recording.
4. Store and share your recordings on the cloud
Record separate sections of a webinar by starting and stopping the recording as you wish. Every time you start and stop recording, a new recording will be created. You can then download your recordings at the end of your session.
Effortless auto-recording for live webinars:
A step-by-step guide
With Zoho webinar software, you can effortlessly record your webinar videos and store them with ease.
01
Log in to your Zoho Webinar account.
If you don’t have one yet, you can begin a free trial. Once you’re logged in, navigate to the My Settings tab, and locate the recording options within the webinar settings.
02
Enable automatic recording.
If you want to have your live webinars recorded automatically as soon as you begin broadcasting, simply toggle the Auto-record webinars setting. This will help you record all of your webinars from the start of your broadcast automatically.
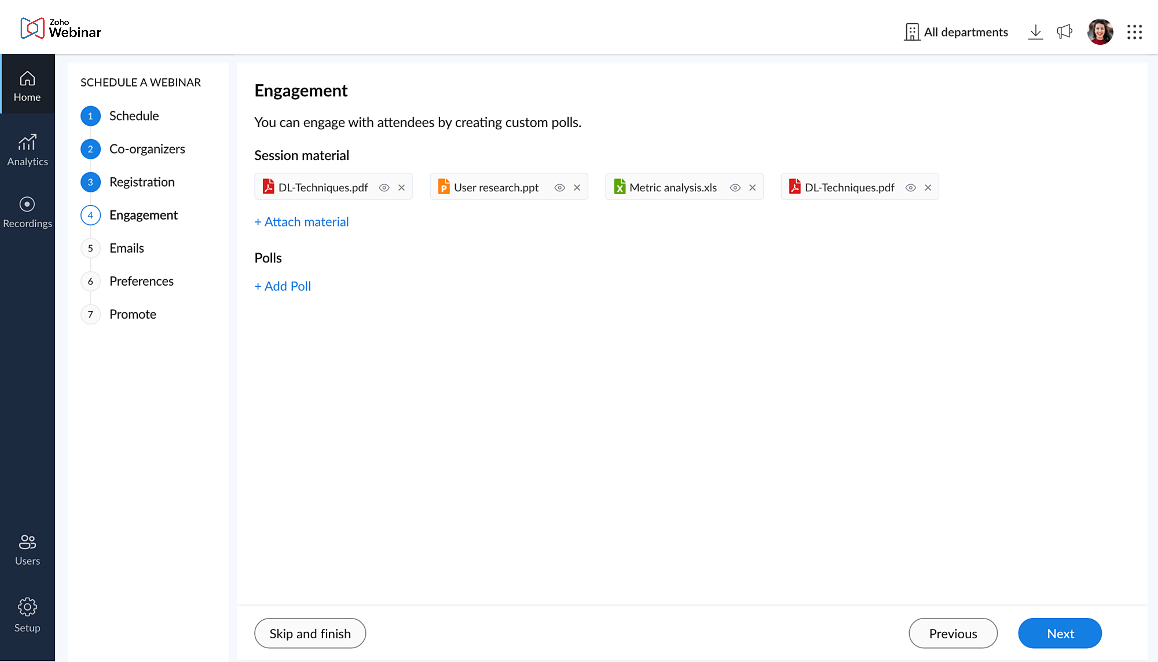
03
Enable web-cam video feed recording.
Enjoy the flexibility of being able to adjust your webinar recording settings to meet your audience’s needs. If you want to include your webcam’s video feed in the recording alongside your webinar content, simply activate the Record camera in webinars option within your recording preference settings.
04
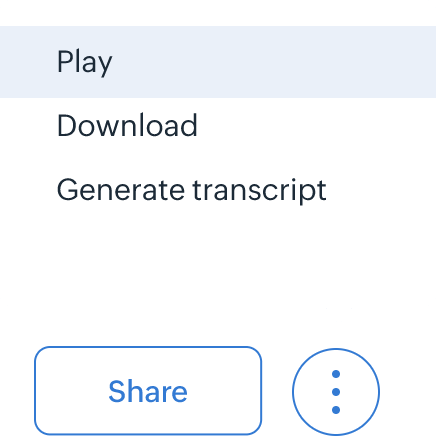
Organize your webinar recordings
To replay, share, download, or delete your recordings, click the Filestab in the left pane. Your recordings will be displayed under Recordings with the options to play, share, download, and delete next to each recording.
Tips for recording webinars in Zoho Webinar:
- Make sure you have a good internet connection.
- Use a high-quality microphone and webcam.
- Record in a quiet place with good lighting.
- If you’re using a screen share, make sure your slides are well organized and easy to read.
- Practice your presentation beforehand so that you can deliver it smoothly.
Three reasons to record your next webinar
Advanced recording settings
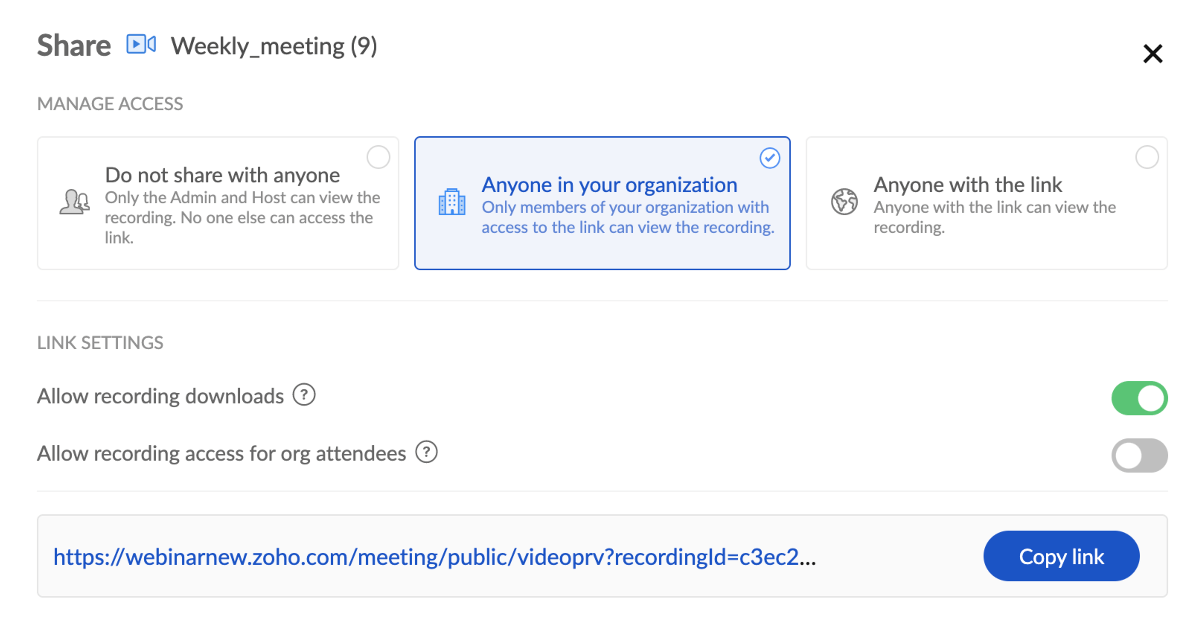
The advanced recording settings include the ability for the host/co-host to record and share the webinar as well as an active speaker indicator, to name a few. The admin can also customize the recording layout, recording quality, user notifications, and much more. You can also manage recording access, so only the people you specify will have access to the recording.
Automate everything
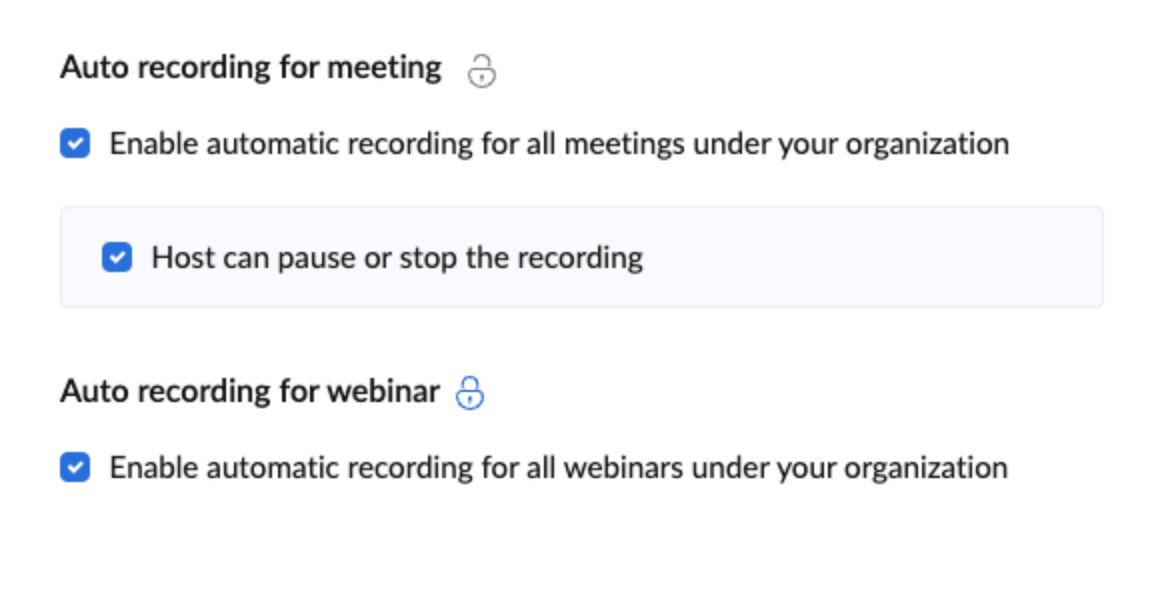
Zoho Webinar gives organization admins more control over webinar recordings. Organization admins can enforce auto-recording for sessions, and prevent hosts from accessing, sharing, downloading, and even deleting session recordings. With the Lock icon, organization admins can now easily ensure that all organization sessions are recorded, regardless of the members’ preferences.
Advanced recording settings
The advanced recording settings include the ability for the host/co-host to record and share the webinar as well as an active speaker indicator, to name a few. The admin can also customize the recording layout, recording quality, user notifications, and much more. You can also manage recording access, so only the people you specify will have access to the recording.
Frequently Asked Questions
You can record a live webinar session by clicking the Record button in the top-right corner and click Start. Your webinar will start recording automatically, without the need for an external screen recorder.
Click the Filestab on the left pane. Your recordings will be displayed under Recordings with the options to play, share, download, and delete next to each recording. Click Download and select the location to save your webinar recording on your local hard drive.
You can click the Share button under Recordings to manage recording access and configure link settings. Under Manage Access, you can select an option and based on your choice, only the people you specify will have access to the recording.
Yes, you can record webinars on your computer including audio, video, screen sharing, and session materials. Play, download, and share high-quality recordings from your Zoho Webinar account.