
Back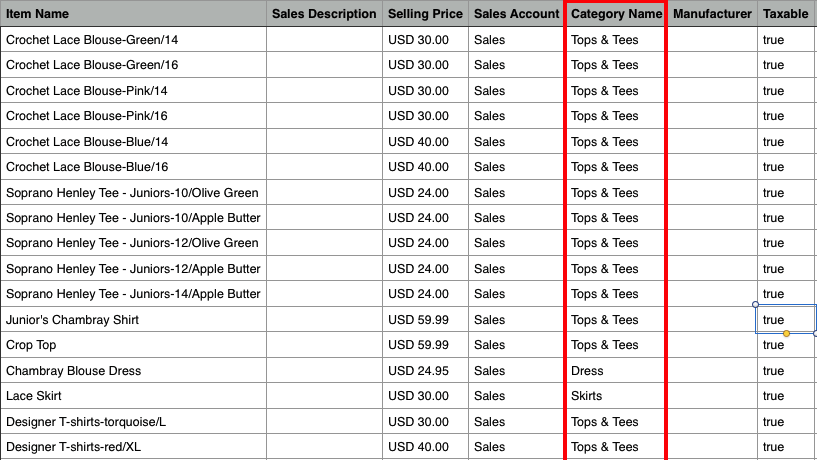

How to import categories for the existing items in Zoho Inventory?
To import categories for the existing items in Zoho Inventory, you need to follow just three simple steps:
- Export your items from Zoho Inventory in a .CSV file.
- Edit the file and add categories for the items.
- Import the same file again into Zoho Inventory.
Before importing, ensure that you have enabled the Categories feature in Zoho Inventory.
Let’s have a look at each step in detail.
- Login to Zoho Inventory.
- Click the Items dropdown in the sidebar.
- Again click the Items module.
- Click the
 icon in the top right corner of the items page.
 - Click Export Items.
- Set the required customizations. Learn more about the export customizations.
- Click Export. A CSV file will be downloaded to your system.
- Open the export file.
- Enter the category for each item under the Category Name column.
- Save your changes.
- Again, go to Items > Hamburger icon > Import Items.
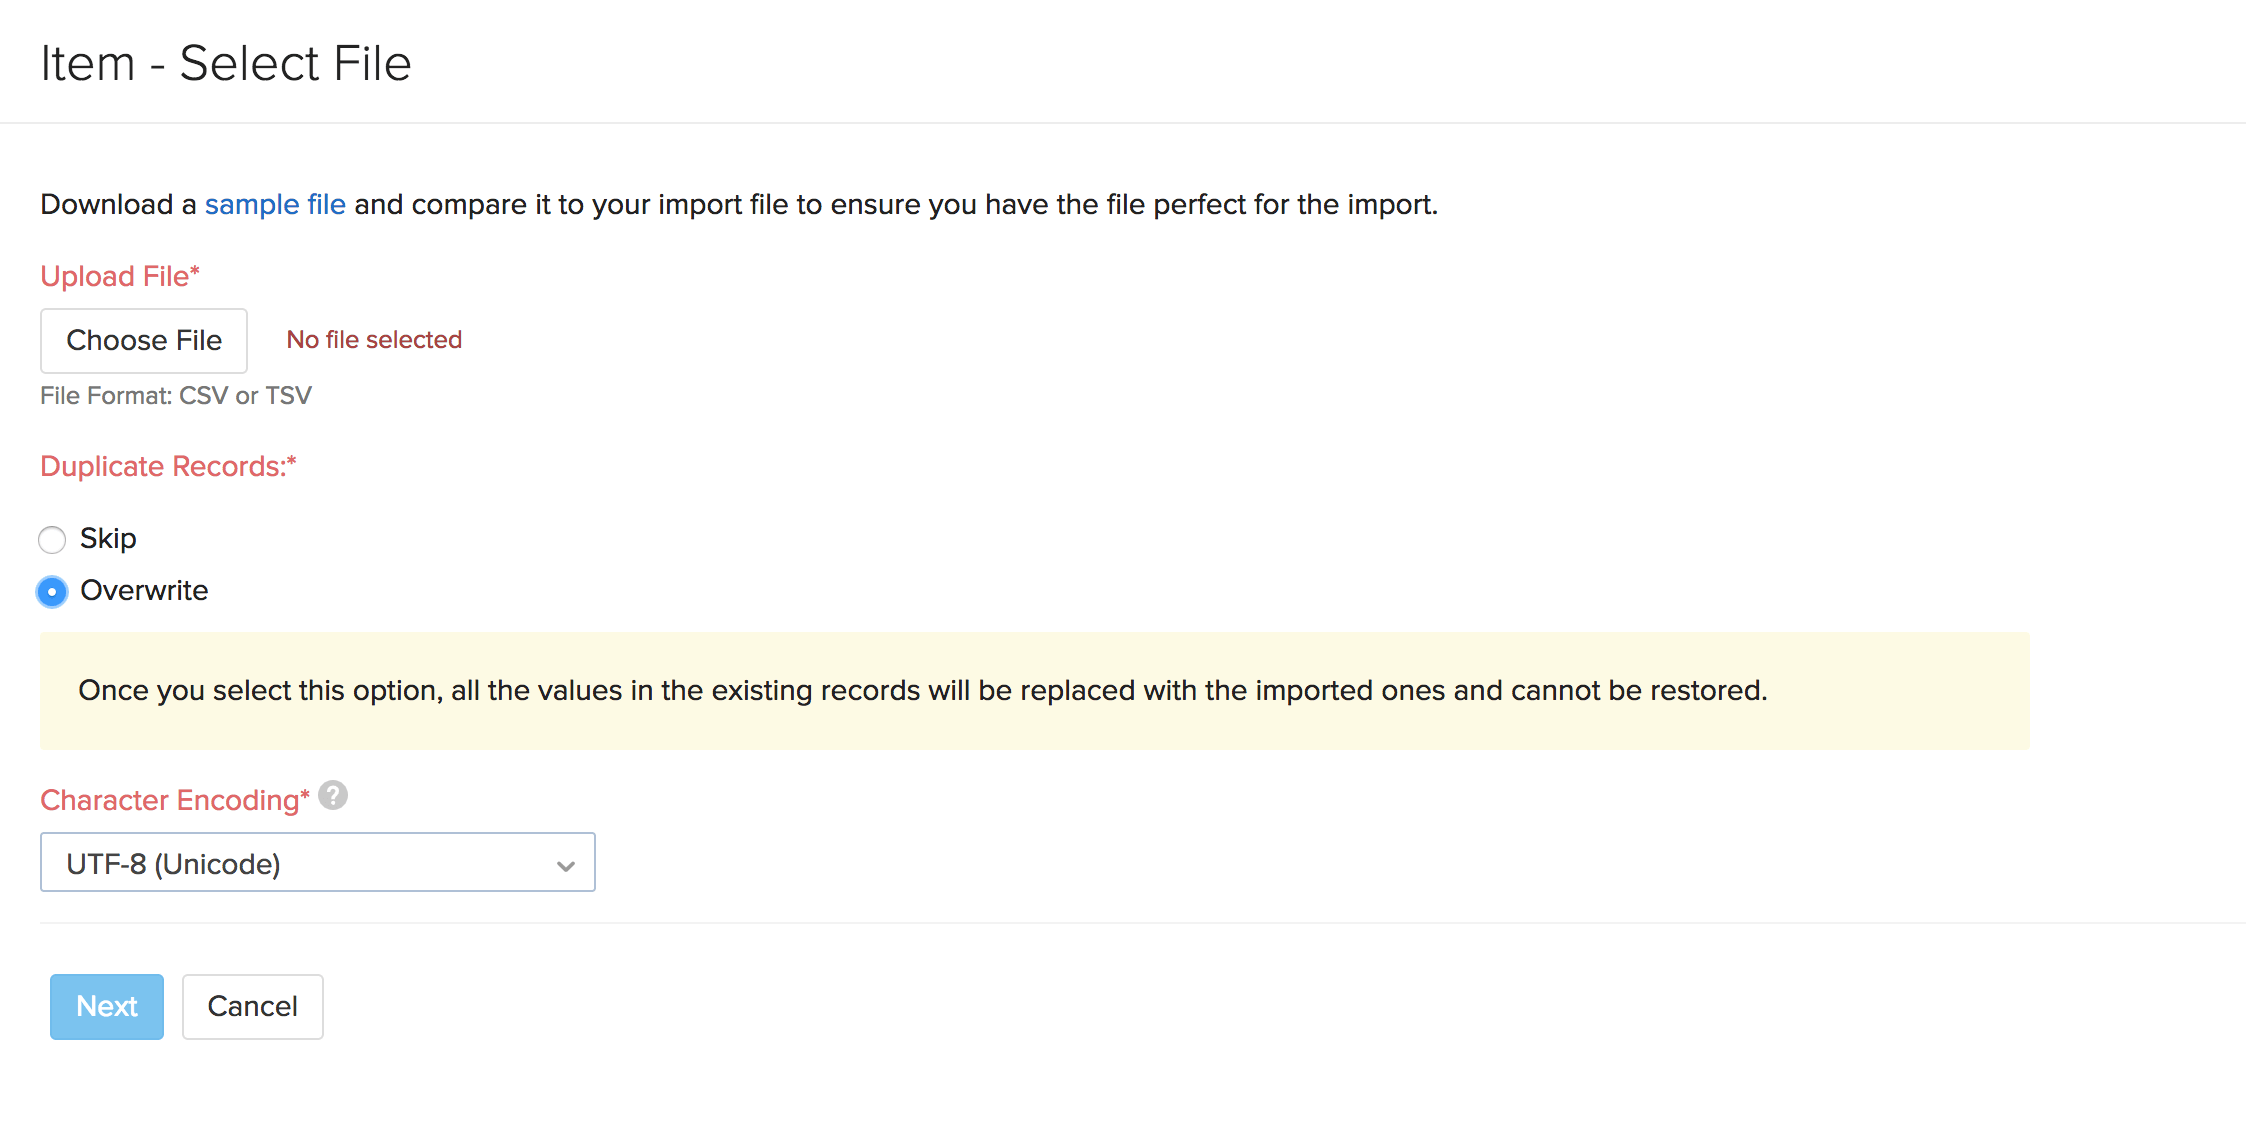
- Upload the same CSV file.
- Select the Overwrite option under Duplicate Records.
- Click Next.
- Ensure that the fields are appropriately matched with the column headers in the import file.
- Click Next to preview.
- If all the records are sorted, click Import otherwise, click Previous to make changes.
The categories will be associated with the respective items in Zoho Inventory.