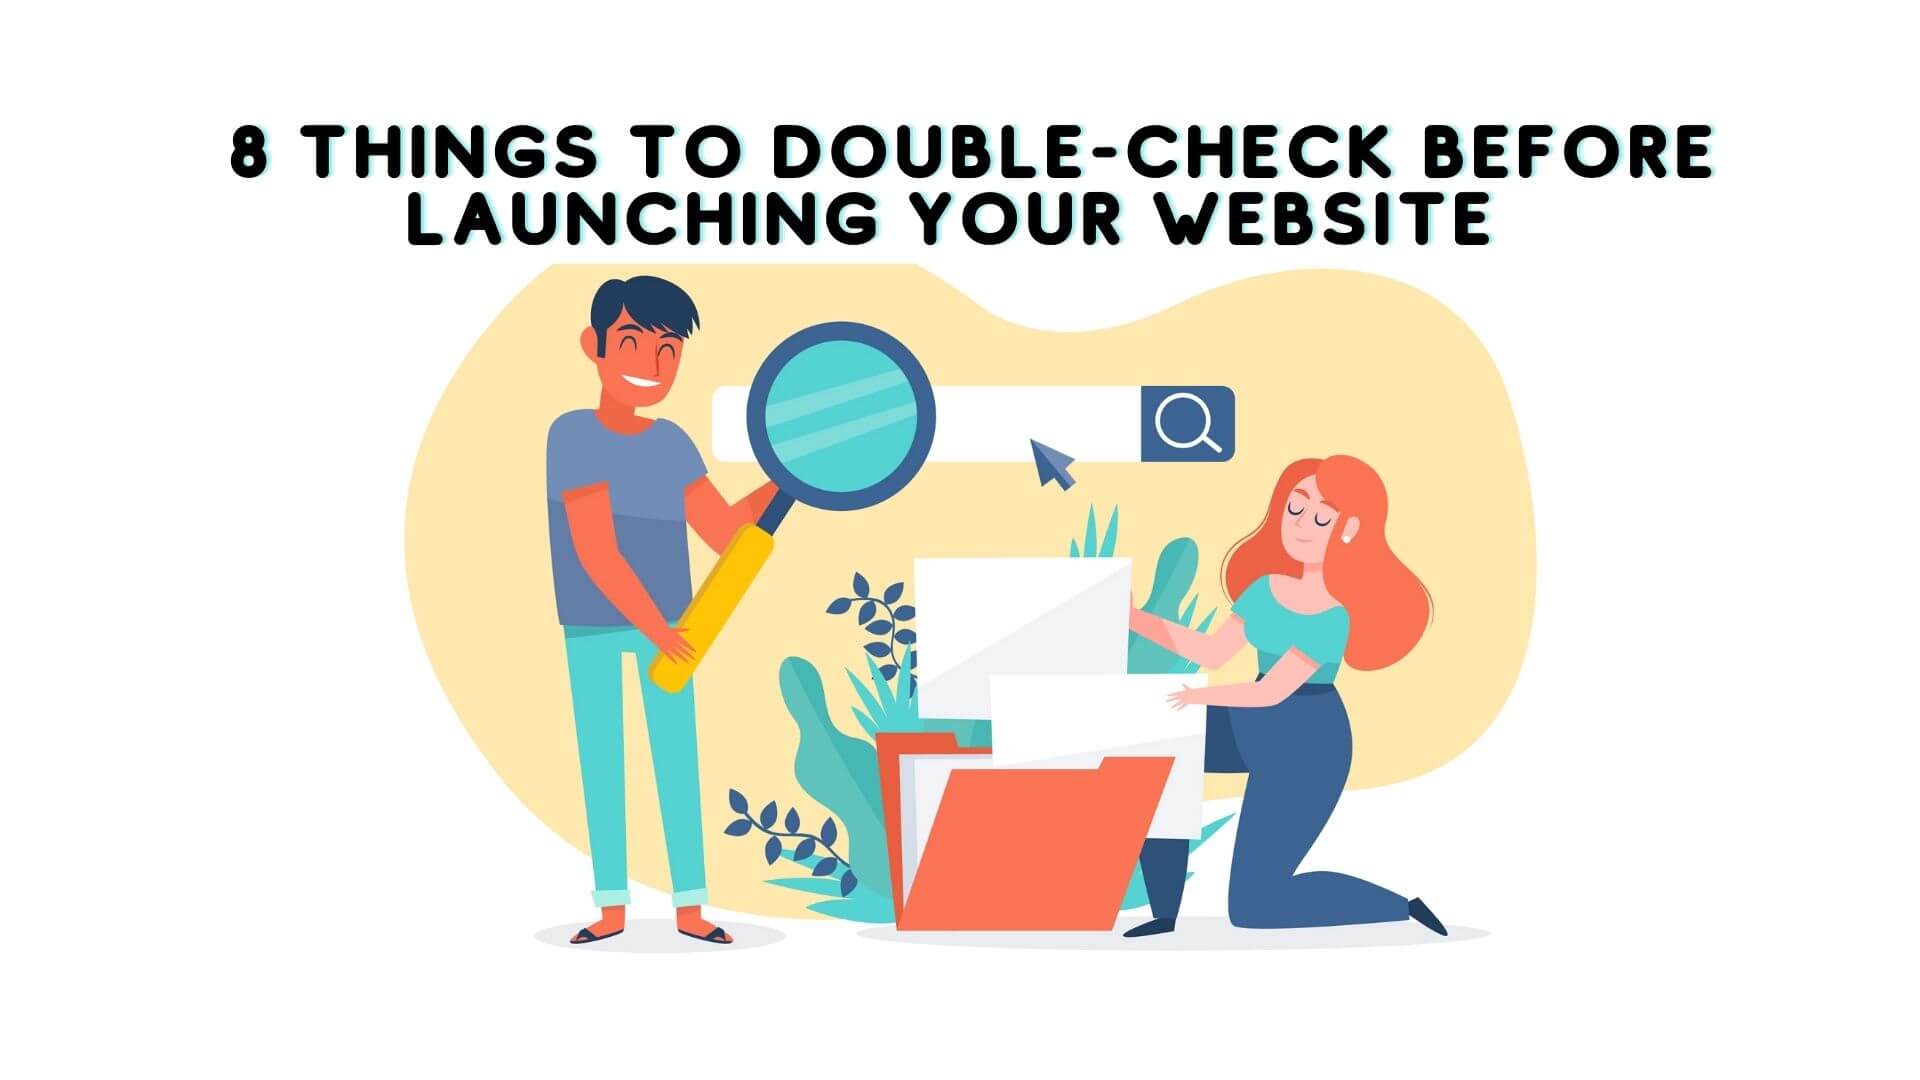
8 things to double-check before launching your website
- Last Updated : November 1, 2023
- 1.8K Views
- 5 Min Read
When prepping for an exam, most students will go over all the information one more time the night before the test, even if they've been studying relentlessly for months. This final glance usually helps them face the exam with confidence and good spirits.
The launch of a website is quite similar. Building a new site from scratch be quite a task. While you put in a great deal of effort to choose your platform, identify target users, create content, and finalize the design, you need to add one additional step before the launch. It's important to take time out to go through your website with a fine-tooth comb before you present it to the world. Let's look at eight steps to follow as you preview your website before launch.
Step 1: Review the design
At this stage, it's not advisable to make fundamental changes to the design, but you can take a bird's-eye view of your site's visual elements. You might have taken several rounds of feedback and done edits while building your website, but one can still miss important things in the process. These fine details impact the experience of your visitors.
Therefore, spend a good amount of time doing a thorough check for edits and changes and make sure they are fixed before launch. Here are a few things to take note of:
Look for inconsistencies in terms of design and color usage.
Ensure that the font styles and sizes are the same from the first to the last page.
Check the body text to eliminate incorrect words, spelling, or punctuation.
Check if the logo looks fine.
See if the images fit with the design well.
Have someone else use your site to look for errors and details you may have missed. If you’re getting a considerable amount of edit suggestions, don't jump right in and implement them. Instead, evaluate whether those changes will significantly improve the user experience. It’s okay to leave them out if they won’t improve usability, because aesthetics is subjective.
Step 2: Pay attention to details
.jpg)
As the old saying goes, god is in the details. When you have a small business or an ecommerce website, it's important to keep an eye on the finer details—we promise it'll pay off. Check the accuracy of phone numbers, product descriptions, purity certifications and trademark details, hours of operation, and contact information. Errors in these areas can leave your customers or visitors with a bad aftertaste. Check the photographs you've uploaded against each product as mismatched photographs can mislead the visitor. The best way to avoid these scenarios is with another round of scrutiny.
Step 3: Test all the integrations
Integrations like your bookings page, newsletter signups, and quotation forms are quite important for your business and engagement. Ensure that these are working without any glitches. Test the parts of your site that require collection of user data. If you're linking a form to an email address, ensure that it's the right one and have someone fill out the test form.
On a shopping website, the cart and checkout page require special attention. The ease of movement from the shopping cart to the checkout page is crucial for a good user experience. You must clearly define and label every element on the page for ease of use and quick navigation. Also, check if the payment gateway you have set up is functional.
Step 4: Check your links
When a user clicks a link on your site and it takes them somewhere they didn’t intend to go, they're likely to abandon your page for good. Check the links you’ve placed on your website pages like your menu, blogs, and even anchors.
Links are a major chunk of your website’s functionality, so use a link crawler tool to scan for broken ones. If you’re redesigning your website, some of your page URLs will change. Making sure that those URLs redirect correctly after launch is critical to ensure that your users don’t land on any 404 error pages.
Step 5: Check for responsiveness
Visitors may browse your website from any browser, device, and operating system. Many ecommerce business owners make the mistake of assuming everyone else sees a website how they see it on their computer. Not all browsers work the same way, though, so it's important that you test your website on all commonly used browsers like Chrome, Firefox, Edge, and Safari and on all different devices like smartphones and tablets. A good ecommerce platform with make sure their preset designs and templates are responsive, which ensures these aspects are taken care of.
If your website takes a long time to load, see if the file sizes of the images and animations on your site are too large. Google Mobilizer and similar tools can help you see how your site will function on different mobile devices.
Step 6: Proofread your content
You might have started designing with a rough draft of the site’s copy and made minor changes throughout the process, so it's imperative you do a final check before you publish your site. It helps if you can get someone who wasn’t involved in the content creation process to review the copy (text). Proofread your website’s text carefully and seek professional help from editors when in doubt.

Five quick checks for content
1. Group related items together
2. Remove copy that doesn’t add any meaningful value
3. Write concise, engaging, and consistent copy that resonates with your brand’s voice
4. Proofread for grammar and spelling errors
5. Write descriptive headlines
Step 7: Implement good SEO
Before you get ready to launch, add some well-researched SEO keywords and phrases into the content of your website—but be sure to avoid "keyword stuffing." Ensure that your page has a proper heading and paragraph tags throughout. Don’t forget to write meta titles and meta descriptions for each page.
Search engines like Google use the meta title to rank your content, so check if it captures the essence of your page. Write clear H1 tags as it helps with ranking and makes it easier for web crawlers to determine the purpose of your site’s content so that it can bring it up during relevant search queries.
A good meta description, however, is not important for web crawlers—it tells your potential visitors briefly about your website. Use keywords in the title as well as in the description. This will lure your potential audience into visiting your site, which might result in a conversion.
Step 8: Get set to take off
You've patiently adhered to all the crucial aspects of the website design process, which means now your website is ready to go live. Rushing to launch the site before it’s ready might fail to bring in the desired results or ultimately cause a negative user experience. A final review can save the day.