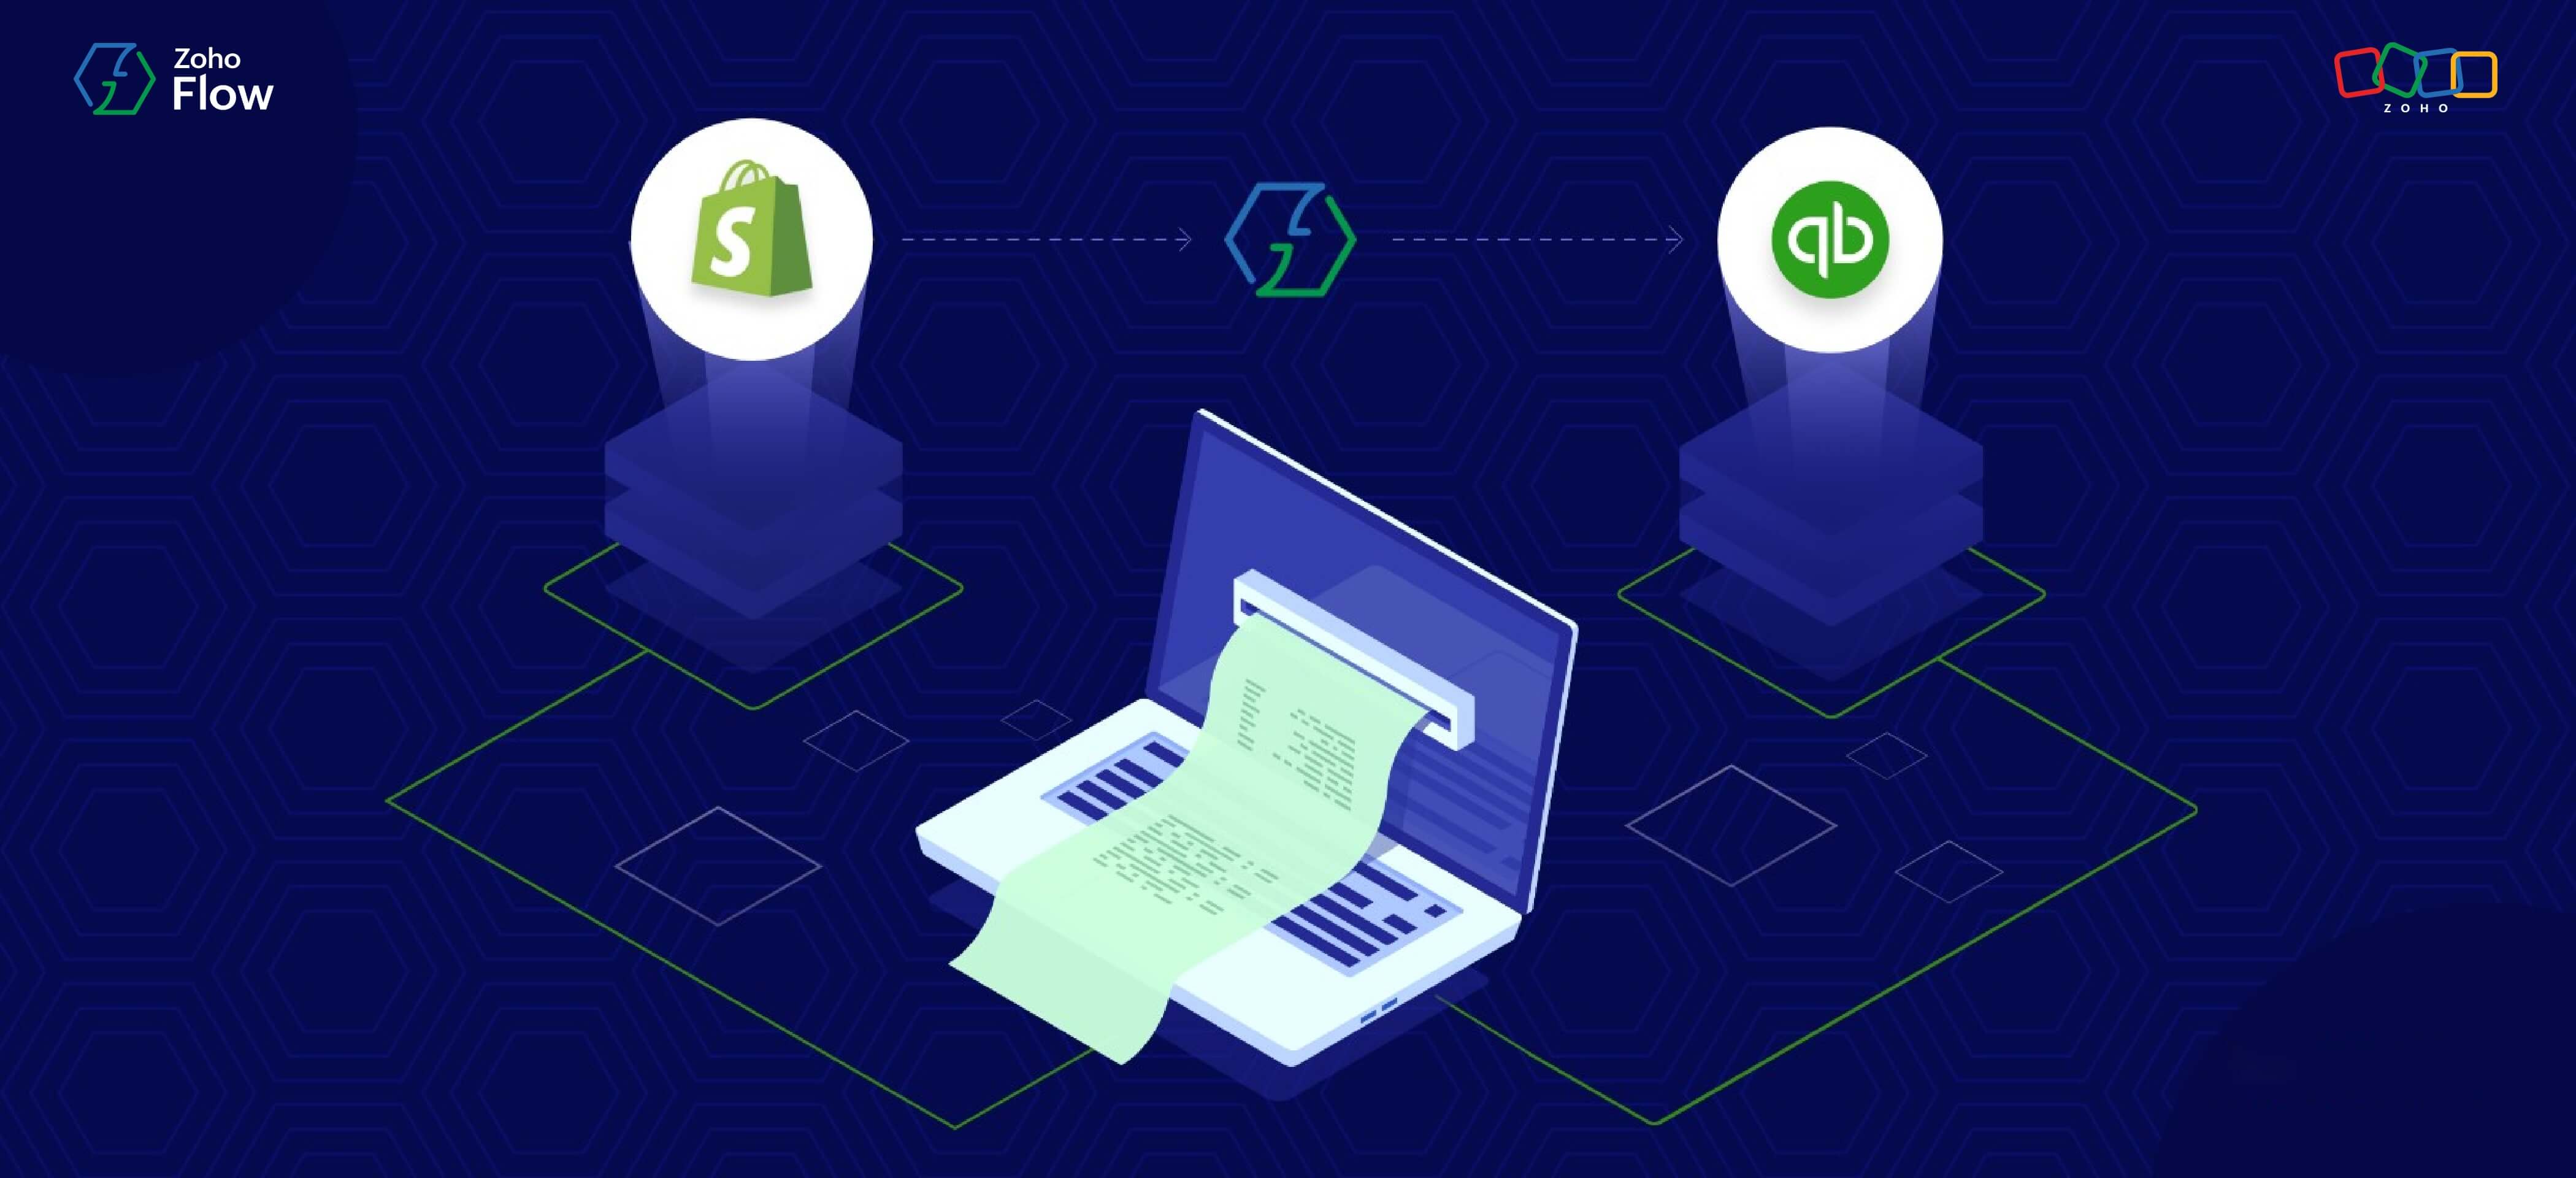
How to integrate Shopify and QuickBooks to automatically create invoices for new orders
- Last Updated : January 9, 2024
- 1.8K Views
- 4 Min Read
Selling products online and growing a successful business has never been easier. You just need the right people and the right tools to manage it efficiently. Cloud applications like Shopify have made it easy to set up a store website, manage its SEO and marketing, take care of orders and payments, and more—all from a single platform. And it should come as no surprise that Shopify powers over 500,000 businesses in 175 countries.
However, numerous businesses use accounting platforms like QuickBooks or Zoho Books to generate invoices and bills, manage financials, generate reports, and more. Among them, regardless of the size or the nature of your business, invoice generation is a headache for many. Doing it right is both time-consuming and challenging. That's where a simple integration between Shopify and QuickBooks can save your employees from wasting their energy, and your accounting records from human errors.
This is one of the hundreds of scenarios where an integration platform like Zoho Flow comes into the picture. With Zoho Flow, you can integrate all your apps together, and build workflows around them—saving your team valuable hours every day.
In this guide, you'll learn how to create an integration between Shopify and QuickBooks using Zoho Flow, and start automating your invoice generation.
How to set up the flow
Building a flow is similar to building a real workflow for a team. In this case, you'd start by tracking new orders placed for your product. Then you check if the customer already exists in your records. If yes, you'll update their details. Otherwise, you'll add it as a new entry. Then you proceed to generate a new invoice for the order received.
Now let's go ahead and replicate this workflow as a flow in Zoho Flow's builder:
Step 1: Create a new flow with a Shopify trigger
- Log in to your Zoho Flow account.
- Navigate to the My Flows section, then click Create Flow in the top right corner, or the + button on the left.
- Enter the flow name and a description (optional), then click Create.
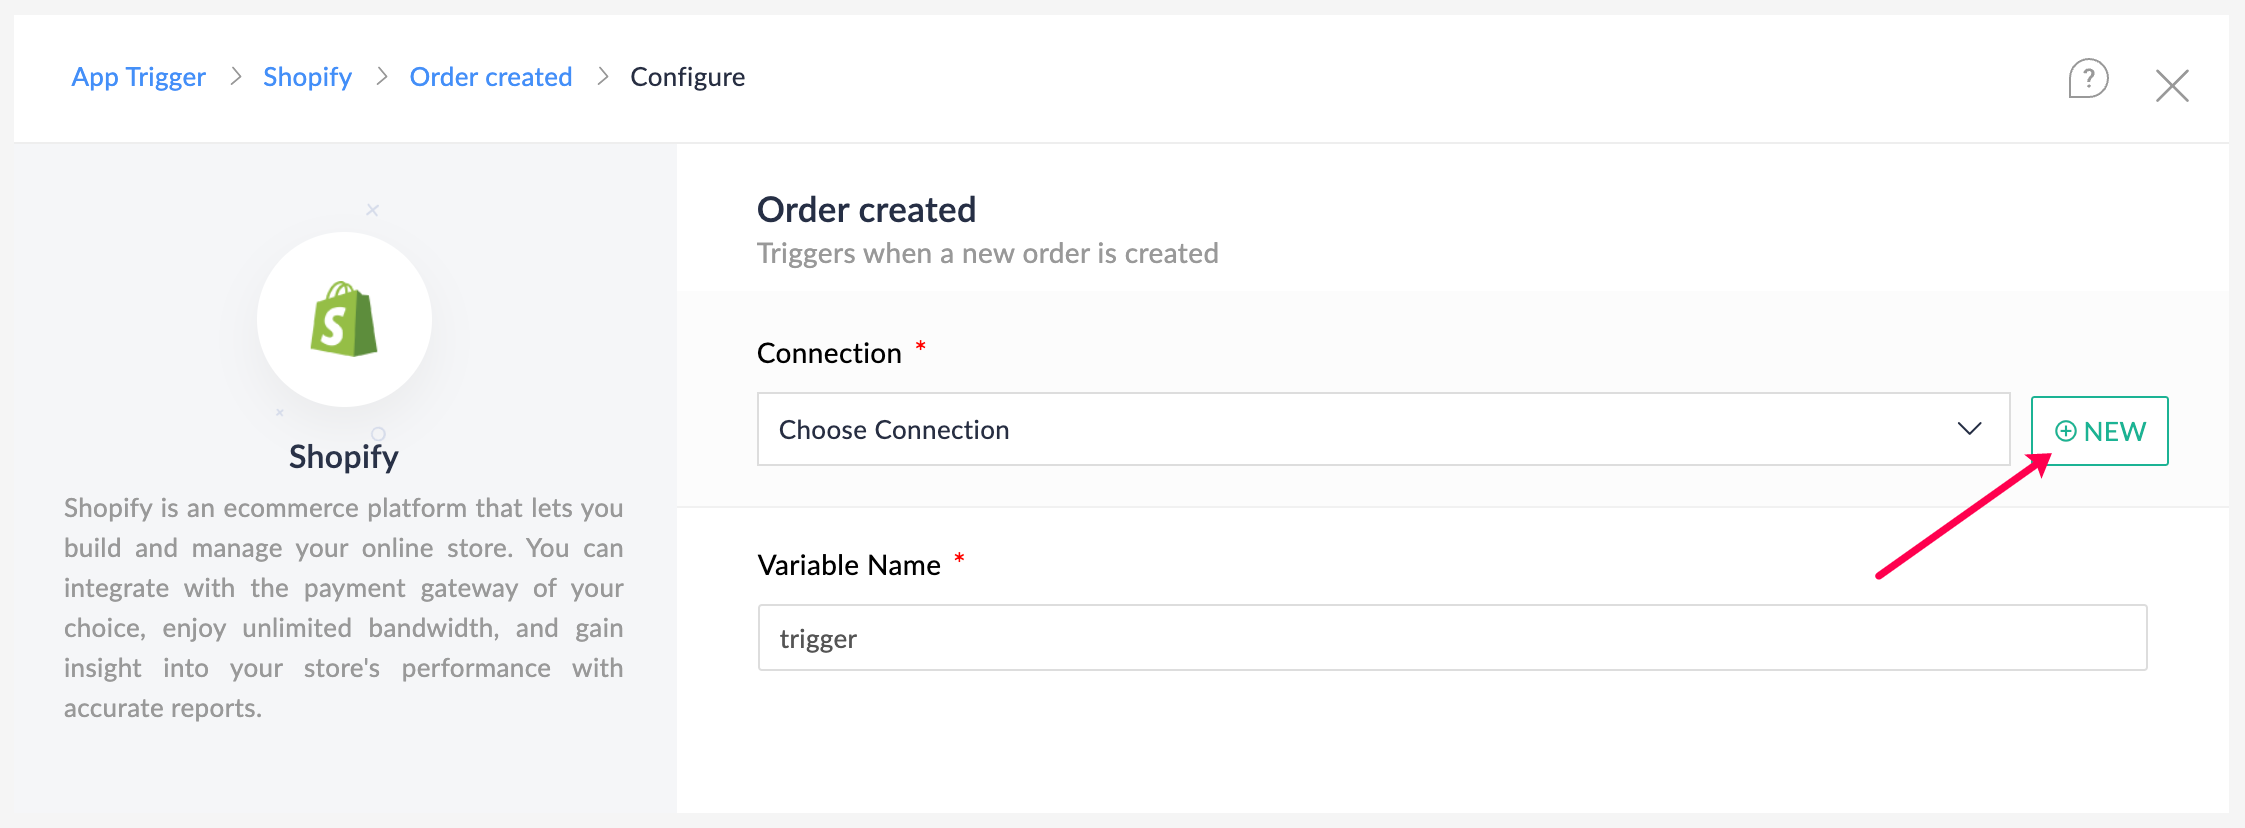
- Click Configure in the App trigger box to configure an app (Shopify) as the trigger for your flow.
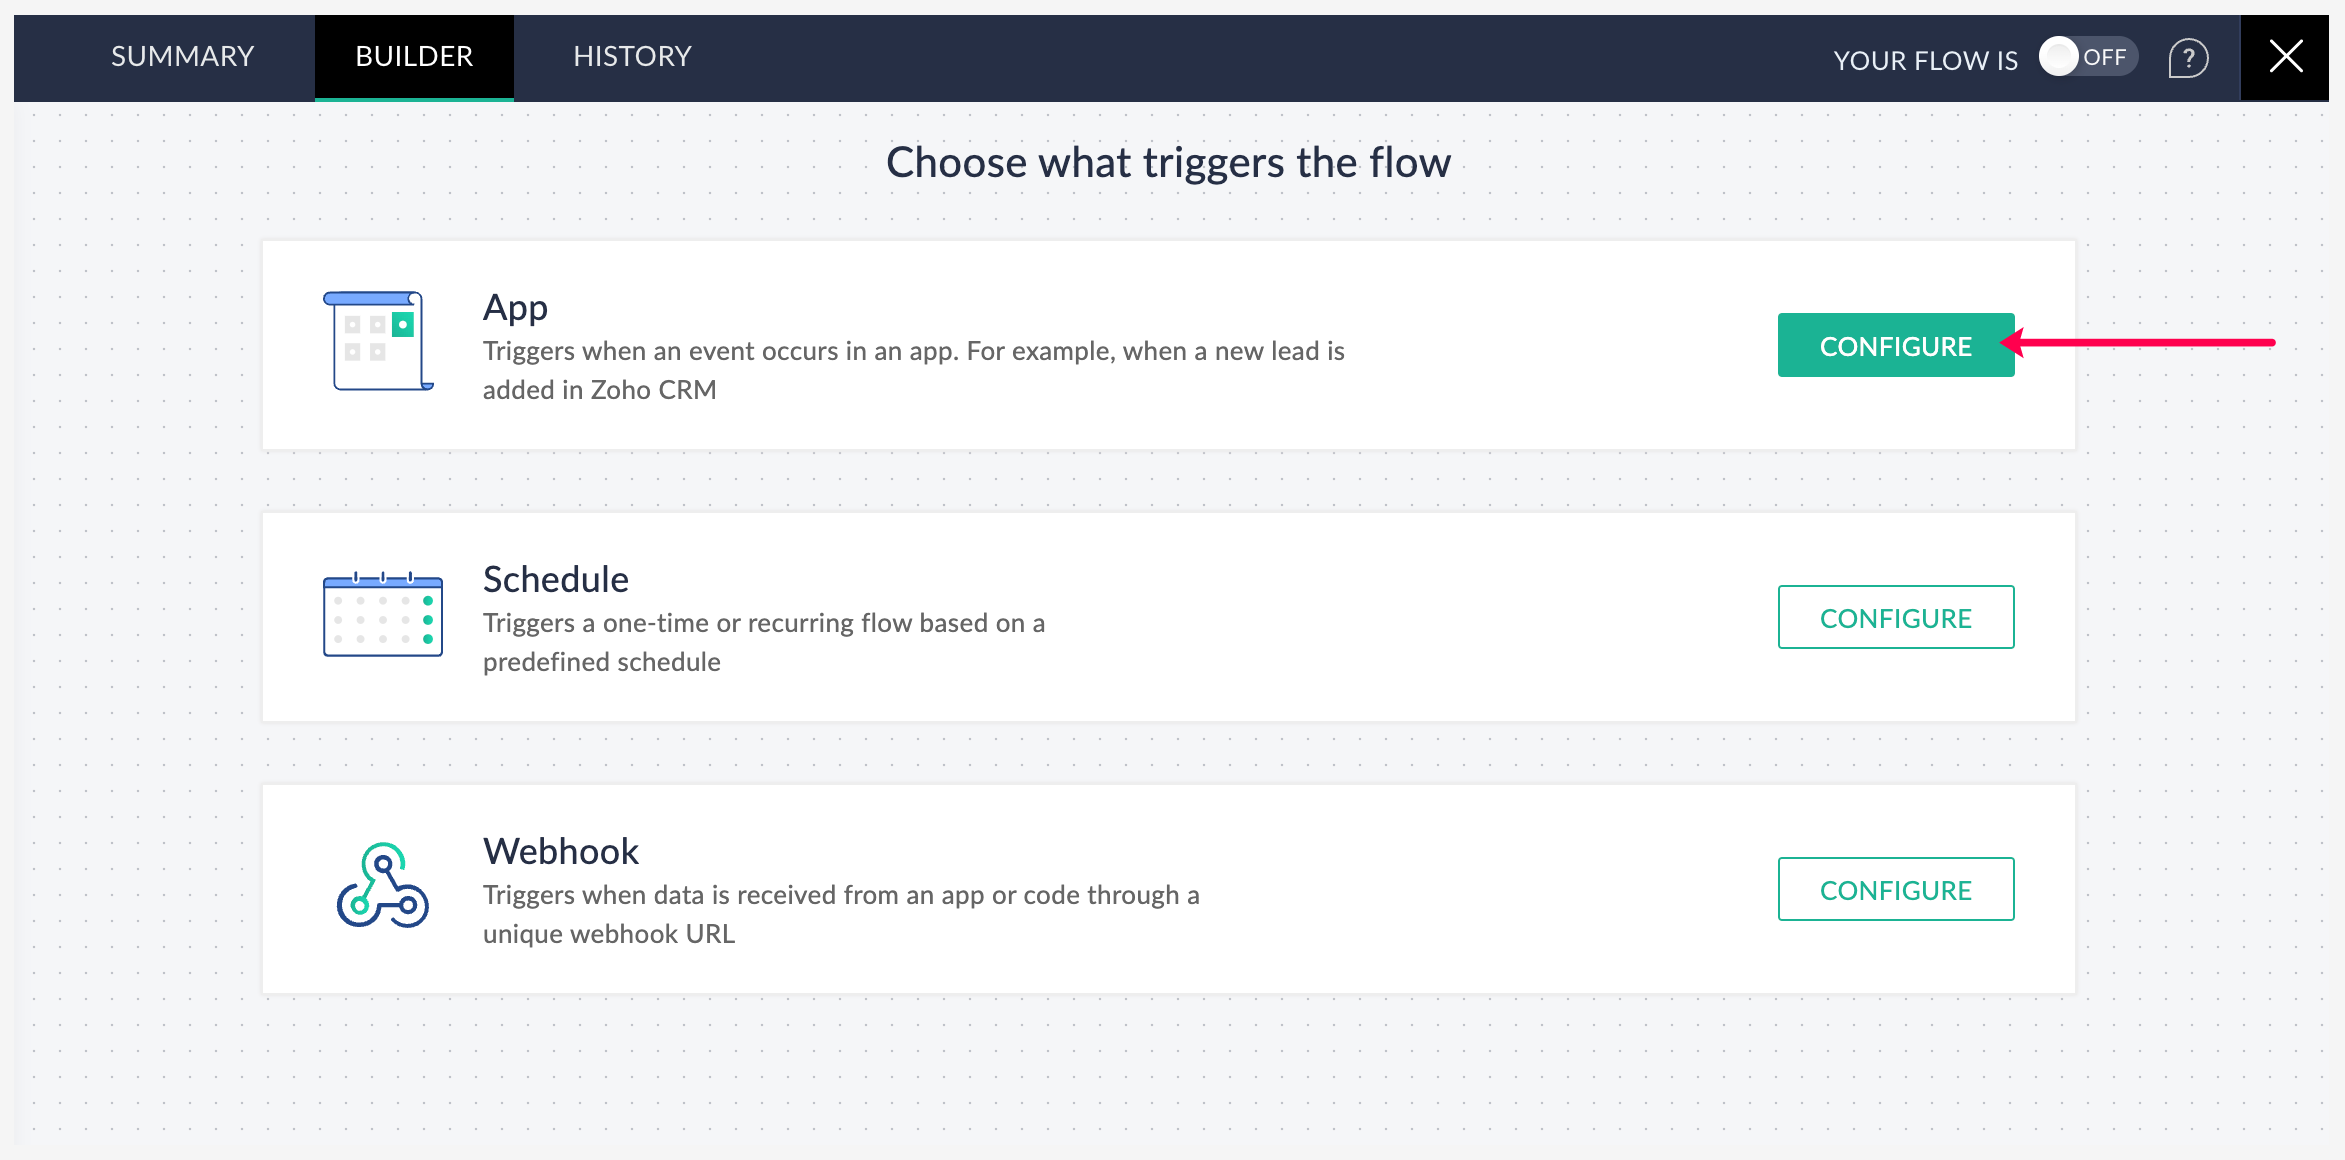
- Select Shopify, then choose Order created as the trigger. Then click Next.
- If you have an existing Shopify connection in Zoho Flow, select it. Otherwise, click Connect to create a new connection.
- Follow the instructions to fill in the required fields, then click Authorize.
Step 2: Add actions to create or update customers in QuickBooks
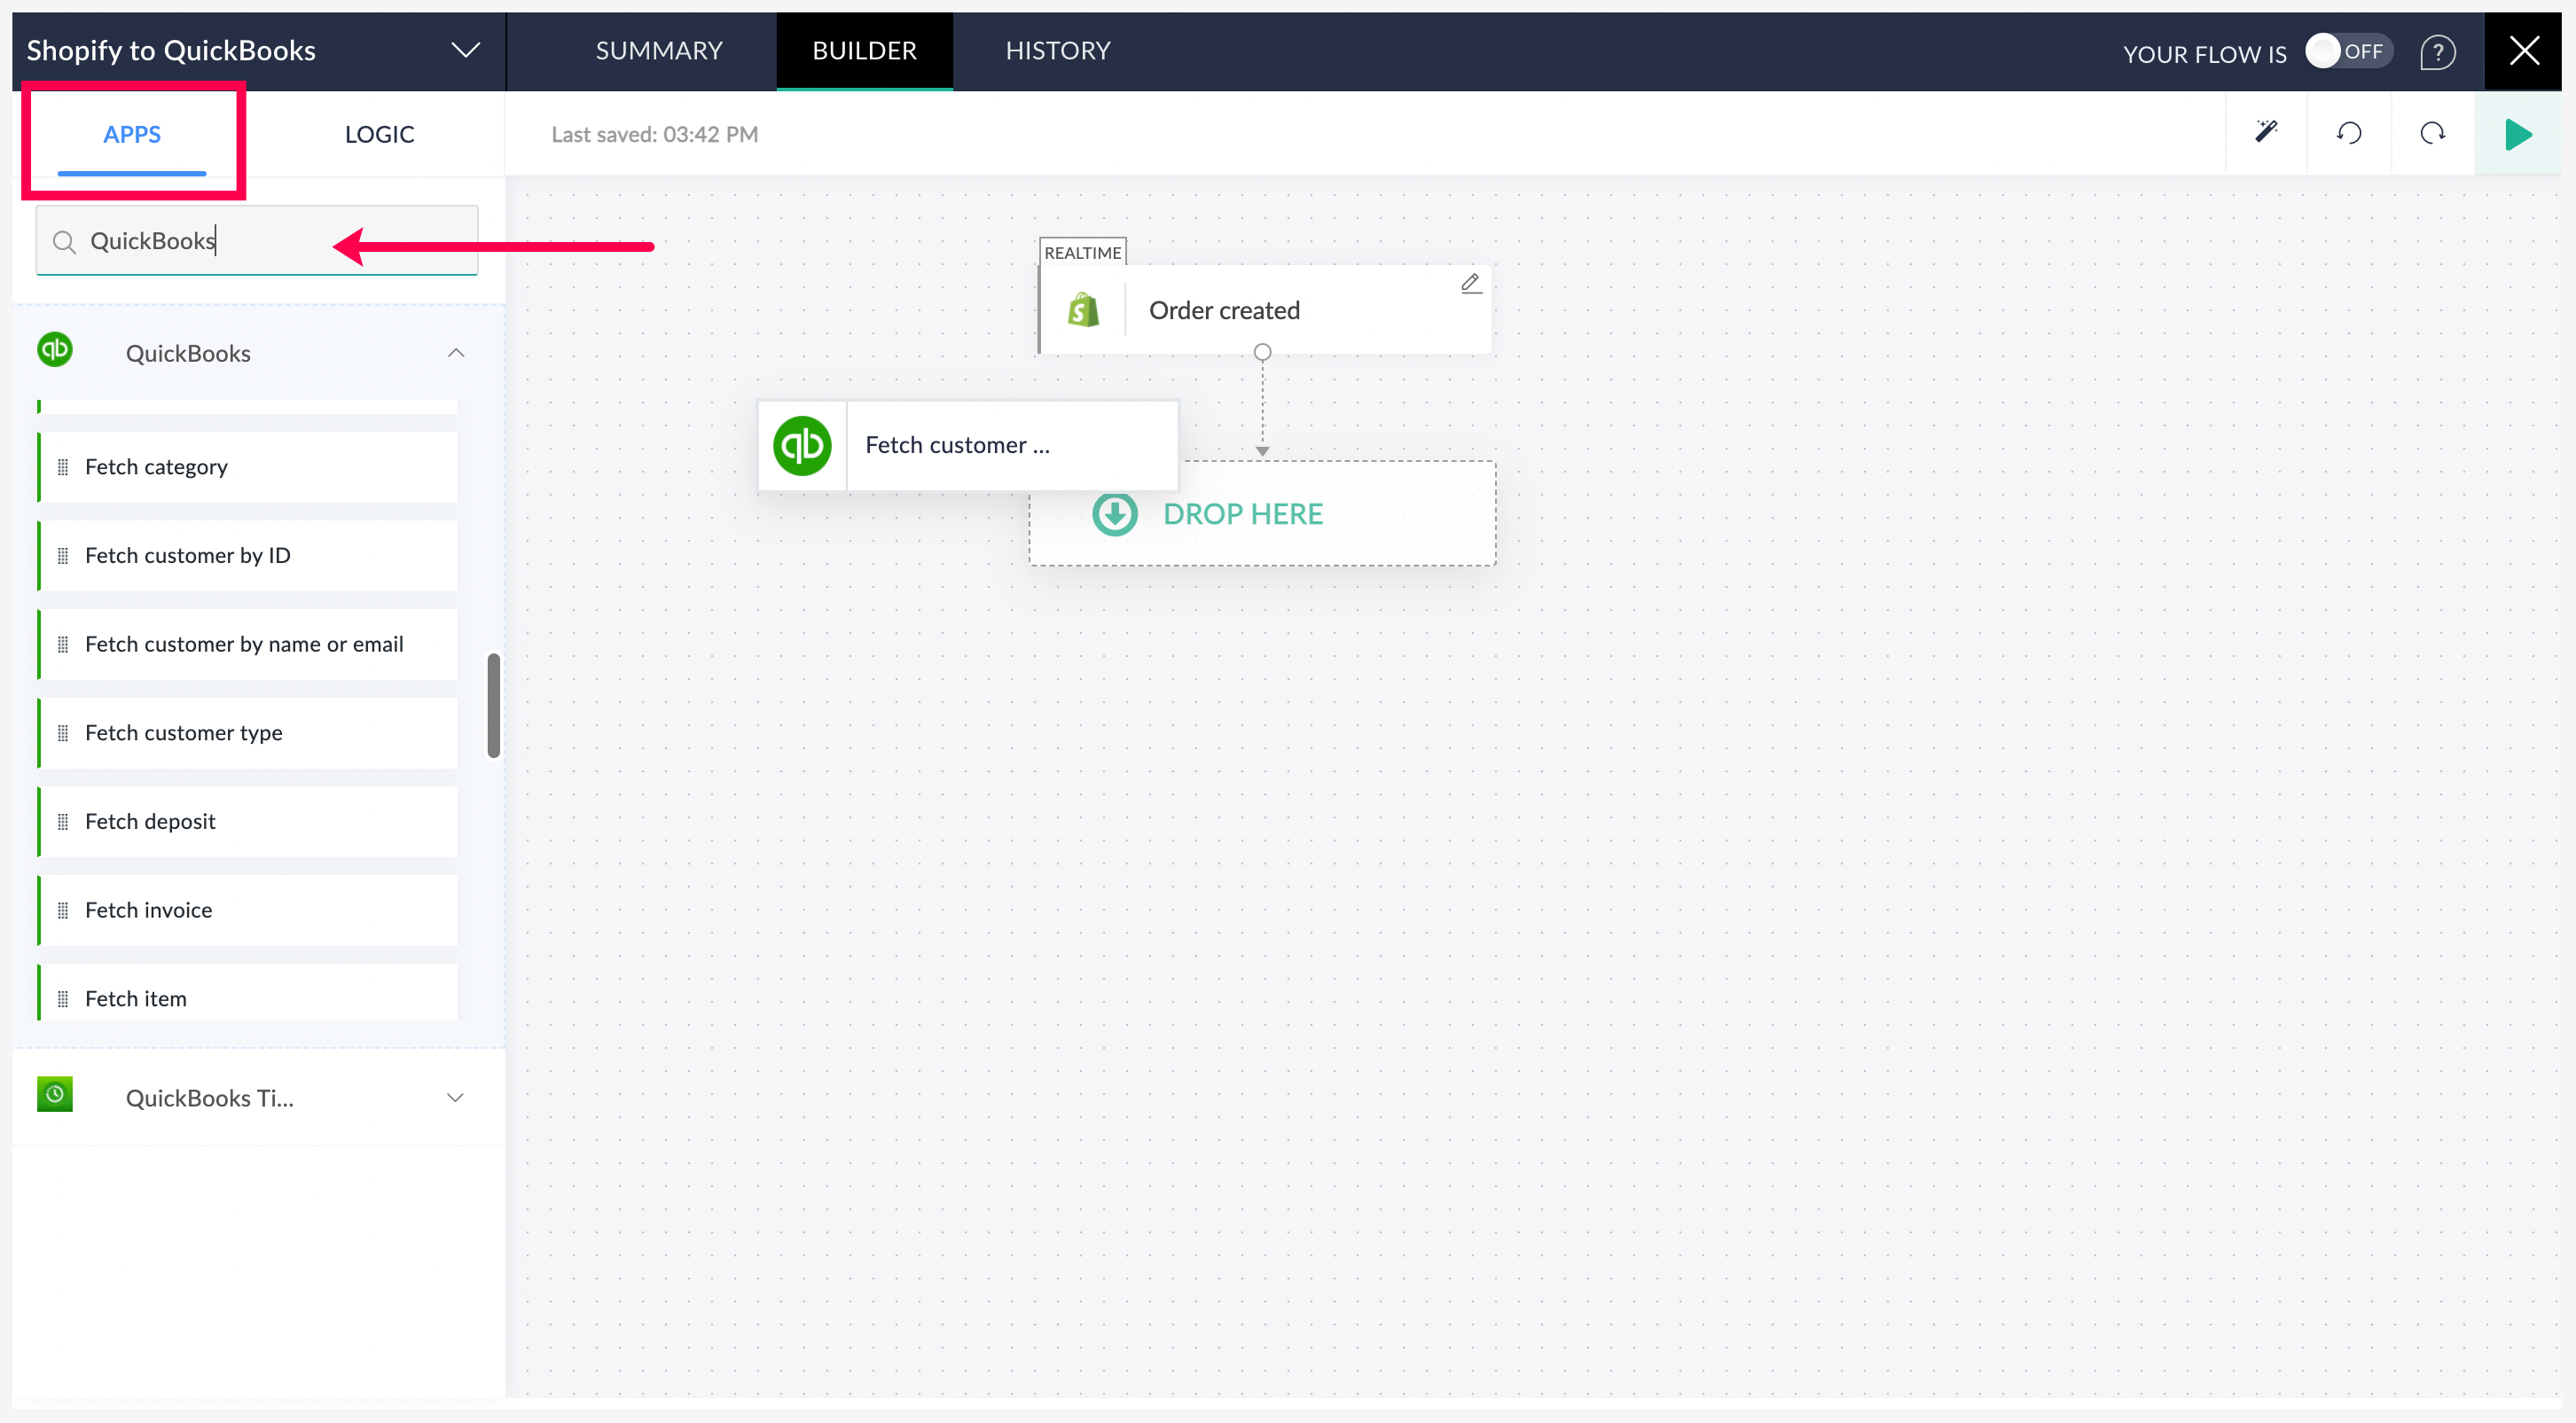
- On the left section of the builder, under Apps, search for QuickBooks.
- Drag and drop the Fetch customer by name or email address action into the builder.
- Map the email address retrieved from the trigger to the Email address field in the action. Then, click Done.
This will fetch the details of the customer associated with the email address provided as the input.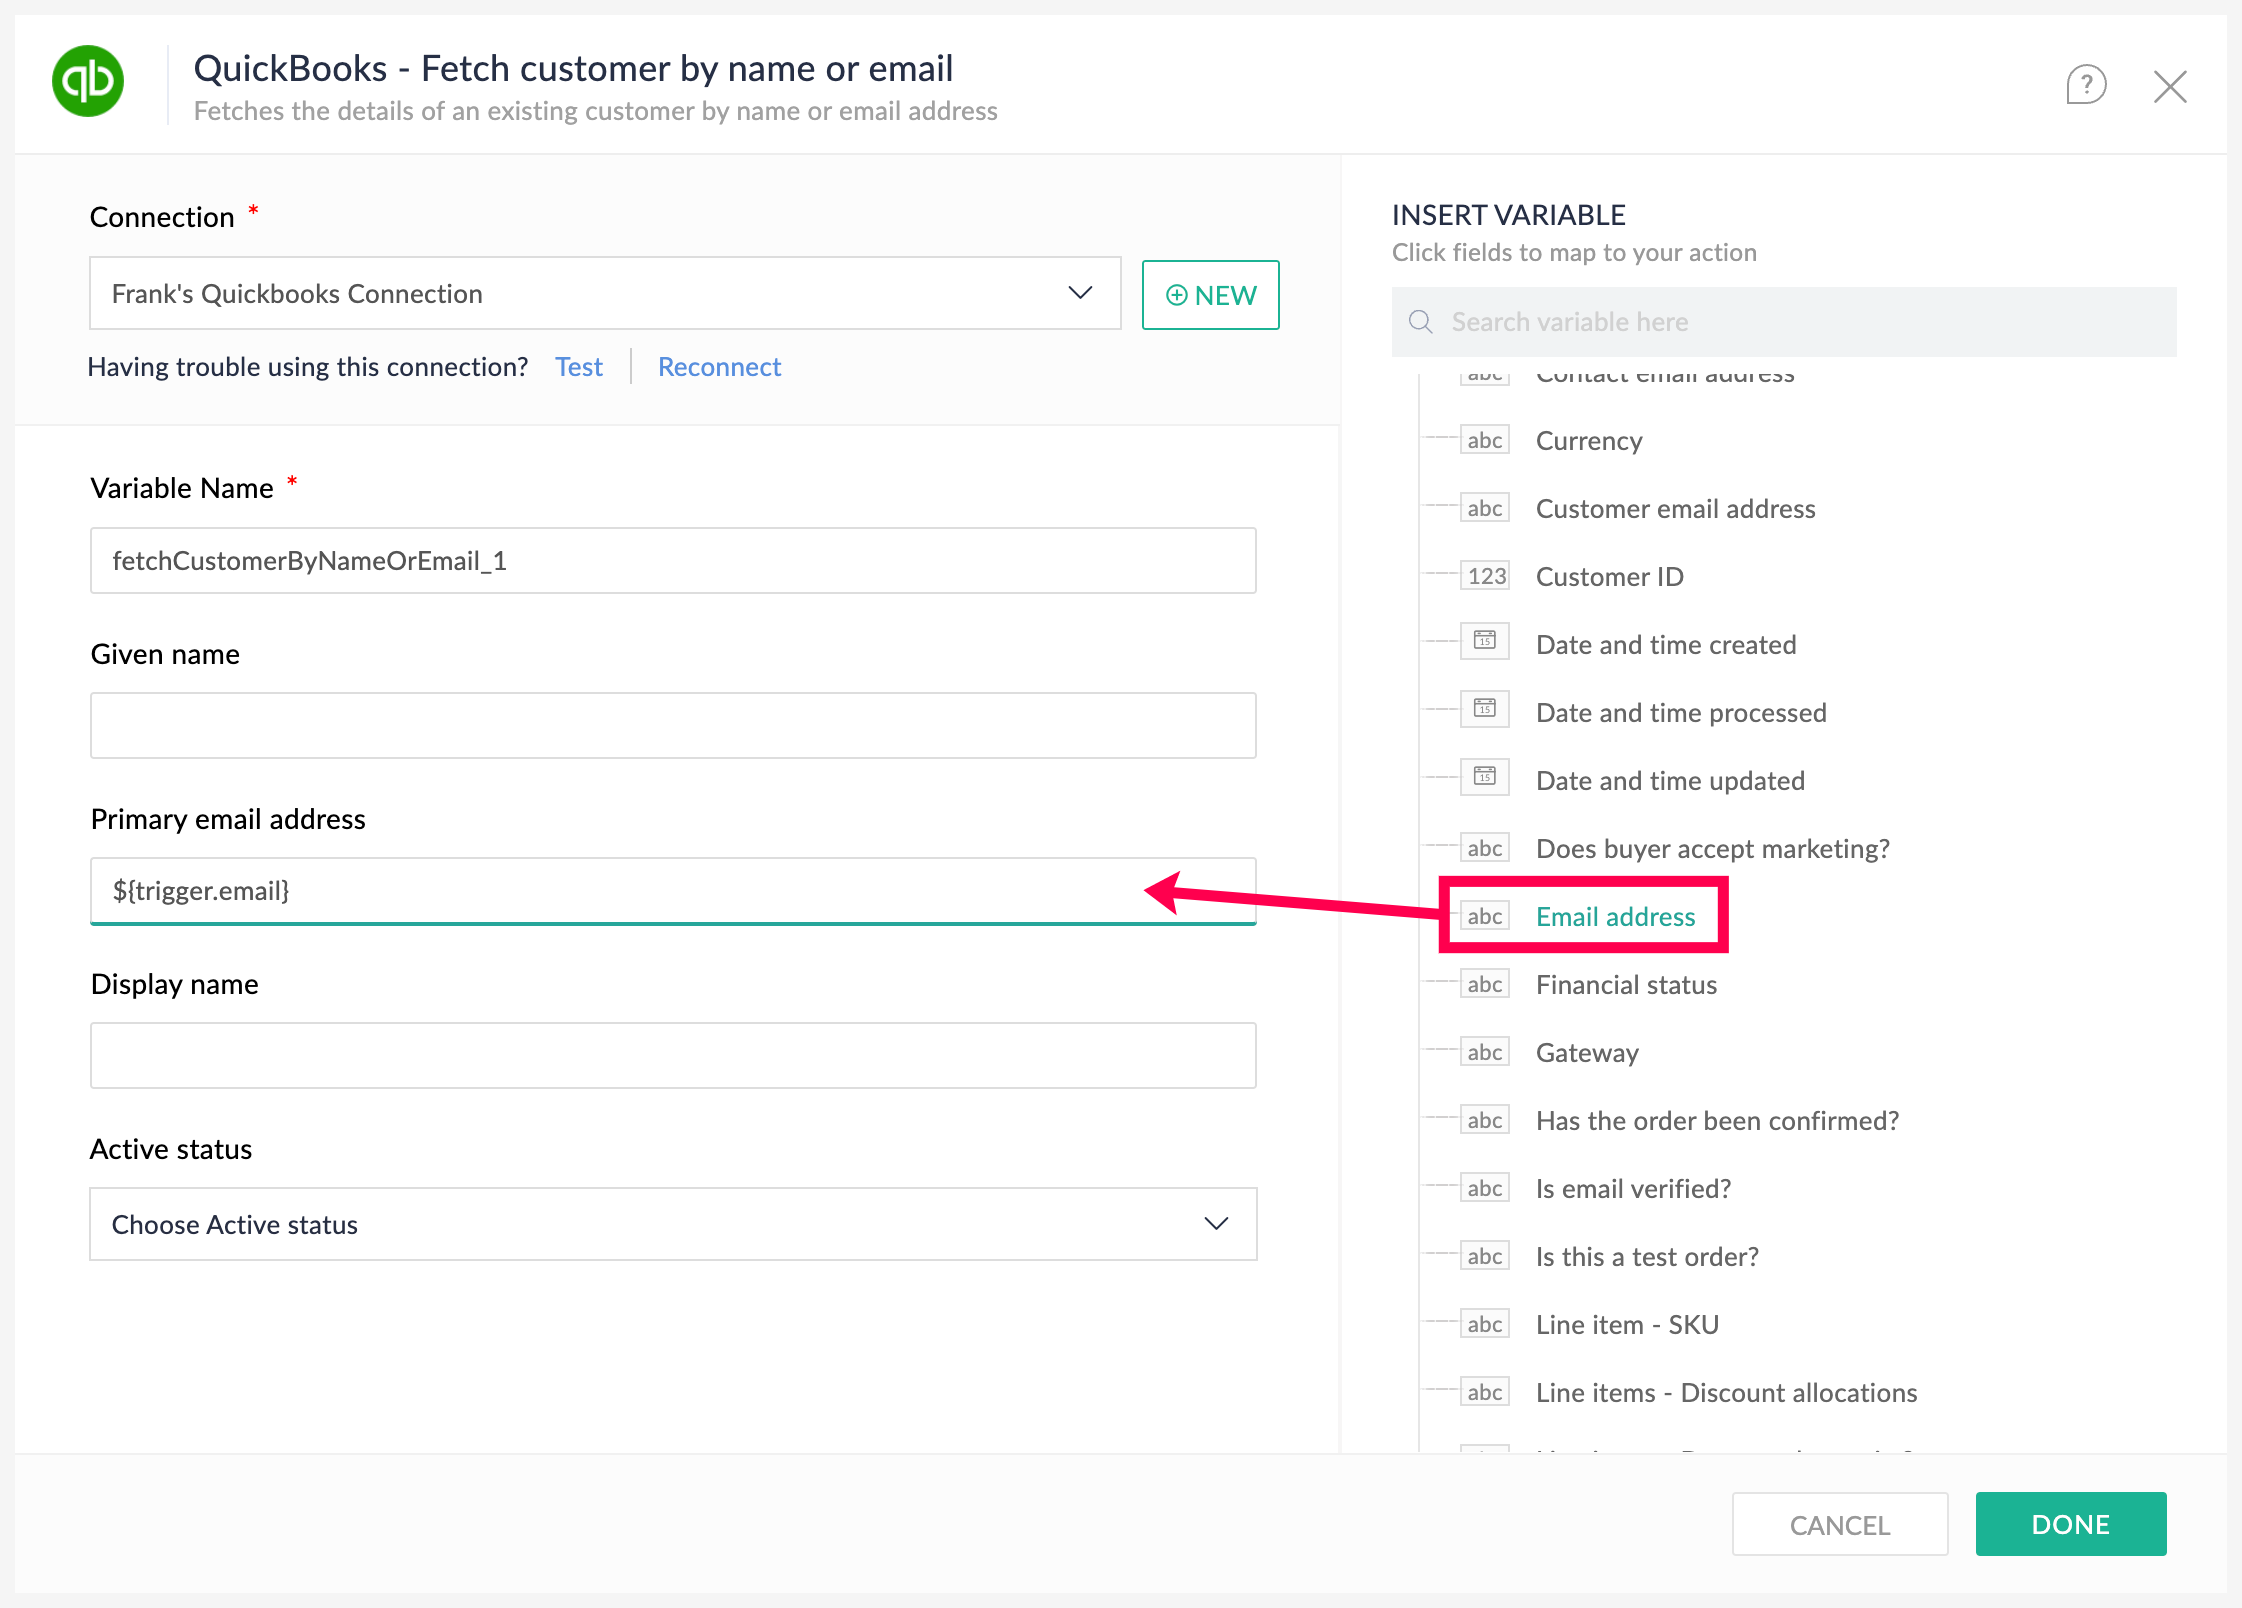
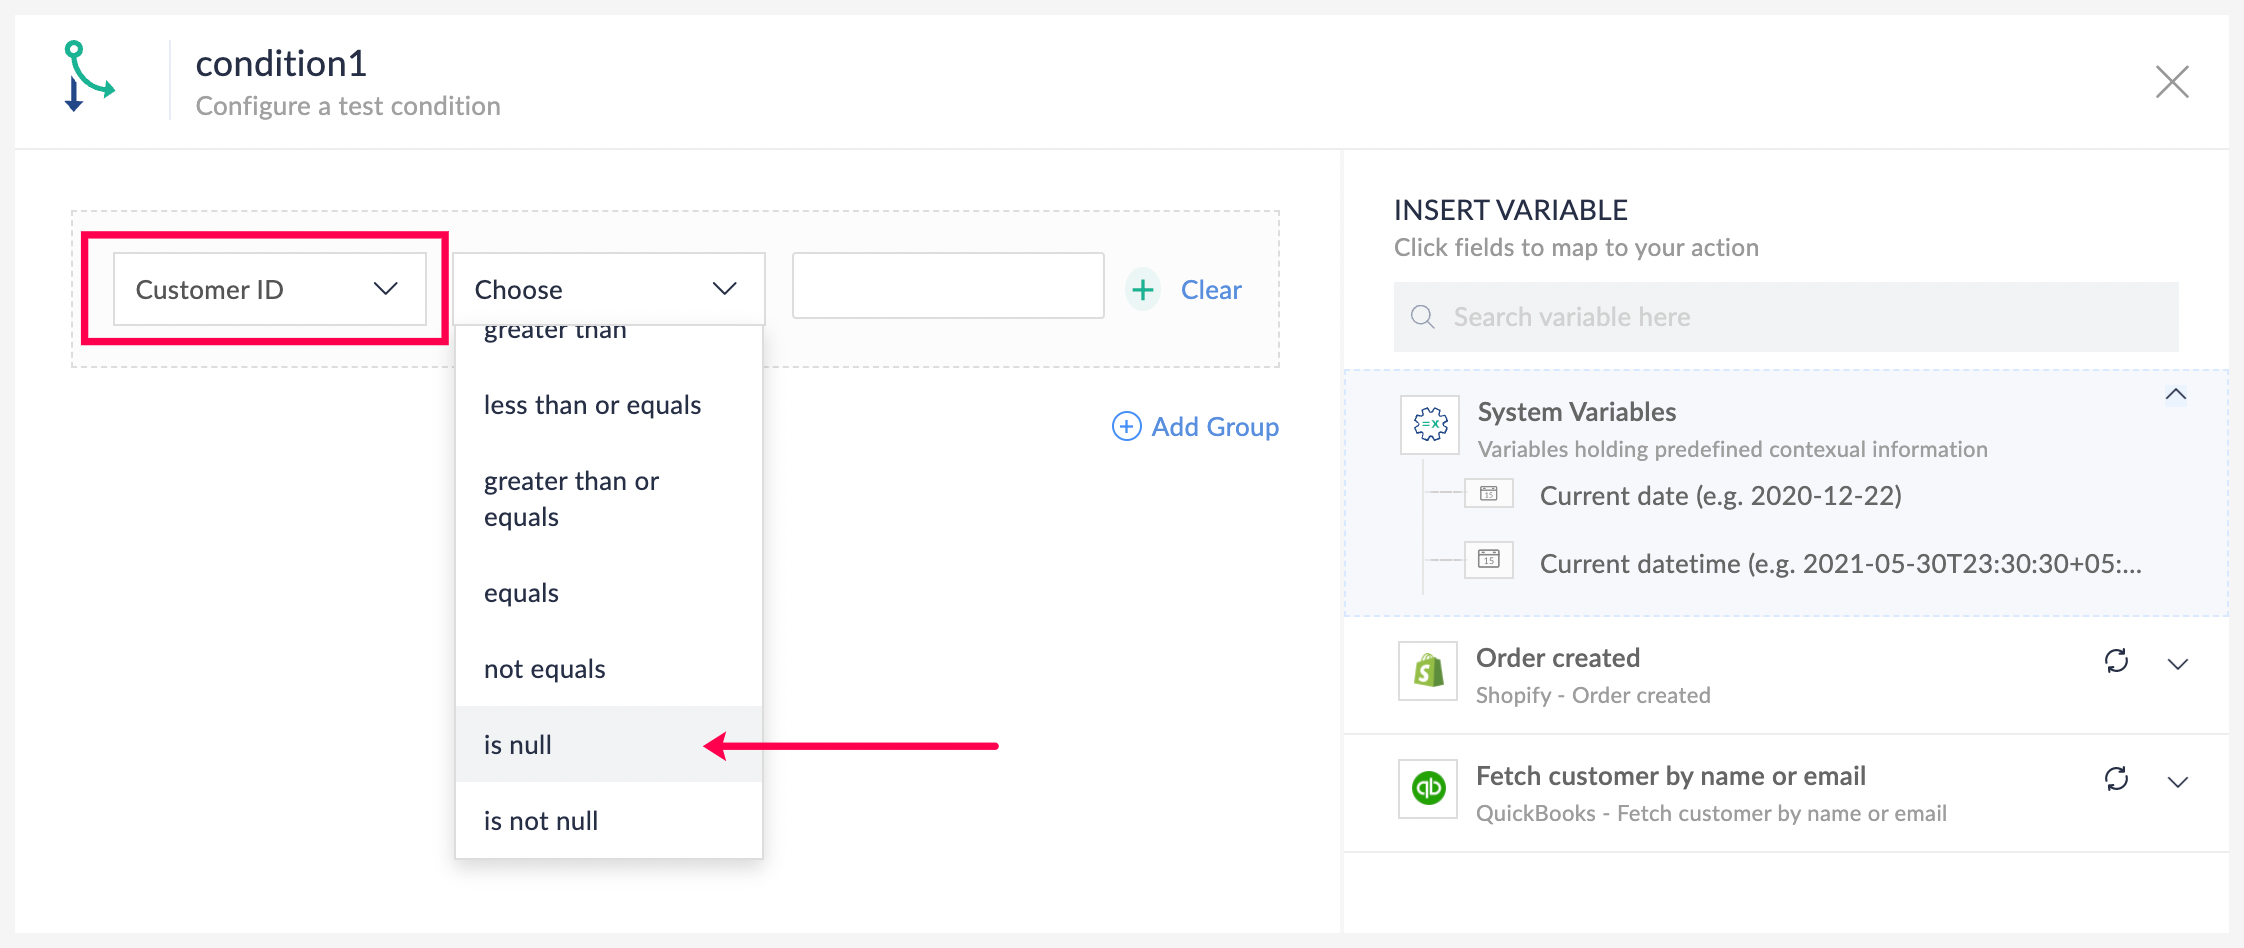
- On the left section of the builder, navigate to Logic, then under Flow Control, drag and drop Decision to the builder.
- Choose Customer ID from the set of fields coming under Fetch customer by name or email address as the first field, and set the condition as is null. This condition will check if the customer ID exists or not.
- Then, at the right side of the decision, attach the Create customer action (QuickBooks).
- Configure the action by mapping the required variables from the trigger to the respective fields, then click Done.
Step 3: Create invoice in QuickBooks
Once the customer details are added, we need to create an invoice for the order.
- Drag and drop the Create invoice action into the builder. Ensure that you attach this action to both Create customer and Update customer actions, so that the invoice is created for both scenarios.
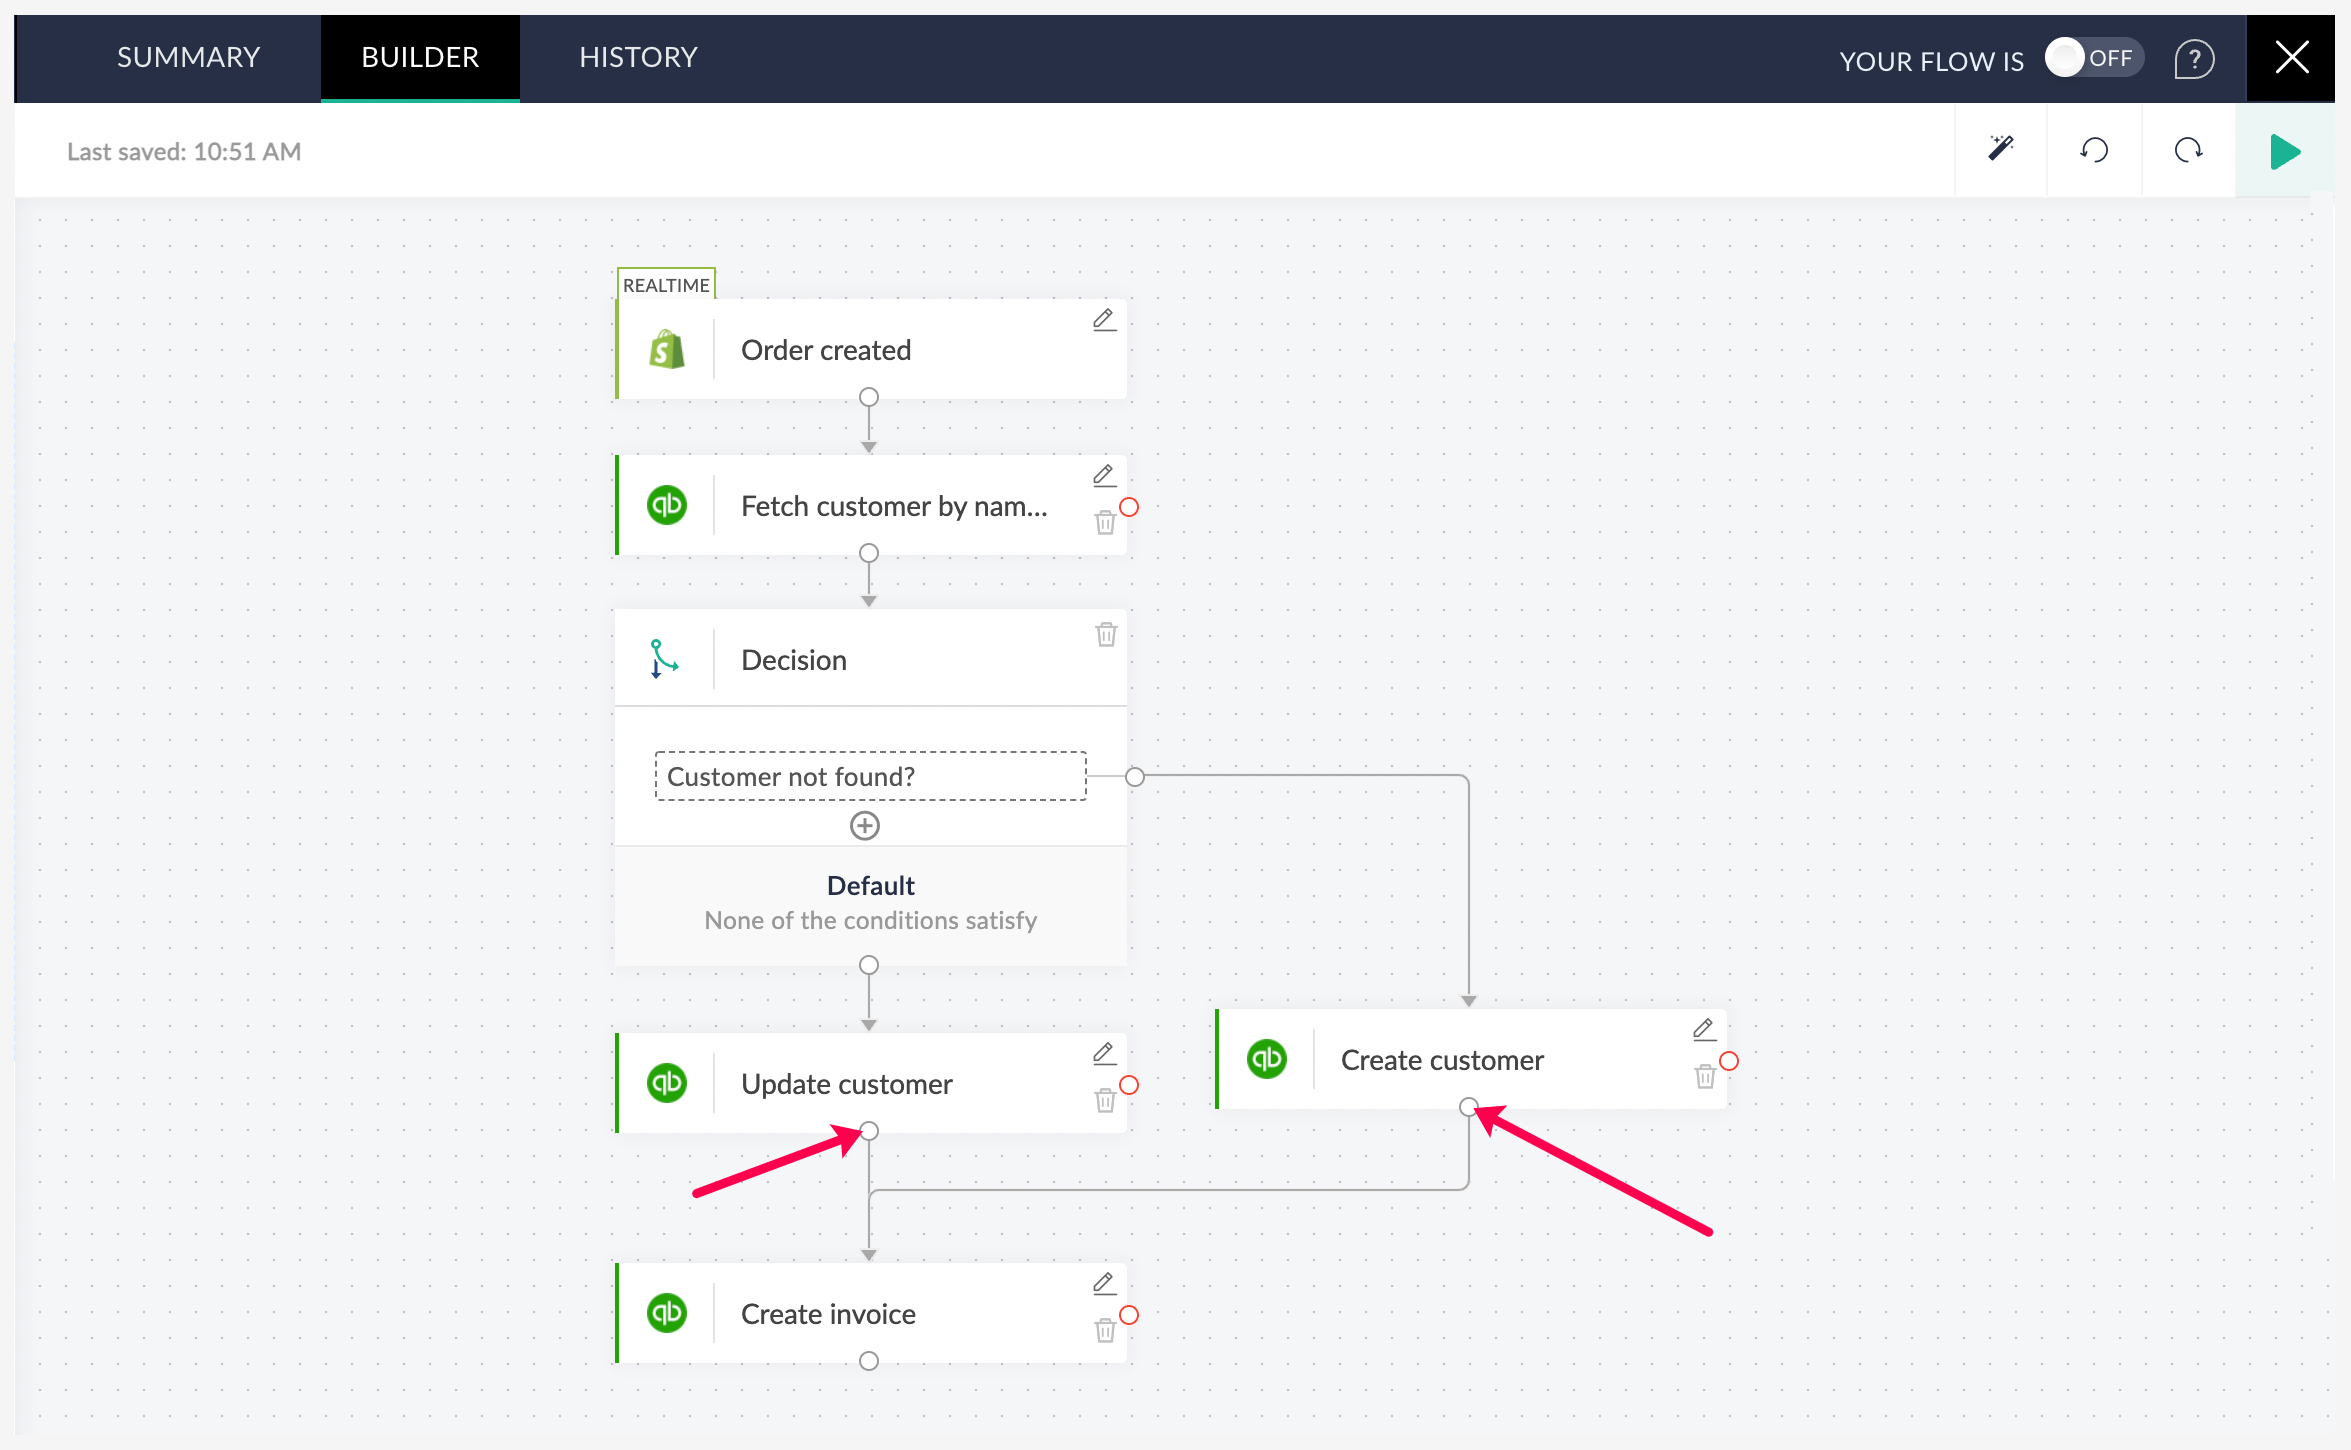
- Similar to the previous actions, configure the various fields of the invoice by mapping the required variables.
- Then, click Done.
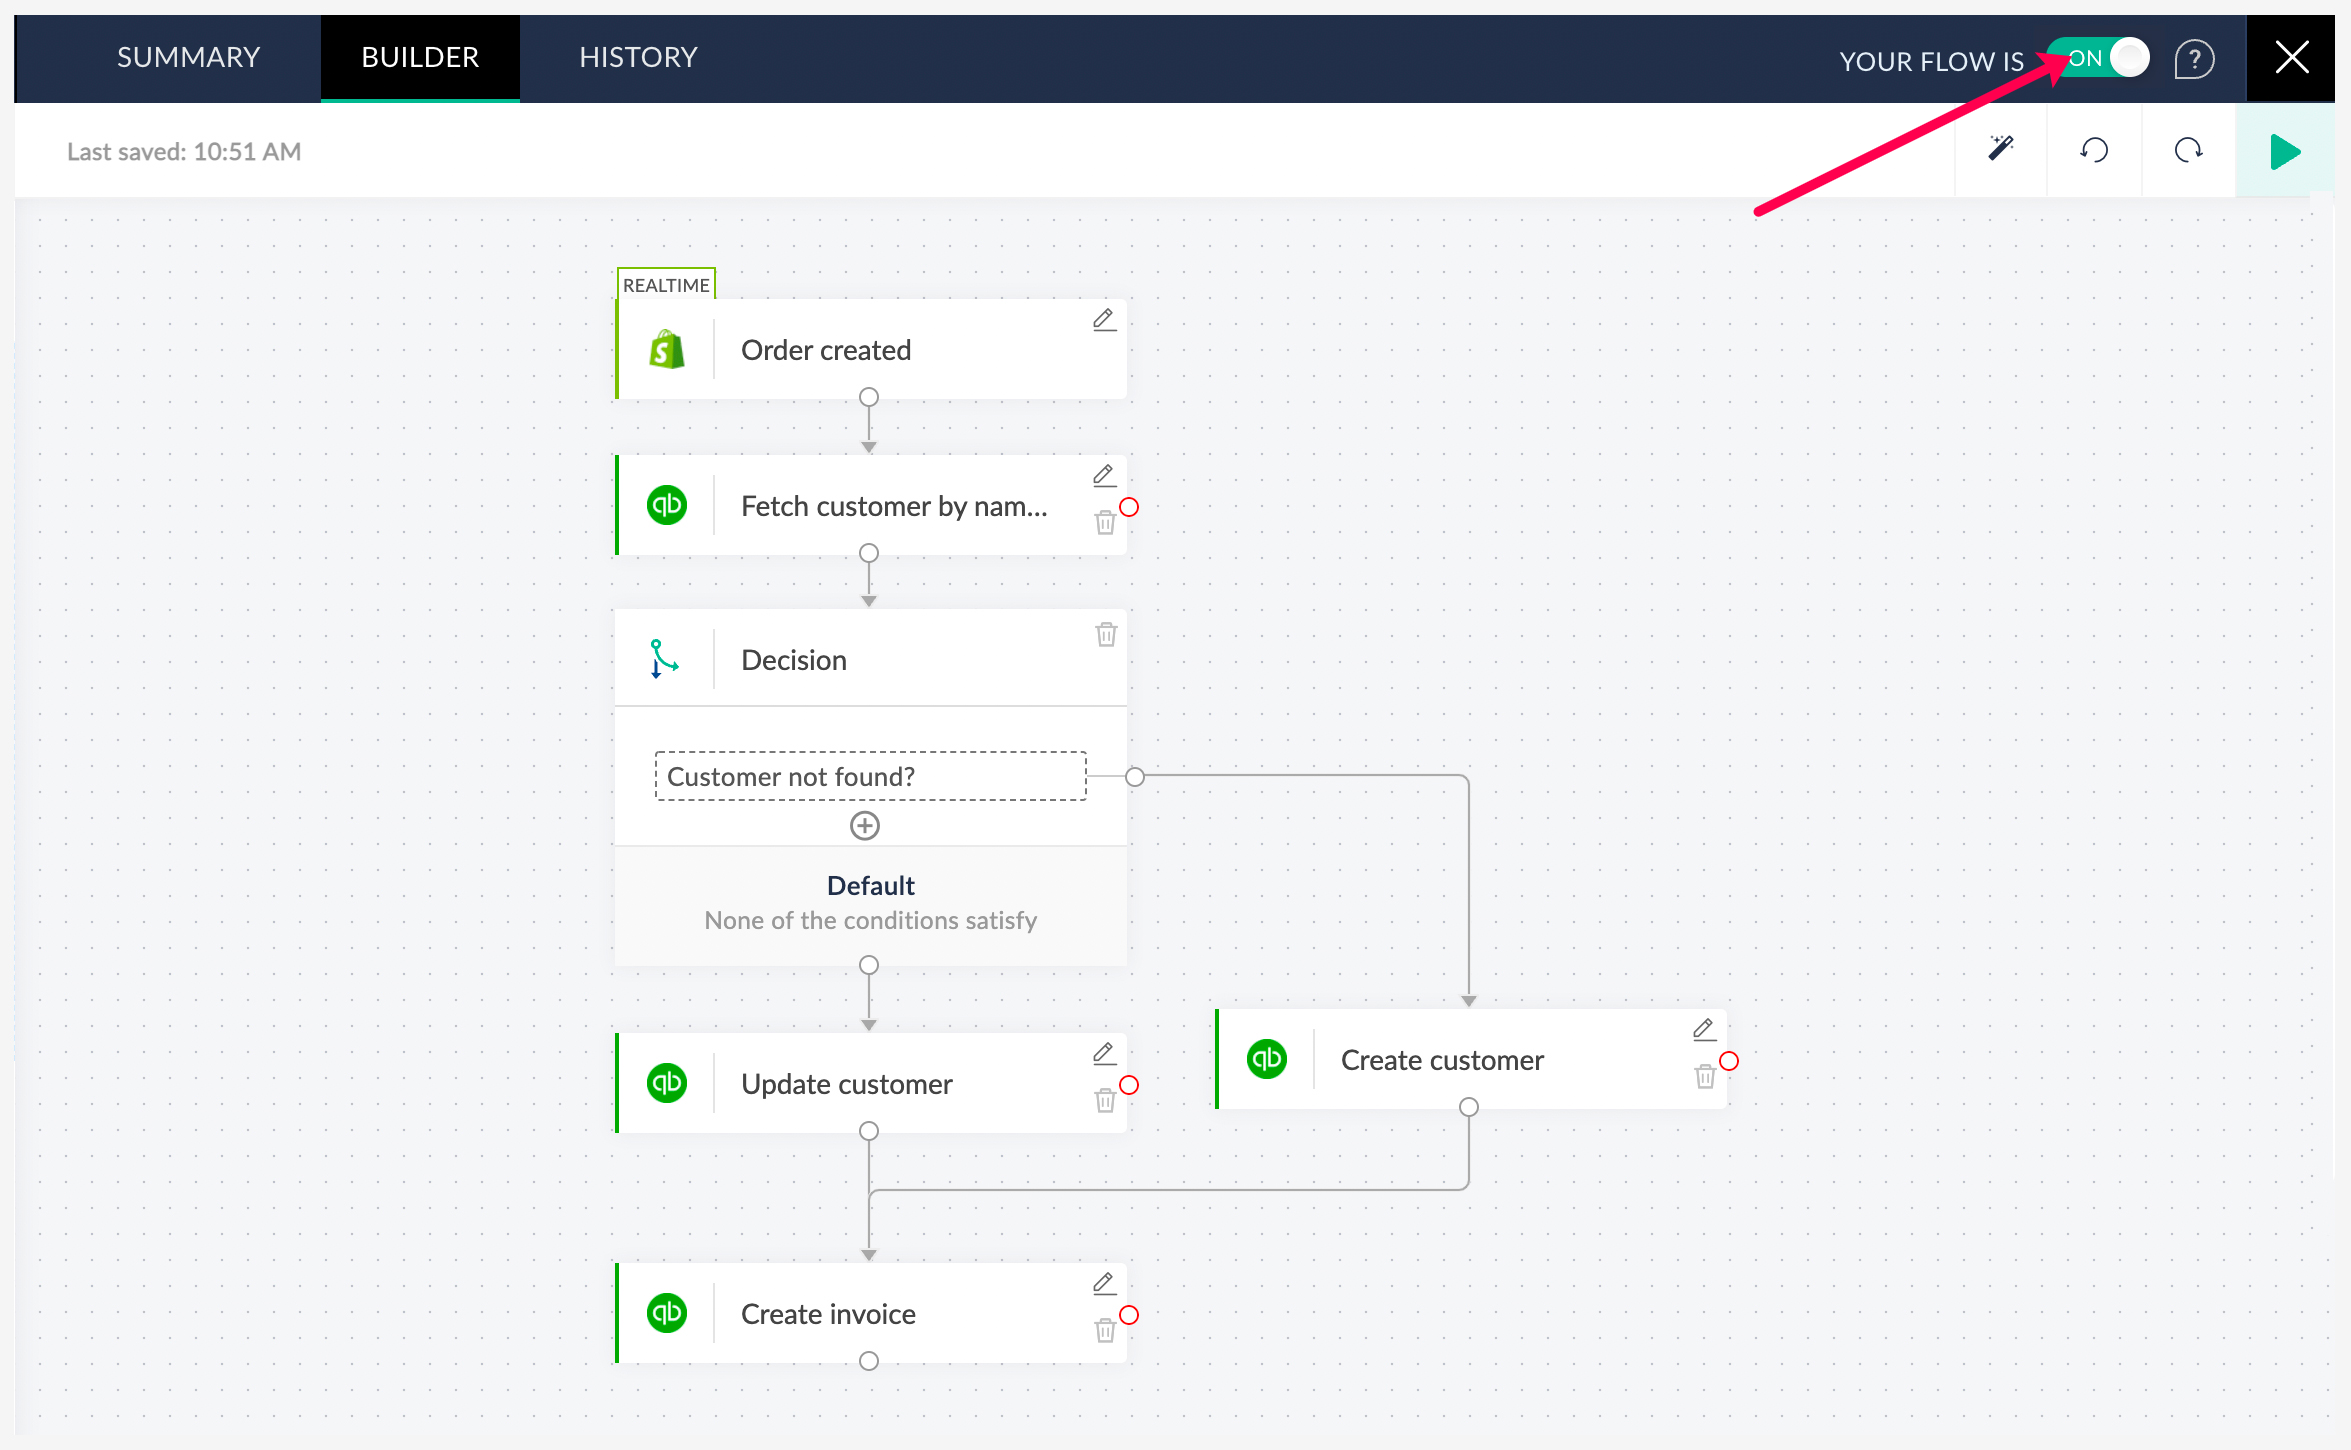
Step 4: Test the flow and switch it on
- Click Test and Debug at the top-right of the builder to check for any possible errors. You can create a test order to see if the input and output values of the actions are displayed correctly as you intended.
- Once everything looks fine, switch the flow on.
This is just one of the many popular workflows involving Shopify and QuickBooks. You can also manage other workflows in lead management, email marketing, inventory management, and many more using Zoho Flow.
Being an app integration platform with support for over 700 cloud apps, the possibilities are endless. If you need help with setting up flows, or would like to know more about how Zoho Flow can help you grow your business by automating repetitive tasks, feel free to contact us at support@zohoflow.com.
 Arjun
ArjunProduct Marketer at Zoho Flow: Passionately curious, with a love for thinking, writing, and exploring creative ways to connect people with science and technology.