Create your first widget
Before creating a widget, you need to have the Command Line Interface installed. Learn more
To create a widget:
- Open the terminal.
Run the following command to create a new project:
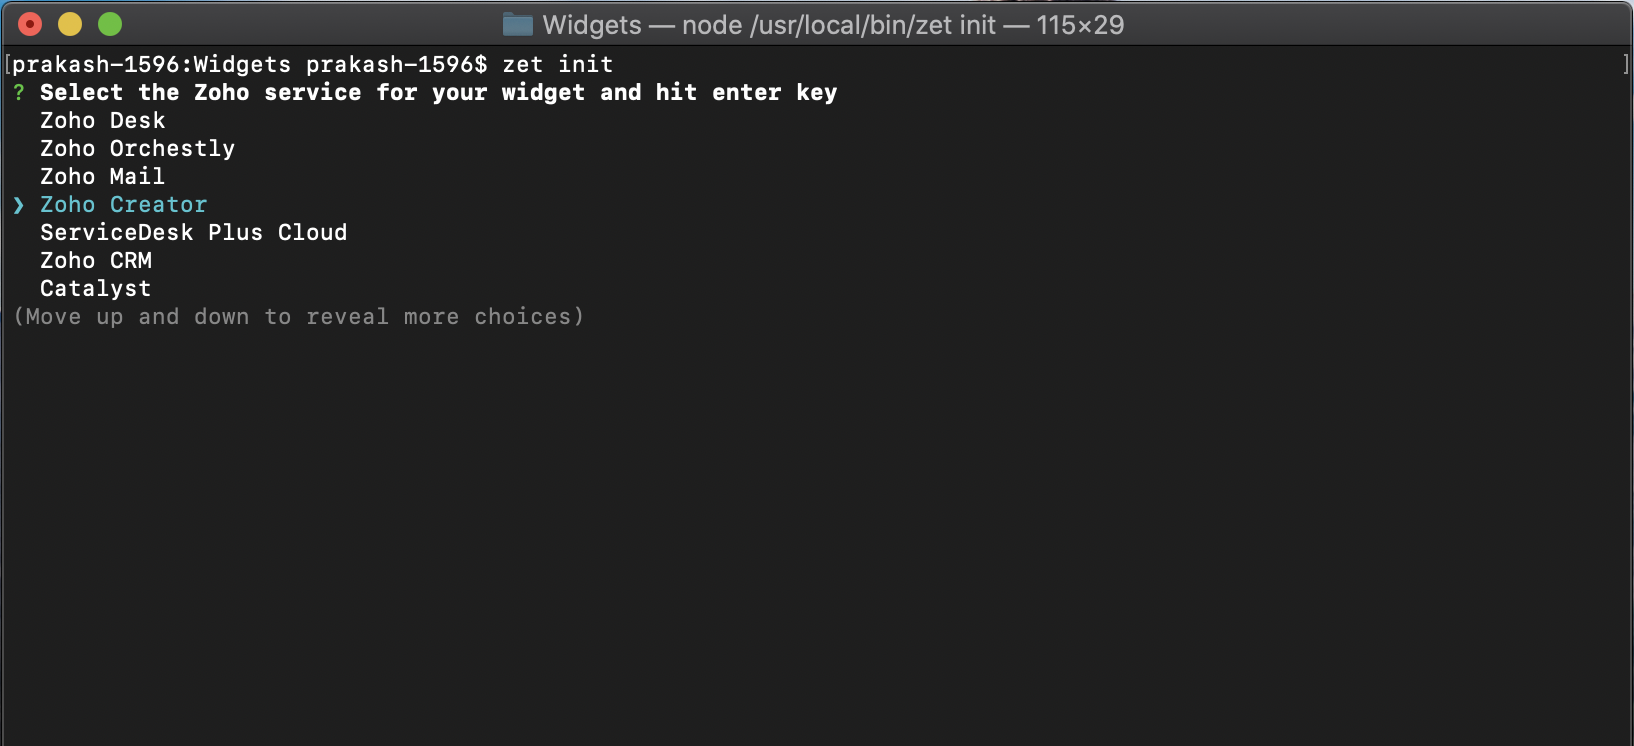
$ zet init- A list of Zoho Services will be displayed.
Select Zoho Creator as the required service.
- Enter the Project Name. The sample project will be created in the respective folder directory.
Run the following command to open the project folder.
$ cd {Project_name}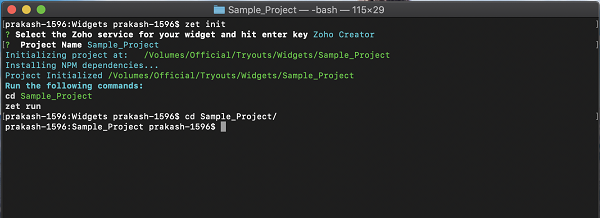
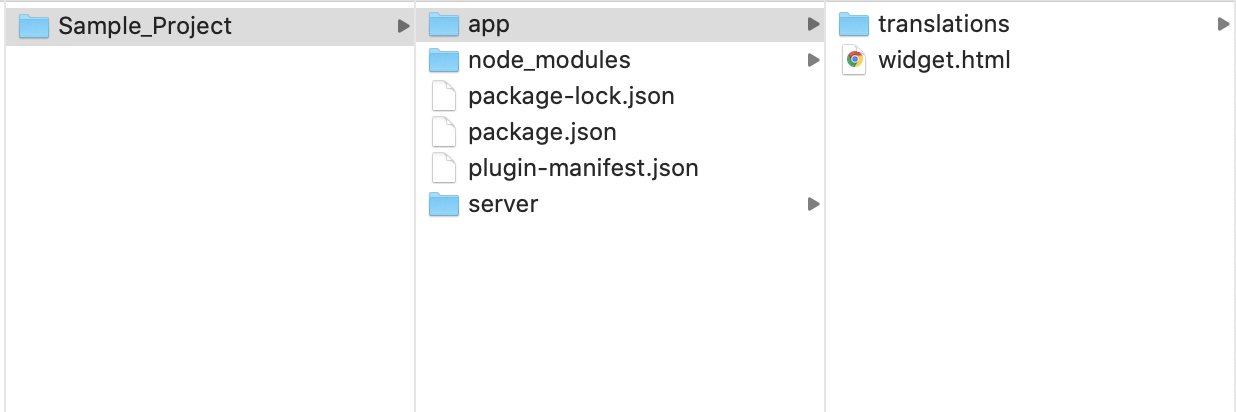
- Open the app folder in your project folder.
- You can configure the manifest.json file for your widget by following the below steps:


- After creating a folder for the project, run the following command to open the project folder.
$ cd {Project_name}Open the App folder in your project folder. - Find the plugin-manifest.json file in this folder.
- Configure the file with a name field and type field for application components (application, forms, and reports) to be used in the widget.
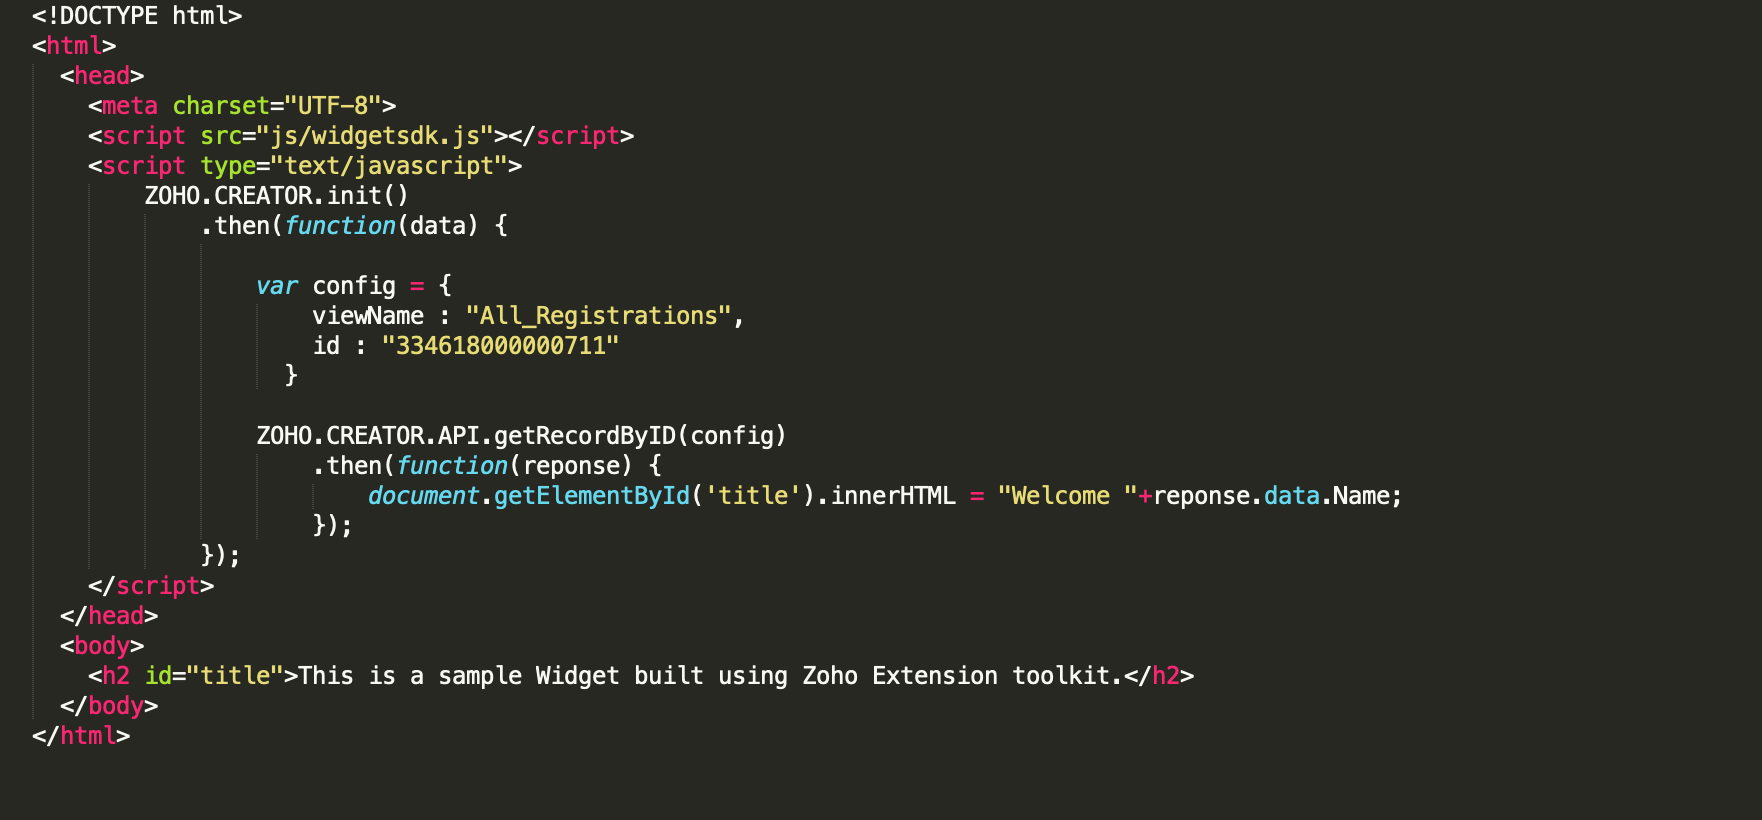
Find the Widget.html file in the folder.
Enter your code in the Widget.html file. The widget.html file contains the structure, design and components of the Widget. To use the Zoho Creator APIs in the widget, you can use the API helpers provided in the JS SDK Library.
Run the following command to validate your application:
$ zet validate- This will validate your app package and identify any violations. They should be corrected before updating the zip in the developer console.
Run the following command to pack the project.
$ zet pack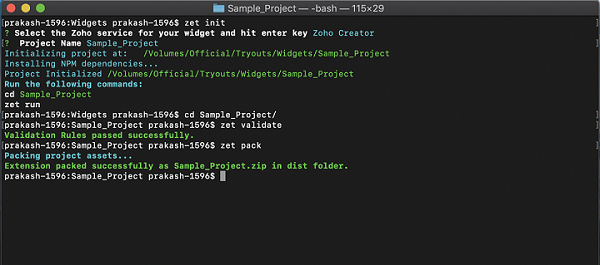
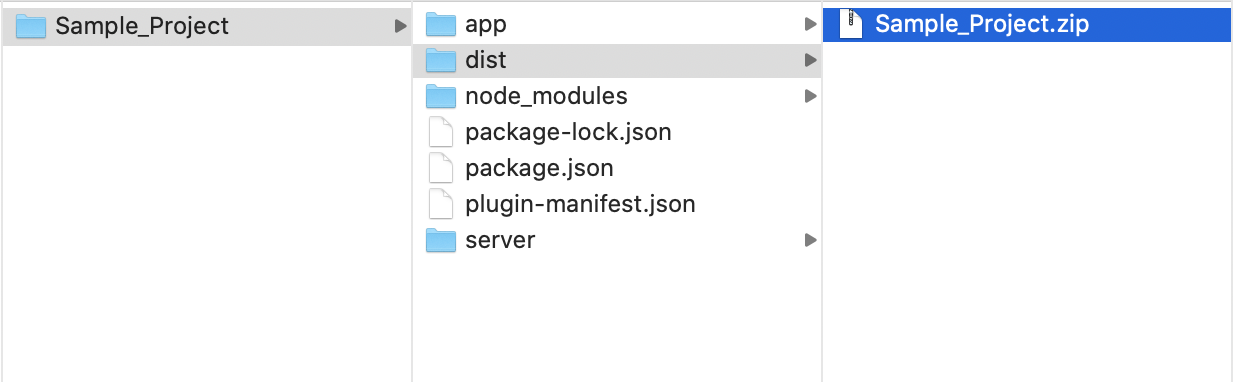
A zip file of the application will be created in the dist folder of your project directory.
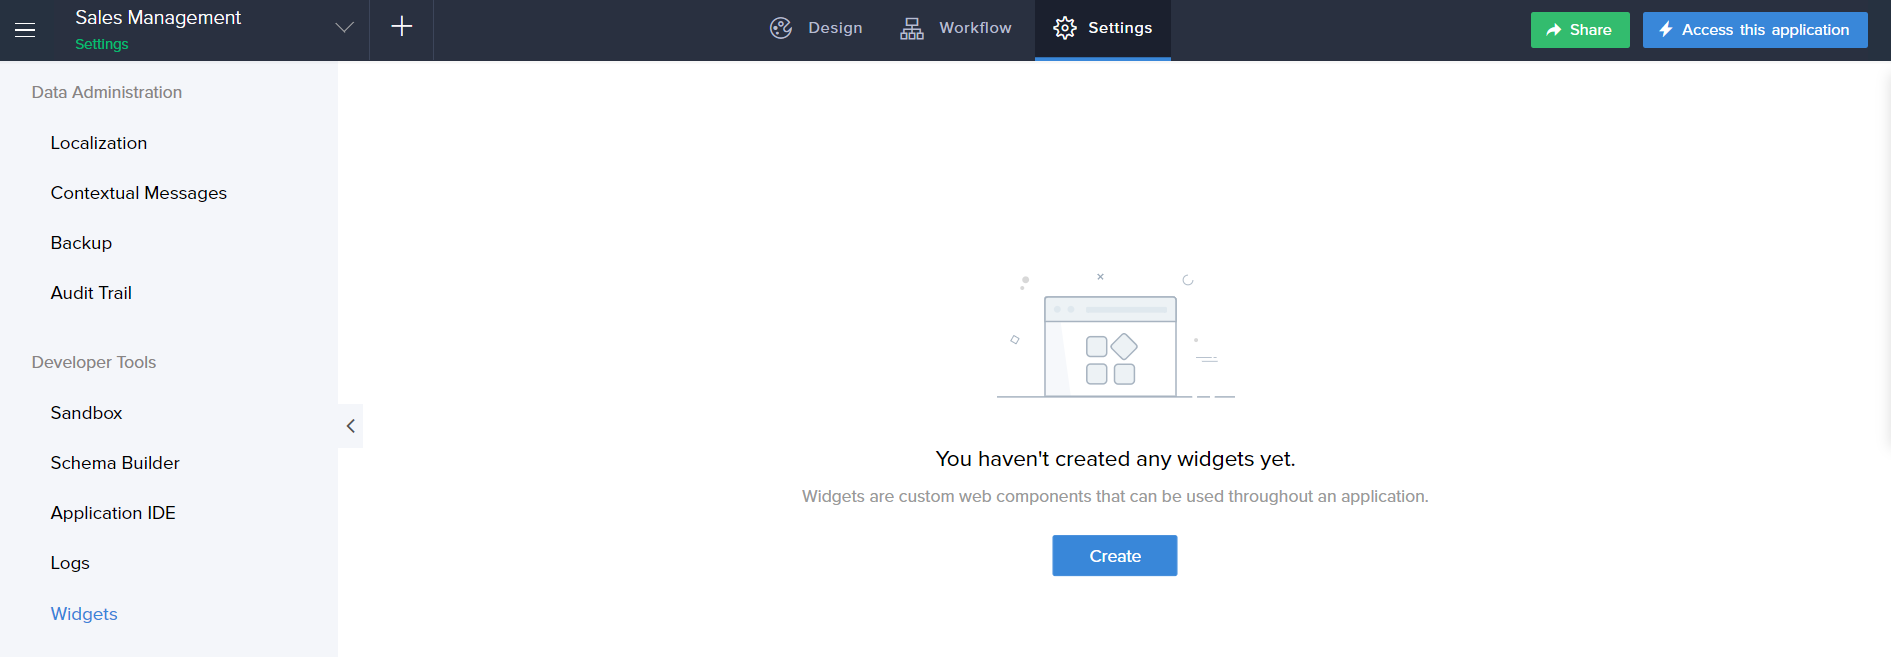
- Navigate to the Settings page of the app in which you need to embed your widget. Select Widgets.
Click Create button.
The New Widget pane will appear.

- Enter a name for your Widget.
- Choose Internal option in the Hosting drop down list.
- Upload the packed zip file from the dist folder in the Widget File field.
Enter /widget.html in the Index File field.
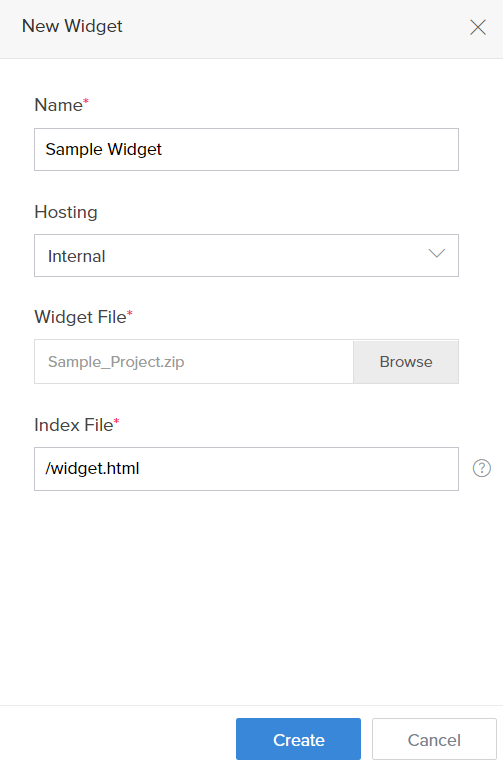
- Click Create. The created widget is added to the Widgets page.
- This widget will appear as a drag-and-drop element in Page builder for all the Pages present in the application.


External Hosting
The procedure given above pertains to the internal hosting of widgets (i.e.) the widgets are hosted within Creator. Alternatively the widgets can also be hosted externally and linked up with Creator.
The procedure for external hosting of widgets is as follows:
- Go to the Application Settings page. Then click on Widgets option.
Now click on the New Widget button in the Widgets page. The New Widget pane will appear.
- Enter a name for your Widget.
- Choose External option in the Hosting drop down list.
Enter the Index page URL of the externally hosted widget in the Index File field.

- Click Create. The created widget is added to the Widgets page.
- This widget will appear as a drag-and-drop element in Page builder for all the Pages present in the application.
