This help page is for users in Creator 5. If you are in the newer version (Creator 6), click here. Know your Creator version.
Configure localization for your app
- Translate your app to a language
- Manage the translations
- Set the language in which your users are to access your app
- Enable right-to-left (RTL) layout for your app
Translate your app to a language
- Edit your app.
- Navigate to the Settings page.
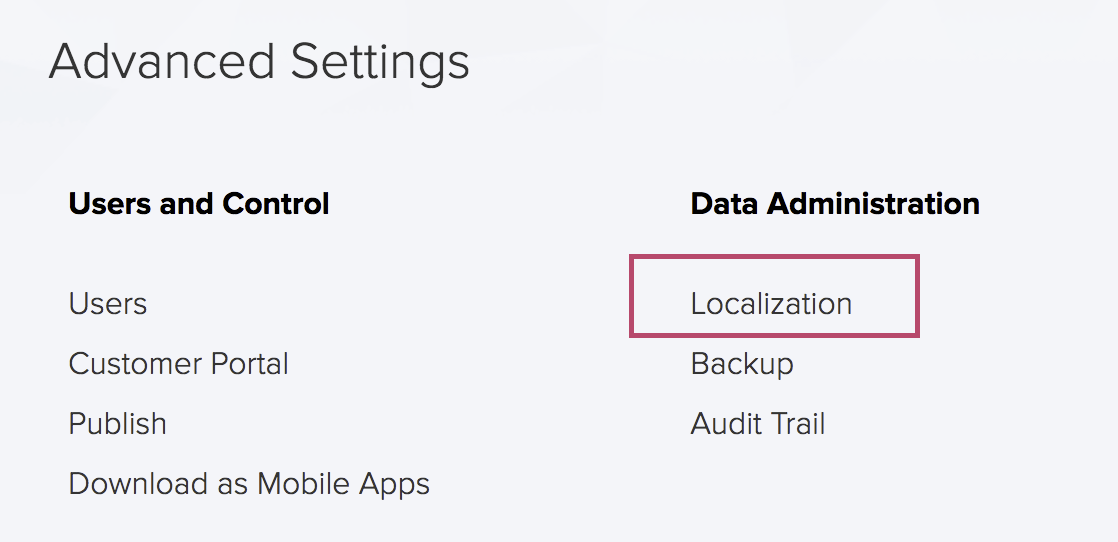
- Click Localization under the Data Administration section:
- Click the Add Language button near the top-right corner of the page. The Add Language pane will slide in from the right.
- Select the language to which you want to translate your app.
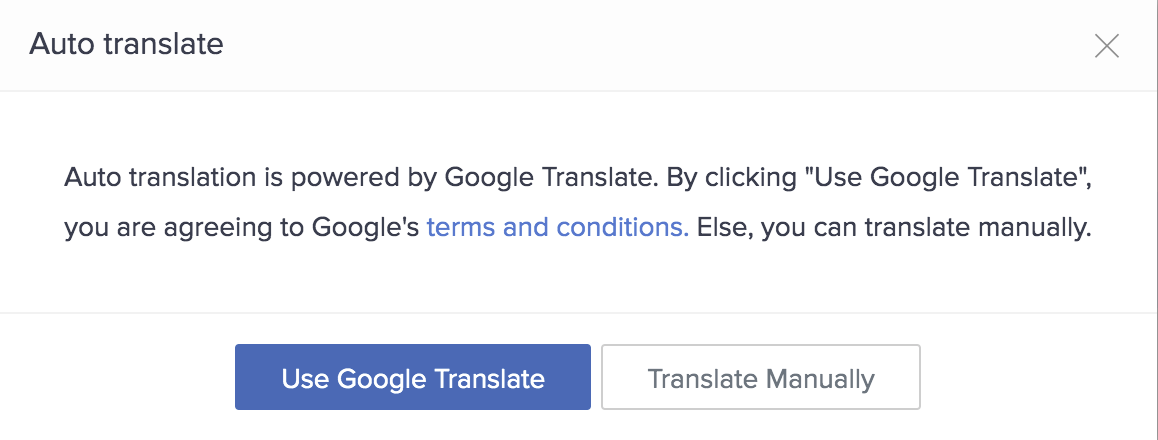
- Select the required translation option: Use Google Translate or Translate Manually. The selected language will get added.
- Manage the translations as mentioned in the ensuing section.

Manage the translations
Pre-requisite: Translate your app to a language
- Hover over the required language, then click the Translate button.
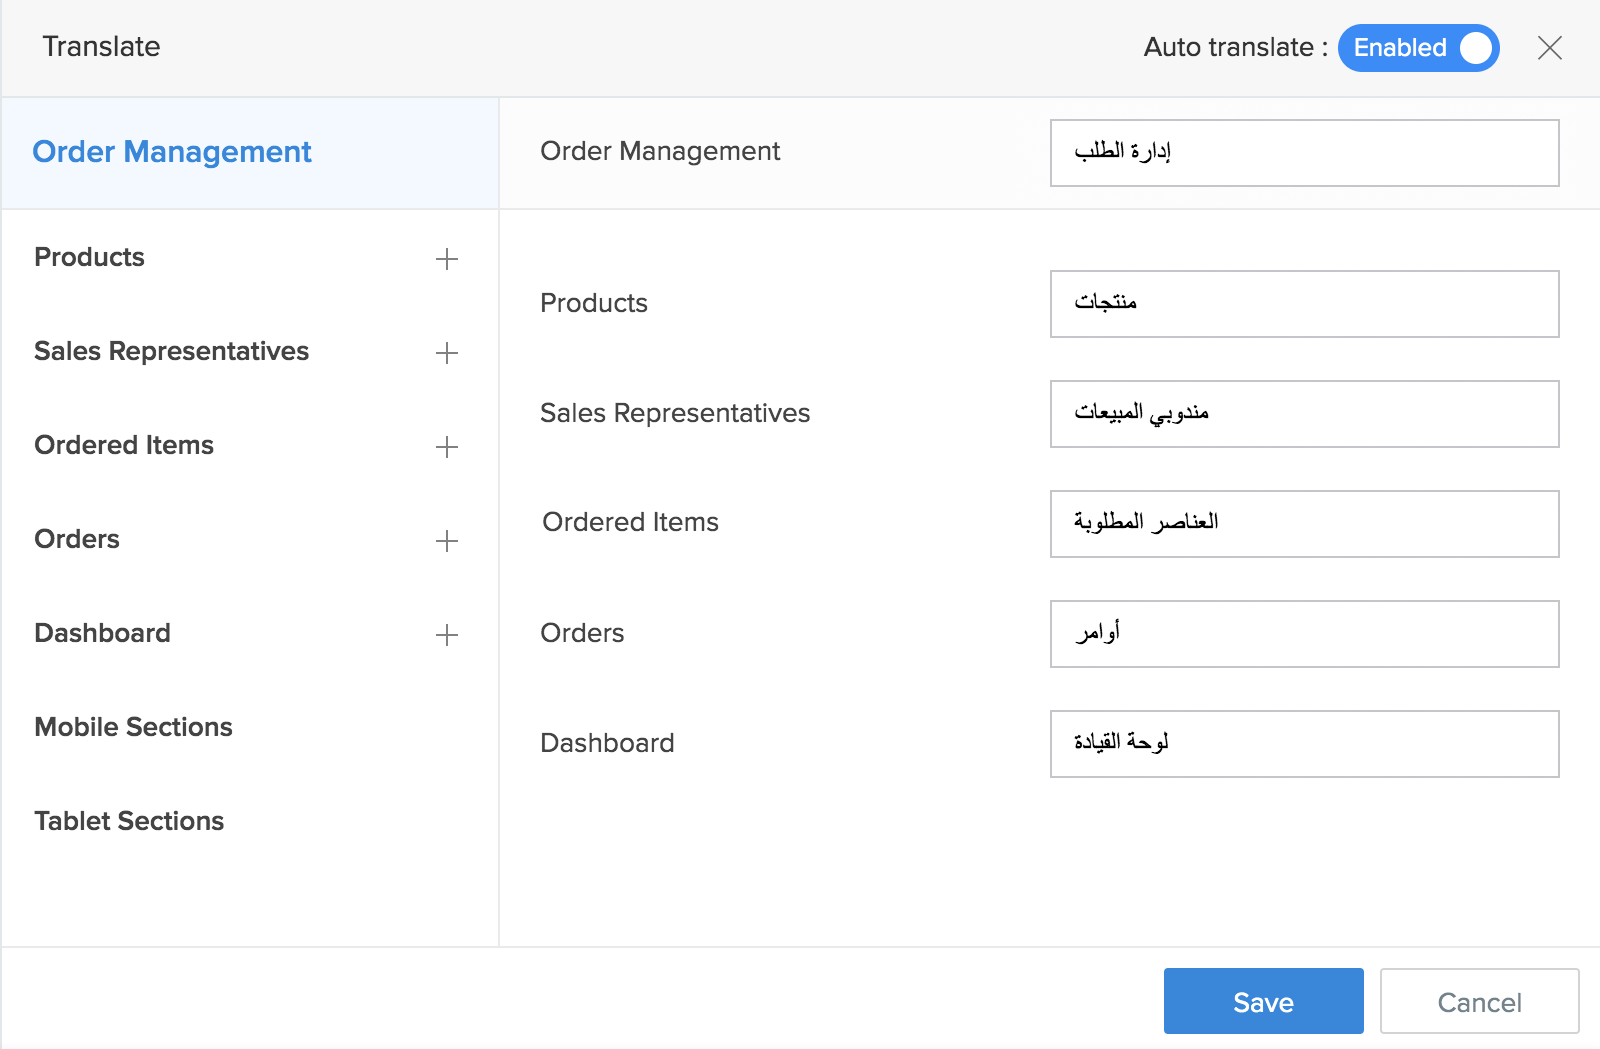
- Manage the translations in the Translate pane:
- If you had opted to use Google Translate for that language, app elements' labels will already be translated. You may still edit them as required.
- If you had opted to manually translate to that language, you must enter translations for all elements. You may also enable Auto translate and make use of Google Translate.
- Enabling Auto translate ensures that the translations for the changes in your app, such as addition of fields and renaming of labels, are automatically handled.
- Click Save.
When you have customized section labels for phone and tablet
- When you have customized section labels for phone, an additoinal segment titled Mobile Sections will be displayed last in the Translate pane, as shown below. The translations you set for phone will automatically be set for tablet as well.
- When you have customized section labels for phone and tablet individually, you will see Mobile Sections and Tab Sections
Set the language in which your users are to access your app
- English: Your app will be shown in English
- User's browser language:
- When a user accesses from a web browser, your app will be shown in their browser's language
- When a user accesses from a mobile device, your app will be shown as per their device's locale
- Web browsers and mobile devices are capable of translating the labels in your apps by themselves. Your translations, if present, will be displayed instead of the browser/device's.
- Users' Zoho account language:
- Your app will be shown in English unless you've translated it to the language that a user has selected in their Zoho account.
- This option is selected by default
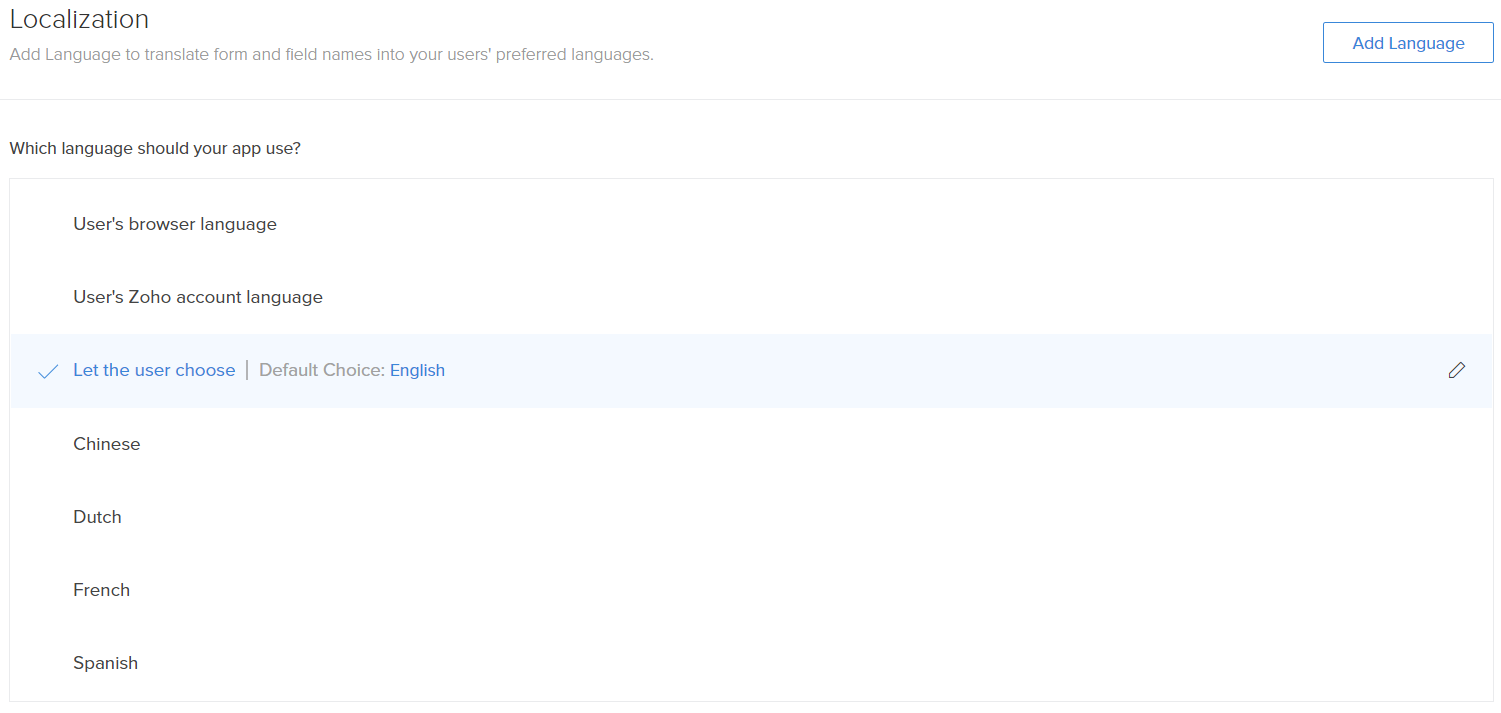
- Let the user choose:
- Your users will be able to choose the language in which they want to use your app. All languages to which you've translated your app, will be available to your users.
- The default choice option lets you choose the default choice for the Let the user choose option. To change the default choice option click on the Edit button or on the language displayed.
- Now choose the required language from the drop down list in the pop up. Then click Save.
- <language>: This refers to the languages you've added by using the Add Language button. In the below example we have added Chinese, Dutch, French and Spanish.

 Note: When you choose the Default choice in Let the user choose option, the application will be accessible in the language of the user's browser. This can then be changed by the user from the live mode of the application by clicking the meatball menu(three dots) in the top right corner.
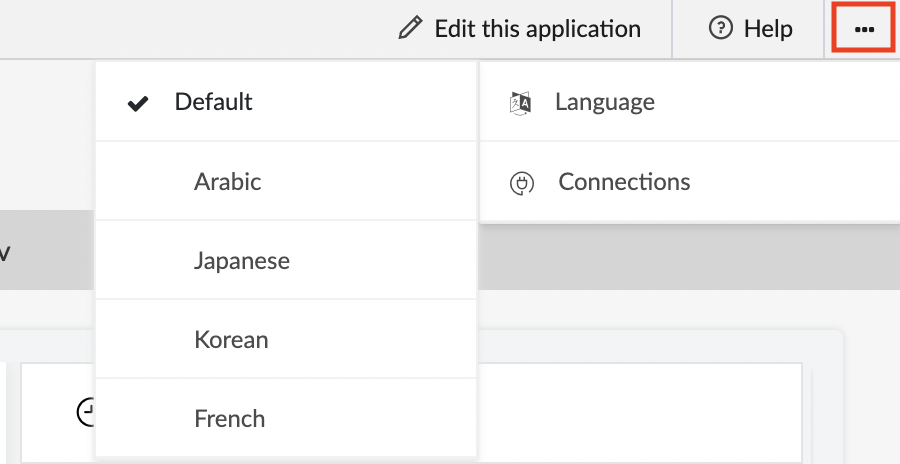


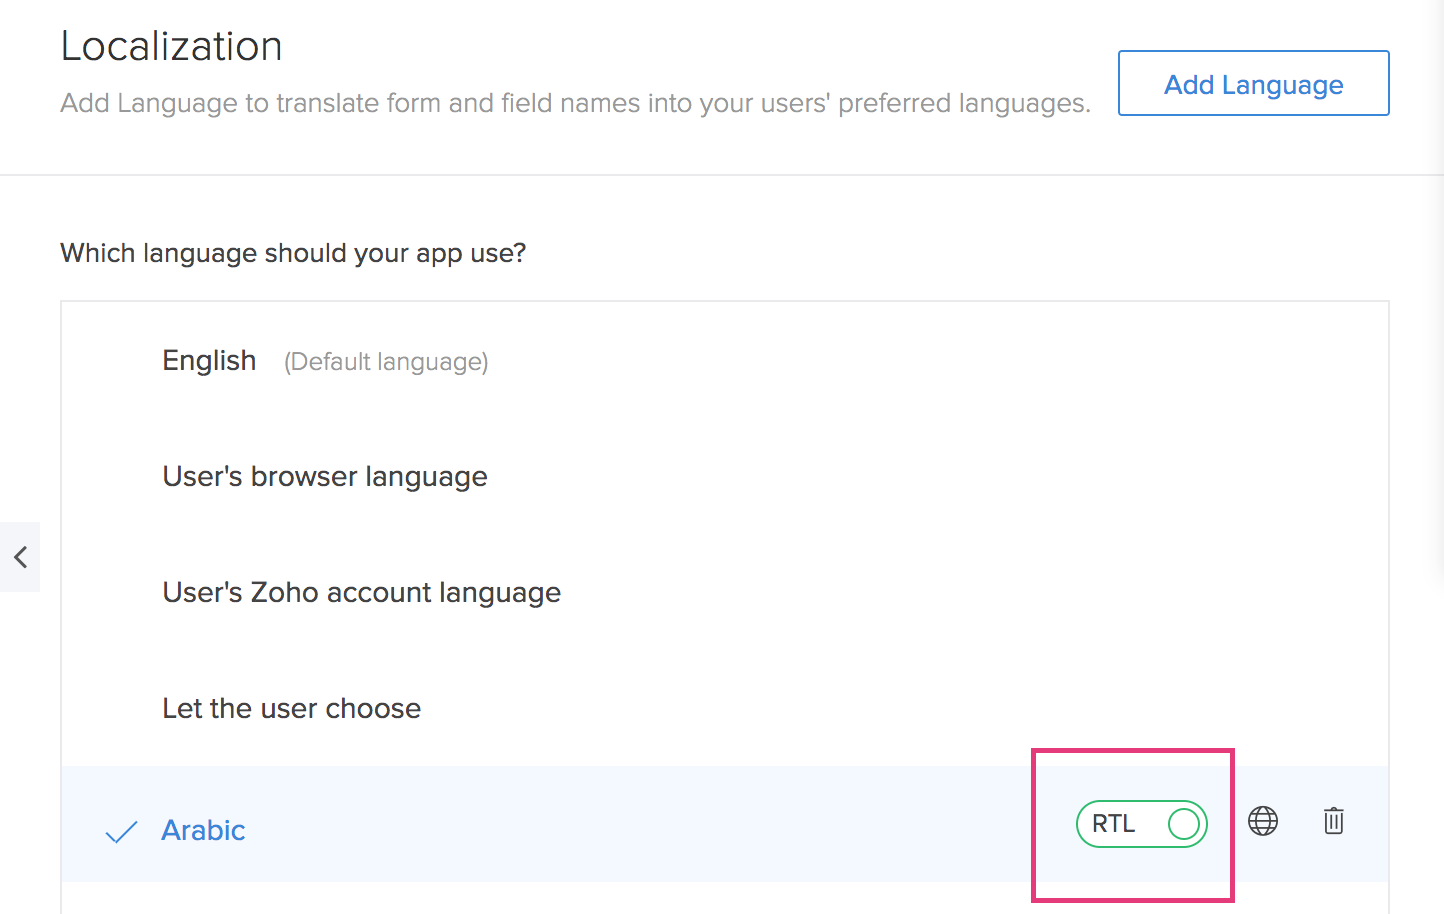
Enable right-to-left (RTL) layout for your app
The RTL layout is available when you localize your app to Arabic, Azerbaijani, Hebrew, Urdu, Yiddish, and Persian. Learn how your RTL-enabled app will look.
- Translate your app to one of the above given languages. Follow these steps to add a language.
- Hover over the language, then toggle to RTL: