Setting up a customer portal
To set up a customer portal:
- Navigate to the edit mode of the target application and click Settings on the bar placed at the top.
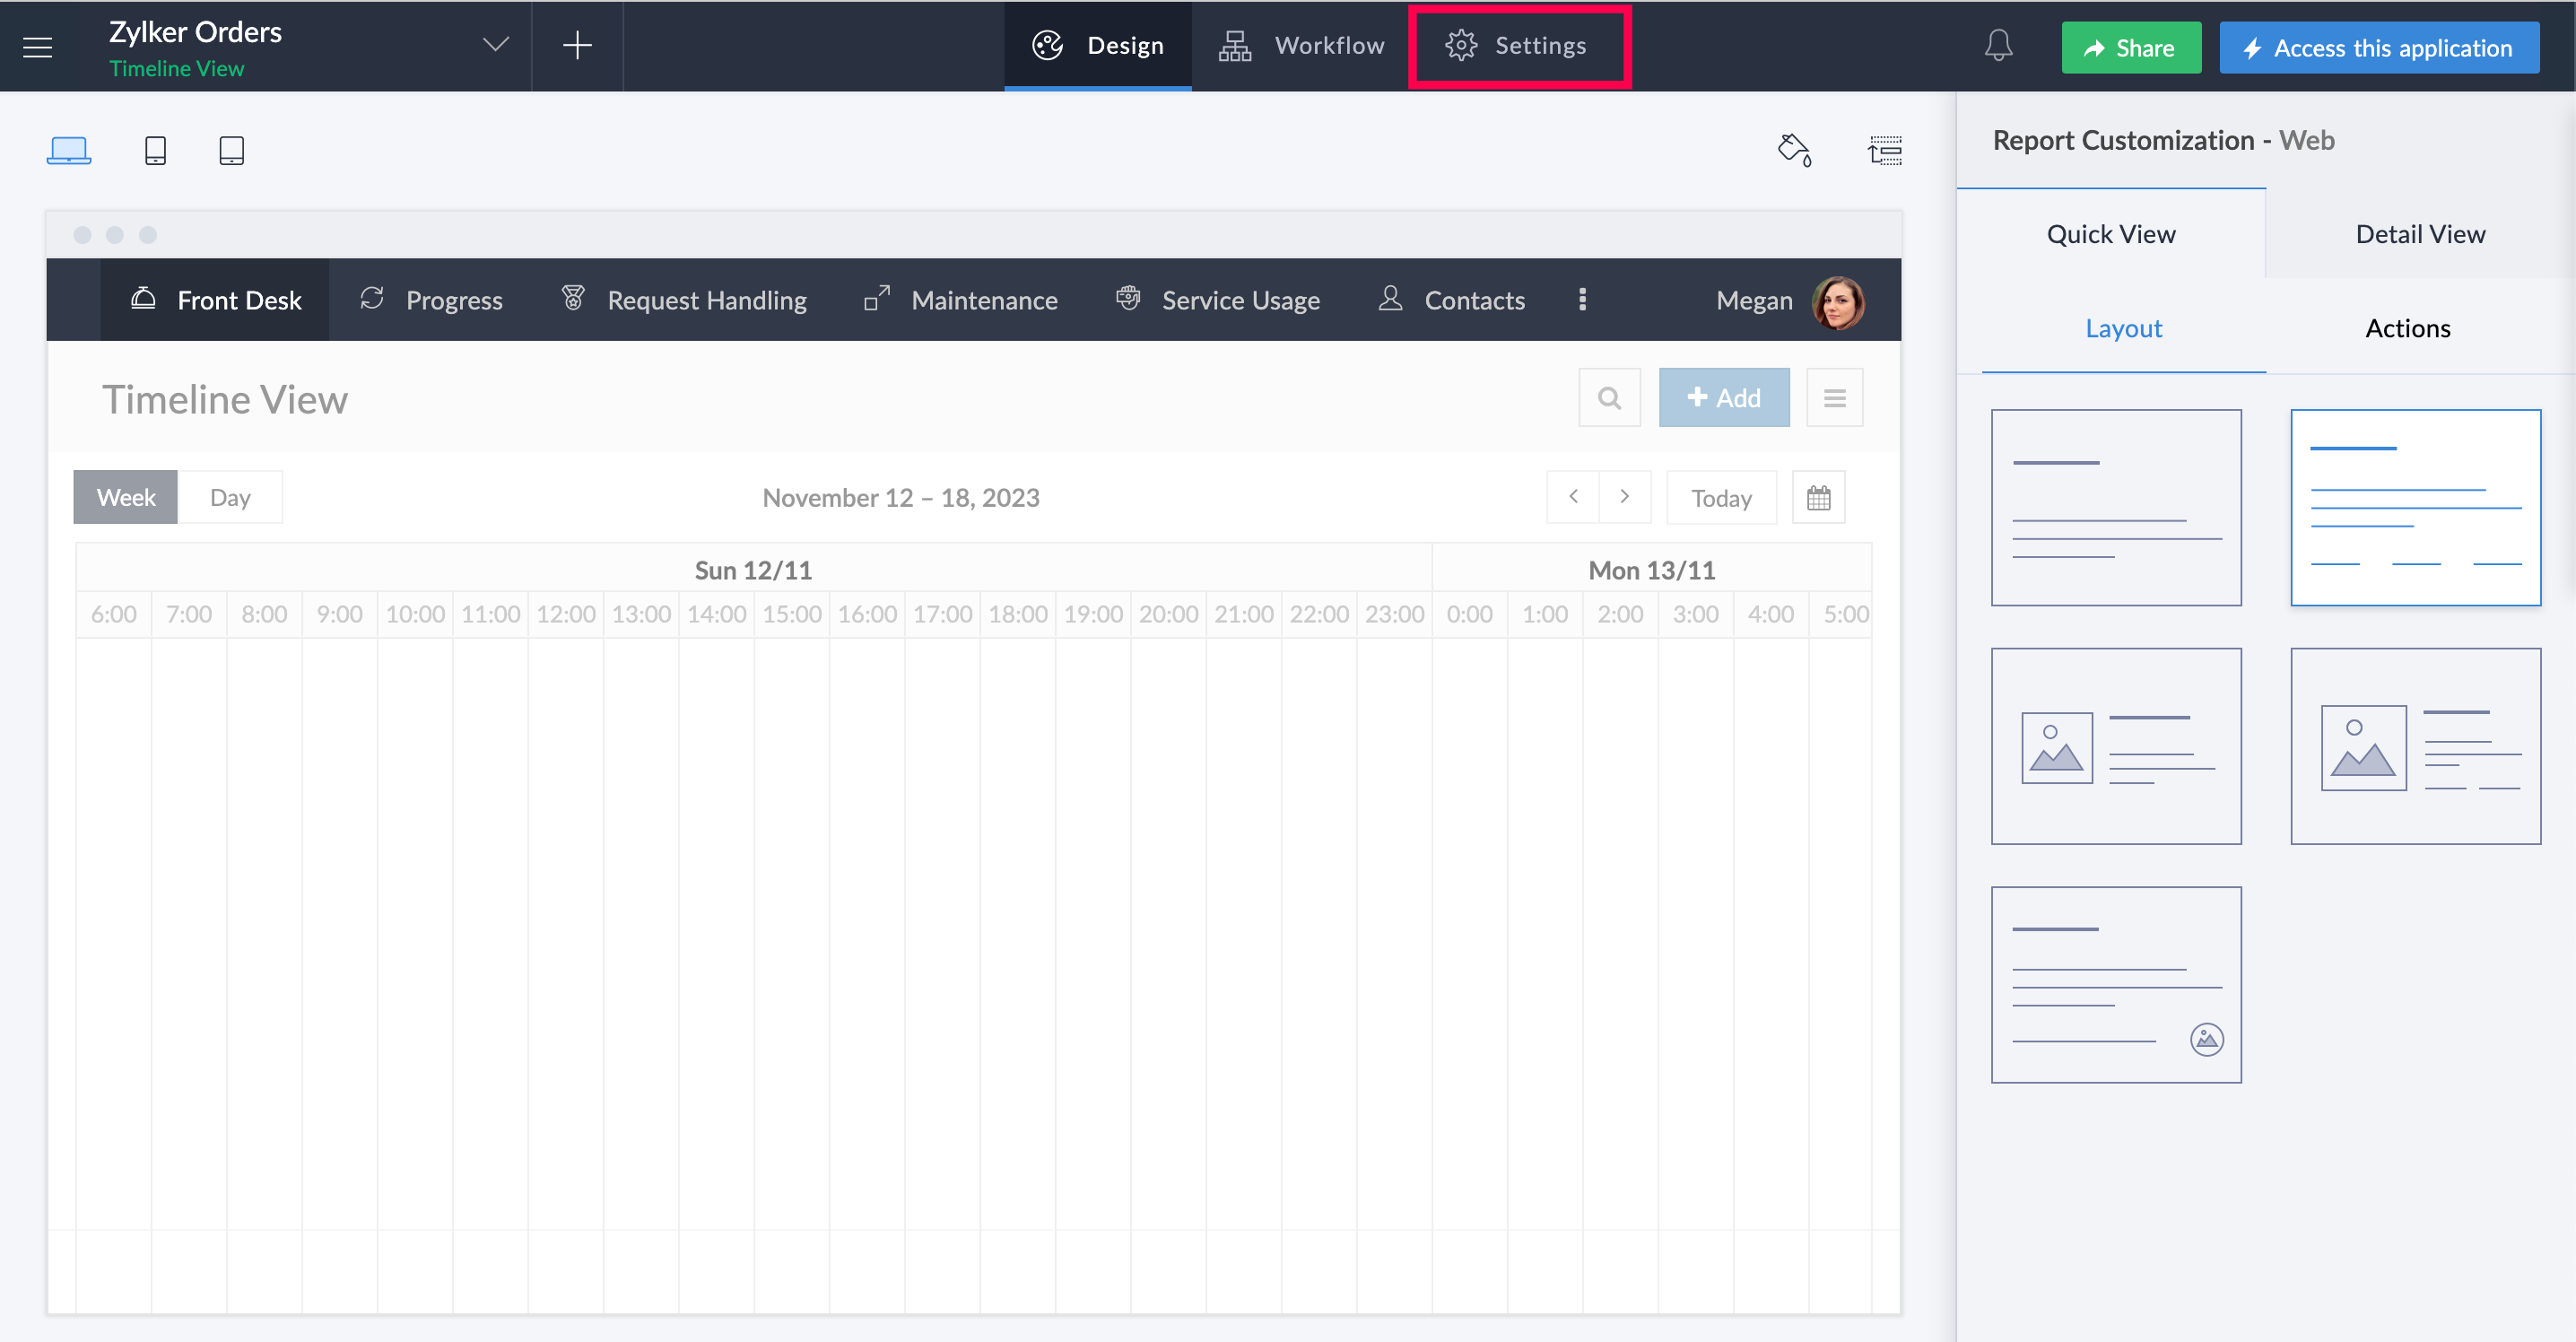
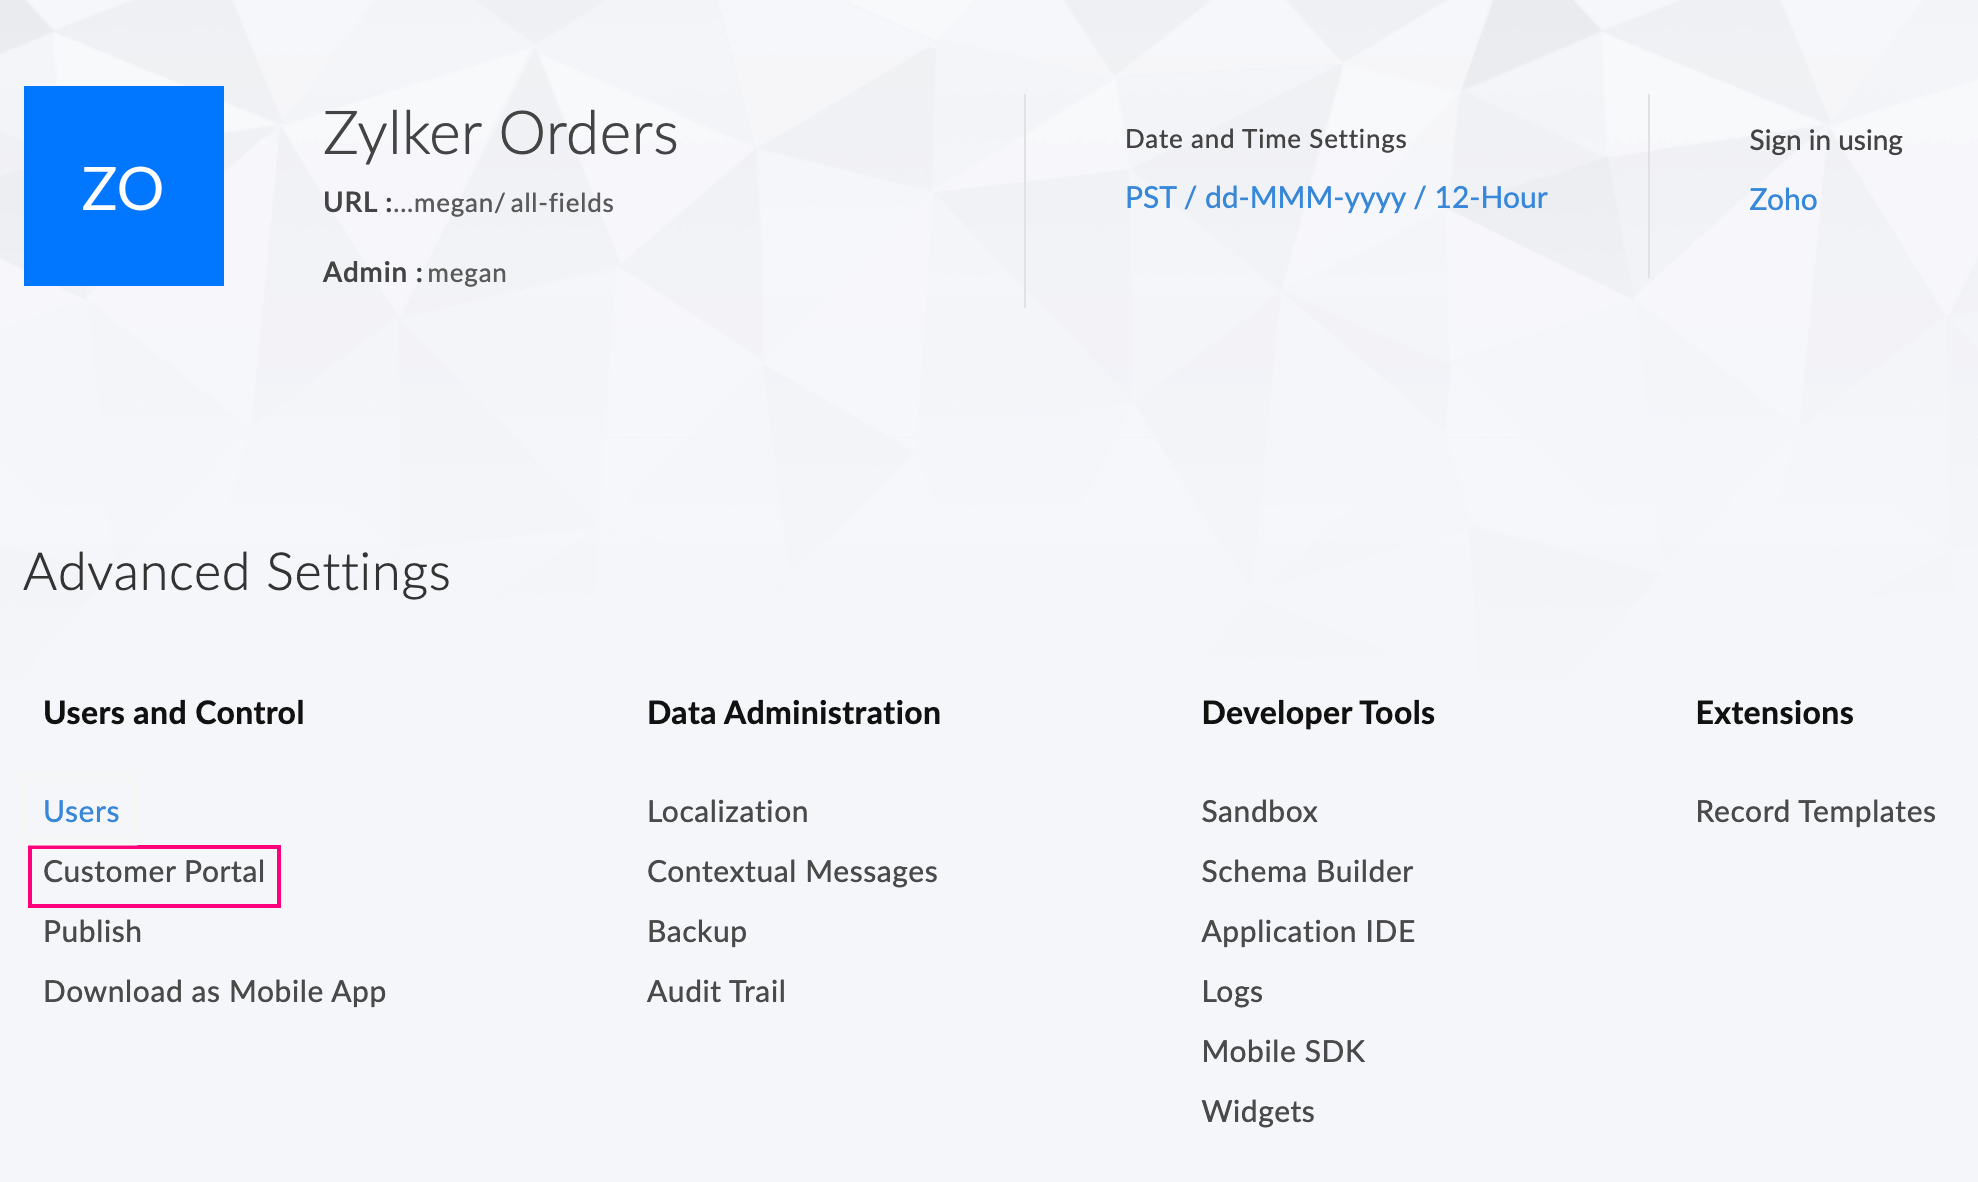
Click Customer Portal option under the Users and Control section.
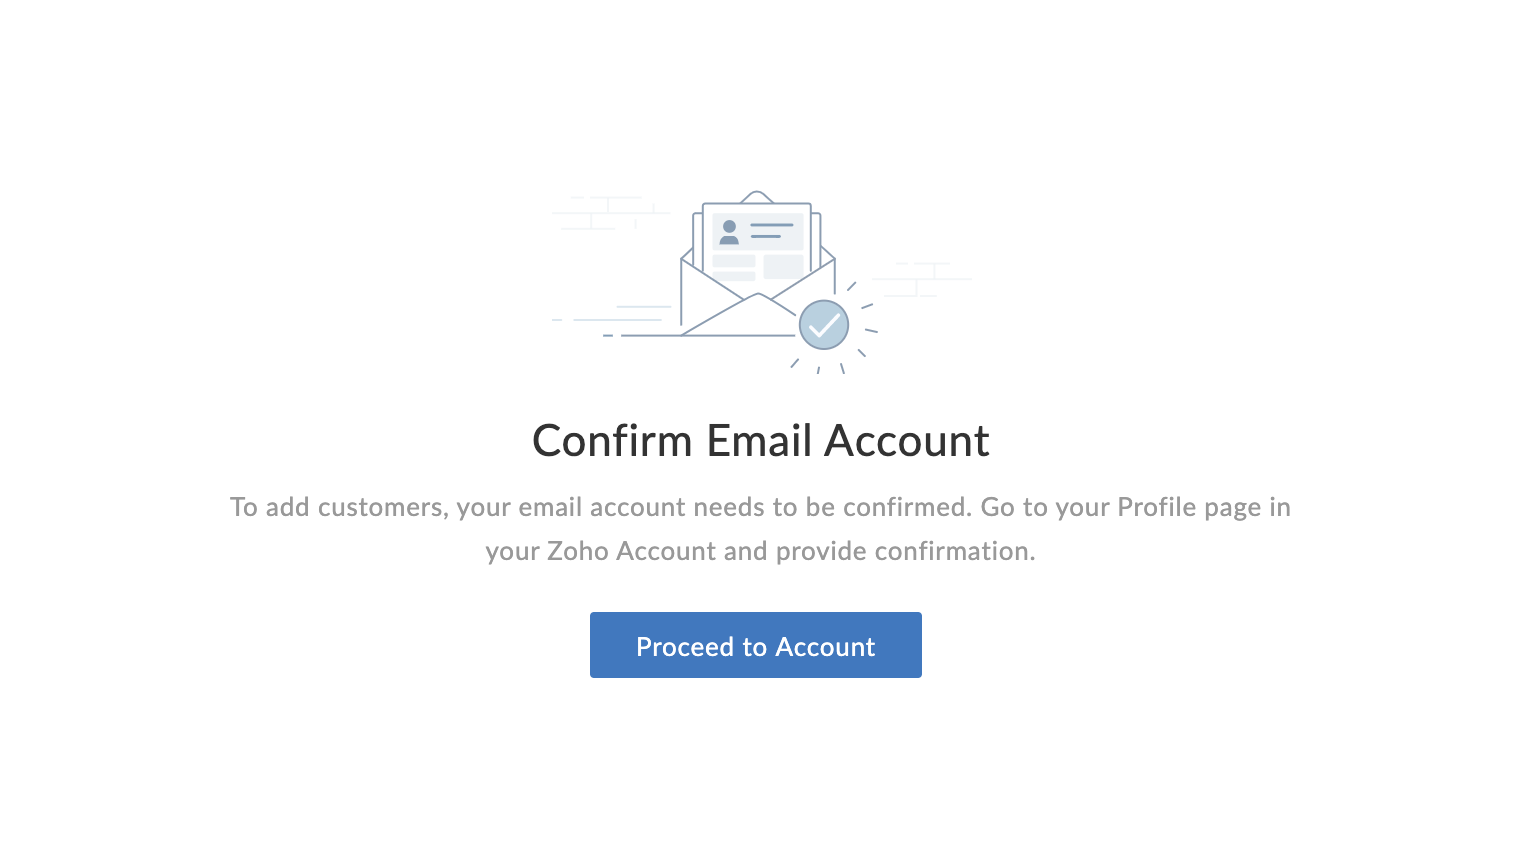
If you haven’t confirmed your primary email address for your Creator account, you'll get a message as below. Click Proceed to Account to confirm your email address.
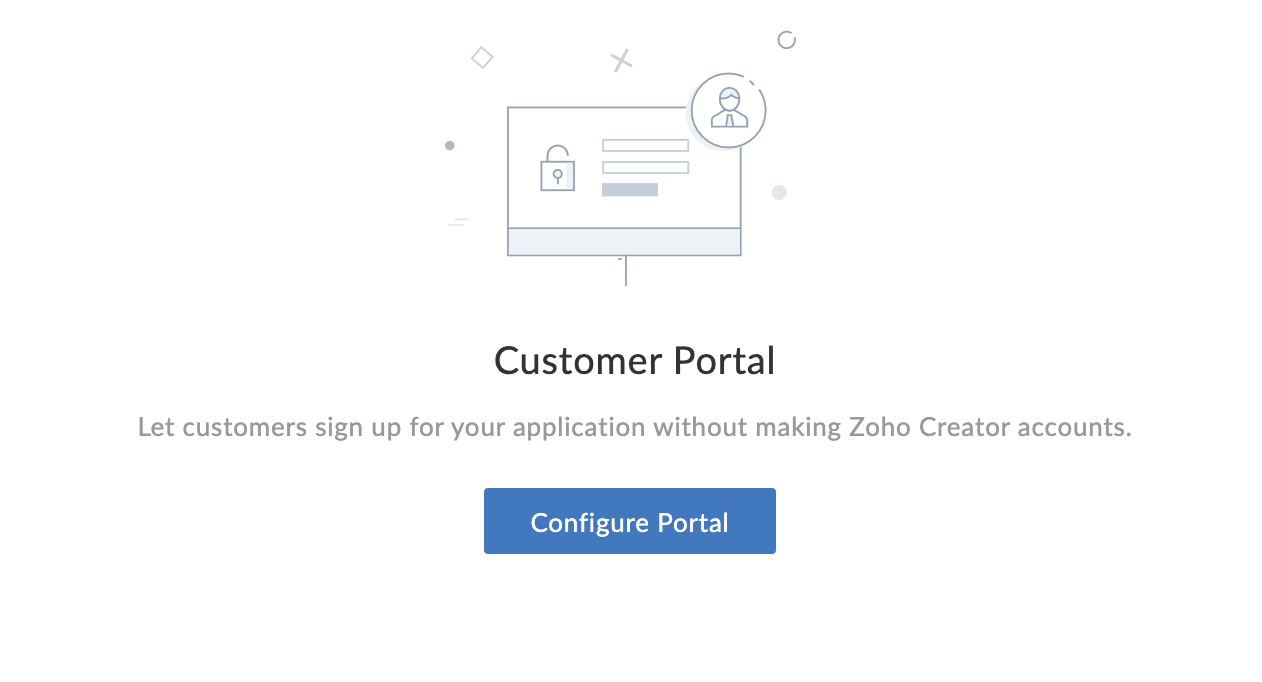
In the next page, click Configure Portal.
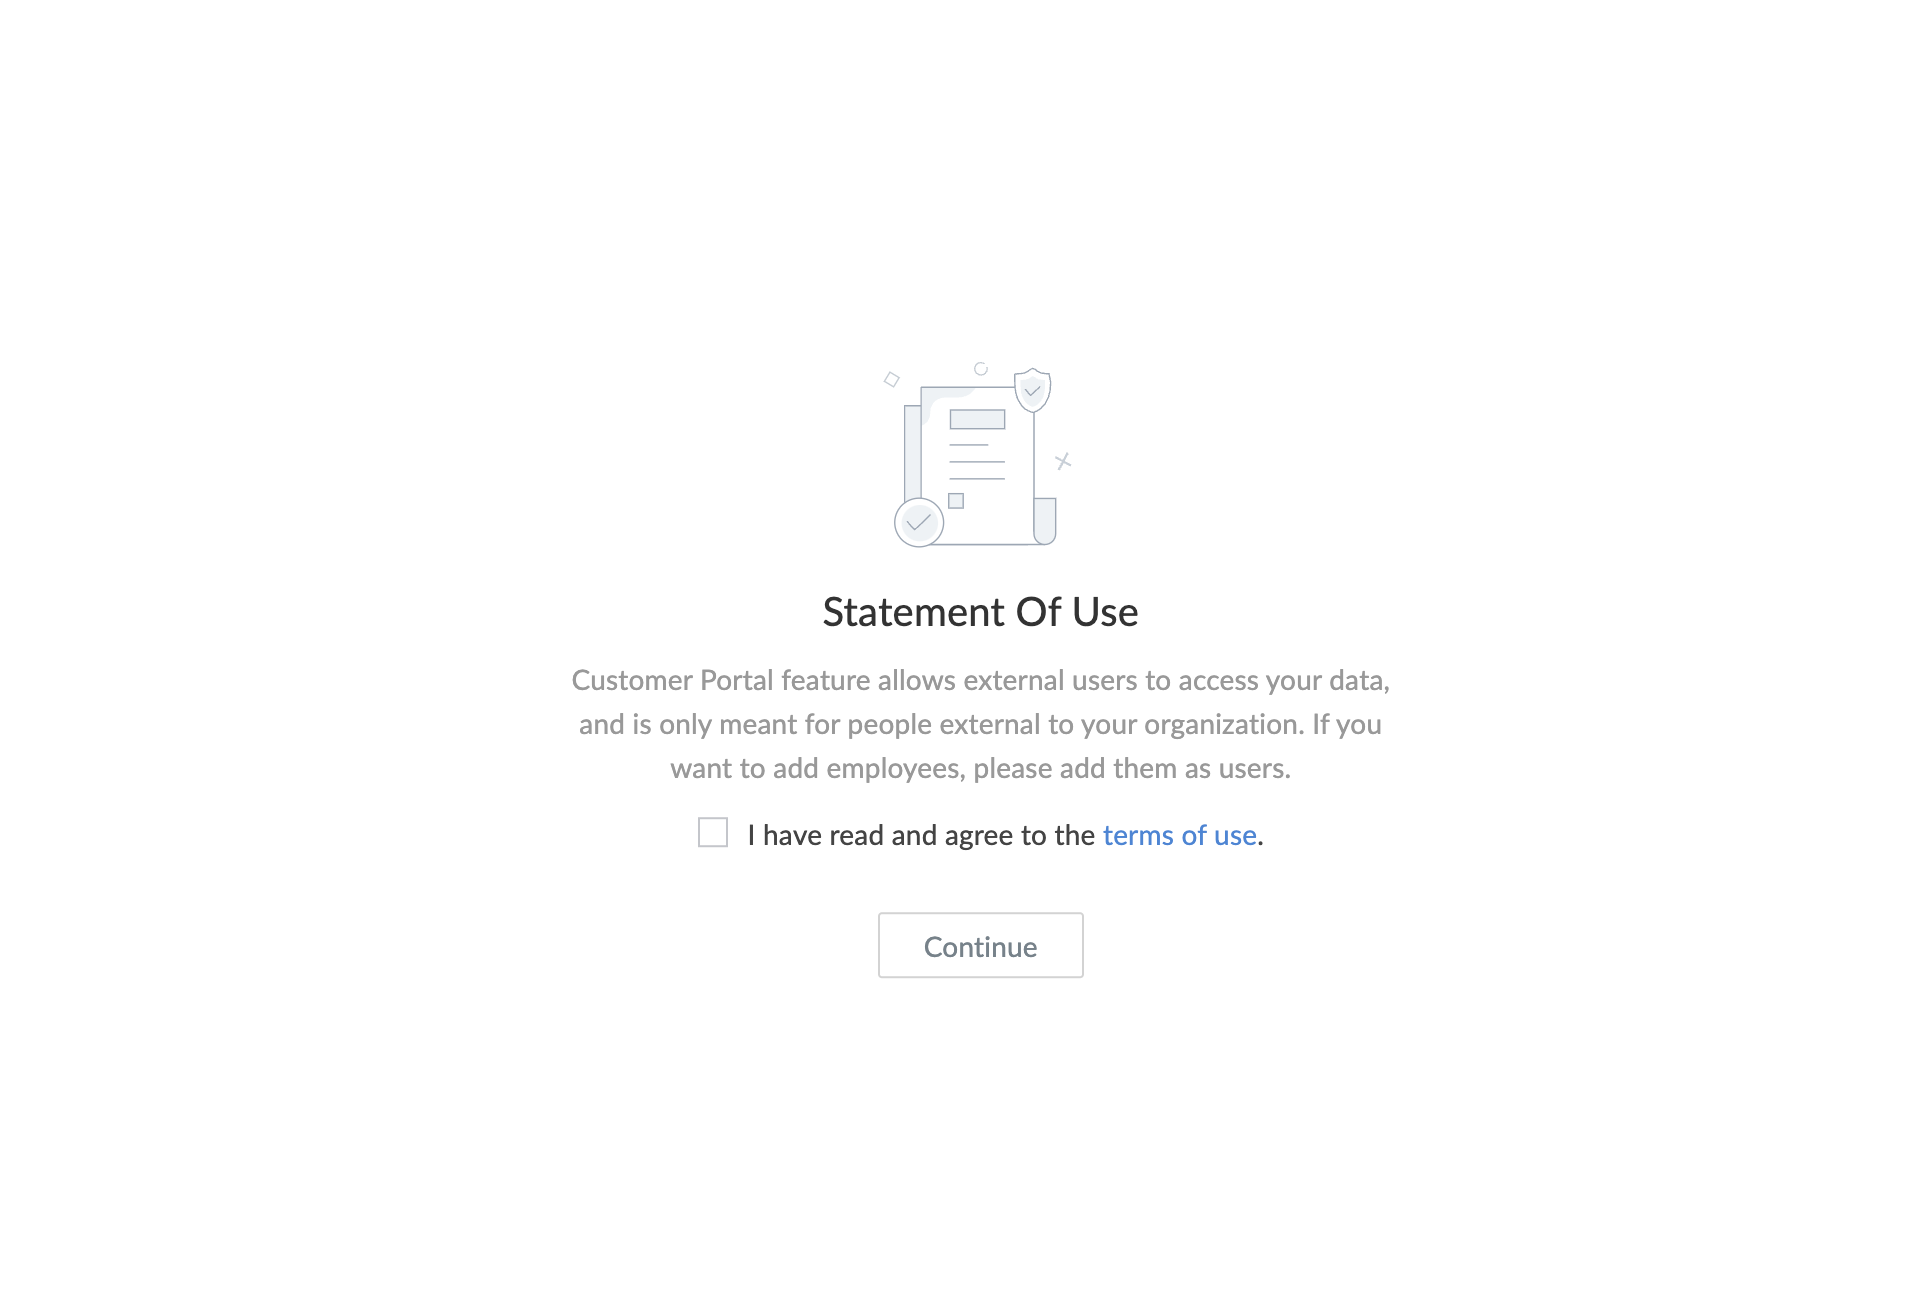
The Create portal page opens which contains the Statement of use. According to the terms of use, only external users like vendors etc., can be added as a portal user. Click Continue after agreeing.
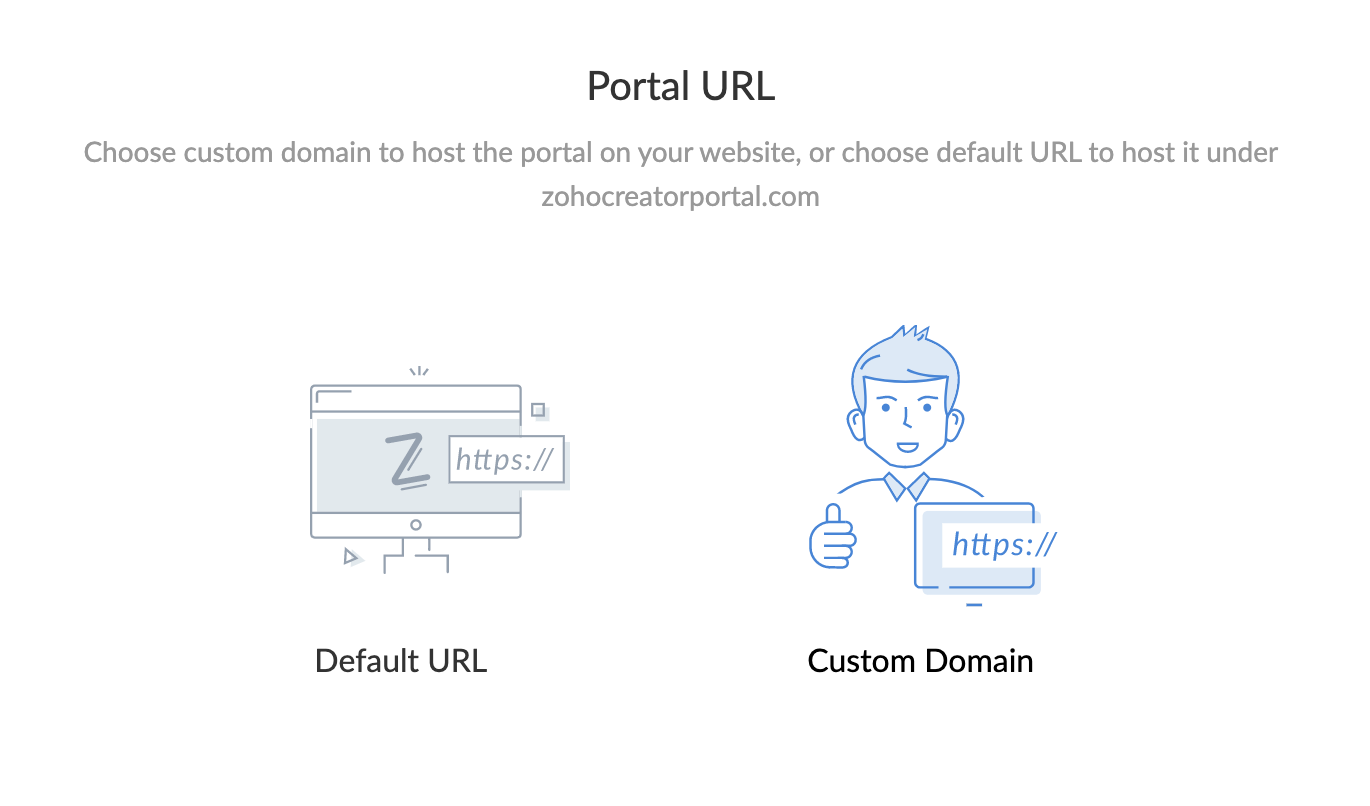
The Portal URL page will appear. In this page you can choose to host the customer portal on Zoho's default domain or on a custom domain.
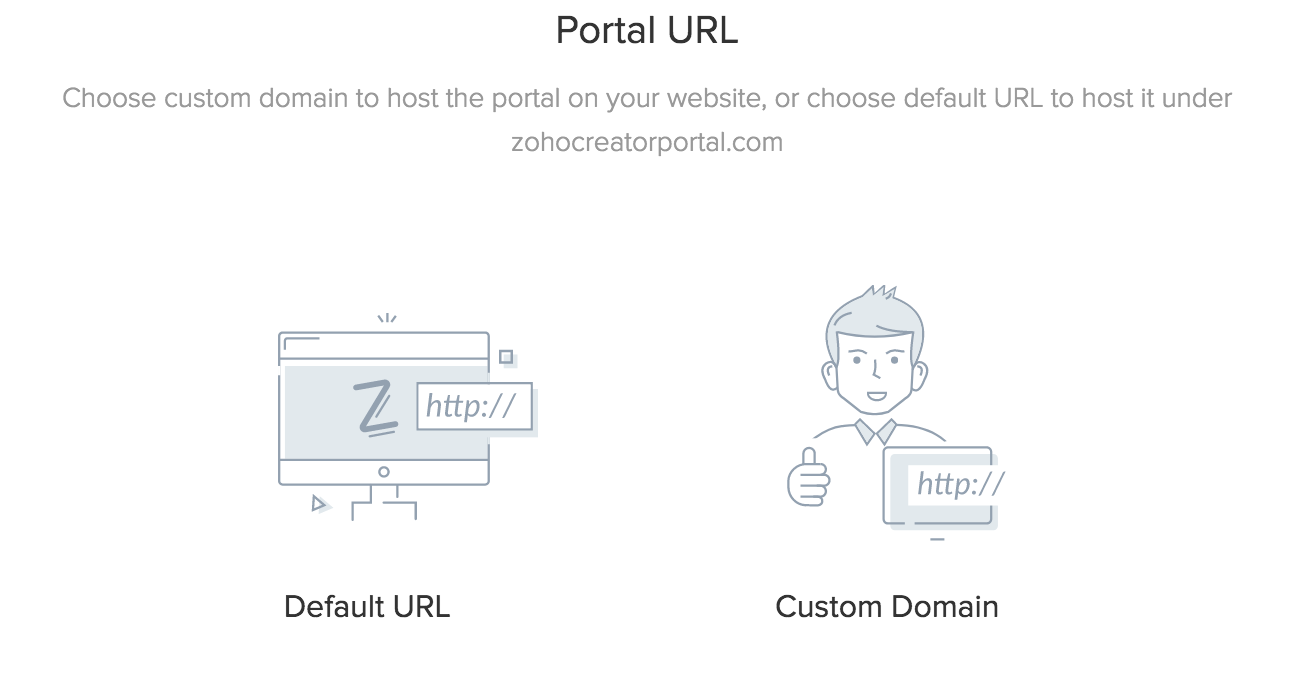
- To host the customer portal on default domain:
Select the Default URL option in the portal URL page.
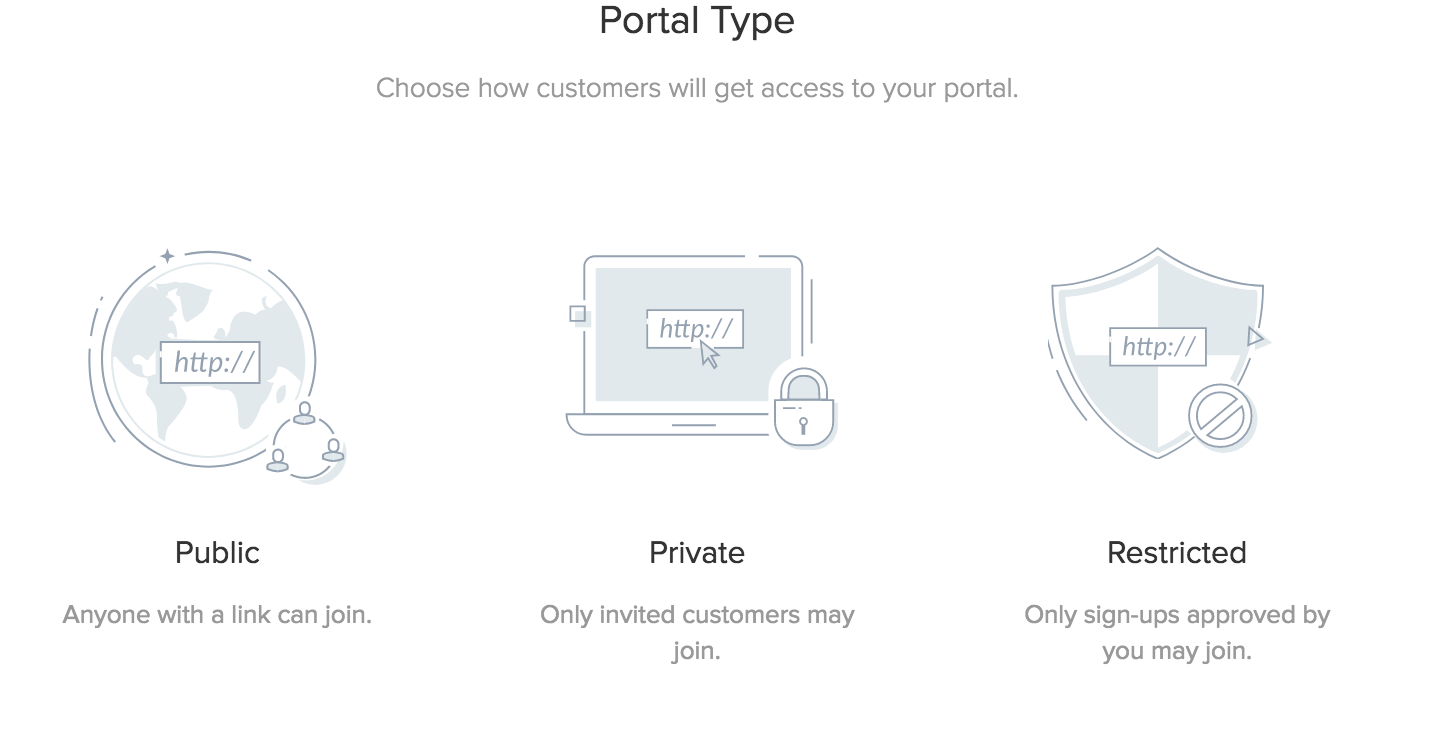
The Portal Type page will appear. In this page, the access type for the customer portal can be selected from the three options available: Public, Private, and Restricted. Learn more
The Portal Permission page will appear. In this page, permission for the user can be selected from the two options available: Customer and Custom.
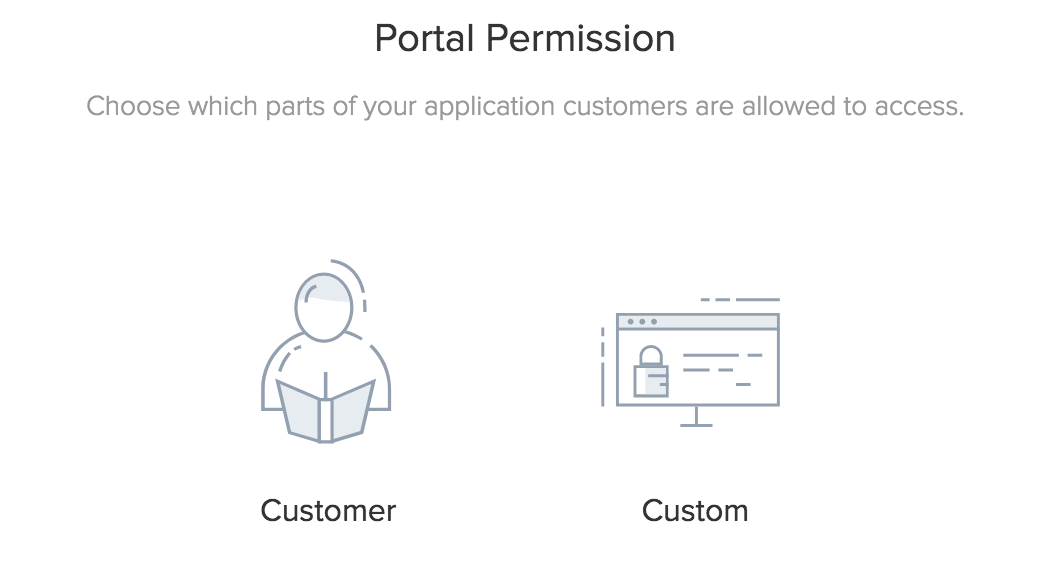
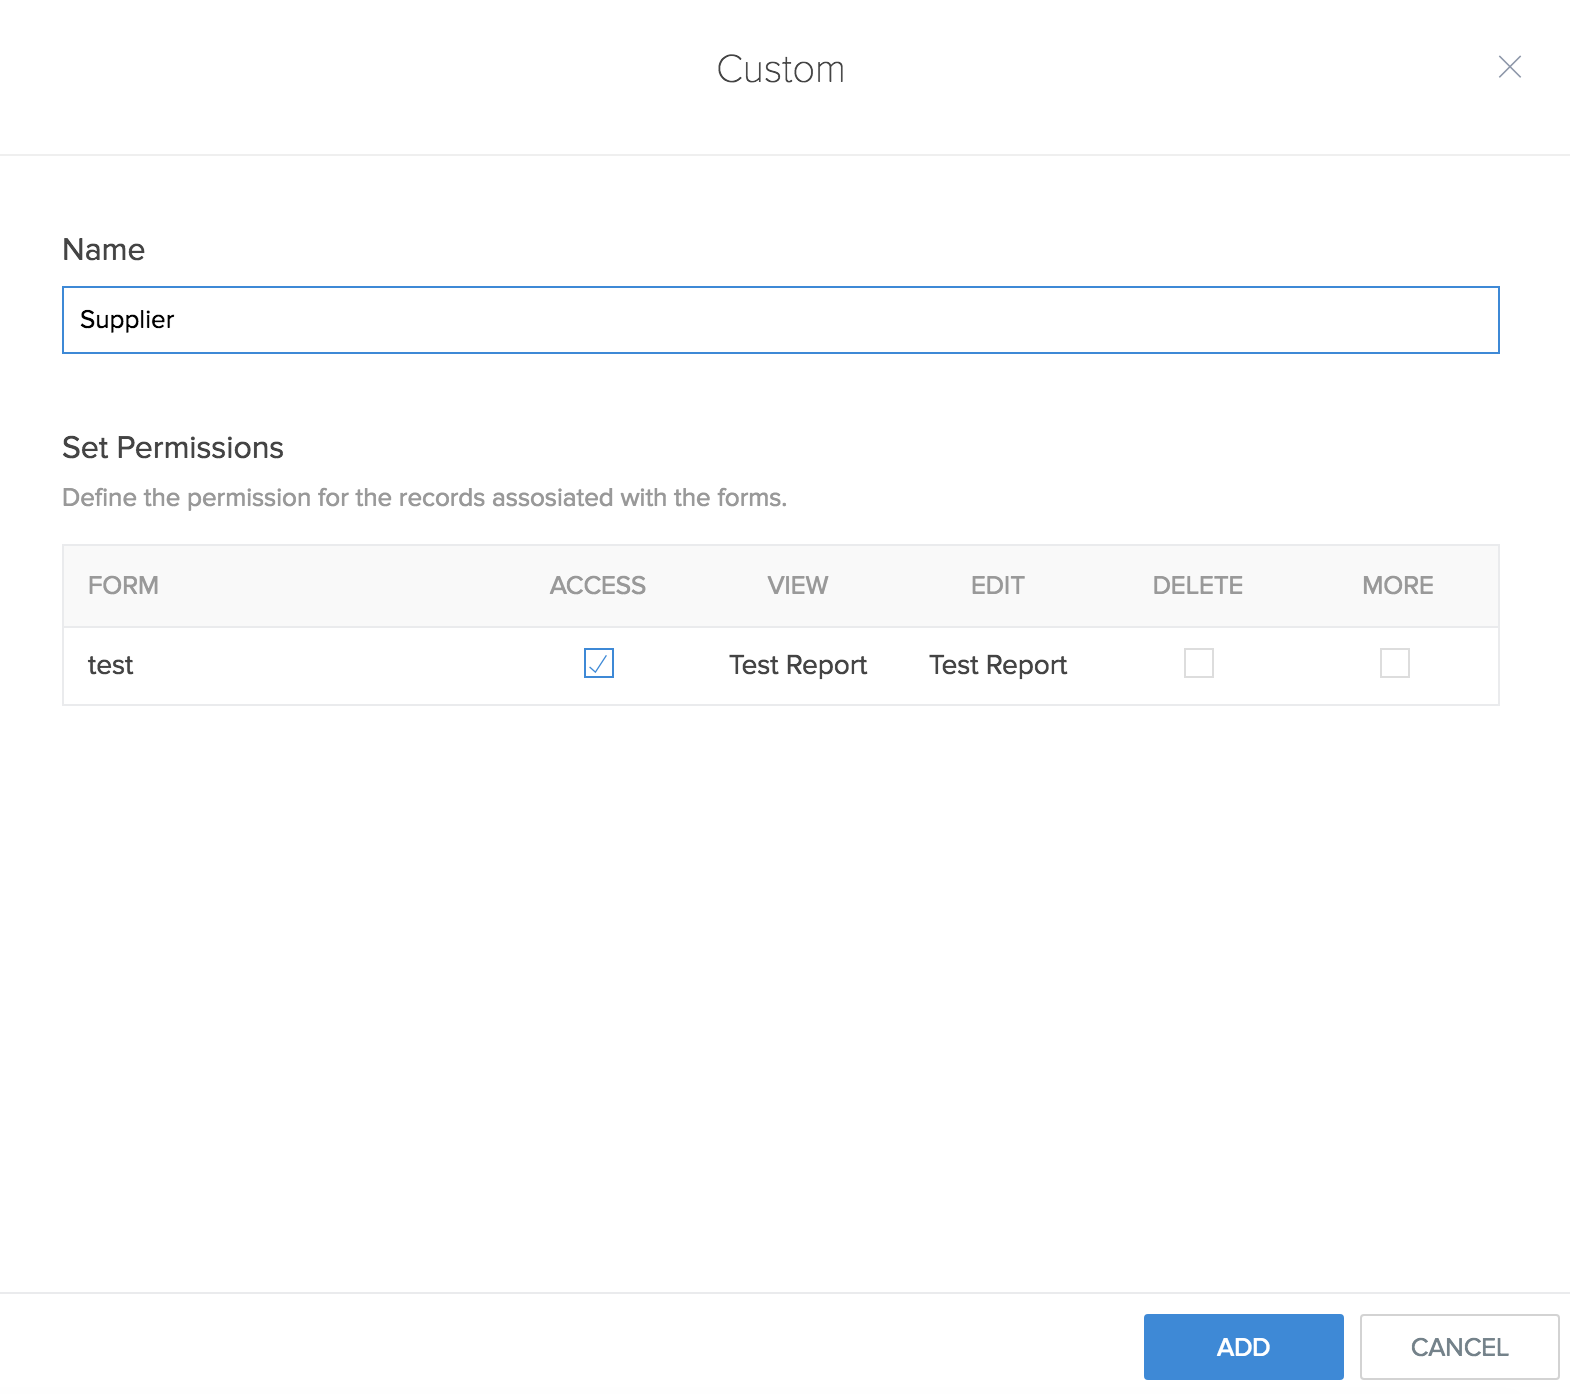
The Custom option helps you create a new customized permission set for the users accessing the customer portal. When the custom option is select, the Custom Permission tab will appear. Configure the name and permissions and click Add. The portal page will be set up (refer step vii).
- The Customer option helps you create a customer portal for your users.
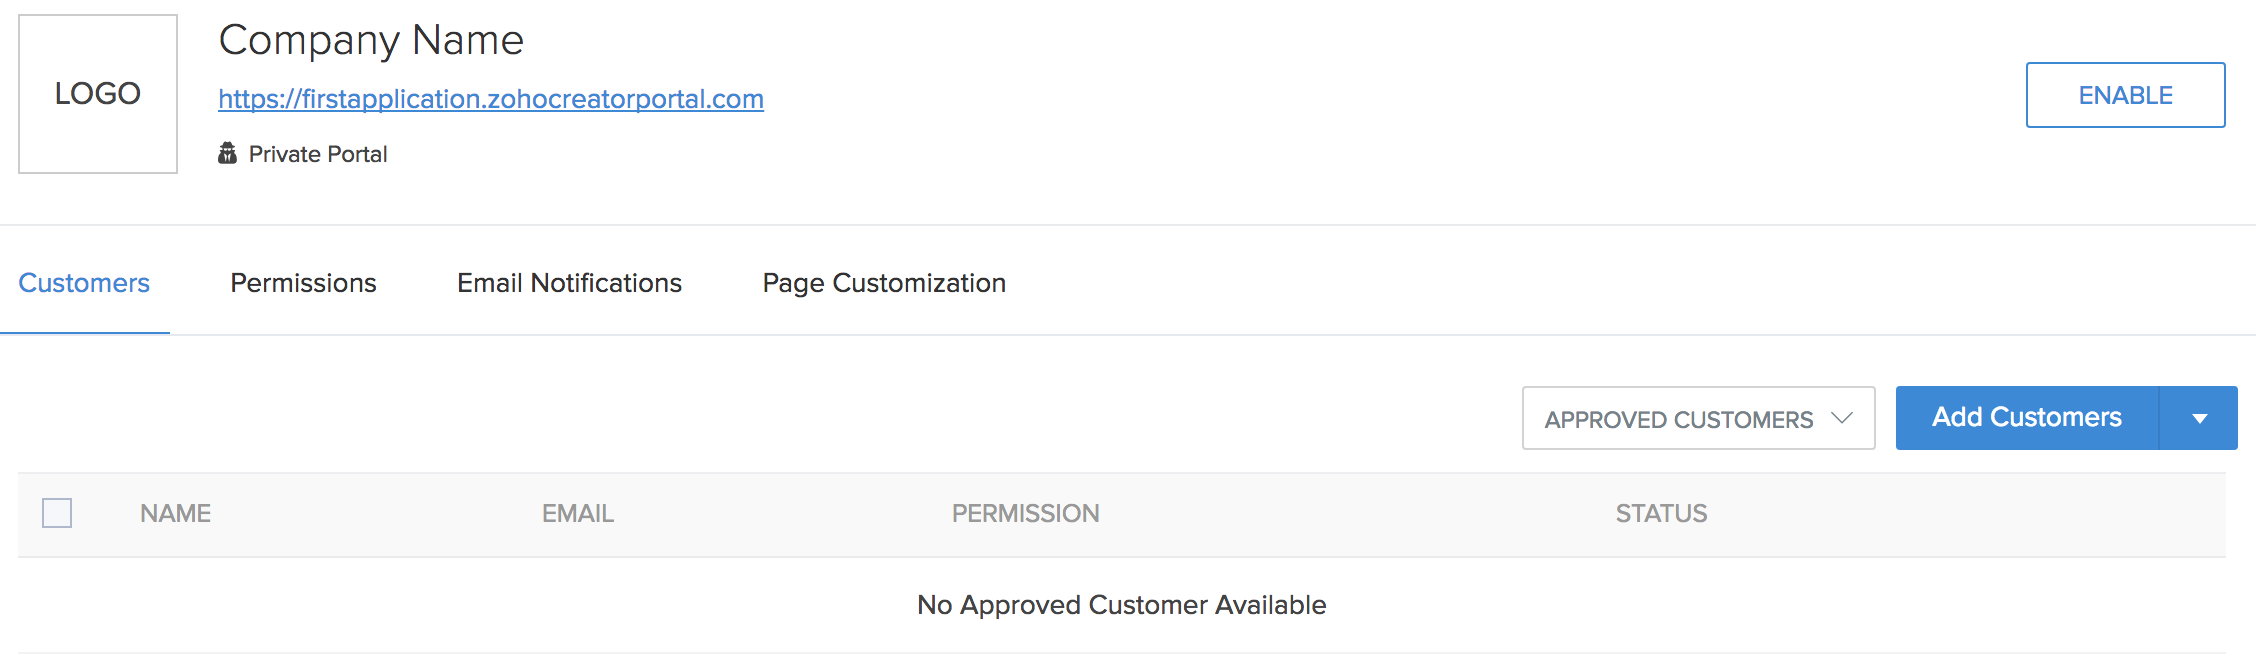
The portal will now be set up and the changes will appear in the Customer Portal page.
To host the customer portal on custom domain:
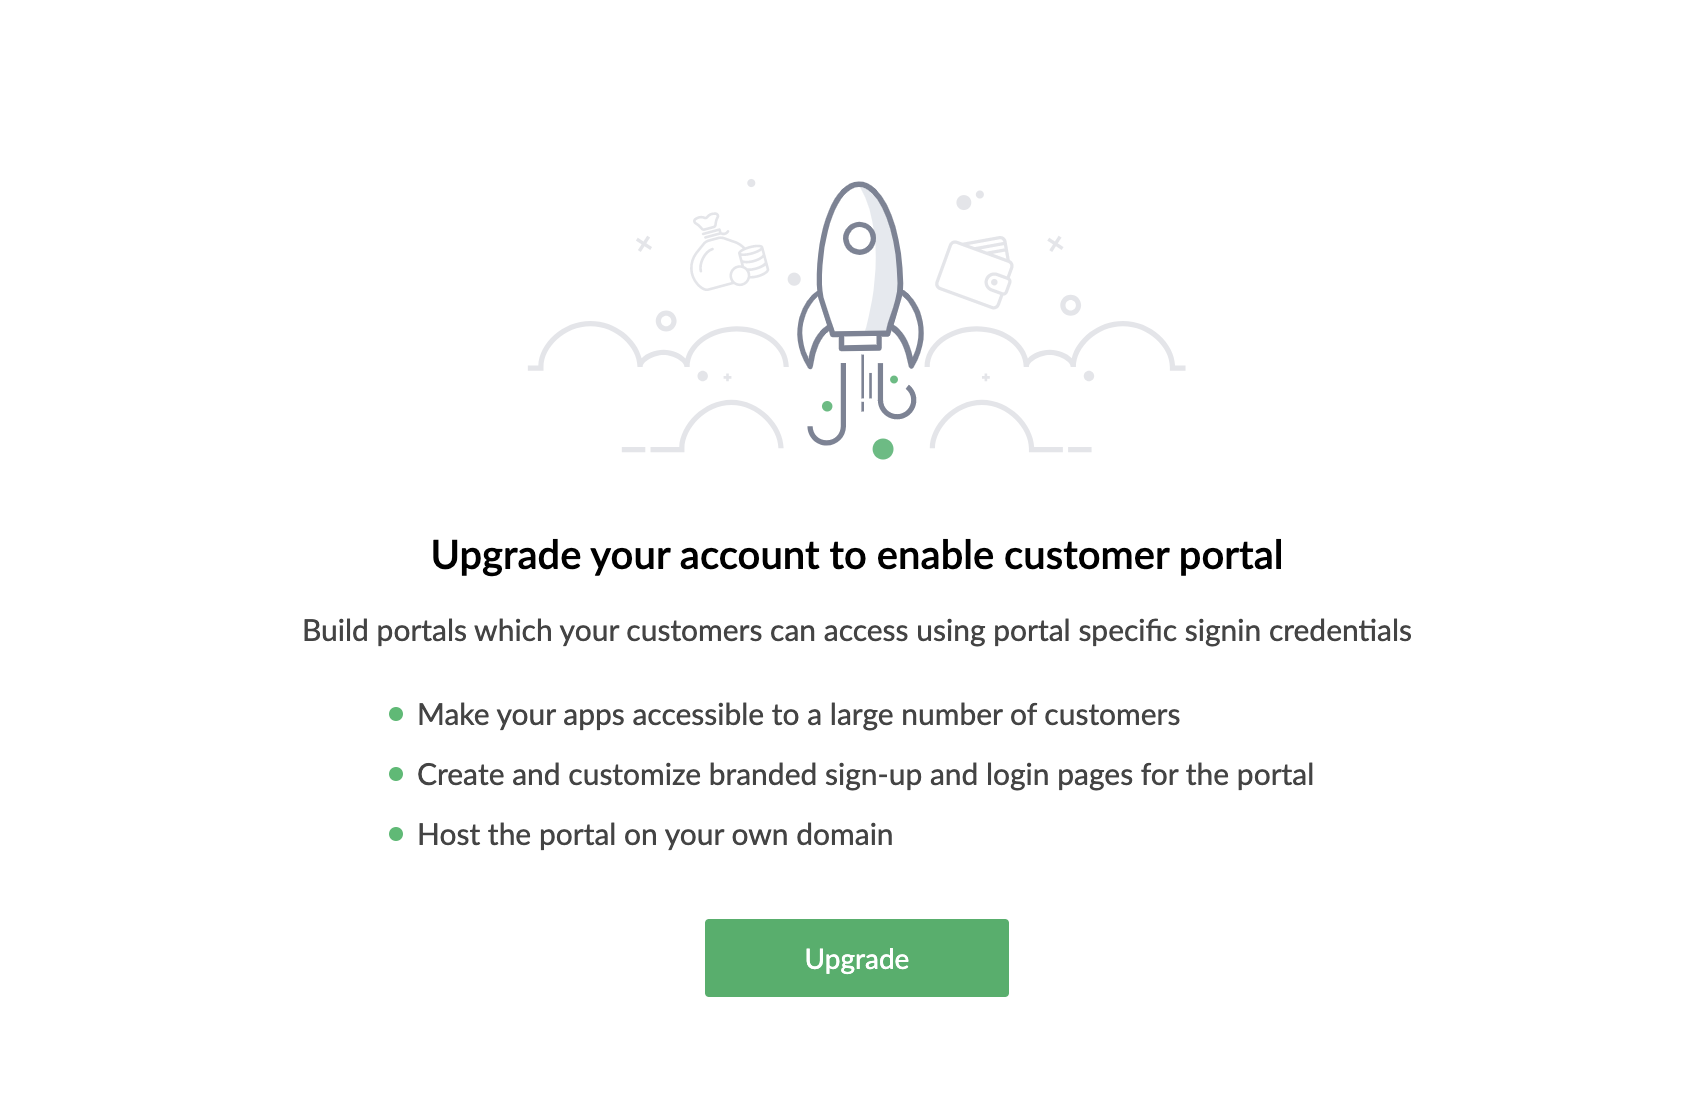
Note: If you are using the trial version of Zoho Creator, you need to upgrade your account to set up the customer portal on the custom domain.
Select the Custom Domain option in the portal URL page.
Enter your domain URL and click Next.

- Refer steps ii to v from how to host customer portal on default domain (point 5).
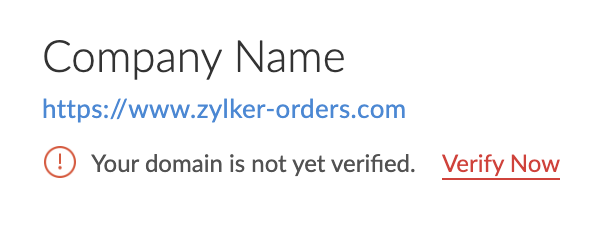
Once your portal page is created, you need to verify your custom domain URL. Domain verification can be done through the following three methods. Click Verify Now below your domain URL. Learn more
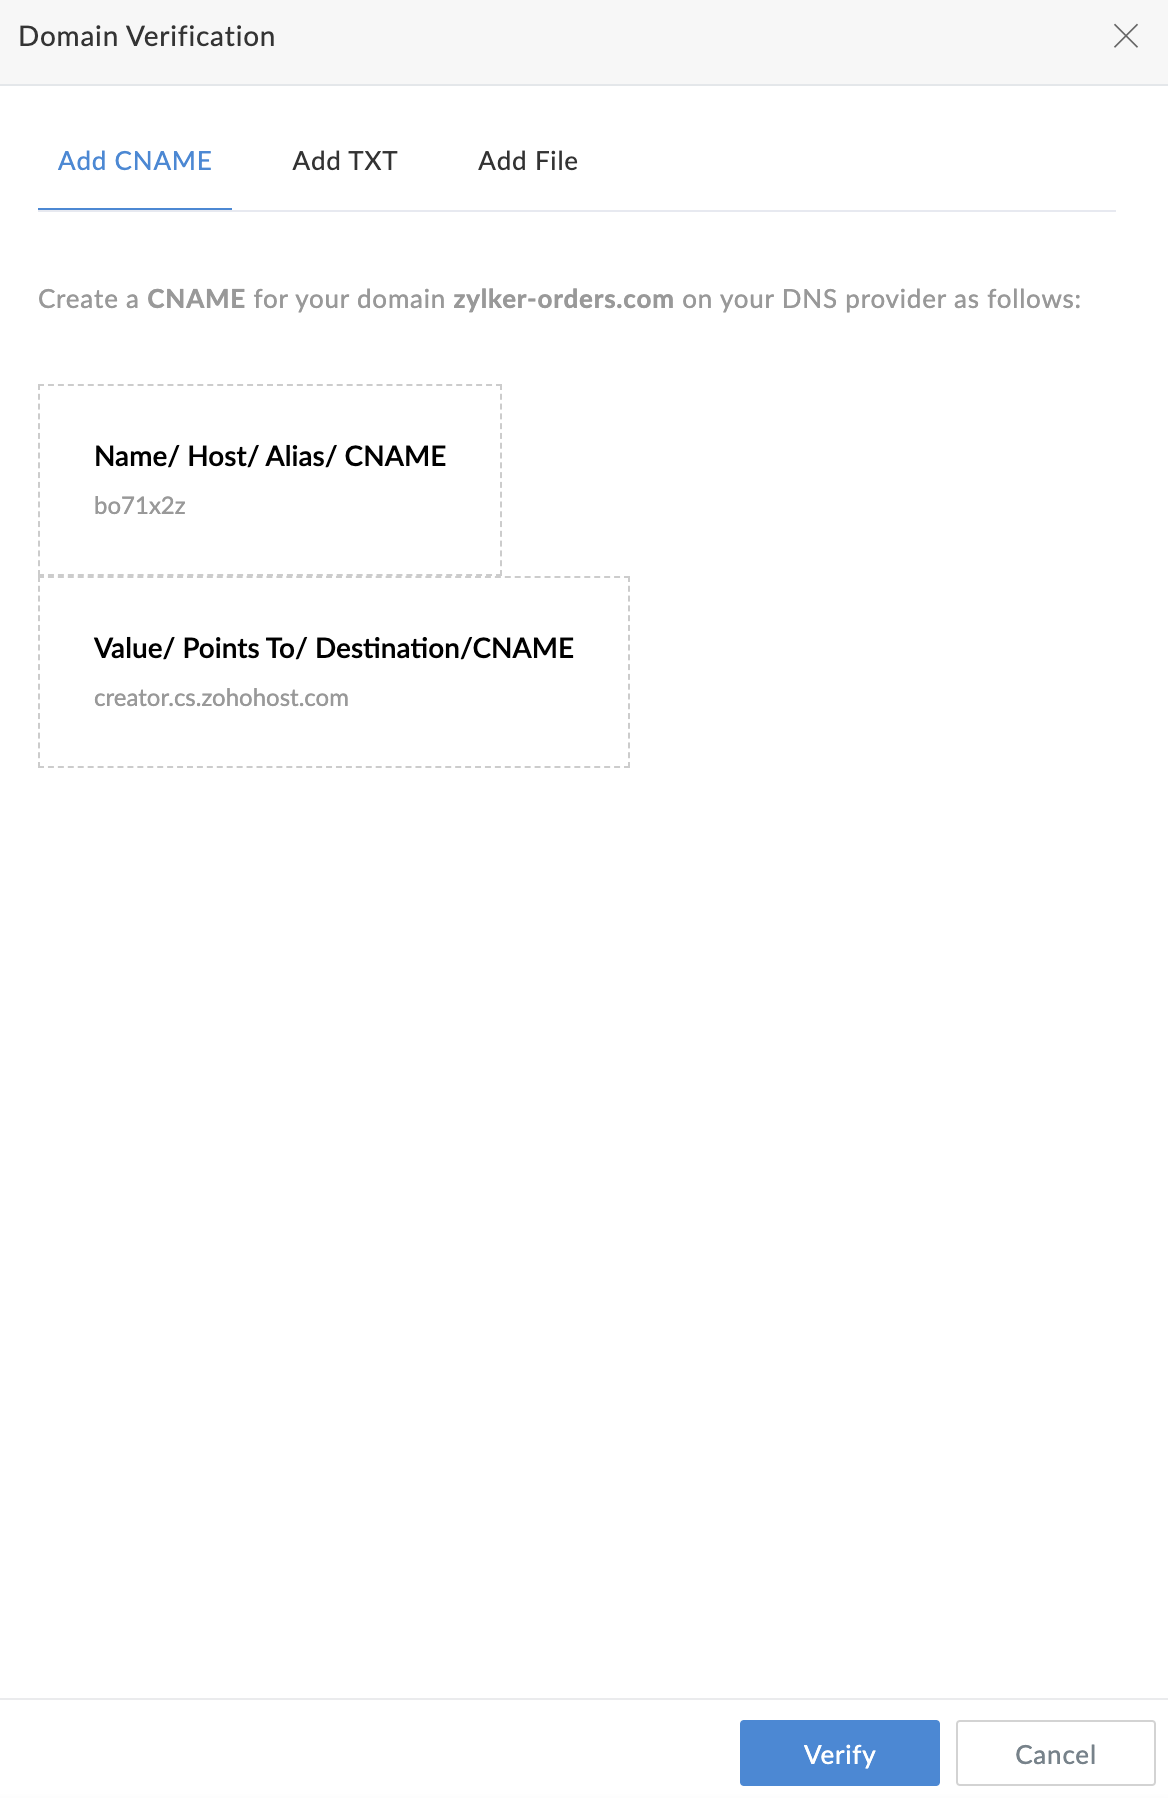
In the Domain Verification tab, create a CNAME for your domain. Learn more
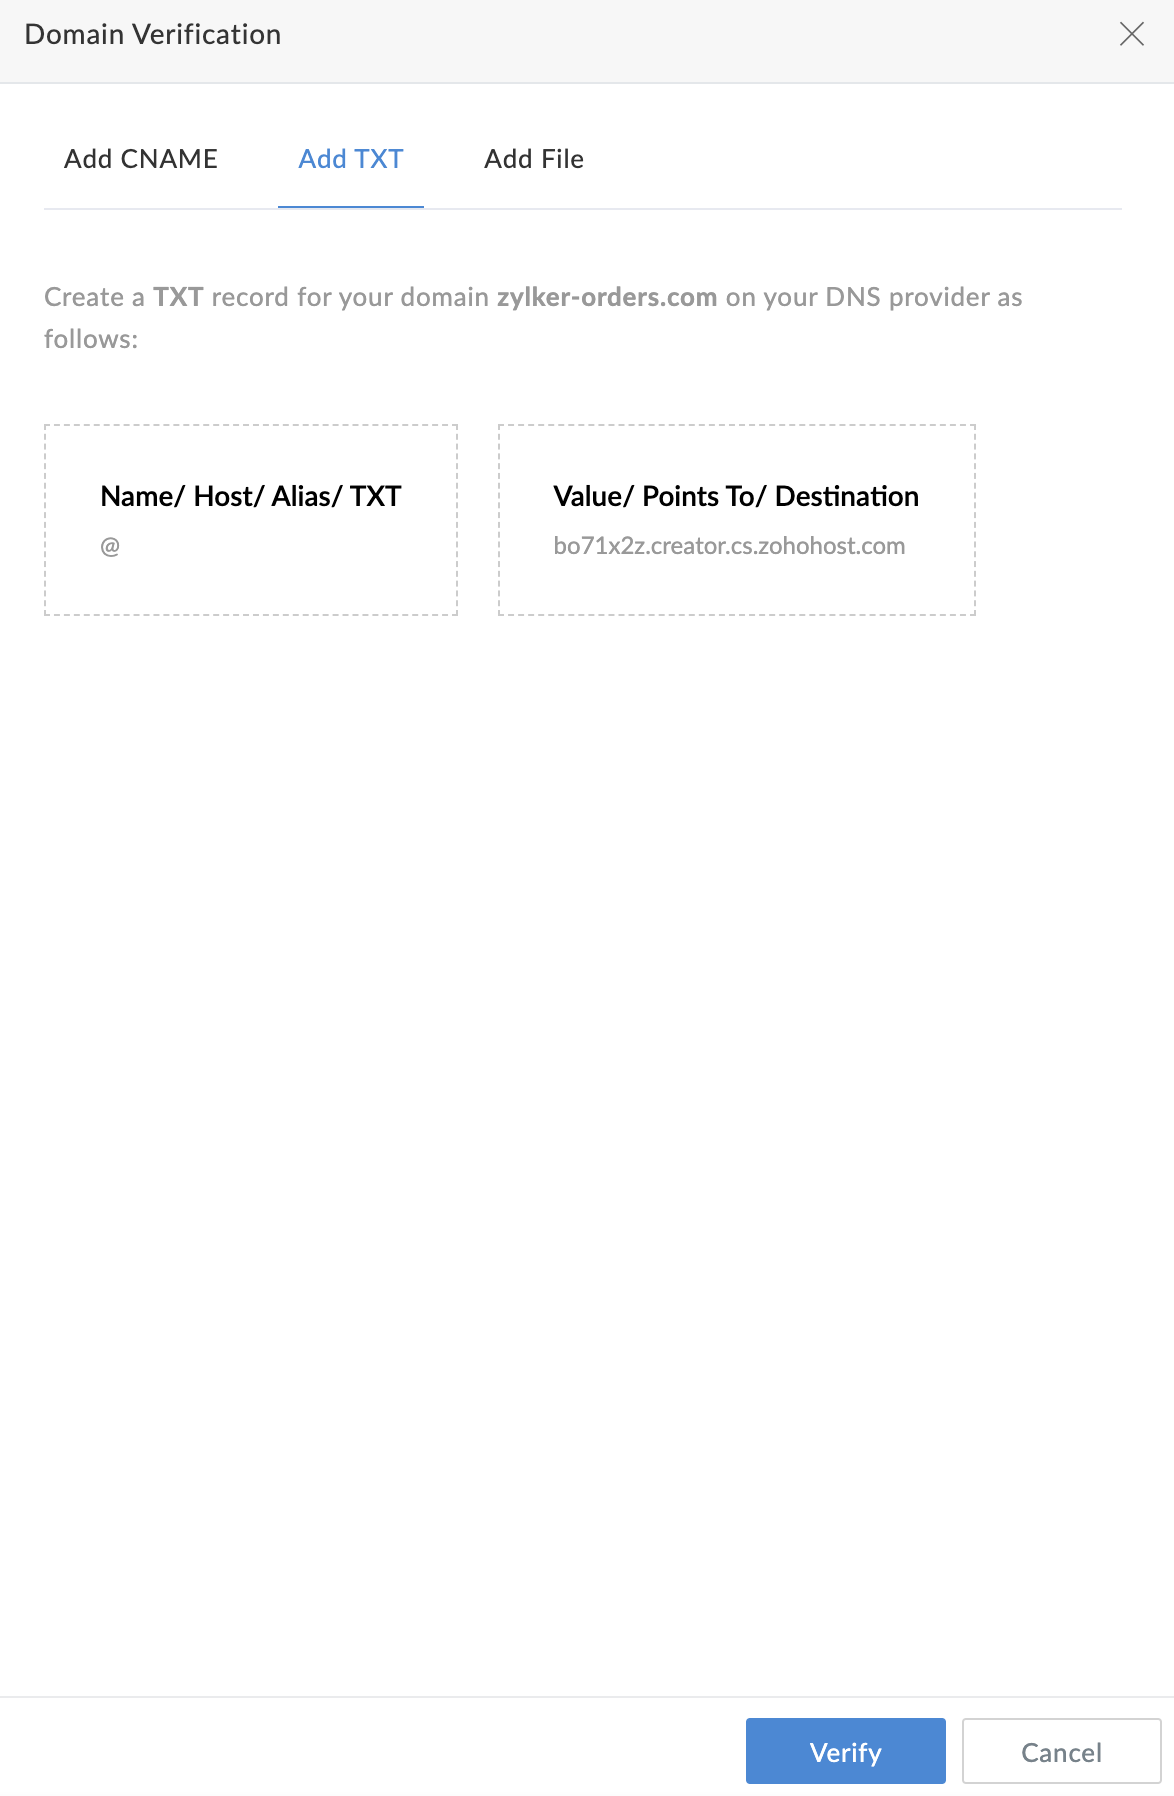
Create a TXT record for your domain. Learn more
If you haven’t created a CNAME for your site and if you have the required permissions, you can upload files to your site. Learn more

- Click Verify. Upon successful verification, the Domain Verification pane will close and you'll see a pop-up with the message Domain verified successfully.


