This help page is for users in Creator 5. If you are in the newer version (Creator 6), click here. Know your Creator version.
Configure push notification for your iOS app
As part of your Creator application’s workflows, you can configure push notifications. For these to work in your iOS app, you need to do the following. The instructions in this page assume that you have installed Creator's core framework or UI framework for the required type of mobile app (user or customer) - links are given in this section.
- Edit your Creator application.
- Navigate to your application's Settings by clicking the Settings at the top.
- Click Mobile SDK under Developer Tools.
- Click the For iOS button under the required section - For Users or For Customers. The For iOS pane will slide in from the right.
- Click the Configure button next to Push Notification. The Configure Push Notification for iOS app pop-up will appear.
- Upload your iOS app’s APNS p12 file by following the steps here.
- Enter your iOS app’s APNS p12 password.
- Enter your iOS app’s Bundle identified. For example: com.zylker.myapp
- Click Configure.
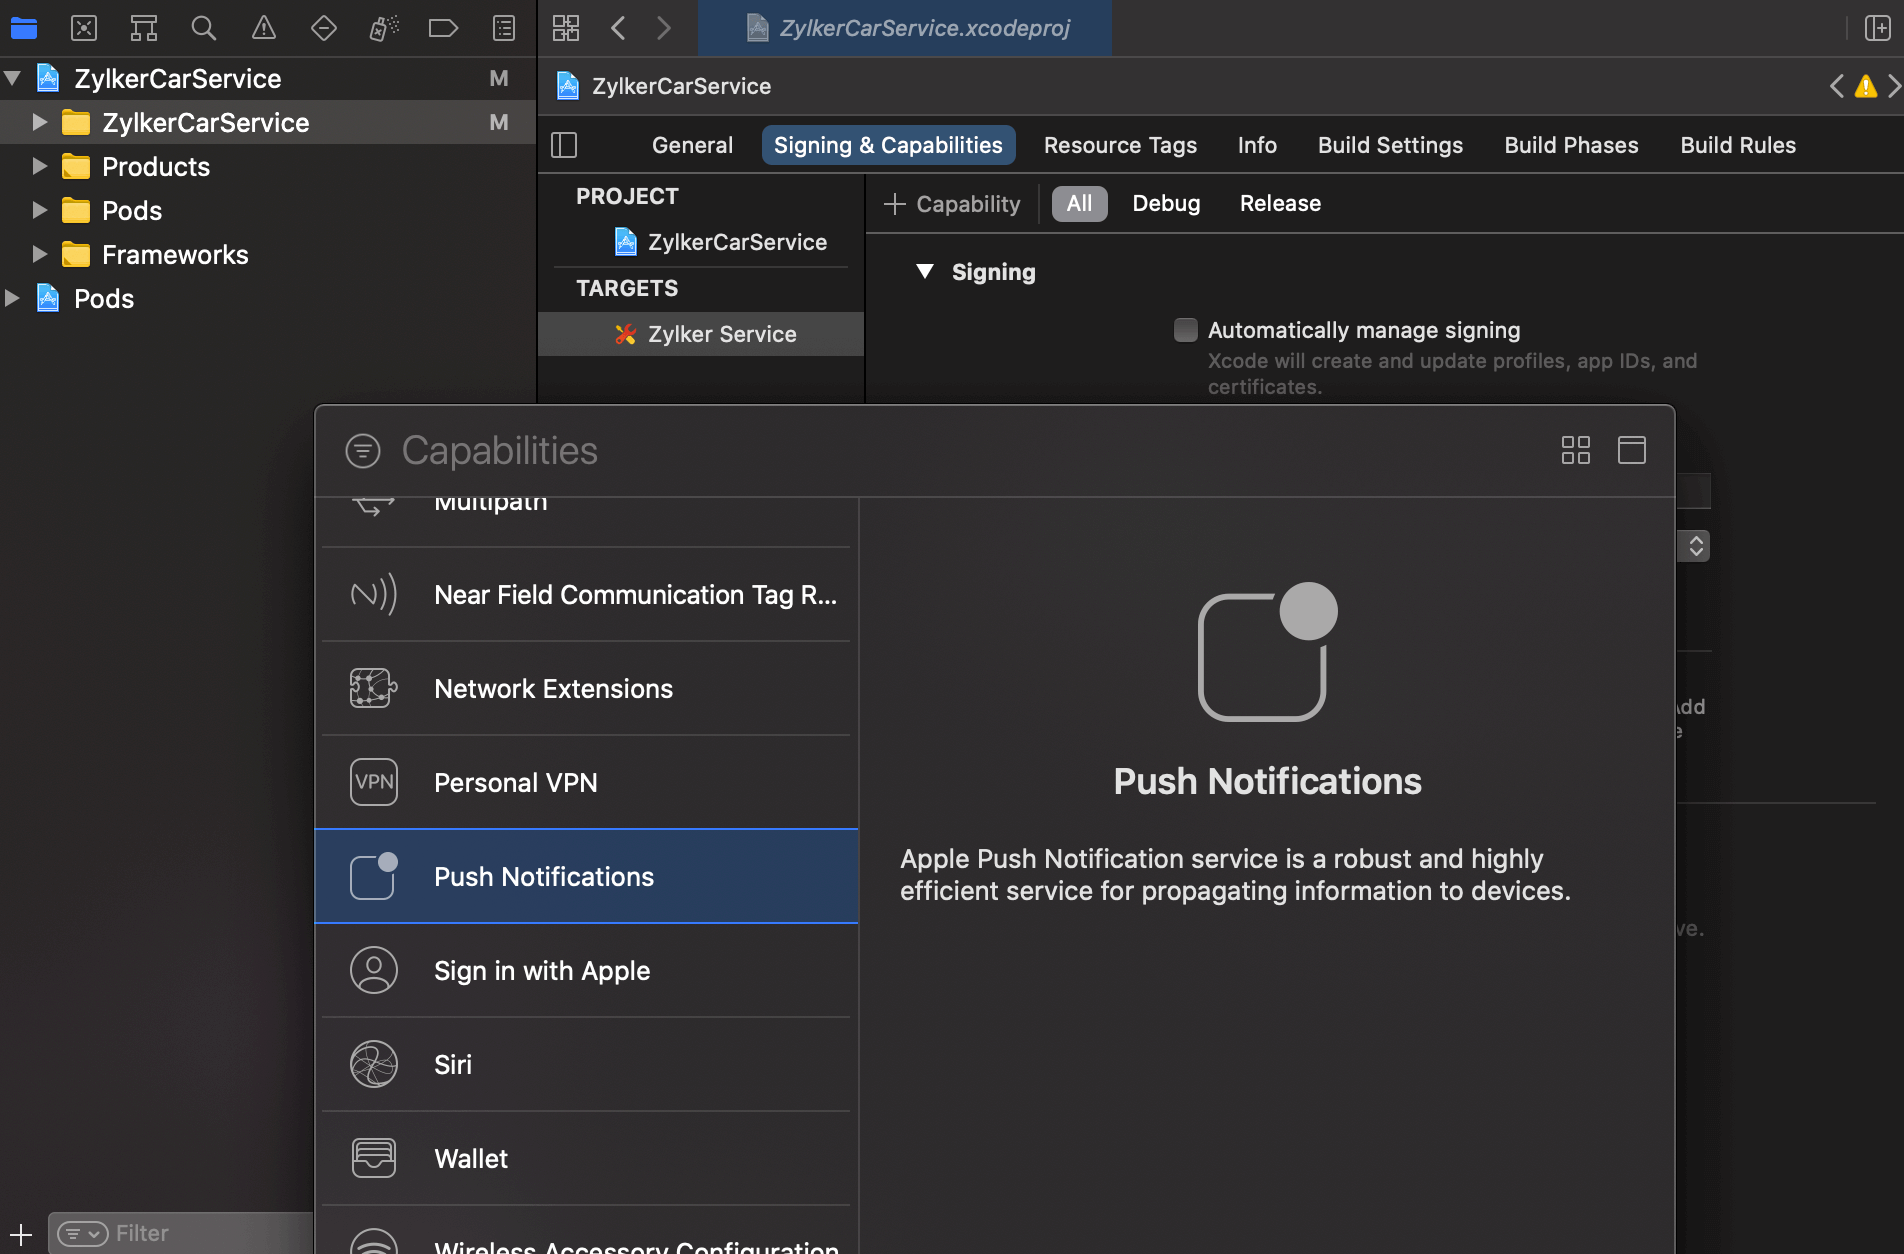
- In the XCode project, navigate to Project settings and choose your target.
- Select the Signing & Capabilities tab.
- Click +Capability tab.
- Select Push Notifications in the Capabilities pop-up window.
- Register your iOS app for remote notifications by calling registerForRemoteNotifications:
Creator.configure(uiDelegate: self) UNUserNotificationCenter.current().delegate = self let authOptions: UNAuthorizationOptions = [.alert, .badge, .sound] UNUserNotificationCenter.current().requestAuthorization(options: authOptions,completionHandler: {_, _in}) UIApplication.shared.registerForRemoteNotifications() - Register the device token with Zoho Creator's APNs server:Note: Upon registering for remote notification, the didRegisterForRemoteNotificationsWithDeviceToken method in AppDelegate provides the device token.
func application(_ application: UIApplication, didRegisterForRemoteNotificationsWithDeviceToken deviceToken: Data) { ZCNotificationService.registerAPNS(deviceToken: deviceToken) } - Enable the iOS device to receive notification by implementing the delegate method userNotificationCenter:center:willPresent:withCompletionhandler: and pass the options to the completion handler:
func userNotificationCenter(_ center: UNUserNotificationCenter, willPresent notification: UNNotification, withCompletionHandler completionHandler: @escaping (UNNotificationPresentationOptions) -> Void) { if let userInfo = notification.request.content.userInfo as? [String: Any] { print("is Creator Server : \(ZCNotificationService.isCreatorServerNotification(notificationInfo: userInfo))") // Change this to your preferred presentation option } completionHandler([[.badge, .alert, .sound]]) } func userNotificationCenter(_ center: UNUserNotificationCenter, didReceive response: UNNotificationResponse, withCompletionHandler completionHandler: @escaping () -> Void) { if let notificationInfo = response.notification.request.content.userInfo as? [String: Any] { if (ZCNotificationService.isCreatorServerNotification(notificationInfo: userInfo)) == true { if let zcnotification = ZCNotificationService.zcNotification(notificationInfo) { // We are showing the record summay as an example. let summaryVC = ZCUIService.getRecordSummaryViewController(for: zcnotification) window?.rootViewController?.present(UINavigationController.init(rootViewController: summaryVC), animated: true, completion: nil) } } else { // Not from Zoho Creator server } completionHandler() } } - Unregister device from Zoho Creator's APNs server:Note: Unregistering a device requires authentication, so you must do it before the device logs out.
ZCNotificationService.unRegisterAPNS { } - Refer to the sample code snippets in this page.

To remove the push notification configuration
Note: Removing this configuration will cause your iOS app’s users to stop receiving push notifications that are triggered by the workflows in your Creator application.
- Click the trash icon next to Push Notification, as shown below.
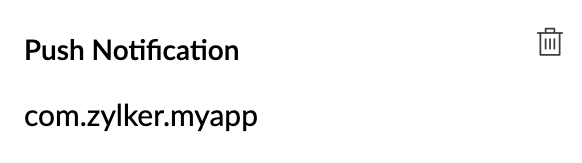
- Click Remove to proceed.

Create an APNs p12 file
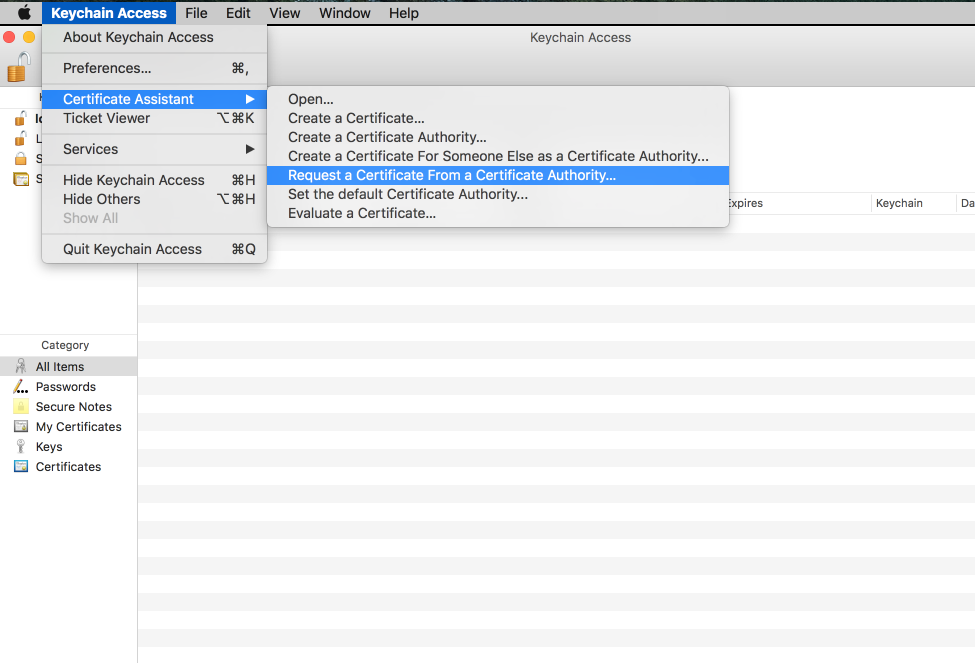
- Go to Keychain Access in your Mac.
- Click Keychain Access in the top menu bar.
- Select Certificate Assistant, then select Request a Certificate from a Certificate Authority:
- Enter your email address in the User Email Address field.
- Create a name for your private key in the Common Name field.
Note: Leave the CA Email Address field empty.
- Select the Saved to disk option in the Request is group.
- Click Continue to complete the CSR generating process. The (.certSigningRequest) file will be saved on the desktop by default.
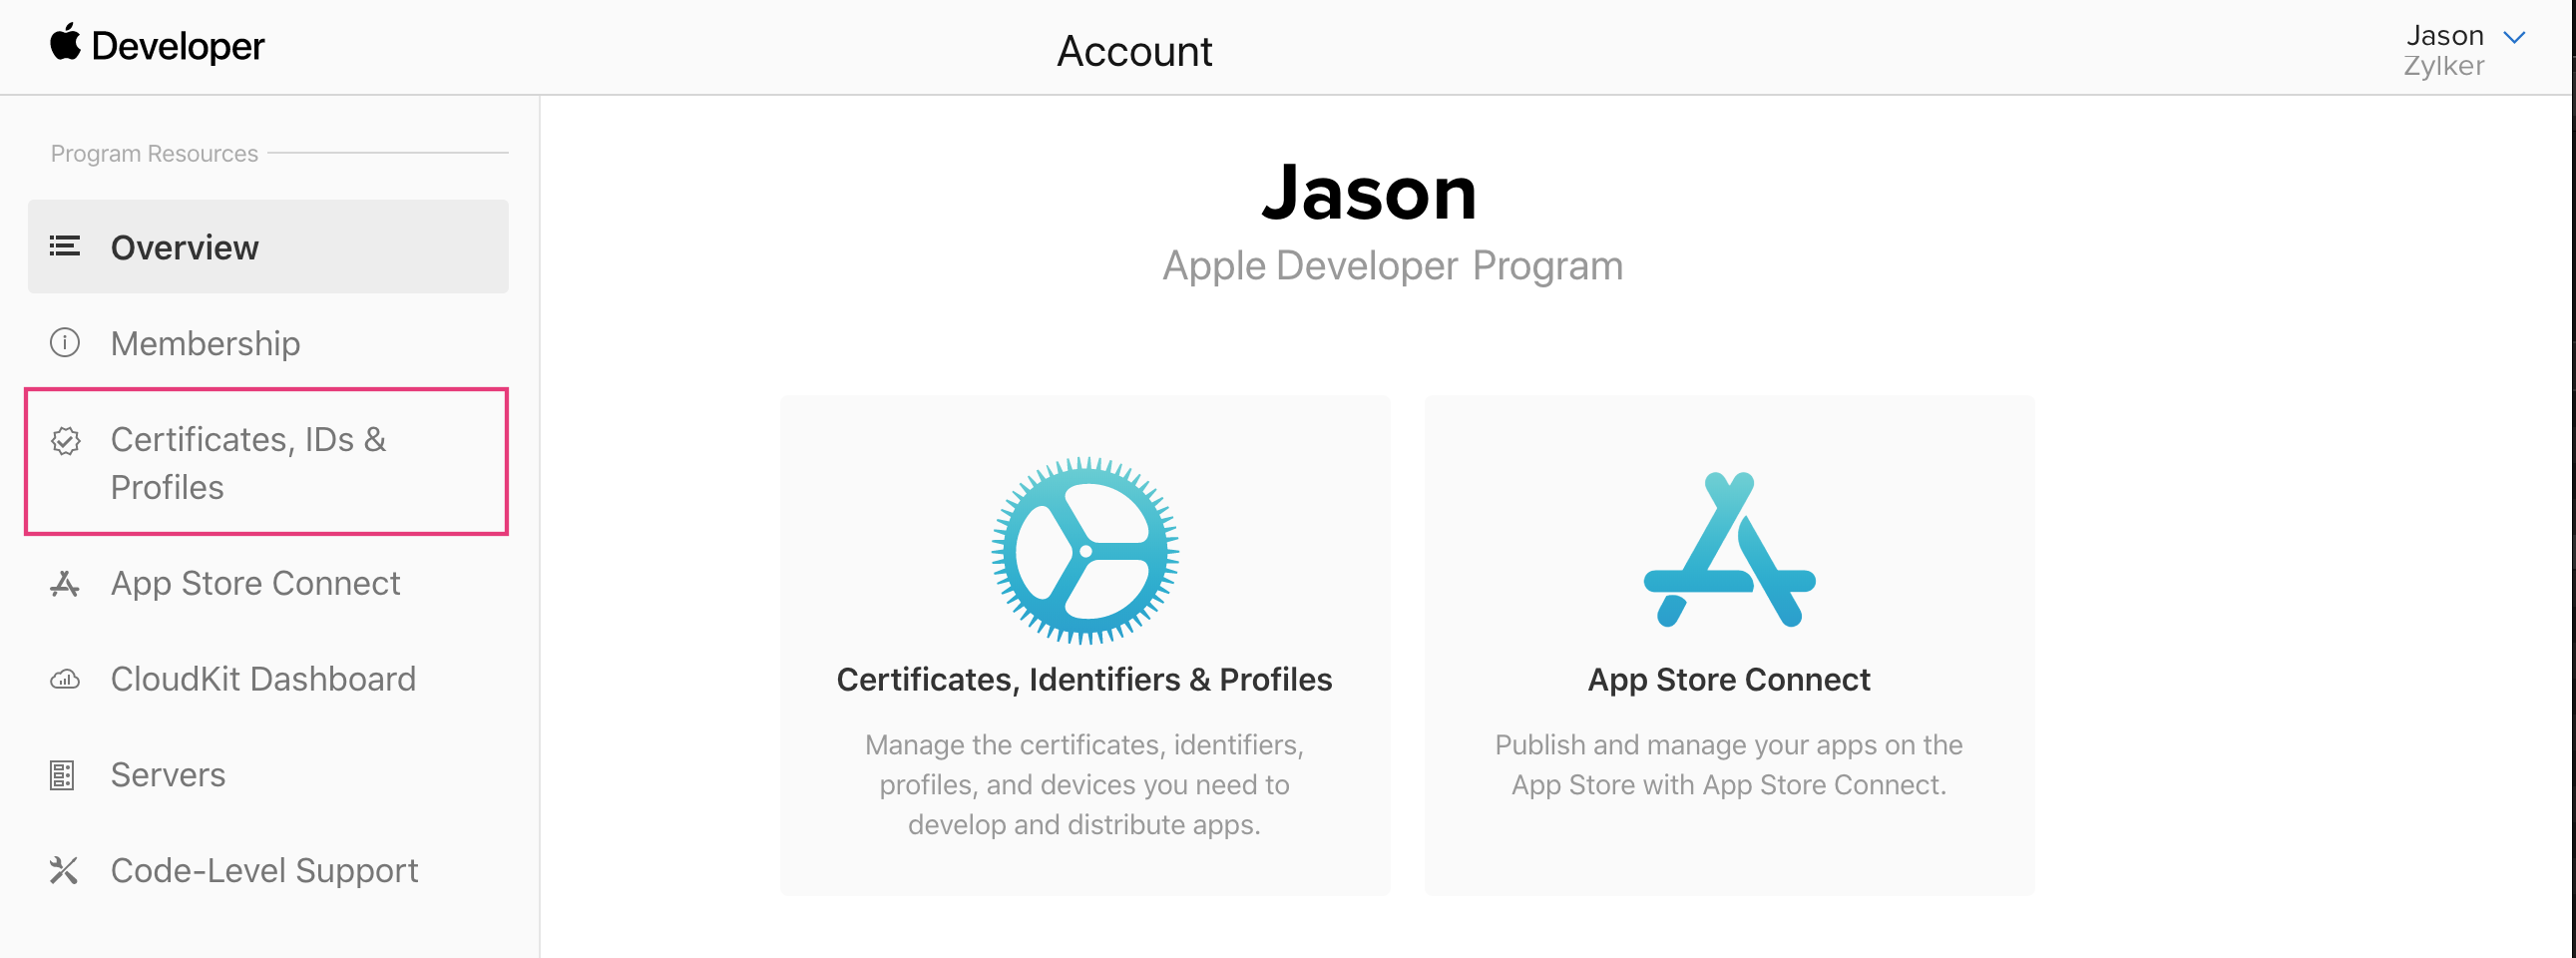
- Go to your Apple Developer's Account page.
- Navigate to the Certificates, IDs & Profiles page:
- Go to the Identifiers page.
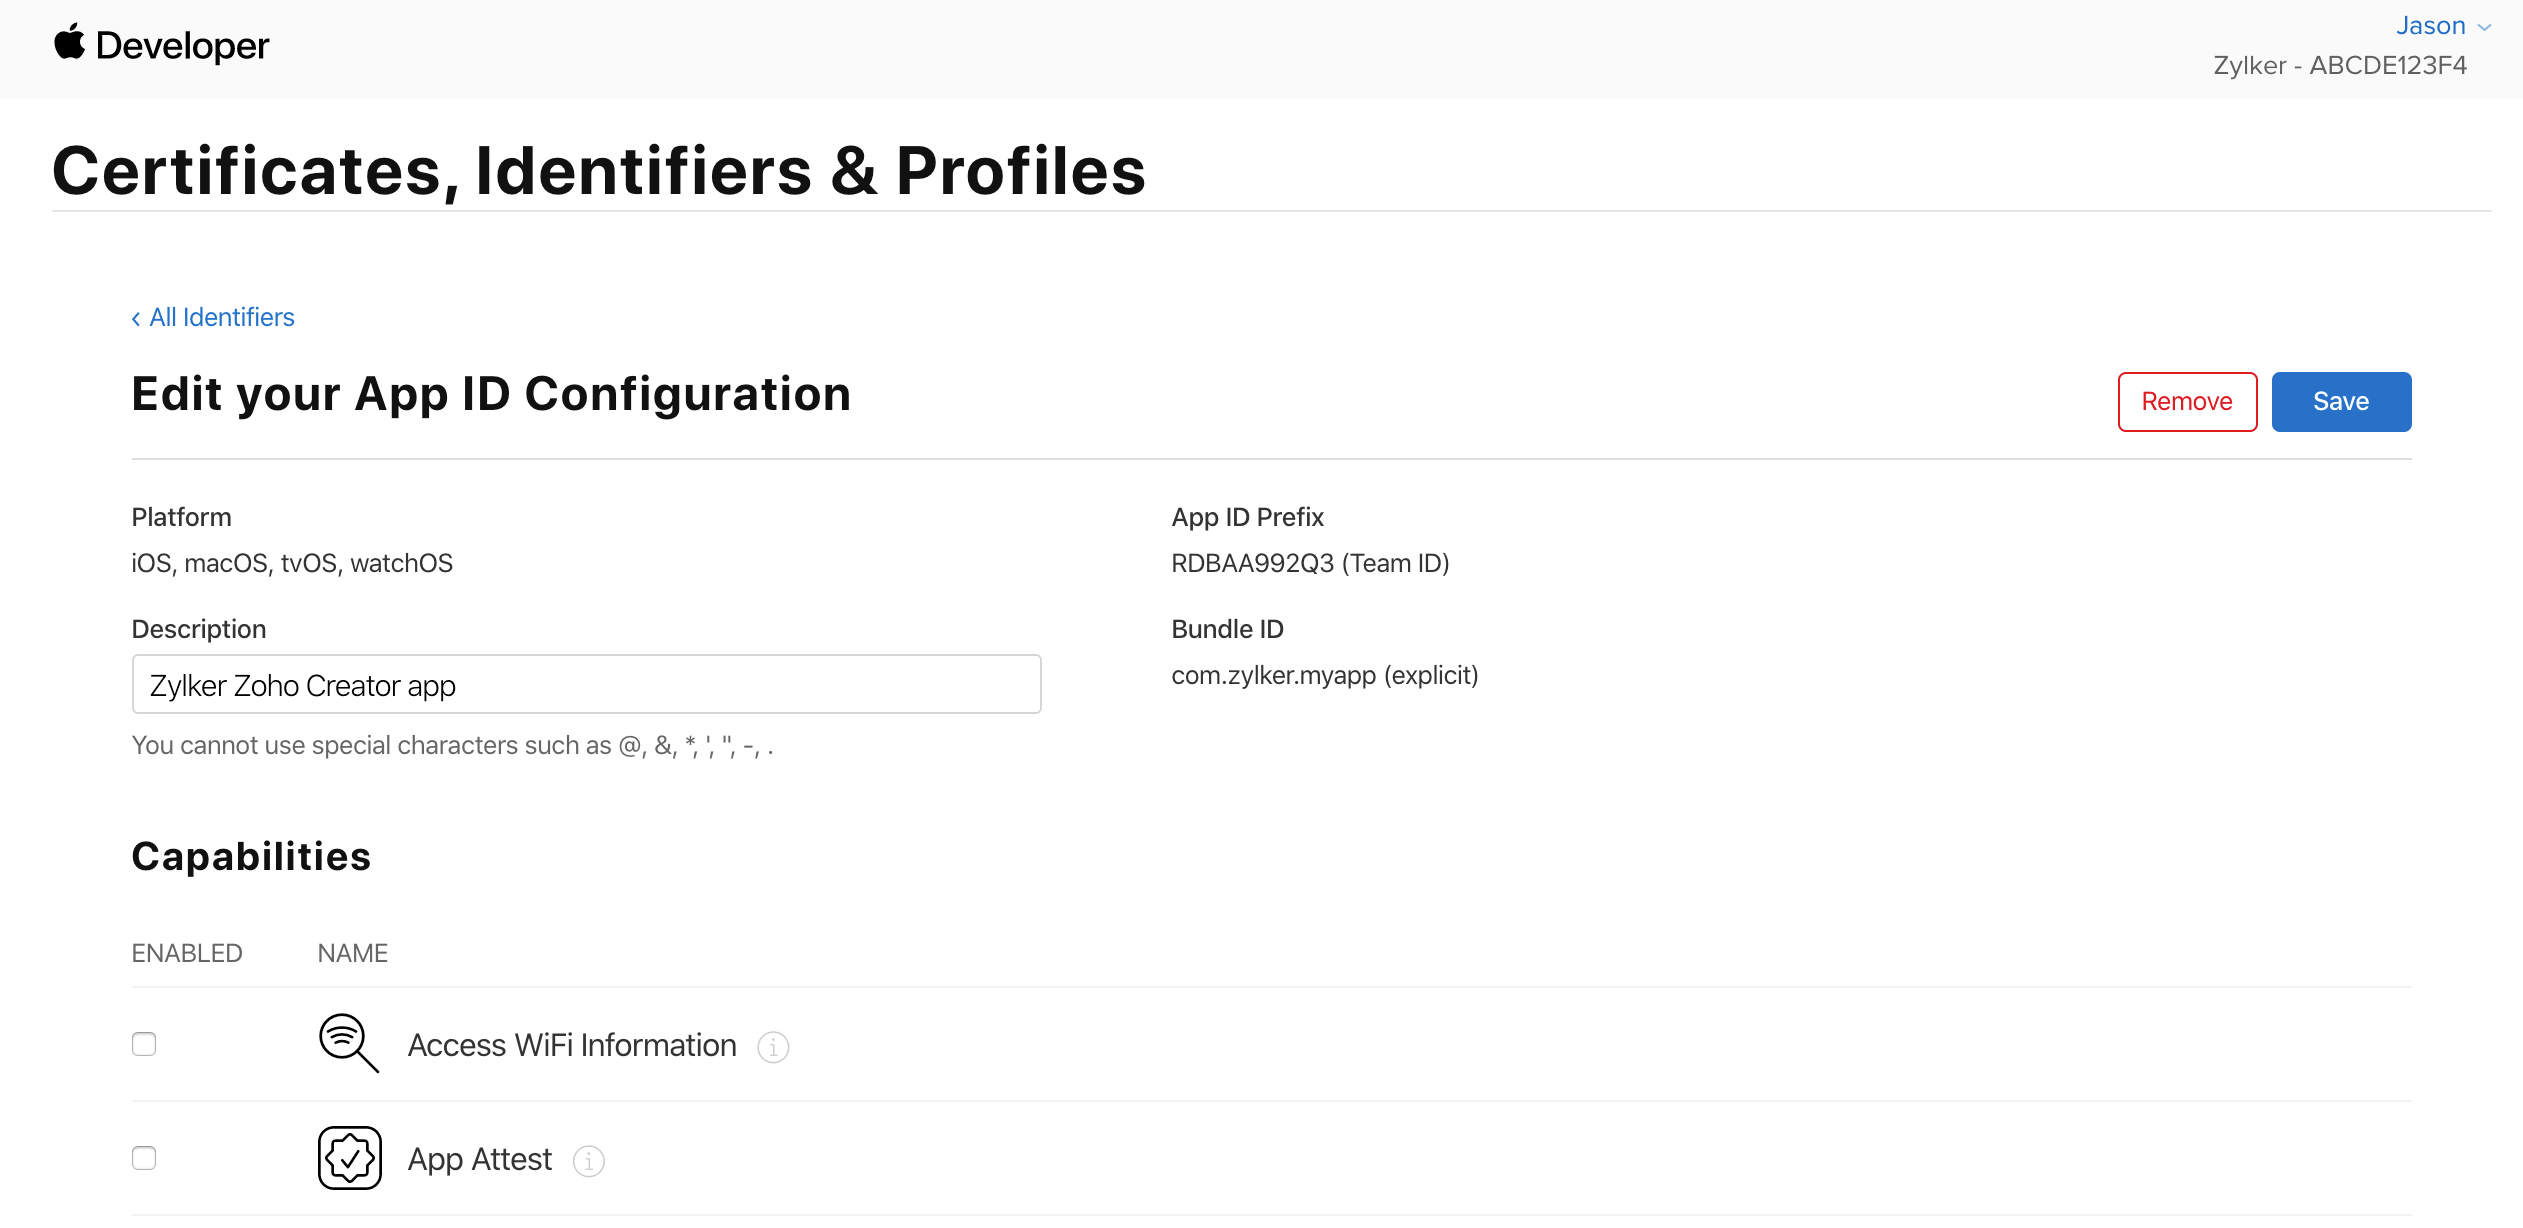
- Select the App ID that you have created. You'll then get to edit your app ID configuration.
- Check the Push Notifications checkbox under the Capabilities section, then click Save:
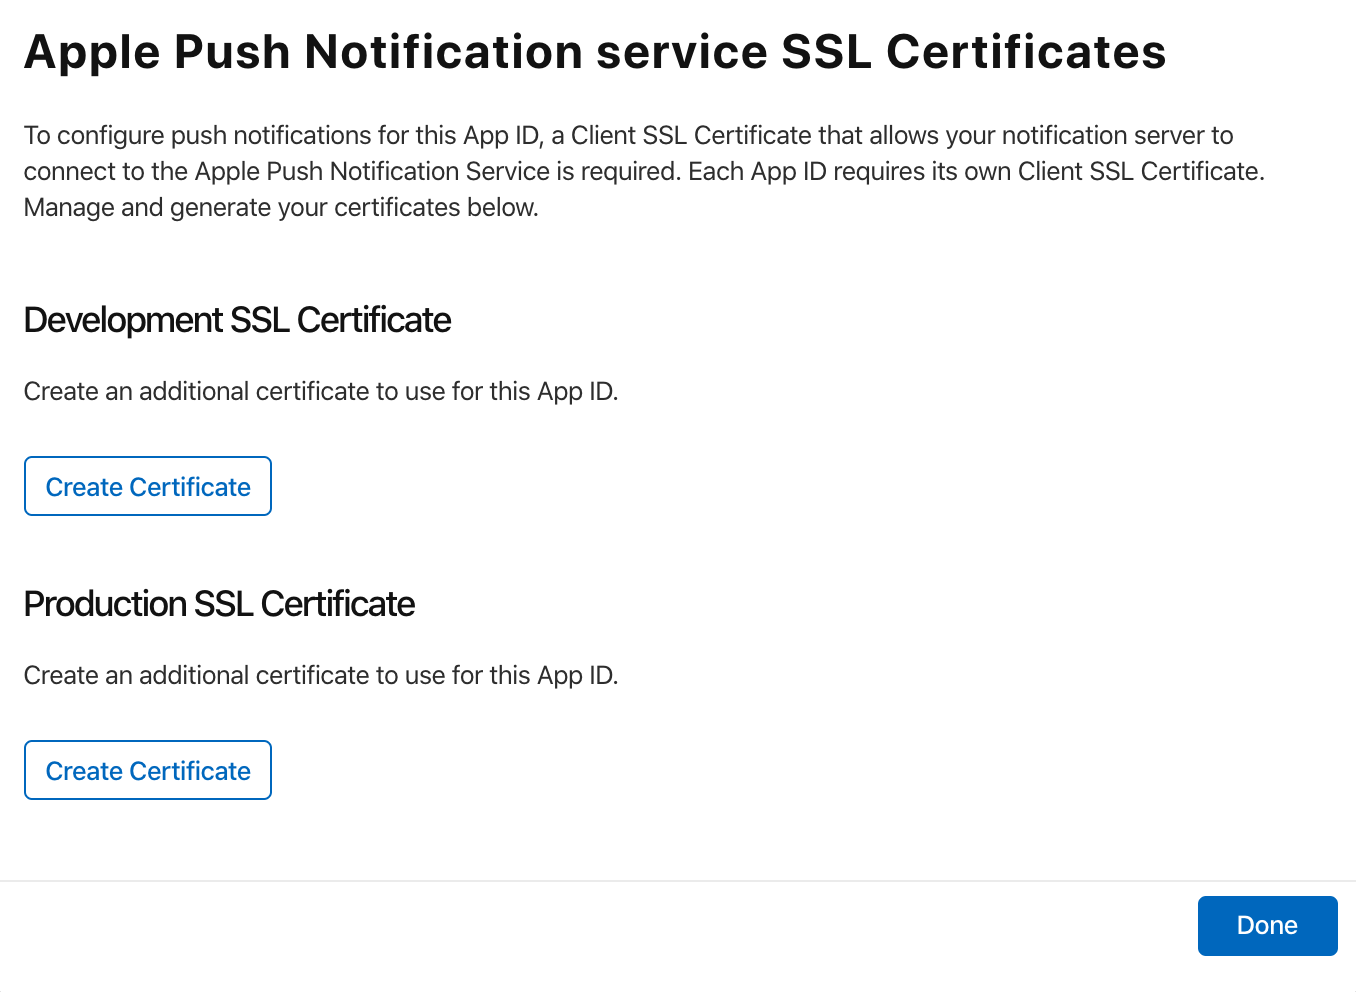
- Click Create Certificate under the Production SSL Certificate section, then click Done:
- Click Continue.
- Upload the .certSigningRequest that you downloaded in step 7 of this section, then click Continue.
- Download the certificate and open it.
- Go to Keychain Access in your Mac.
- Select My certificates under Category in the bottom-left pane. The certificate you downloaded along with a private key will be available in the right pane.
- Control-click and select Export.
- Create a password for the file and remember the same for future use.
- Download the p12 file. This will be your iOS app's APNs p12 file.


