Install Catalyst CLI
Introduction
Catalyst CLI contains a set of tools that enable you to initialize projects, and develop, test, and deploy the components of your applications and microservices from your local machine. You can learn about the CLI commands available and access detailed help with the CLI from the CLI Documentation.
Supported OS:
- Windows
- macOS
- Linux
You can install Catalyst CLI in any of the supported operating systems in the same way as discussed in this help page. Catalyst CLI offers the same CLI functionalities across all platforms. Once you have installed Catalyst CLI, you can work with your Catalyst projects and build applications directly from your system's terminal.
Pre-requisities
Before you install Catalyst CLI, you must have the following prerequisites installed in your system.
Node.js and Node Package Manager (NPM):
Catalyst CLI can be installed through NPM or the Yarn package manager.
You can therefore install NPM on your system to install the CLI directly, or install the Yarn package manager using NPM and then install the CLI with it.
To check if you already have Node.js and NPM installed, execute the following commands in your terminal which display their installed versions, if present:
$ node -v$ npm -v
If you don't have them installed, you can download Node.js for your platform from their official website, or use a Node version manager like NVM to install Node.js and NPM. NPM comes bundled with Node.js when you install it.
Refer to the Node.js help documentation or NPM documentation for further help.Note: Catalyst CLI will only run on Node.js v12 or later. Ensure that you install an appropriate version.Programming Language Support:
You can develop the server-side functions in the following language environments in Catalyst:- Node.js
- Java
Since you have installed Node.js in the previous step, the components required to develop Node.js functions will already be available in your system.
To develop Java functions, install the Java Development Kit (JDK) in your system. You must install version 8 of the Java Standard Edition (SE) platform's JDK.
Download Java 8 of the SE Development Kit from the Oracle website. Refer to the JDK documentation for further help.
Note: Catalyst currently only offers support for upto version 8 of the Java SE Development Kit. If you have a later version of Java installed on your machine, please ensure you downgrade to this version.
Install CLI
You must install Catalyst CLI in your system using the terminal in the administrator mode, as this command execution requires admin privileges. You can run the terminal as administrator in your Windows environment, or execute the installation command using sudo in a UNIX command like, such as in macOS or Linux systems.
You must execute the following command in your terminal to install Catalyst CLI:
$ npm install -g zcatalyst-cli If you are installing it through the Yarn package manager, execute the following command in your terminal:
$ yarn add zcatalyst-cliThis will initiate the installation process and your terminal will display the progress.

Once the installation is complete, the CLI will display these details.

You can verify if the CLI was properly installed by executing the following command:
$ catalyst --version If there were no issues with the installation, the command will return the version of the CLI installed in your system.
You will now be able to access the catalyst command from your terminal.
You can refer to the CLI documentation from the Catalyst resources page for help with the CLI commands.
Update Catalyst CLI to the Latest Version
When a newer version of the Catalyst CLI is available, your terminal will display a message alerting you of it, after you execute a CLI command successfully.
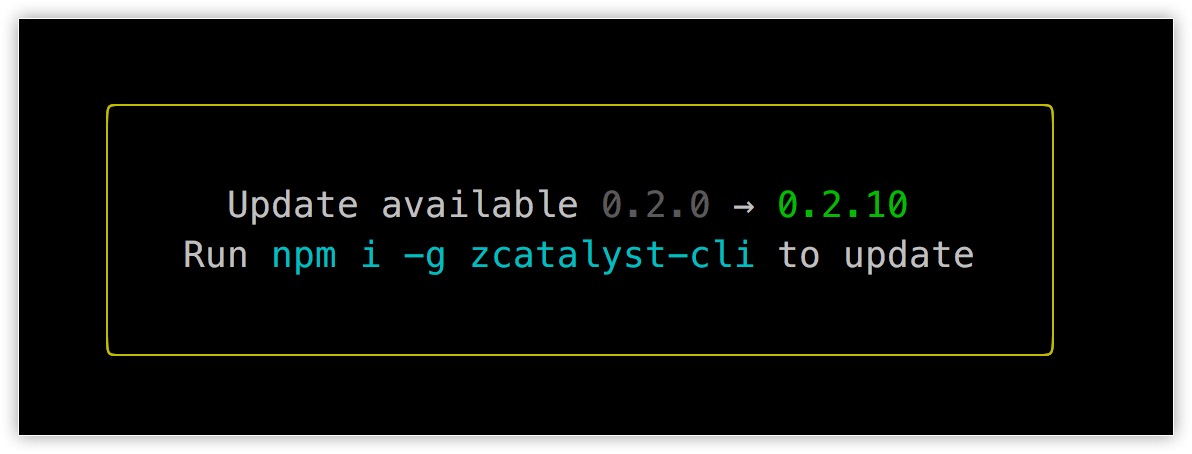
To update your CLI, execute the following command in your terminal:
$ npm install -g zcatalyst-cli This will initiate the installation process for the latest version.
- In some cases, your system's registry values might not reflect the latest version of Catalyst CLI. This might cause your system to retain the older version of the CLI. To avoid this, mention the version number while executing the command. For example, to update to the version 1.13.3, run $ npm install -g zcatalyst-cli@1.13.3
- If you are unable to update Catalyst CLI, execute the command using sudo.