Setting up CalDAV Sync in Zoho Calendar
CalDAV sync provides either a one-way or two-way sync between your Zoho Calendar and calendar apps that support CalDAV format, which means you can sync your Zoho Calendar with your iPhone's calendar app, your MacBook's calendar, or with Thunderbird calendar. You can access Zoho Calendar through the local apps on your device while you are offline and make changes using your device's calendar app by creating a CalDAV account and enabling CalDAV sync.
How CalDAV sync makes your work easy?
By using CalDAV sync, you get to enjoy the following features:
- Create/ Edit events while you are offline on your phone, and it automatically syncs with your Zoho Calendar when you go online.
- Quickly change your schedule from your phone itself.
- Sync multiple calendars with your device in one go. You can also sync the same calendar on multiple devices.
- Get notifications/ reminders for events on Zoho Calendar.
What calendars can you sync via CalDAV?
- Personal Calendars (My Calendars) - Two-way sync:
Personal Calendars will be synced in two-way mode. The events in these calendars can be edited on your device and will be updated across Zoho Calendar and your device. - App Calendars - Read-only mode:
App Calendars will be synced in read-only mode and the event in these calendars cannot be edited on your device. - Group Calendars - Two-way sync:
Group Calendars will be synced in two-way mode and the events in these calendars can be edited on your device. - Shared Calendars - Two-way sync:
Shared Calendars will be synced in two-way mode and the events in these calendars can be edited on your device. - Subscribed Calendars - Read-only mode:
Subscribed Calendars will be synced in read-only mode and the event in these calendars cannot be edited on your device.
Note
- CalDAV sync for Shared, Subscribed, and Group Calendars is available only for paid organization users and personal users.
- App and Subscribed Calendars will be synced in read-only mode. You will not be able to add/ edit events in these calendars.
Configuring CalDAV sync between Zoho Calendar and your device
By default, the primary calendar under My Calendars in your Zoho Calendar account will be enabled for CalDAV sync. In case, you want to sync secondary calendars from your account using CalDAV, follow these steps:
- Log in to Zoho Calendar
- Go to Settings > Synchronize > CalDAV
- In the My Calendars tab under CalDAV, your default calendar is selected automatically. You can also choose additional personal calendars from the list to sync.

- To sync your App Calendars, go to the App Calendars tab under CalDAV Sync and select the calendars you want to sync.

- To sync your Group Calendars, go to the Group Calendars tab under CalDAV Sync and select the calendars you want to sync from the list.

- To sync your Shared Calendars, go to the Shared Calendars tab under CalDAV Sync and select the calendars you want to sync.

- To sync your Subscribed Calendars, go to the Subscribed Calendars tab under CalDAV Sync and select the calendars you want to sync.


After the calendars are selected, then you need to proceed with the configuration on your device.
Tip
- CalDAV can be configured for OS X Calendar, BusyCal and Fantastical (MacBook), iPhone and iPad, Thunderbird Lightning, eM Client, and Gnome's Evolution calendar.
- Also, you can sync your Outlook Calendar by configuring the CalDAV Sync plug-in for Outlook.
Steps to configure CalDAV sync for OS X Calendar, BusyCal and Fantastical
Initially, make sure you have selected the calendars to be synced from your Zoho Calendar account.
- Open the OS X Calendar/ BusyCal/ Fantastical on your device.
- Go to Calendar > Settings > Add Accounts

- Choose Other CalDAV account option and press Continue.

- Choose the account type as Manual.
Fill in the Username field with the email ID of your Zoho account and the password.
Note
If you have enabled Two Factor Authentication (TFA), you have to generate Application Specific Password to proceed.
- Enter the server address as https://calendar.zoho.com/ (The server address after https:// will vary for different data centers.) and Sign in.

- The events will be automatically synced between both calendars.
- To delete the CalDAV account, go to Calendar > Settings> Accounts, click on the account you want to delete, click the Remove icon and click Ok.


Steps to configure CalDAV sync for iPhone and iPad
Before configuring the sync on your iPhone/iPad, go to your Zoho Calendar account and select the calendars to be synced using CalDAV.
- Navigate to Settings > Calendar >Accounts > Add account.


- Click on the Other option on the Add account page

- Select Add CalDAV account to proceed

- Enter the server as https://calendar.zoho.com/ (The server address after https:// will vary for different data centers. Refer here.)
Enter your Zoho account email ID in the Username field and your Password.
Note
If you have enabled Two Factor Authentication (TFA), you have to generate an Application Specific Password to proceed.
- Type your choice of Description for this CalDAV account and click Next.

Turn on/off the notifications for Reminders and click Save.

Note
Enable the Calendars and Reminders toggles to sync and view Zoho Calendar events and Zoho ToDo tasks in Apple Calendar.
- To check if your CalDAV sync was successful, open the Calendar app on your iPhone/iPad and click on Calendars from the bottom center of the screen.

- You will be able to see the list of calendars from your Zoho account that is currently synced with your iPhone/iPad calendar app.

- Go to your Zoho Calendar web version, create an event in a specific calendar, and refresh the page.

- The recently added event will be synced with your iPhone/iPad calendar app.

- To view your Zoho ToDo tasks on your Apple device, open the Reminders app.

- Your tasks will appear as separate reminder lists and will sync automatically.

- In case you want to delete your CalDAV account, go to Settings > Accounts & Passwords > Accounts, click on the account you want to delete, and press the Delete Account option.


CalDAV sync for Thunderbird Lightning
Select the calendars you need to sync using CalDAV on your Zoho Account.
You need to fetch the CalDAV URL from your Zoho Calendar account before you attempt to sync your Zoho Calendar with Thunderbird lightning on your device. If you have more than one calendar to be synced with Thunderbird lightning, then fetch the unique CalDAV URL of each calendar and attempt the sync separately.
Steps to fetch the CalDAV URL
- Log in to Zoho Calendar.
- Navigate to Settings > Calendars.
- Choose a calendar from My Calendars/ Group Calendars/ Shared Calendars/ Subscribed Calendars.
- Navigate to Integrate Calendar section and copy the URL from CalDAV URL field.


Steps to configure CalDAV sync for Thunderbird Lightning
- Open the Thunderbird Lightning calendar on your device.
- Go to File > New > Calendar

- Select On the Network and click Next on the Create New Calendar dialog box.

Enter the username (Eg: rebecca@zylker.com) and Location (the CalDAV URL you copied from this step) field and click Find Calendars.

Enter your password for the selected calendar when prompted for authentication and click OK.

- Select the Calendar Type as CalDAV from the drop-down and click Subscribe.

- Now, the subscribed calendar is listed/visible under the Calendars on the left pane of the Thunderbird home page.

- To delete a calendar added via CalDAV for Thunderbird Lightning, right-click the calendar from the left side of the screen. Click on Unsubscribe.


Steps to configure CalDAV sync for eM Client
Go to Zoho Calendar and select the calendars to be synced using CalDAV before attempting to configure sync on eM Client.
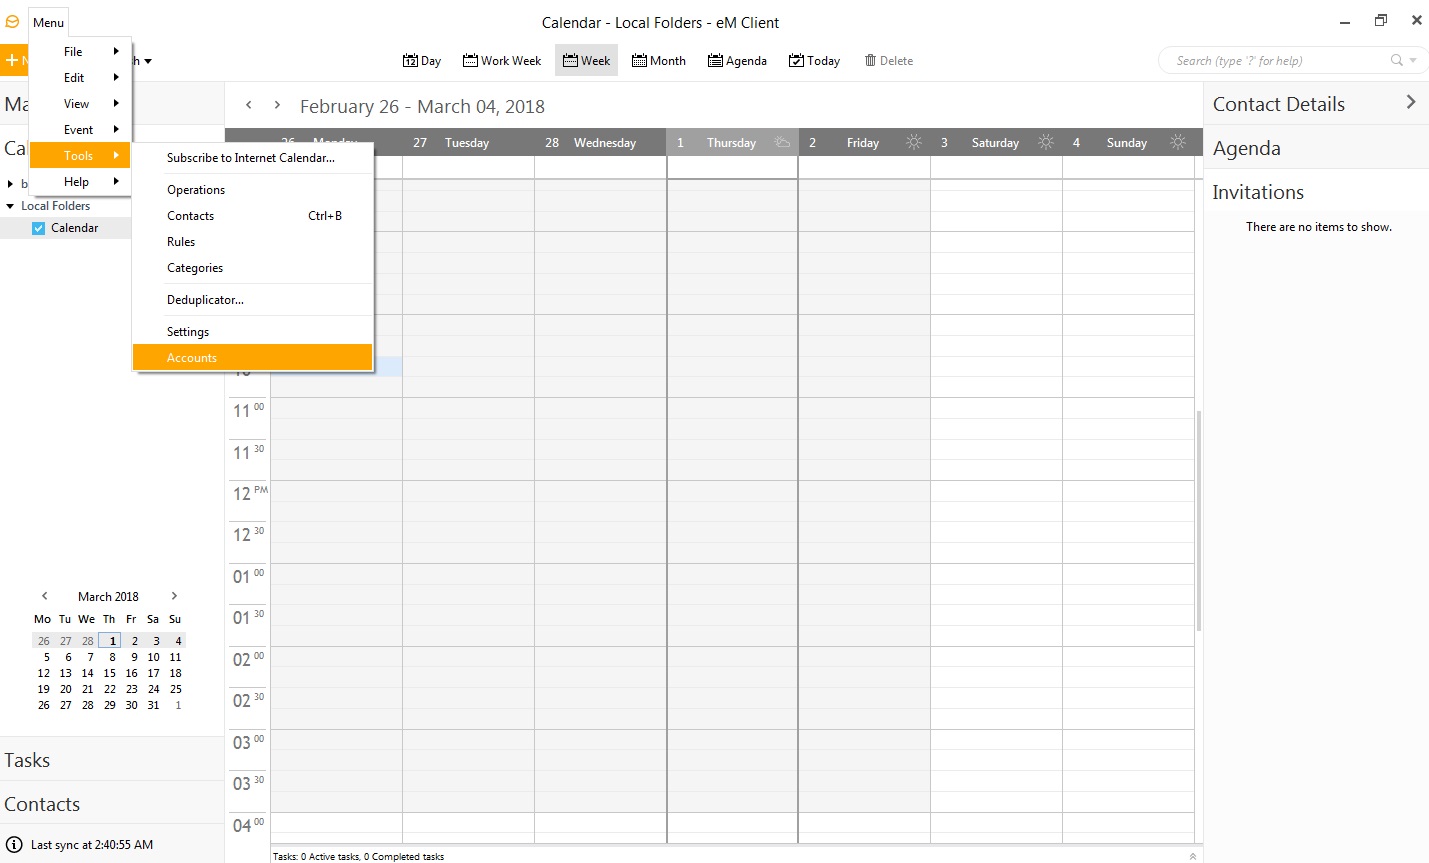
- Go to Menu > Tools > Accounts
- Click on the Add icon

- Select the option Calendar in the dialog box.
- Click on CalDAV from the list of calendars and click Next

- Enter the Account Address URL as https://calendar.zoho.com/.well-known/caldav in the Server information dialog box.
- The domain name (calendar.zoho.com) in the Account Address URL will vary based on the server region in which the account is hosted.
Enter the Zoho Calendar email ID in the Username and type the Password and click Next.

Note
If you have enabled Two Factor Authentication (TFA), you have to generate Application Specific Password to proceed.
- Fill in the Account name in the Account Details section and click Next.

- Click the Finish button to create the account.

- Go to your Zoho calendar and Refresh the page to sync all events.
- To delete a CalDAV account on eM Client, go to Tools > Accounts. You will see a list of the eM client accounts added on the left-hand side. Click on the account you want to delete and click the Delete button next to it.


Steps to Configure CalDAV Sync for Gnome's Evolution Calendar
Go to Zoho Calendar and select the calendars to be synced using CalDAV before attempting to configure sync on Gnome's Evolution Calendar.
- Go to File > New > Calendar

- In the New Calendar pop-up window, choose CalDAV from the Type drop-down.
- Provide the name of the calendar and choose the calendar color.

- Provide the server address https://calendar.zoho.com/ in the URL field. (The server address (.com, .eu, .au, etc.,) will vary based on the server in which your account is hosted.)
- Provide the name of the user, and email address, and click on Find Calendars

- The calendars you chose to sync via CalDAV sync will be listed in the Choose a calendar pop-up.
- Choose the calendar you want to sync from the pop-up menu and click OK. (You can sync only one calendar at a time)

- The calendar name and URL will change based on the calendar chosen.

- Choose the time period to refresh your calendar to reflect the synced data.

- Click OK. The calendar you chose to sync via CalDAV will be added to your Evolution Calendar and the events from the chosen calendar will be displayed in your Evolution Calendar.


The calendars you sync will be listed under CalDAV on the left menu. To sync more calendars from Zoho Calendar with your Evolution Calendar right-click on CalDAV on the left menu and click on New calendar. Repeat the steps given above to sync your calendars.
Note
- App Calendars in Zoho Calendar cannot be synced via CalDAV.
- When the CalDAV account is deleted, all events created and synchronized under the particular CalDAV account will be removed but will remain in your Zoho Calendar account.
- Calendars from your Zoho Calendar account synced to other calendar apps using CalDAV can be deleted/removed only from the calendar apps and not from the Zoho Calendar account itself.
- When you delete a Zoho Calendar from the CalDAV account on other calendar apps, the calendar automatically gets disabled for CalDAV sync in your Zoho account and you need to enable it later.
- You cannot create/add a new calendar on your Zoho Calendar account using the CalDAV account configured on your device's calendar.
Troubleshoot CalDAV Sync
Unable to log in via CalDAV account
If you are facing issues while logging into your Zoho Calendar account via CalDAV, then make sure to check for your Username and Password.
Note
If you have enabled Two Factor Authentication (TFA), you have to generate an Application Specific Password to proceed.
Some events from Zoho Calendar aren't synchronizing with the CalDAV account
When you synchronize your Zoho Calendar with the CalDAV account, you might find that some of the events haven't synced. By default, only the primary calendar of your Zoho Calendar account will be enabled for synchronization. Check if you have enabled sync for all calendars under My Calendars in your Zoho Account. If not, enable access in your CalDAV settings and sync again.
For EU / US users
Users who are accessing from the EU/US should make sure to use the appropriate country-coded domain extensions while accessing Zoho Calendar to proceed without login errors.