Enter Data Right Away
Zoho Analytics allows you to enter data directly into a new table. If you are a Microsoft Excel or spreadsheet user who would like to enter the data into the tables or you want to enter a few sample data to explore Zoho Analytics, then this is the option that you have to choose.
Refer the following video to know how to create a table by directly entering data into it.
Creating a Workspace
Follow the below steps to create a new workspace by entering data directly.
- Login into Zoho Analytics.
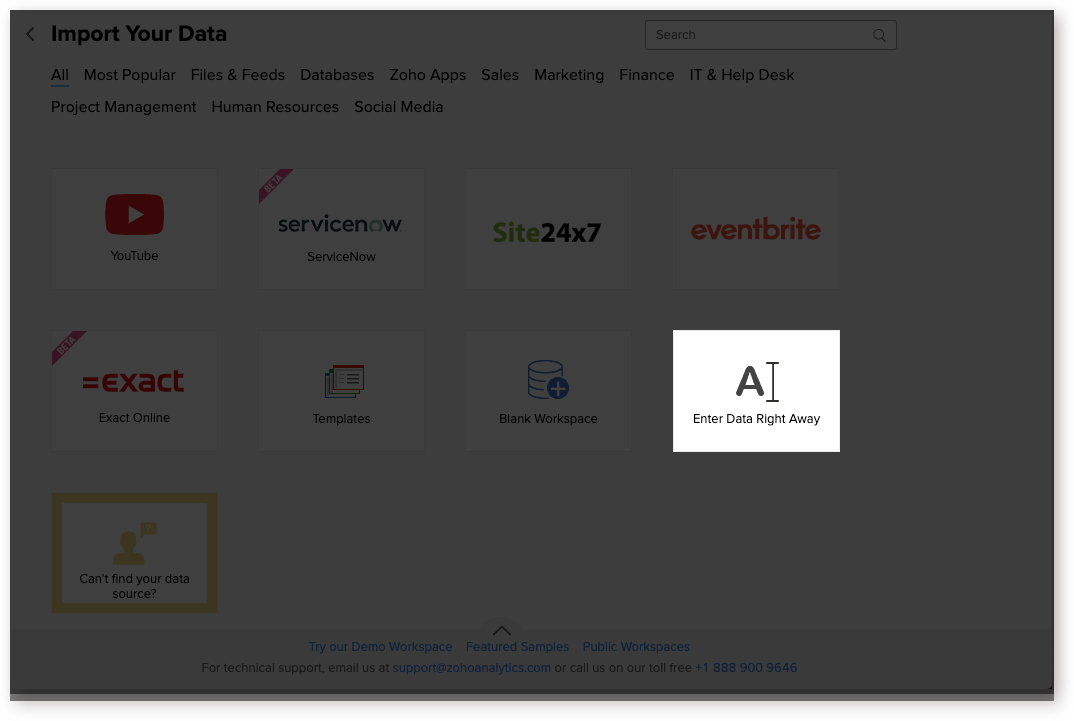
- Click the Import Your Data button and then select Enter Data Right Away tile.
- The Enter Data Right Away dialog will open. Specify a Workspace Name.
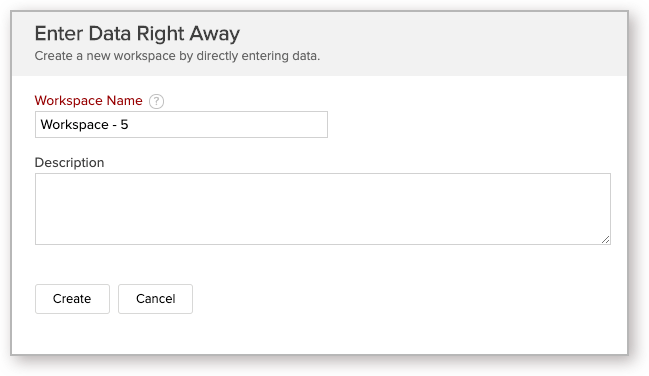
- Click Create. A new workspace will be created and a table to enter data will open.
- The new table's columns will be named as Column1, Column2, etc., Double-click the column header to provide an appropriate name. Do ensure that column names are unique in a table.
- Click on the cell to enter the table data. Refer to this page to know how to Add Rows and Columns to your table.
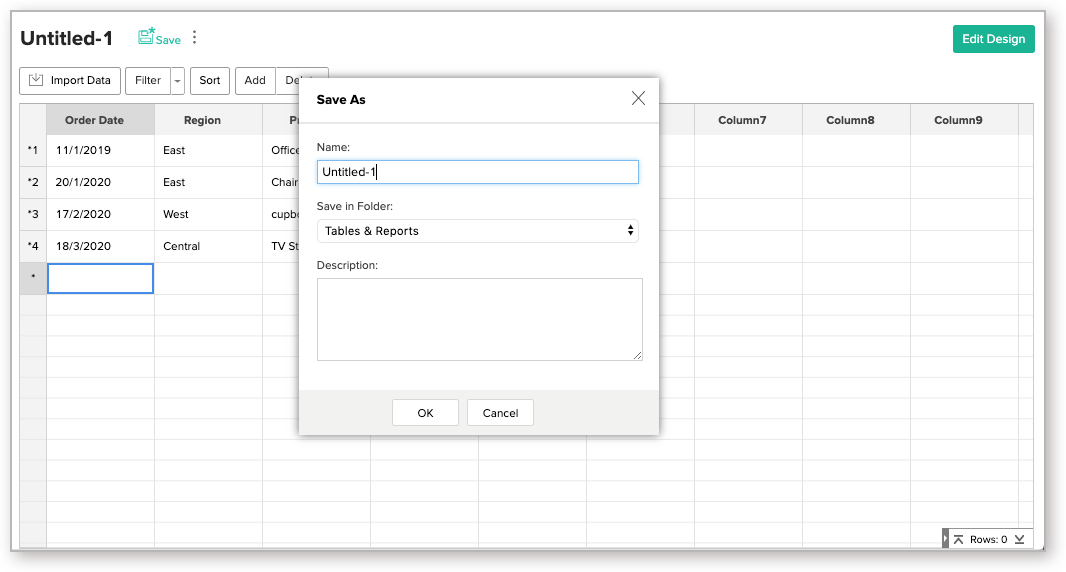
- Once you are done with your data entry, click Save.
- The Save dialog will open. Provide a name for the Table (mandatory) and Description (optional).
- The new table will be saved. Zoho Analytics will automatically identify the appropriate data type. You can change them if needed.
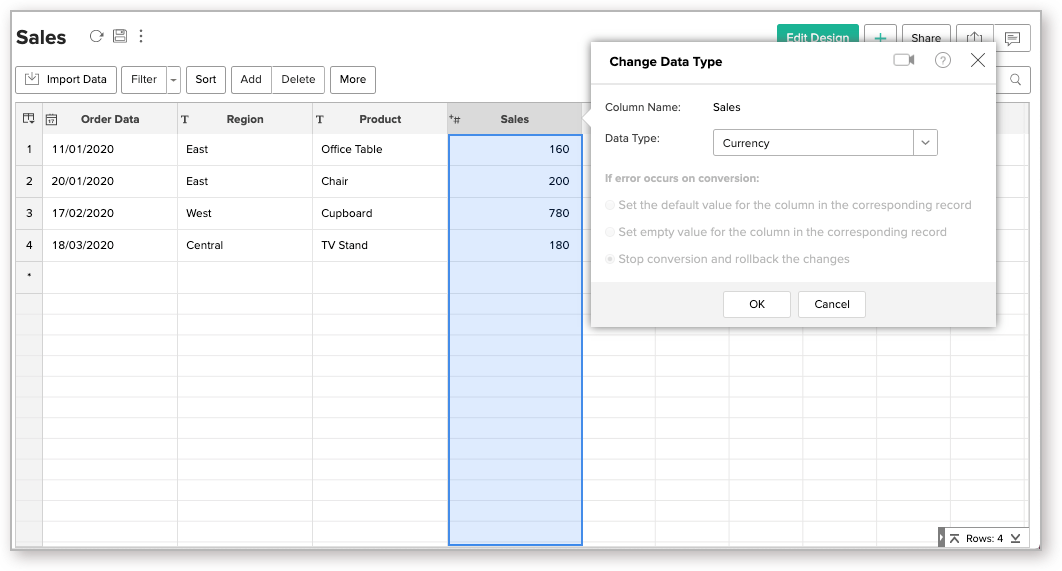
- To change the column data type, right-click the column and then select Change Data Type.
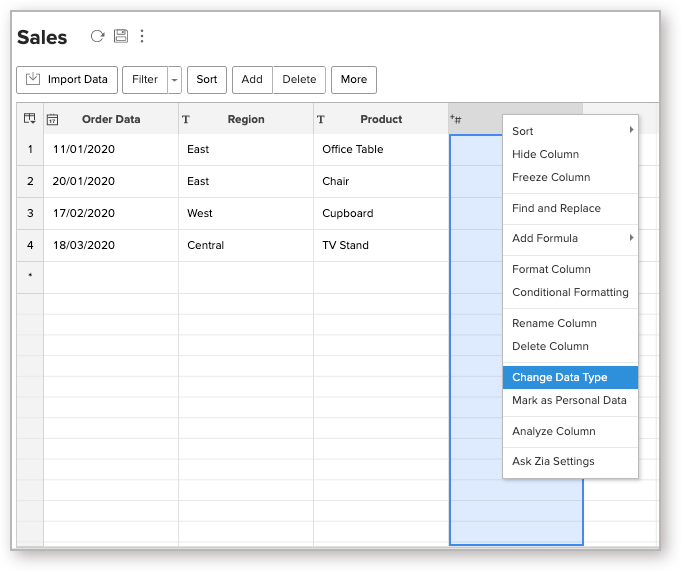
- The Change Data Type dialog will open. Select Data Type.


Creating a Table
You can also create a table in an existing workspace by following the below steps.
- Open the Workspace.
- Click Create > New Table / Import Data.
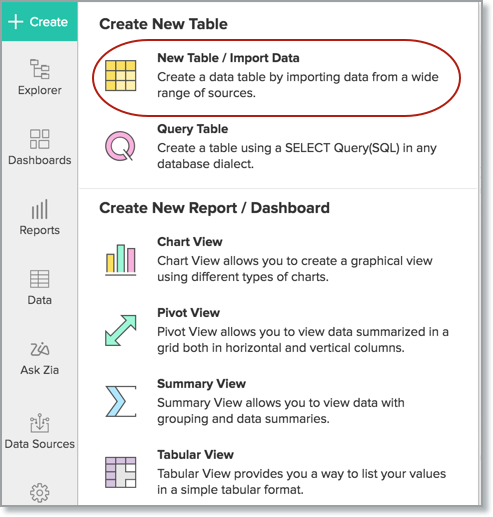
- Select the Enter Data Right Away tile.
- The new table will open. Follow the steps specified in the previous section.
