Creating Agents
A Zia Agent is an AI-powered assistant that understands natural language, performs tasks through API tools, and pulls context from a connected knowledge base. Agent Studio is where you build them.
Before you start, make sure you have these ready:
- Instructions for how the agent should respond and behave
- Tools (APIs) for the actions the agent needs to perform
- Knowledge base documents for context and reference
- Connections for authenticated access to services like Zoho CRM, Desk, etc.
You don't need all four to create an agent, but the more you provide, the more useful it'll be.
Not sure what setup you need? Check this article to figure out whether your agent needs tools, a knowledge base, or both.
Two ways to create an agent
Open Agent Studio from the left sidebar. You'll see two options:
- Create From Scratch lets you define everything yourself: the agent's identity, knowledge, tools, and guardrails. Pick this when you want full control or when you're learning how agents work.
- Create with Zia AI uses a built-in AI assistant to auto-generate the agent configuration based on a prompt you provide. Faster to get started, but you'll want to review and edit what it produces.
Create from scratch
This walks you through four steps: Basic Information, Knowledge Base, Tools, and Additional Settings. You can navigate between them using the left panel.
Step 1: Updating the Basic Information
This is where you define the agent's identity and behavior.

- Agent Name: Name it based on what it does. Keep it specific and searchable. "Deal Insights Analyst" is better than "Agent 1."
- Agent Description: A short explanation of the agent's purpose. This helps other users in your org understand what it's for.
- Vendor Configuration: Choose the AI vendor.
- Under ZKS (Zoho Key System), you'll find Zoho and OpenAI as built-in options.
- Under BYOK (Bring Your Own Key), you can use vendors like Claude or ChatGPT if you've configured your own API key.
- Model: pick the specific model from your chosen vendor. The options change based on the vendor you selected. Choose based on your task complexity and latency requirements.
- Agent Resource Role: The role the agent fills within your system. For example: "Customer Insights Analyst" or "Support Ticket Router."
- Agent Instruction: This is the big one. Write detailed guidelines covering what the agent should do, how it should behave, what its expertise is, and any restrictions it should follow. The more specific you are here, the better the agent performs. Don't hold back on length.
- Click Continue to move on.
Step 2: Adding a Knowledge Base
The knowledge base gives your agent reference material to work with. Without it, the agent relies only on the LLM's general knowledge, which won't know anything specific to your business.
- Select the documents your agent needs.
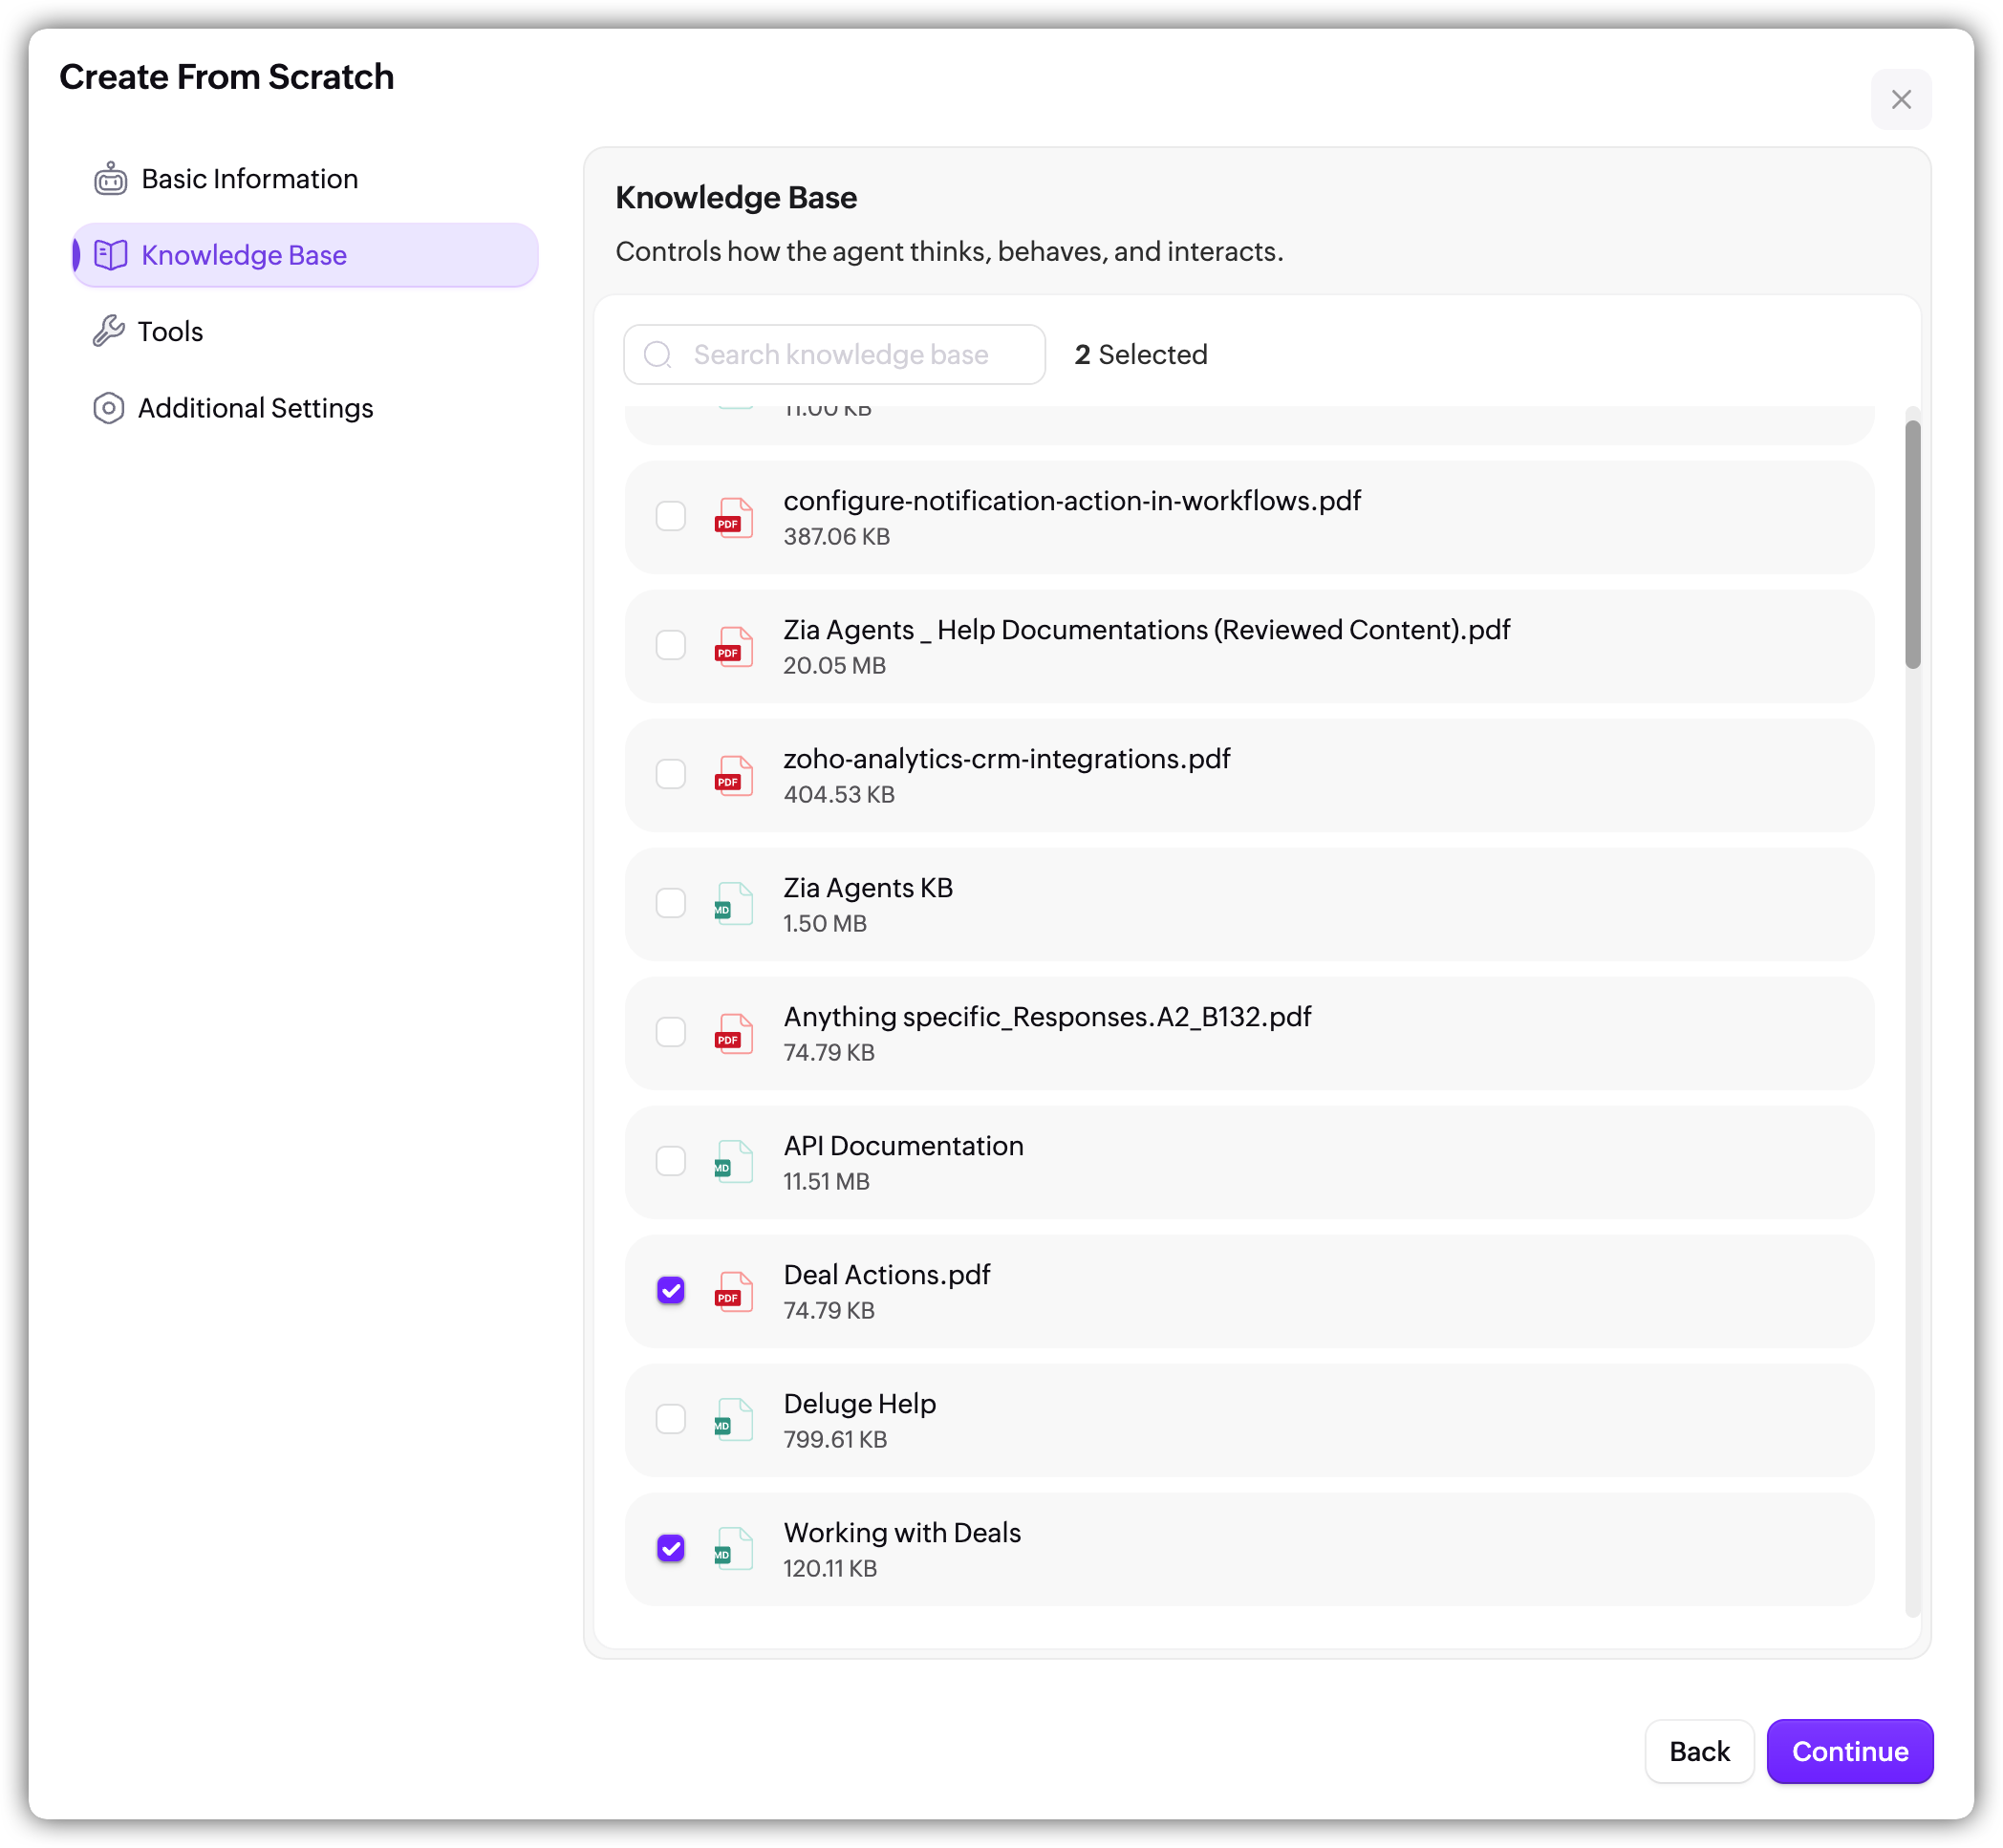
These could be product docs, FAQs, internal guides, policy documents, or anything else relevant to the agent's role. You can search through the available documents and select multiple files. - Click Continue.

Learn more about adding Knowledge Base.
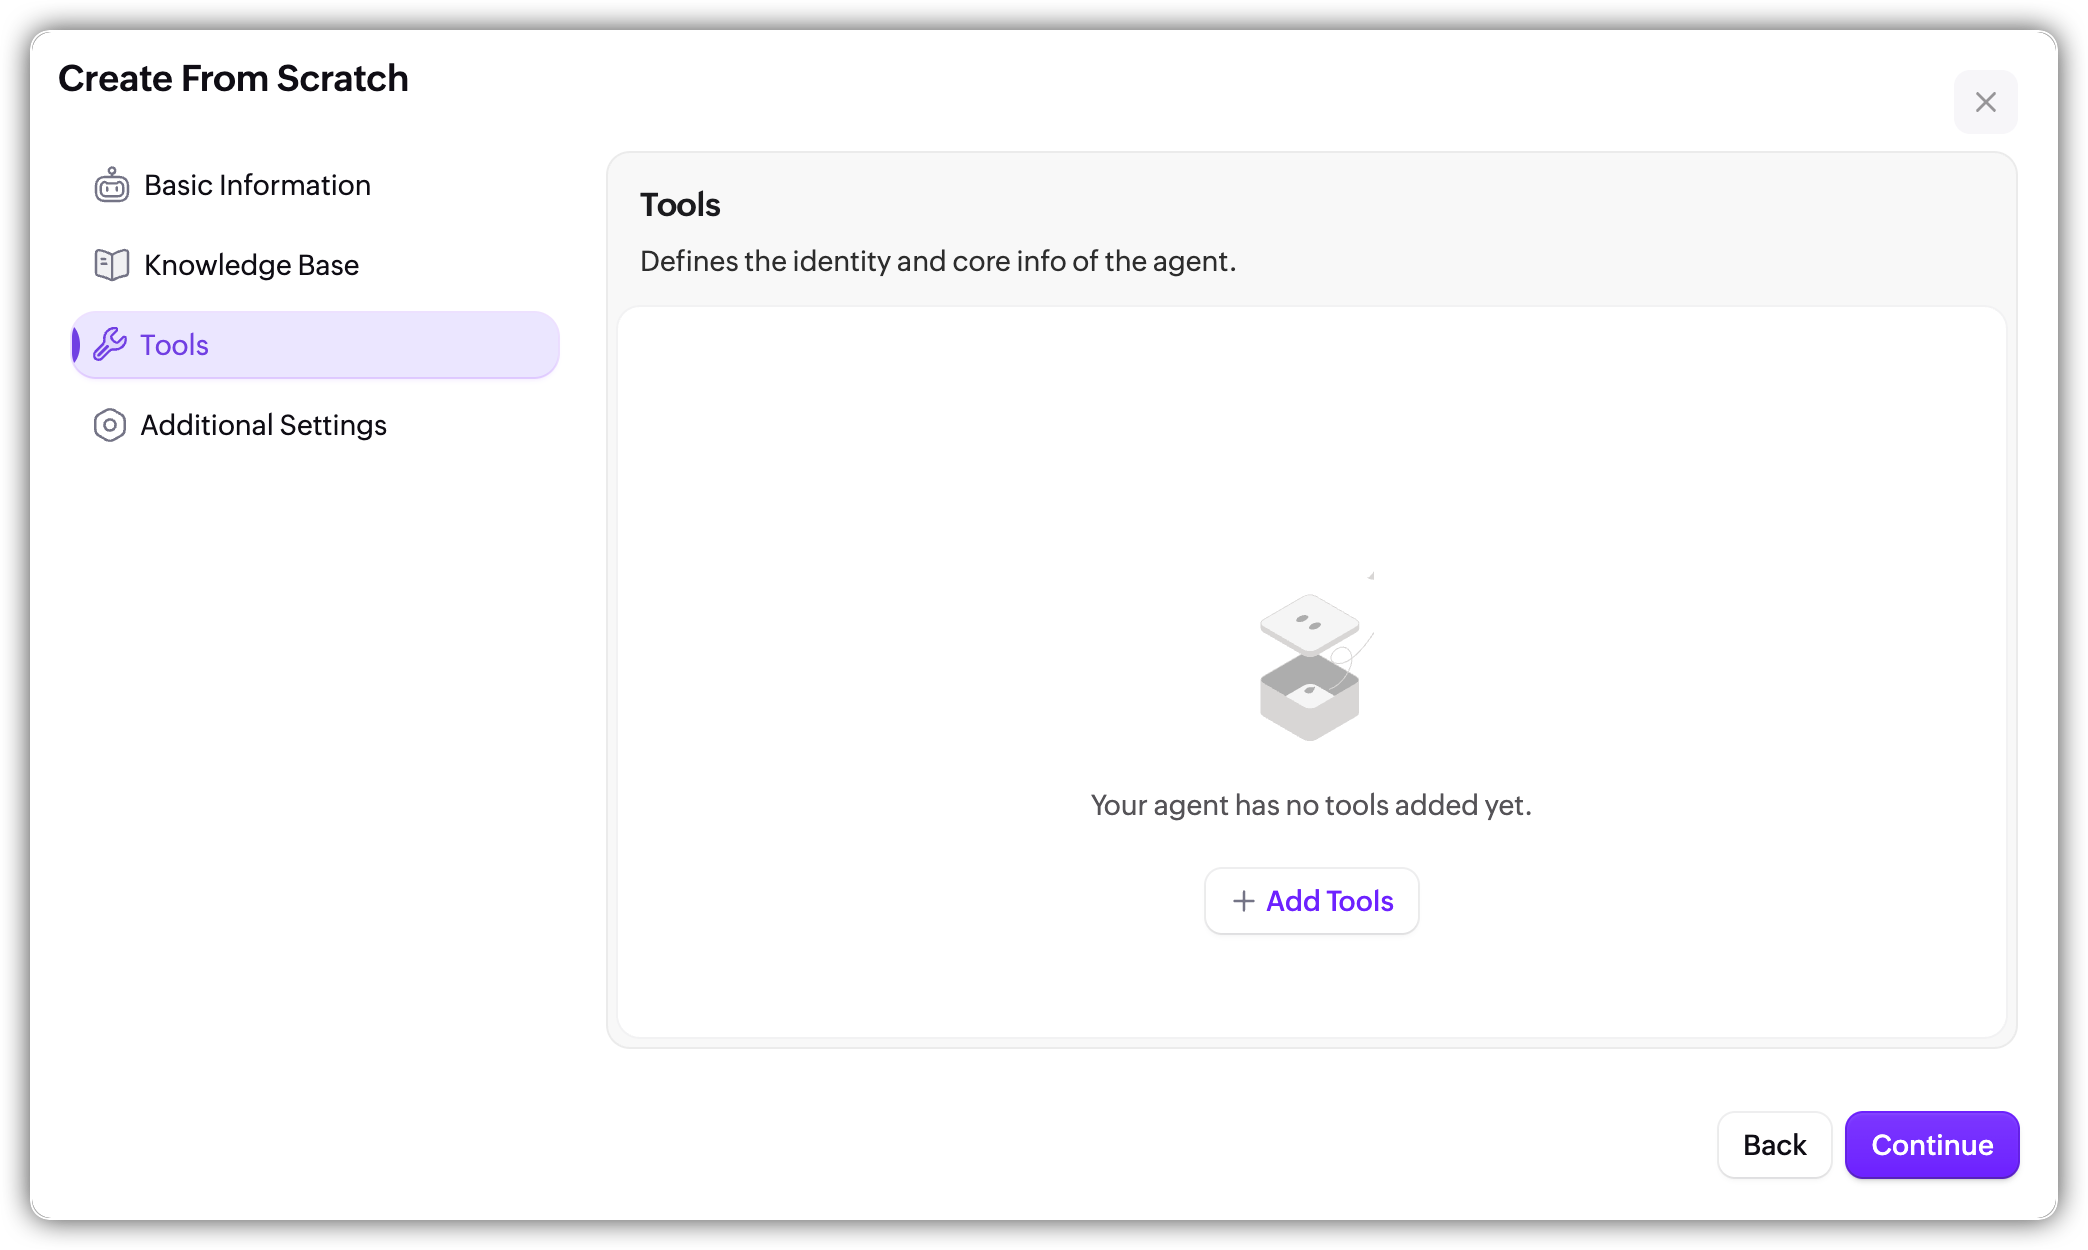
Step 3: Adding the necessary Tools
This is where you give your agent the ability to act. Tools are the APIs the agent can call to fetch data, create records, send emails, and so on.
- Click + Add Tools to open the tool browser.
- At the top, you'll see a dropdown to switch between System Tools and Custom Tools.
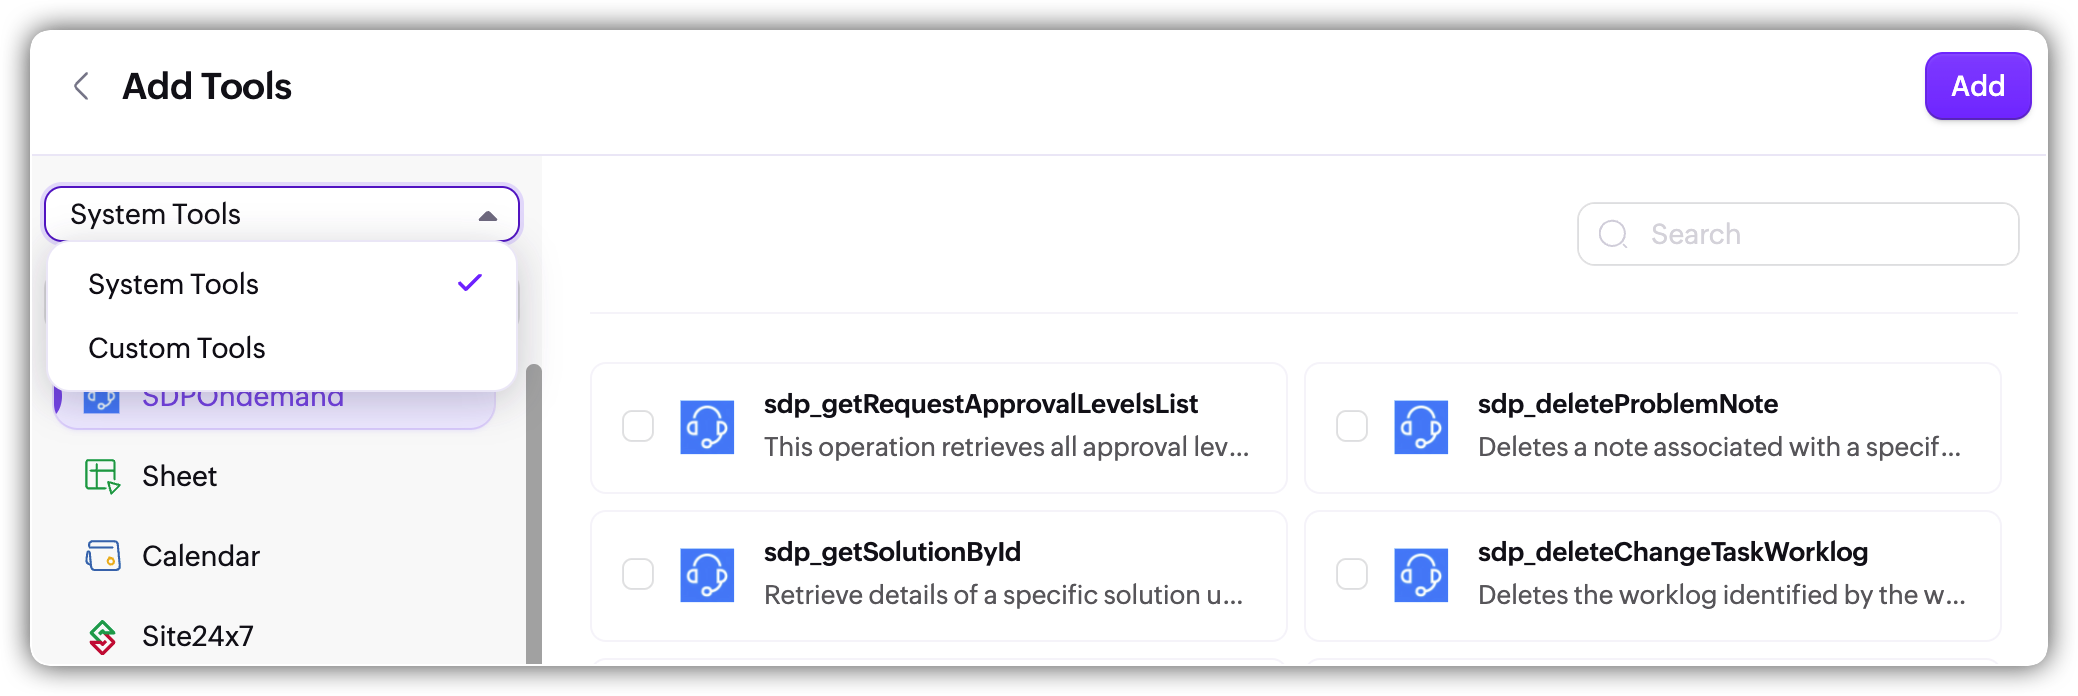
- System Tools are organized by service.
- Pick a service from the list on the left (like CRM, Desk, Sheet, Calendar) and you'll see all the available tools on the right. Each tool shows its name and a short description.
- Search to find specific tools, select the ones your agent needs, and click Add.
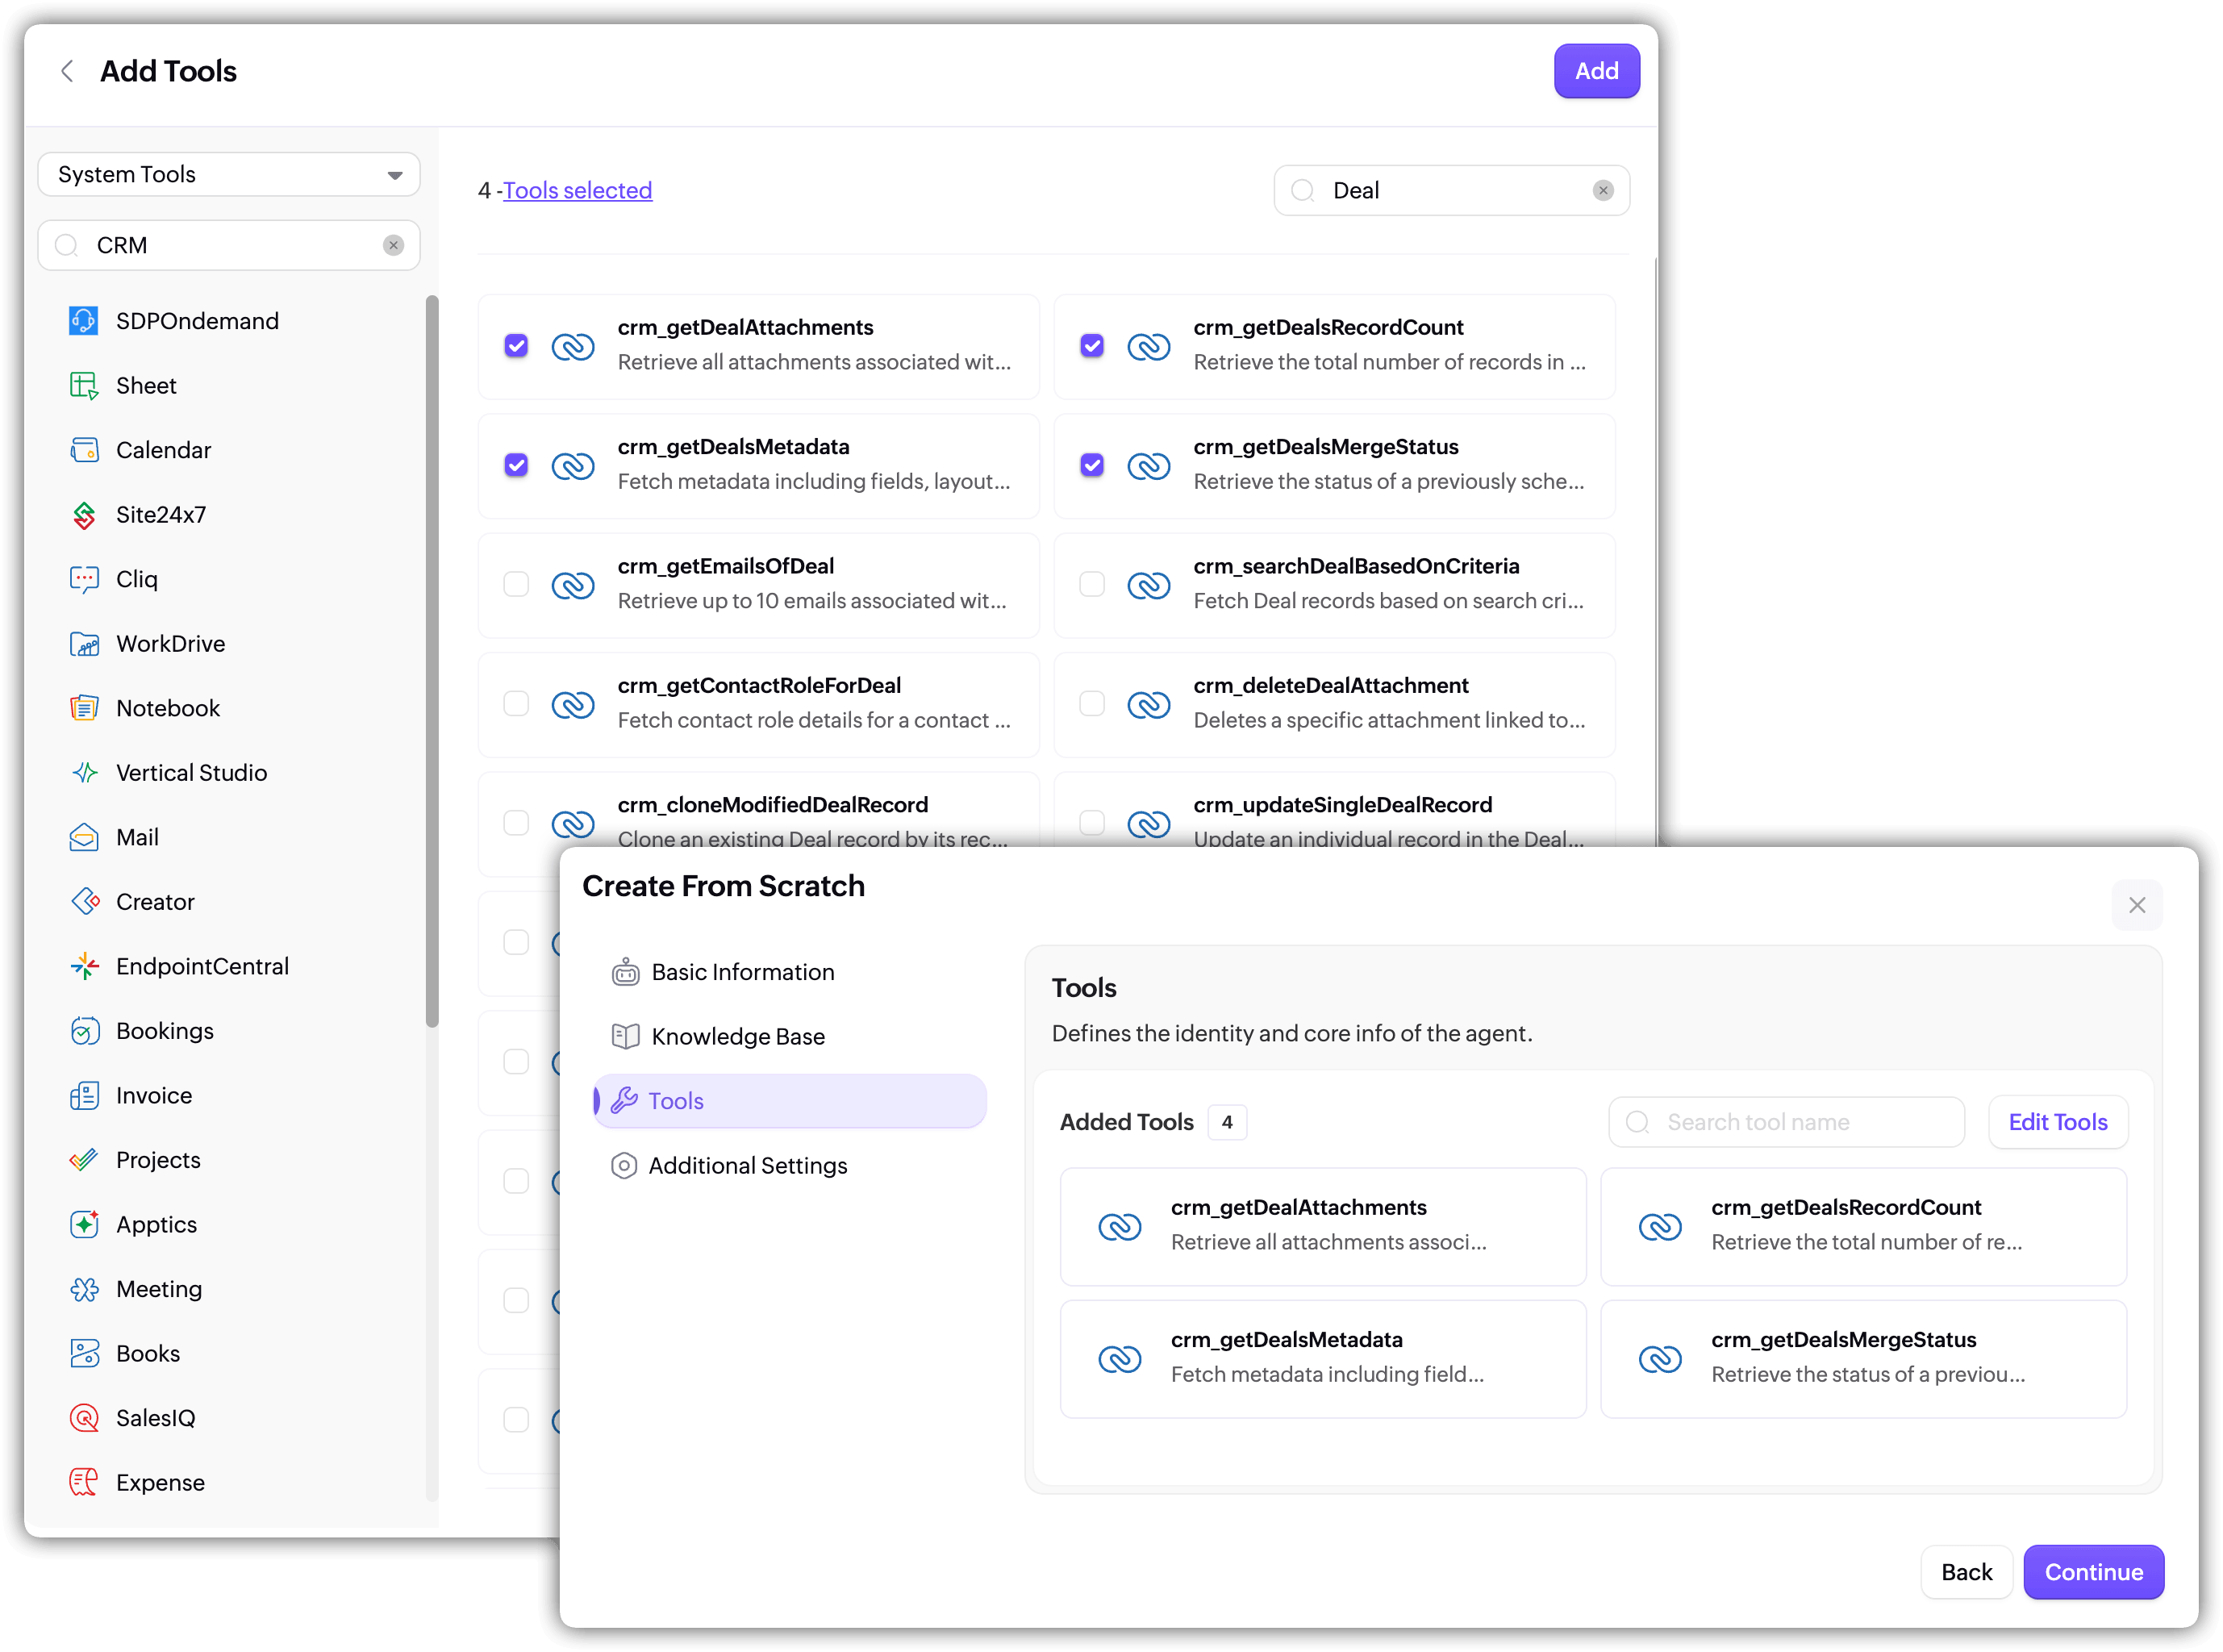
- Custom Tools show the tool groups you've created. Pick a group from the left, and its tools appear on the right.

- Select what you need and add them.
You can mix system and custom tools in the same agent. Just switch the dropdown, select, and add.
- Click Continue.


Learn more about working with Tools.
Step 4: Additional Settings
This is where you configure guardrails for your agent.
- Built-in guardrails come by default for every agent:
- Fairness & Bias monitors for potential biases in responses, whether from personal experiences, cultural backgrounds, or societal influences.
- Toxicity Check prevents the generation of harmful, offensive, or toxic content. It helps keep interactions respectful and constructive.
- Custom Guardrails let you go further. Toggle this on and you'll see two sections: Do's and Don'ts. These are numbered lists where you add specific rules for the agent to follow.

Note: If an instruction and a guardrail ever conflict, the guardrail prevails. That makes this the right place for any non-negotiable rules, the kind of boundaries you don't want the agent to cross regardless of the conversation context. - Click Create and your agent is built. You'll land on the agent details page.

Create with Zia AI
If you don't want to configure everything manually, the Zia AI can help you with it.
- In Agent Studio, click Create with Zia AI.
- Write a prompt describing what you want the agent to do. Be specific about its role, responsibilities, and the kind of tasks it should handle.
- You can also use Quick Prompts (like Sales Assistant, Customer Support Agent, Technical Writer, Product Manager, etc.) as a starting point and expand from there.
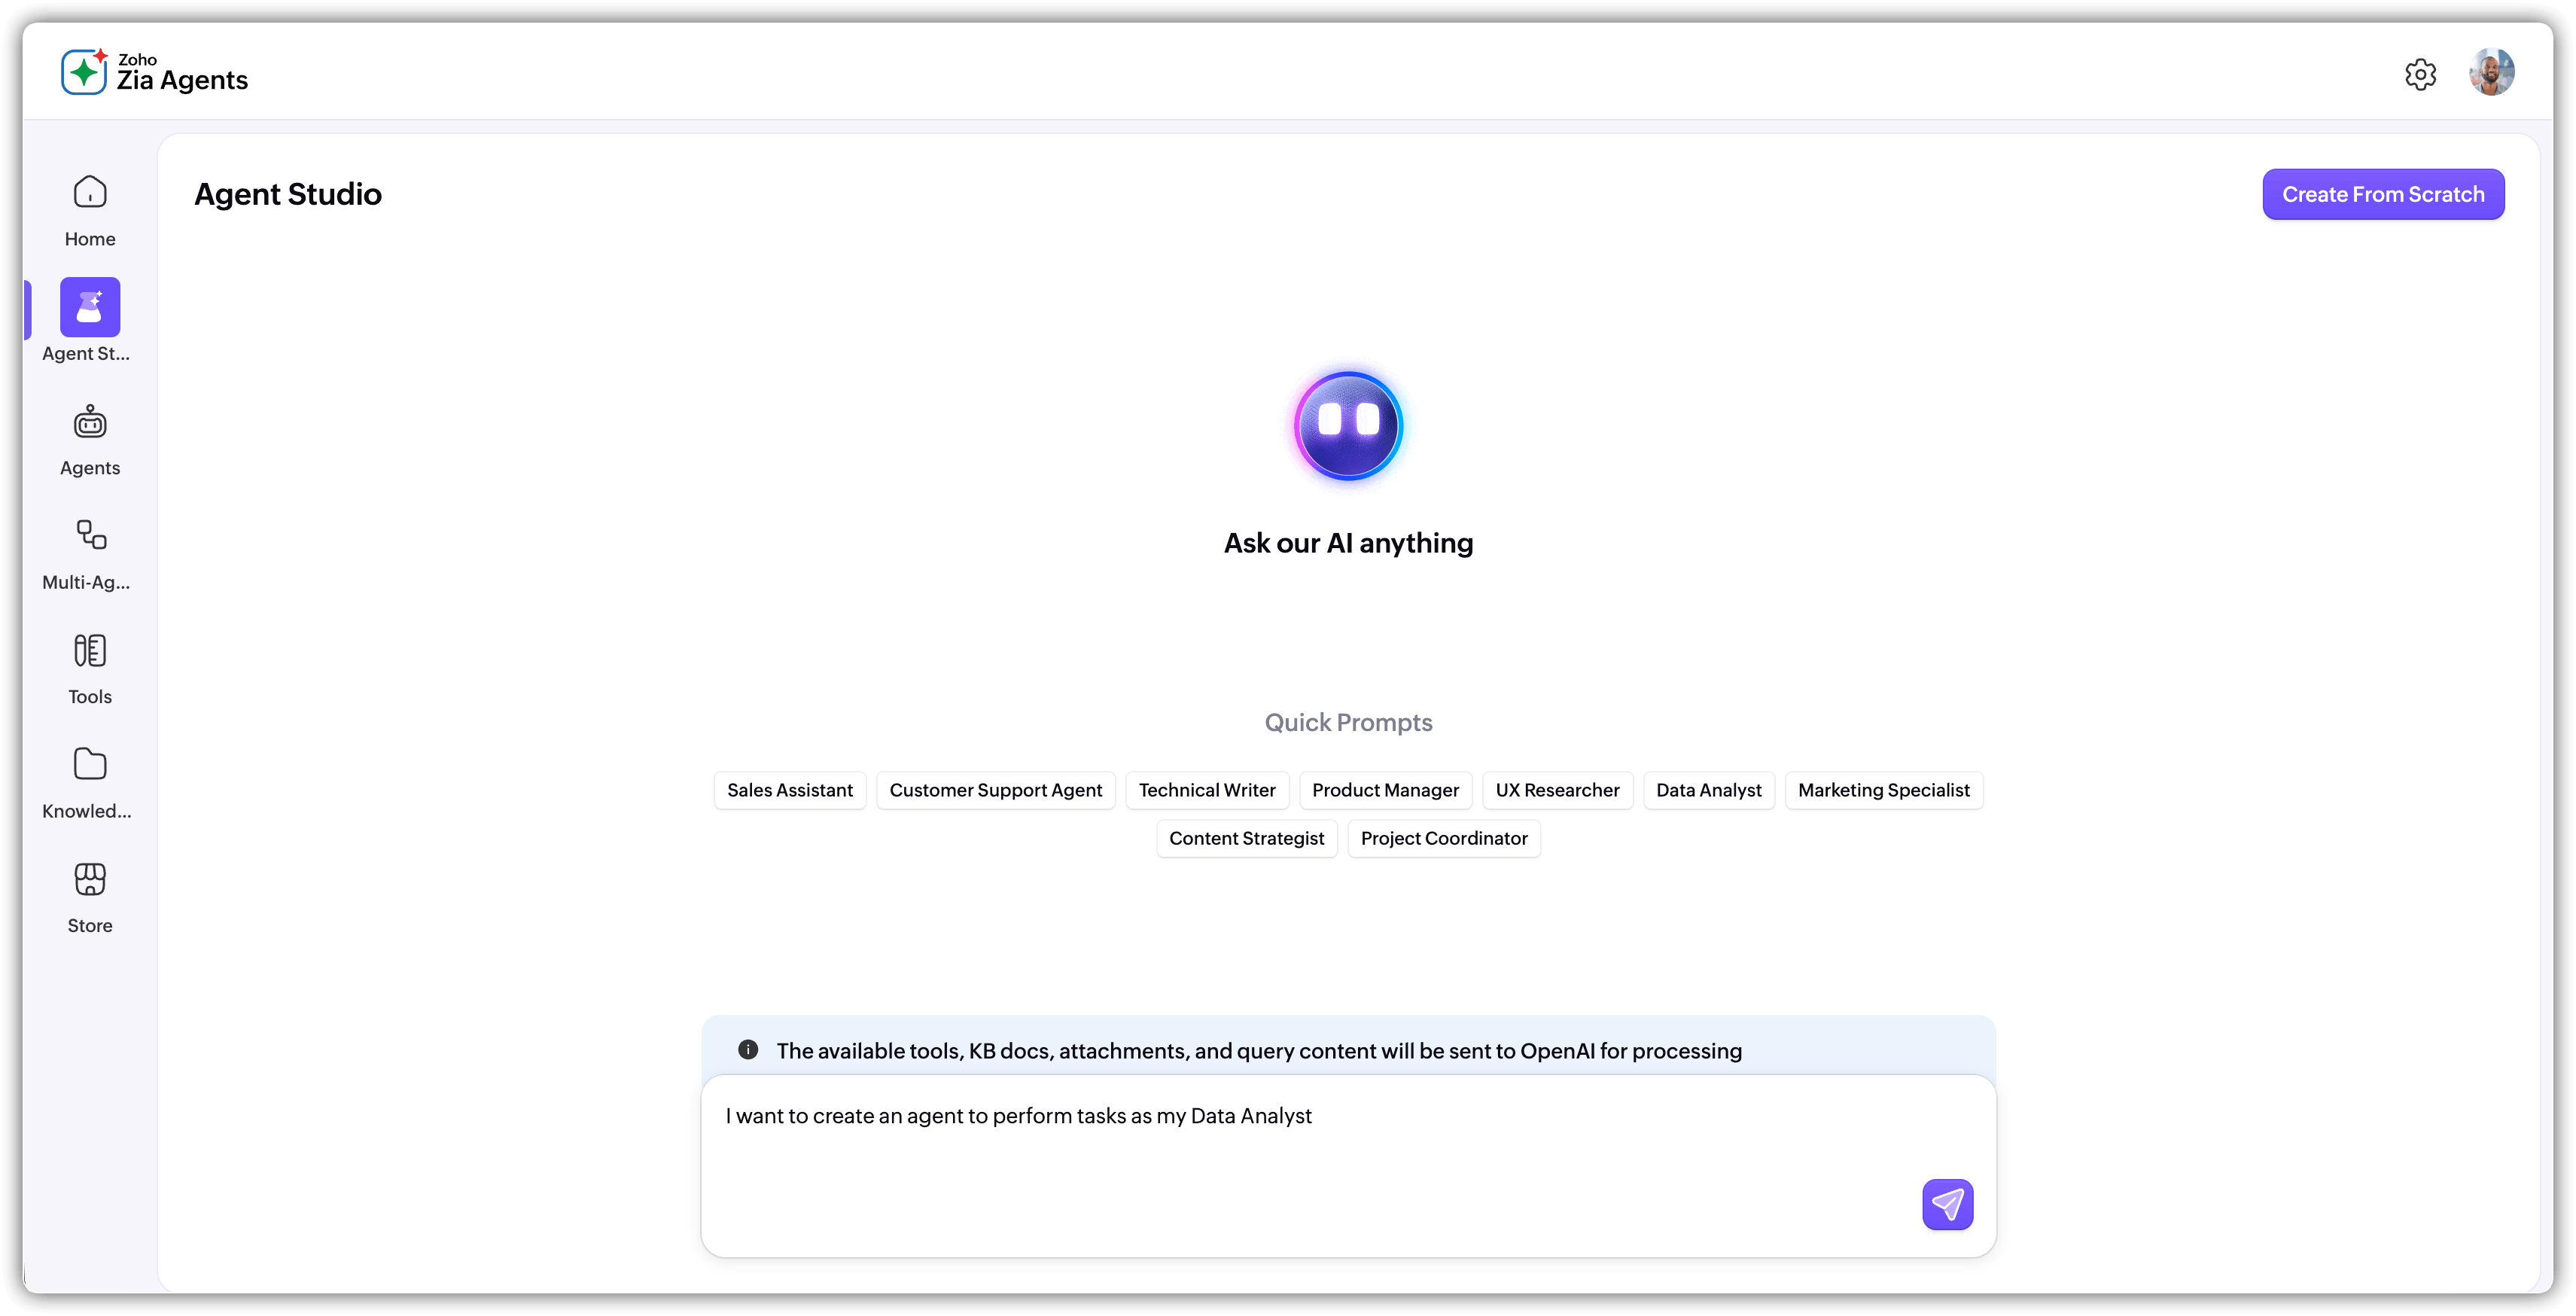
- Click Generate.
- The assistant may ask follow-up questions to clarify your requirements. Answer them and provide any additional details about the knowledge base documents or tools the agent should use. Click Generate again.
- The right panel shows the auto-generated agent profile: model, description, role, instructions, knowledge base, and tools. Review everything carefully.
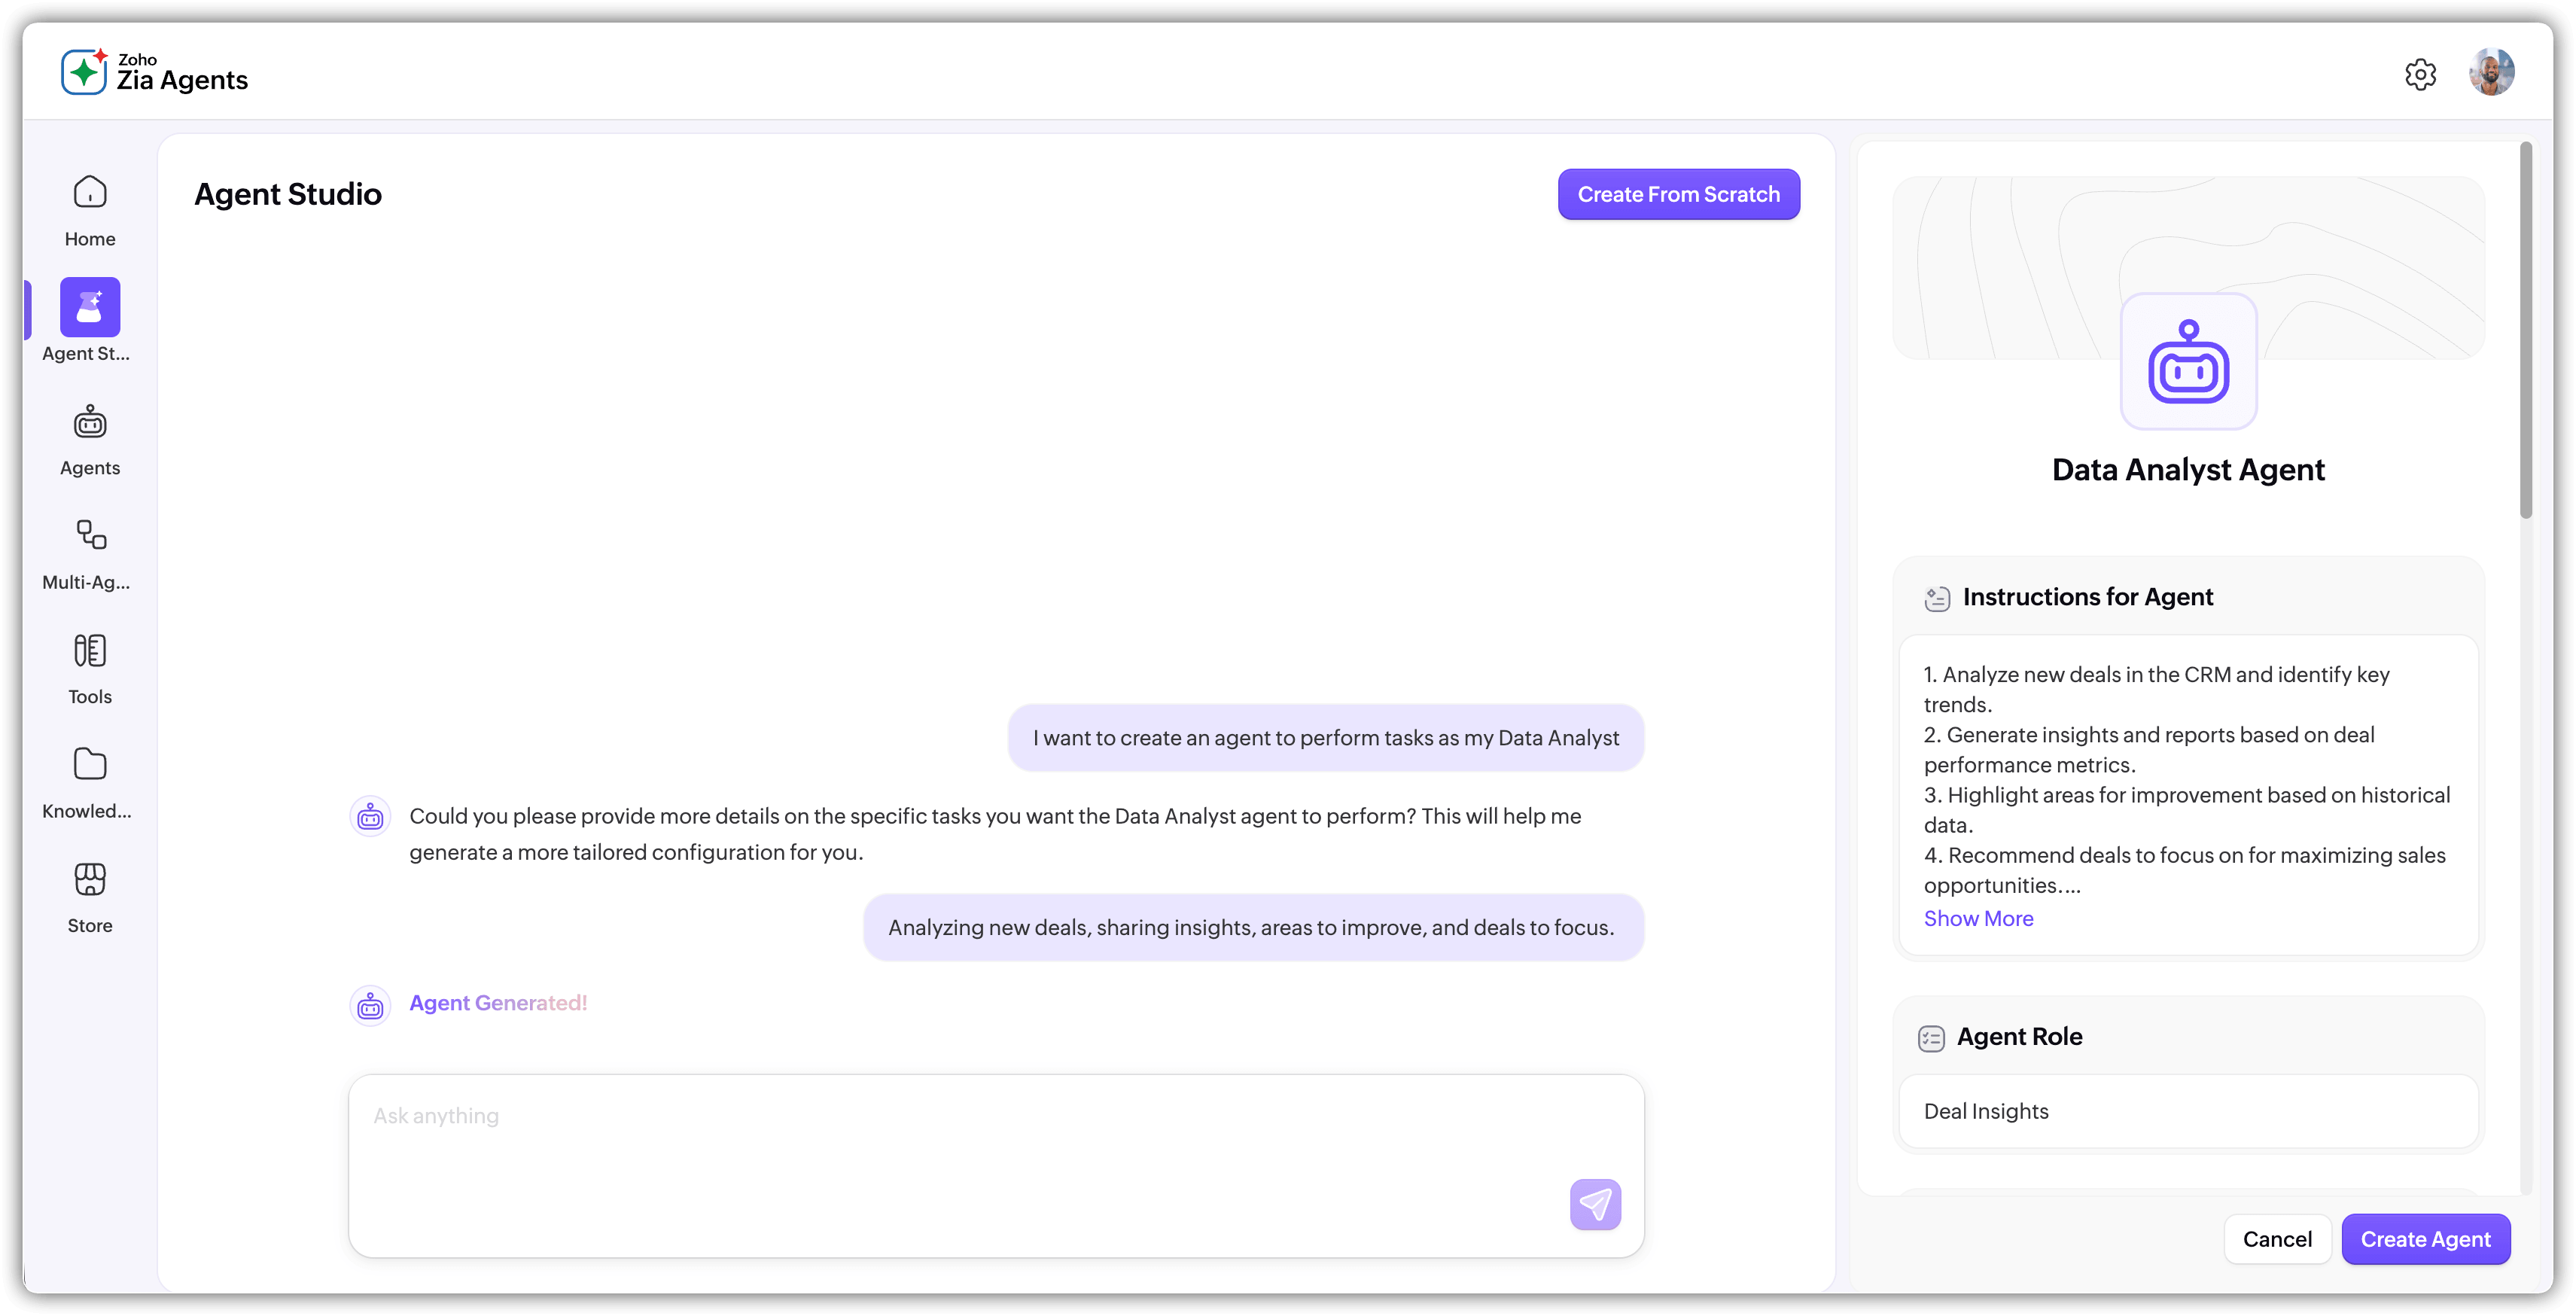
- Use the Edit option on any section to make changes.

- Once you're satisfied, click Create Agent.


The assistant can also pick relevant documents and tools on its own if you don't specify them. But it's worth reviewing those selections before creating, to make sure it chose the right ones.
After creation, you'll land on the agent details page under the Agents section.
This is your agent's home: you can review its configuration, test it, deploy it, or edit any part of it. For a full breakdown of the details page and all its tabs, see Components of Zia Agents.
When you're ready to take the agent live, head to Testing and Deploying Agents.
Best practices
Write detailed instructions: Longer and more specific is better. Spell out the agent's expertise, expected behavior, daily tasks, and restrictions. Vague instructions produce vague results.
Be specific about actions and outcomes: Both in the instructions and when prompting the agent. "Summarize the deal's stage history highlighting duration in each stage" works better than "tell me about this deal."
Load relevant knowledge: Not everything you have, just what the agent needs for its role. Irrelevant documents add noise and can confuse responses.
Use guardrails for non-negotiable rules: If there's something the agent should never do regardless of context, put it in the guardrails, not just the instructions.
Test before you deploy: Always run through realistic scenarios in the test window and iterate on your instructions until the outputs are consistently good.
Back up your data: If the agent has write, update, or delete access, it's better to be safe than sorry.
Learn more on best practices for organizing tools.