- HOME
- Email sending
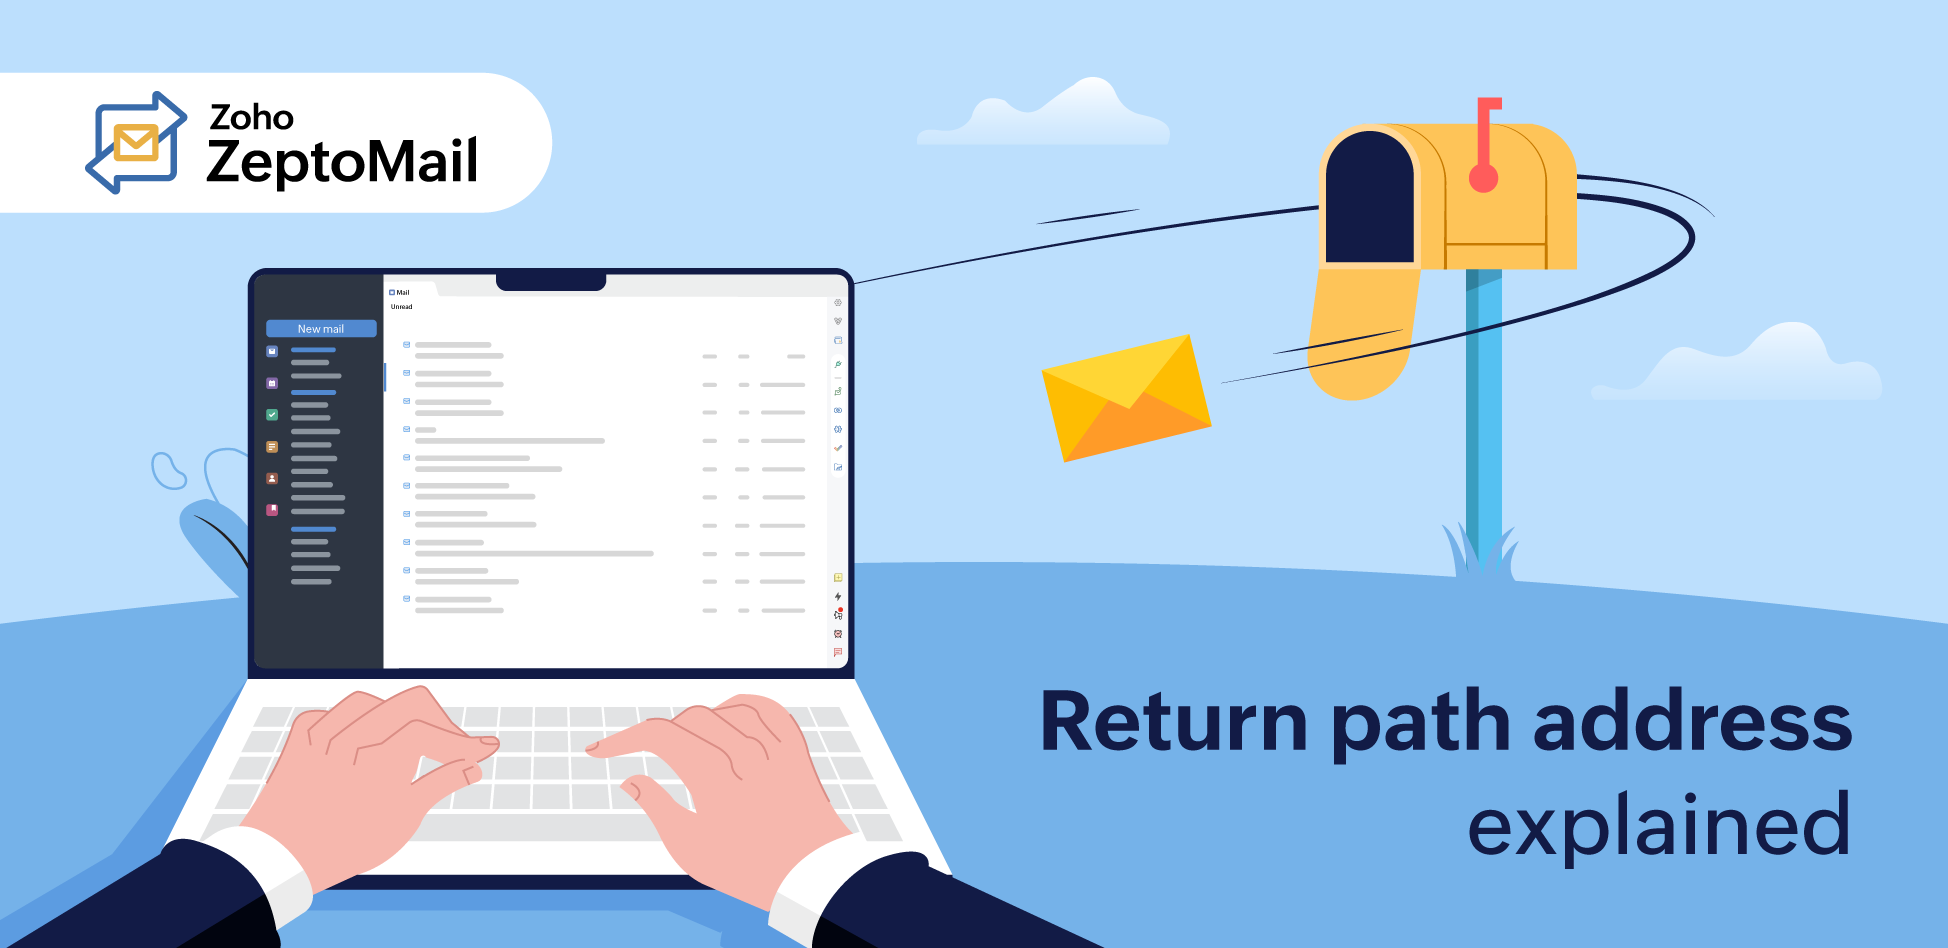
- Return Path Address explained : What it is and why do you need it?
Return Path Address explained : What it is and why do you need it?
- Published : March 20, 2024
- Last Updated : May 26, 2025
- 1.3K Views
- 4 Min Read
Not all emails you send land in the recipient's inbox. Some fall through the cracks and can go to a different place entirely. There could be various reasons for this. This article will focus on the where rather than the why. Any email you send will undergo scrutiny by the recipient server, which will decide if it can be allowed to go through. The emails that fail this scrutiny will be sent to a separate address called a return path address, bounce address, or MAIL FROM address.
This address is important especially when you have to authenticate your email sending domain. Let's look at how this works.
Why do you need a return path address?
To understand why you need a return path address, you should know what a return path address does. A return path address:
- Captures your bounced emails.
- Validates a domain's authenticity.
The use of bounce addresses in capturing your bounced emails is beneficial to the emails you send. By knowing the number of email bounces and the reasons for those bounces, you’ll be able to tailor them according to your email needs. Bounces play a key role in determining how well your marketing campaign is going.
While bounces are undesirable for marketing emails, they should be completely avoided when you send out transactional emails. This is because bounces in marketing emails will only mean a customer isn’t being engaged, but transactional email bounces will result in a customer being unable to complete their intended action. An action here could be expecting a security code for an important bank transaction or expecting a signup confirmation link. Such delays could perplex them and lead to a loss of trust in your brand.
Moreover, frequent bounces can reduce your reputation in the eyes of the receiving server, which over time will brand your domain as untrustworthy. Eventually, emails from these domains will start being sent to the spam folder.
Another function of the return-path address is in carrying out the SPF, DKIM, and DMARC checks. The return-path address is validated against the domain that’s been authenticated using SPF and DKIM. This check is performed by DMARC in an attempt to curb spoofing and phishing attacks.
When a sender adds their bounce or return-path address, they use the email sending domain. For example, for the domain abc.com, the bounce address could be bounce@abc.com. When a bad actor tries to spoof your account, the return path they use will be different from the one the domain owner had configured. So, when the SPF or DKIM check is carried out, due to the mismatch in the address, this would result in a misalignment in the SPF and DKIM records. DKIM and SPF alignment is essential for DMARC validation. Keeping this alignment in check helps you ensure that your emails land in your recipients' inbox.
No matter what your From address is, it’s the return path address that you configure that will be checked. A non-existent return path address won’t be able to receive the bounced emails, but it can also affect your domain authentication.
How does the return path work?
Contrary to the assumption that the return path will be sent along with an email, they’re usually added by the recipient server when they accept it. This is followed per RFC 5321.
When an email is sent out, it can be bounced due to multiple reasons. Some of the broadly classified ones are hard and soft bounces. On such occurrences, the email will be sent to the return path address mentioned in the email header.
How to add the return path address
Email service providers (ESPs) like Google, Yahoo, Zoho, and others add a bounce or return path address while sending out emails. This applies to your marketing or transactional emails, too. To add a custom email address, you can contact your ESP to create it.
The reason you should customize your return path address is to comply with the DMARC policy. DMARC policy works based on the concept of identifier alignment, i.e., the domain that is verified using SPF and DKIM will be compared with the one mentioned in the return path. So you should make sure you add the same domain in your return path address and for SPF and DKIM.
Some email service providers merely display the bounce data within their account. In such cases, you can add your custom return path and verify it by adding a CNAME record to your DNS. CNAME is a type of TXT record that’s used to point to a domain. Every domain will have an IP address tied to it. An IP address is synonymous with a house address. It uses this IP address as a domain located in the Internet. When your domain has a subdomain associated with it, you link it to the main domain using a CNAME record.
Here, when you add a custom return path value, you’re adding a CNAME record pointing to the email service provider. This will help you redirect the bounce emails sent to your domain to your email service, which will then be used to show the bounce stats.
If you’re using Zoho ZeptoMail, you can follow the steps given here to add your bounce or return path address.
Some of the prerequisites to add the return path address are:
- A verified domain.
- A Mail Agent associated with the domain.
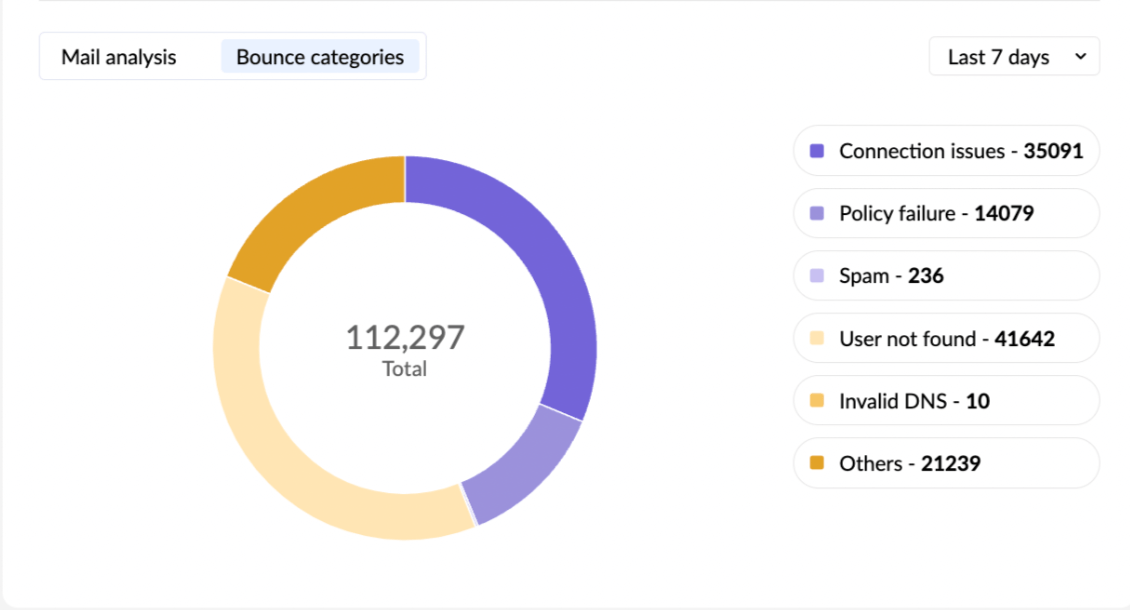
The bounce address that you add in your ZeptoMail account will be used to capture the bounced emails. The bounce stats will be shown to you in. a graphical format, like the one shown below.
Wrapping up
The return path is used to receive bounced emails. Apart from this, it’s an important parameter in DMARC authentication of an email sending domain. Even the return path address will work like a small cog in the machine of deliverability to get your emails through.