More Actions - Users
Let's have a look at the major and additional actions that you can perform in the Users module.
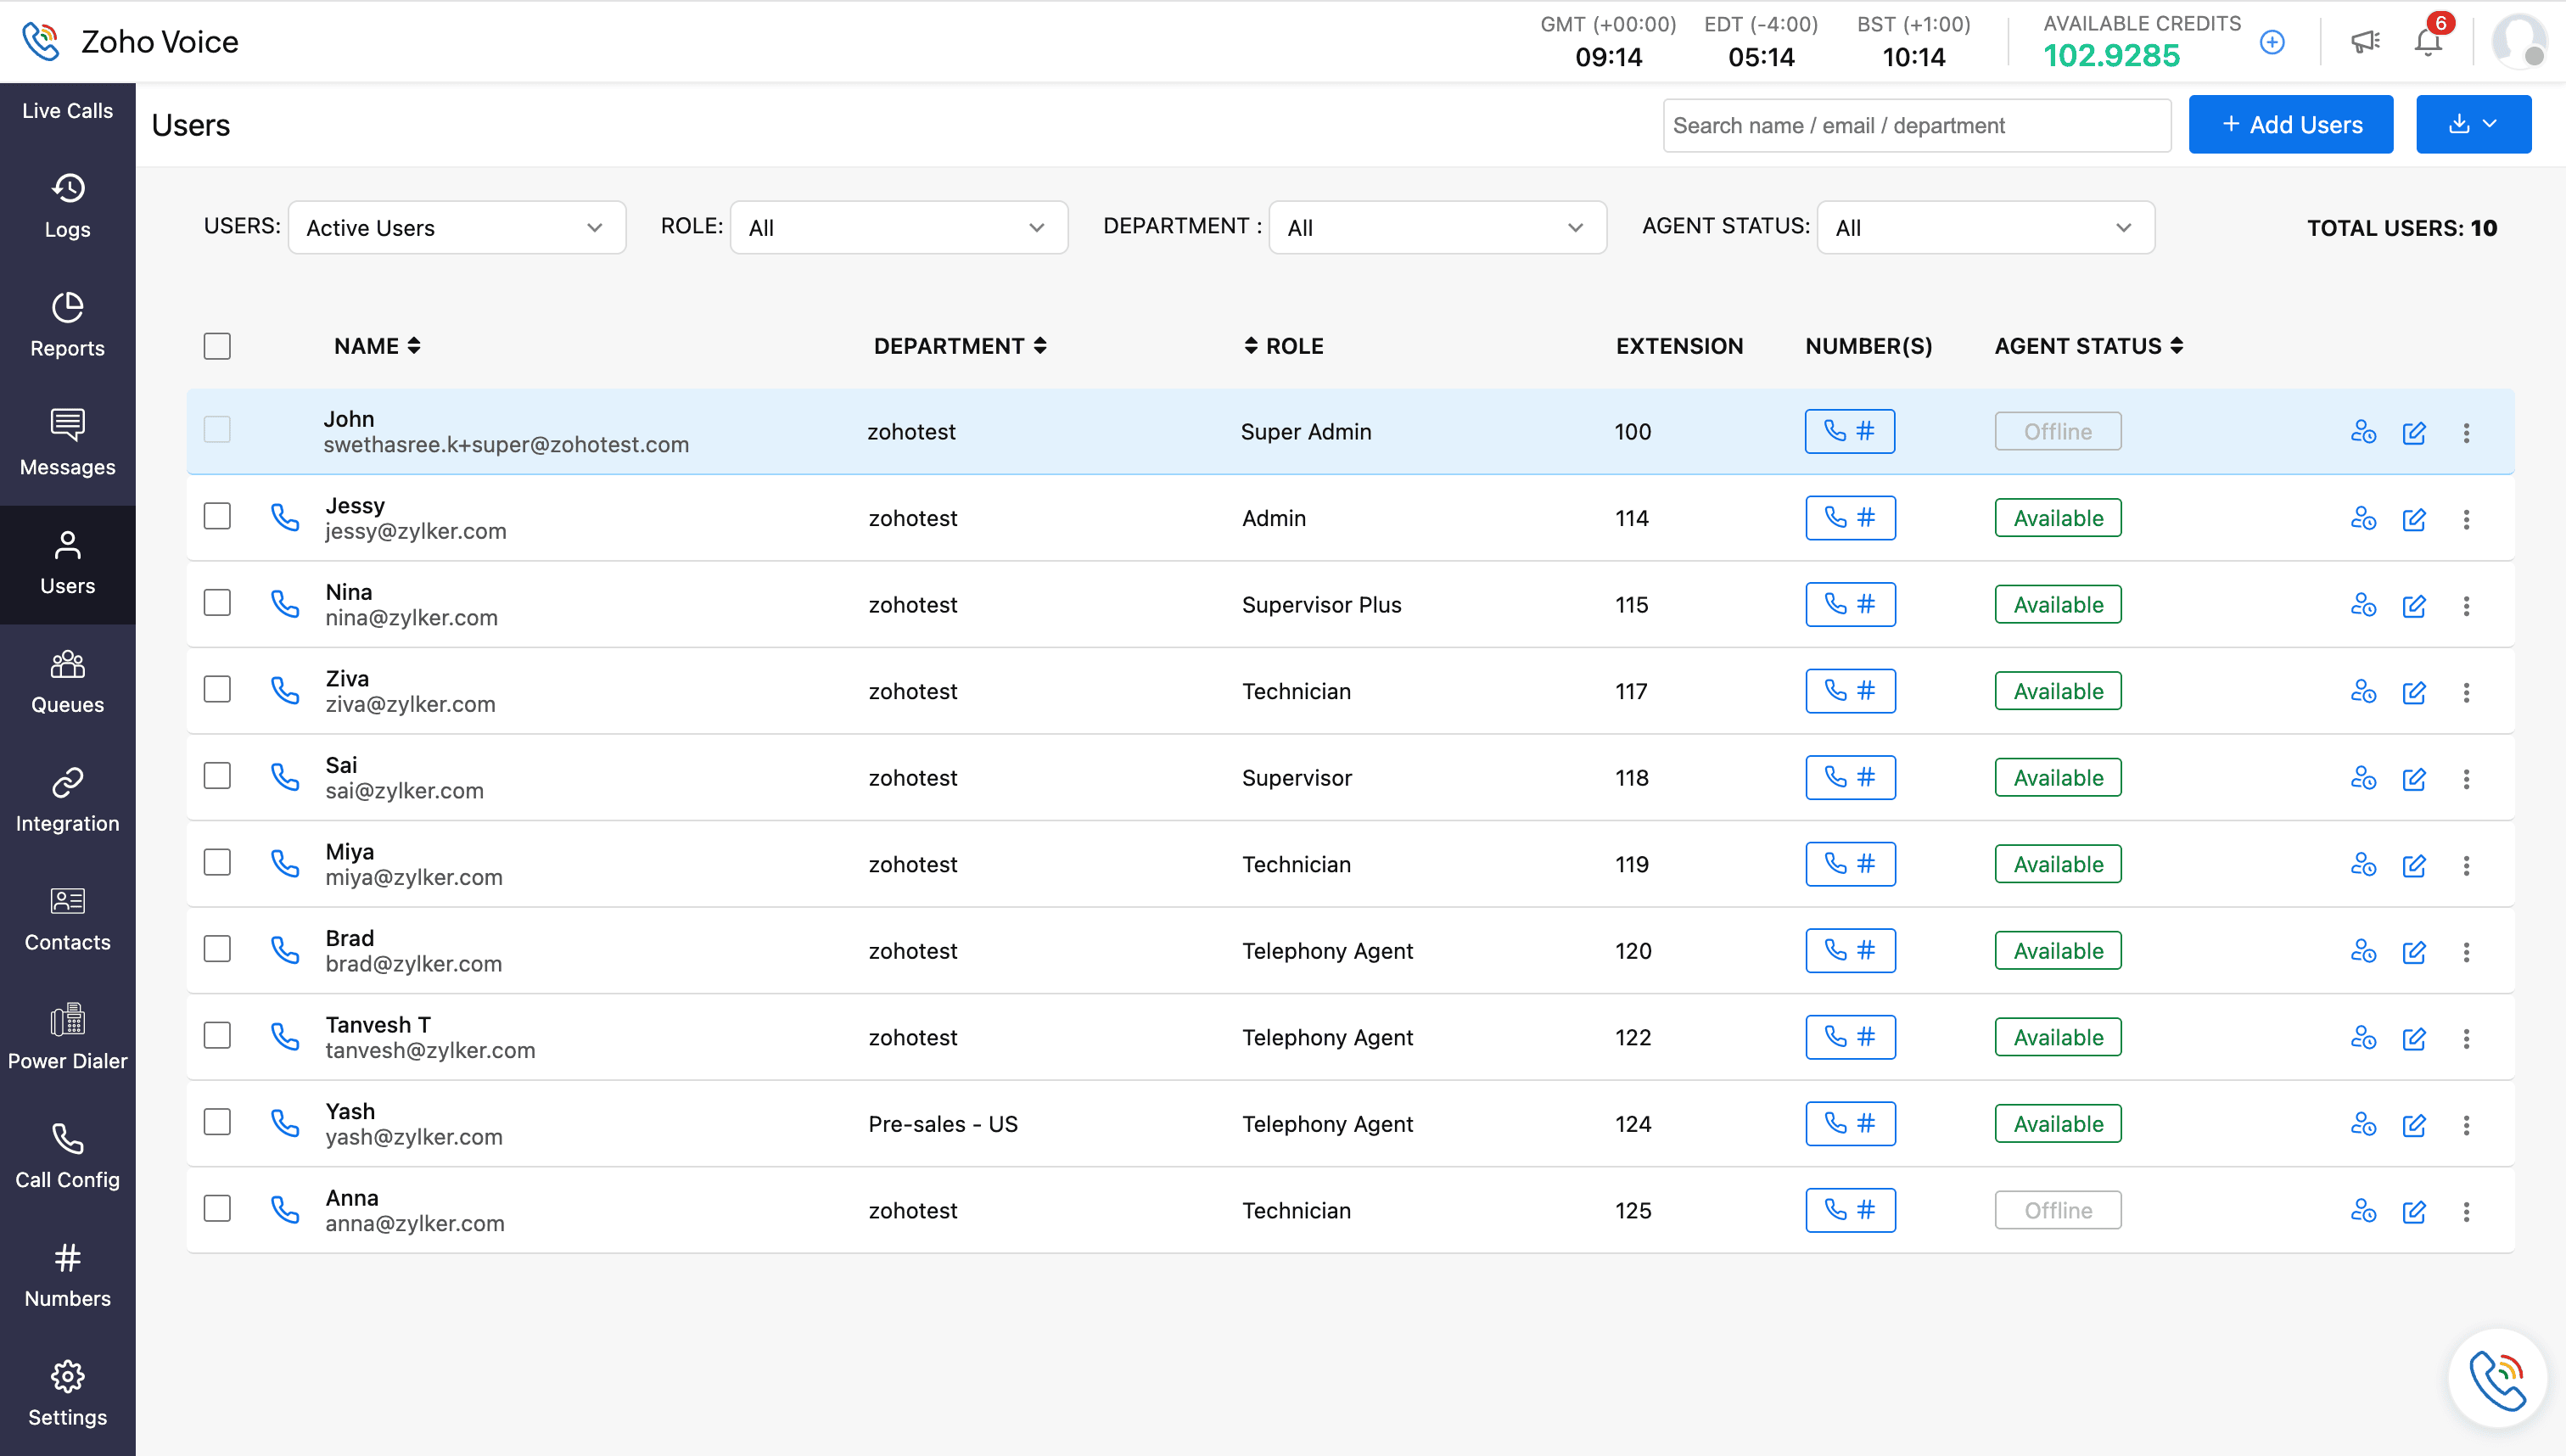
Filter & search users
You can filter users based on user category, role, department, and agent status.
To apply filters:
On the Users homepage, select the required filters from the dropdown menus. You can select multiple departments and agent statuses.
Note
The user category filter (Active or Inactive) is visible only to super admin and admins.
To search for a specific user, enter their name, email, or department in the search bar at the top-right corner.

Edit user
To edit a user profile:
On the Users homepage, click the Edit icon of the desired user profile.
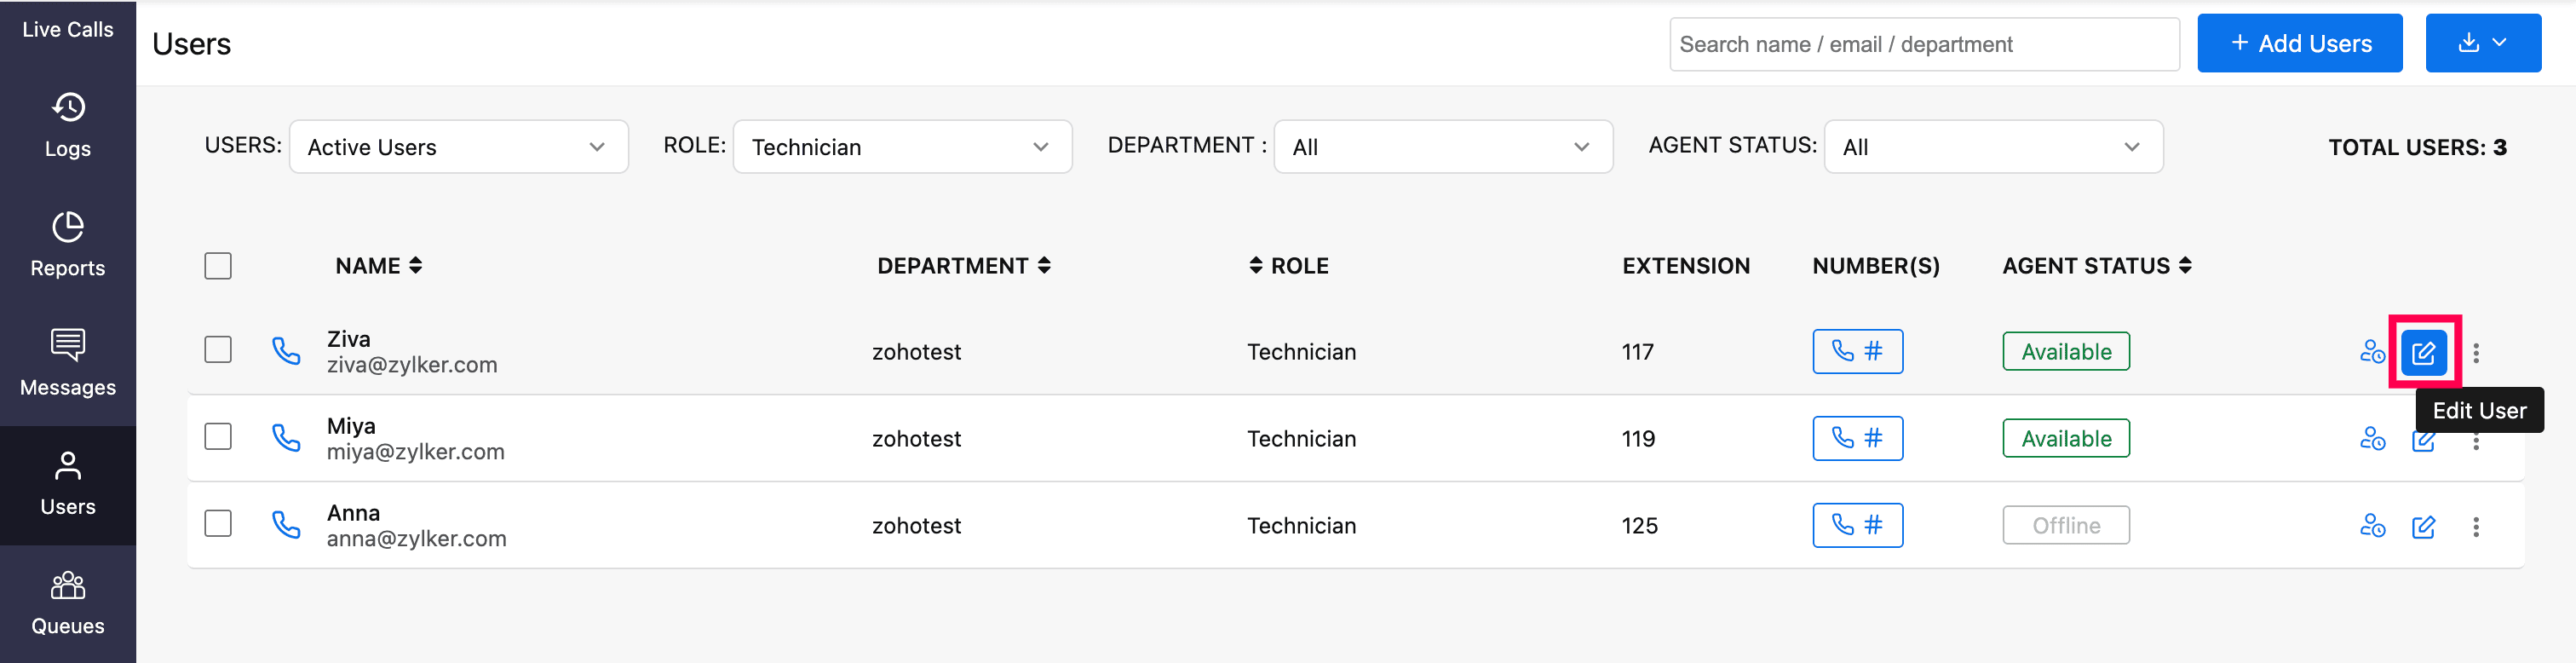
You can update all available fields except for the email address.
Note
The ability to edit other users' details depends on your role. For example, a supervisor can update the profiles of technicians assigned to them, while technicians can only edit their own profiles.

Agent customization (in Edit user page)
You have the option to customize agent status in the following ways:
Max Unanswered Calls: Set a limit on the number of missed calls before the system automatically changes the user's status to On Break. If the agent doesn't answer the set number of calls, their status will update automatically. Simply enable this option and adjust the call count as needed.
Note
Applicable only to queue calls. Minimum range: 1 call, and the Maximum range: 10 calls.
Call Wrap Up Time: This setting defines the duration allocated to an agent to complete post-call tasks before they become available for the next queue call. Enable the toggle and specify the wrap-up duration in minutes or seconds.
While wrap-up time is active, the agent’s status changes to Wrapping Up, and no queue calls will be routed to them. A countdown timer appears on the dial-pad, and the agent can manually end wrap-up by clicking their status and selecting Exit Wrap Up. The wrap-up timer will automatically end if the agent receives an incoming non-queue call or initiates an outgoing call.Note
This is applicable to all kinds of queue calls. Maximum time that can be configured is 60 mins.
The screenshot below illustrates how the wrap-up timer is displayed. 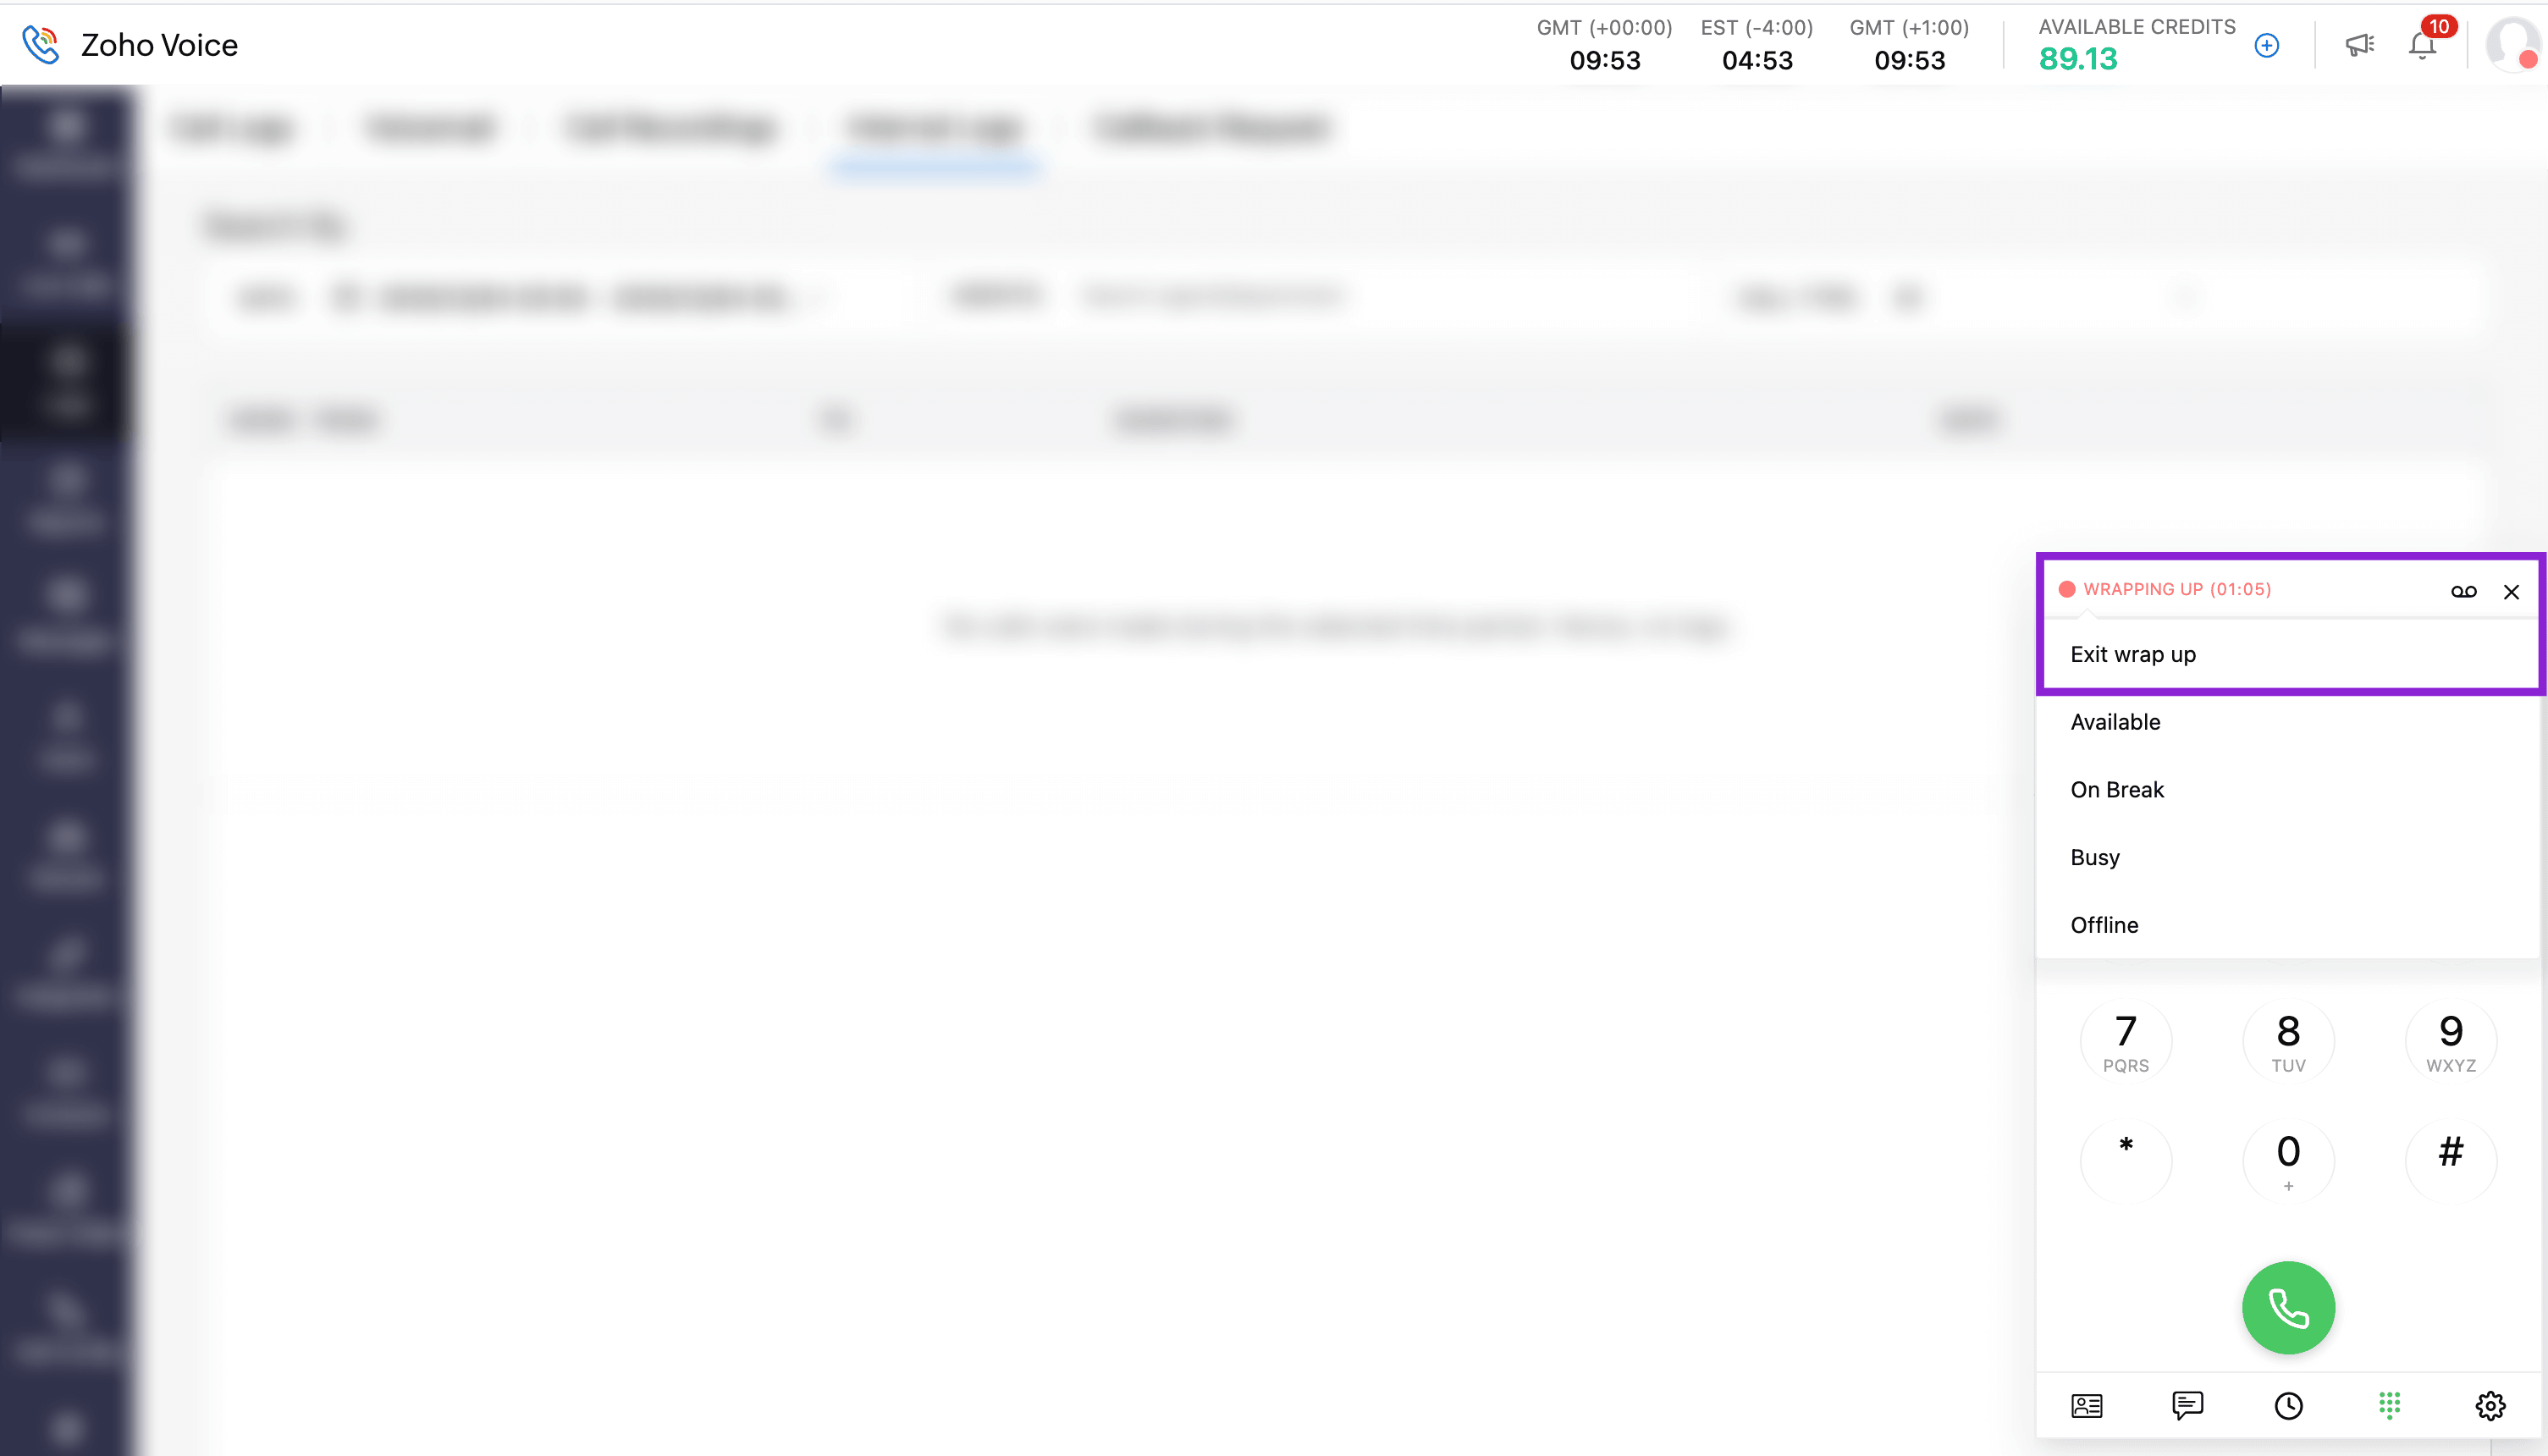
- Agent Status Schedule: You can define your availability for each day by scheduling specific time slots. Add multiple time intervals to indicate when you’ll be available and when you’ll be offline. You can also choose to enable or disable this option as needed. Learn more about the agent status schedule.
Notification Mode: Notifies check-in/out status updates to the respective user or agent via email, mobile, or both. Users can choose their preferred notification method or can opt out of notifications entirely by choosing the Do not notify option.
Once all the updates are made, click Save.
Disable & delete user
Note
Only super admins and admins have the provision to perform these tasks.
To disable a user:
- In the Users module, click the three-dot menu (ellipsis) next to the user's profile.
Select Disable from the dropdown. The user will receive an automatic email notification about their user status change.
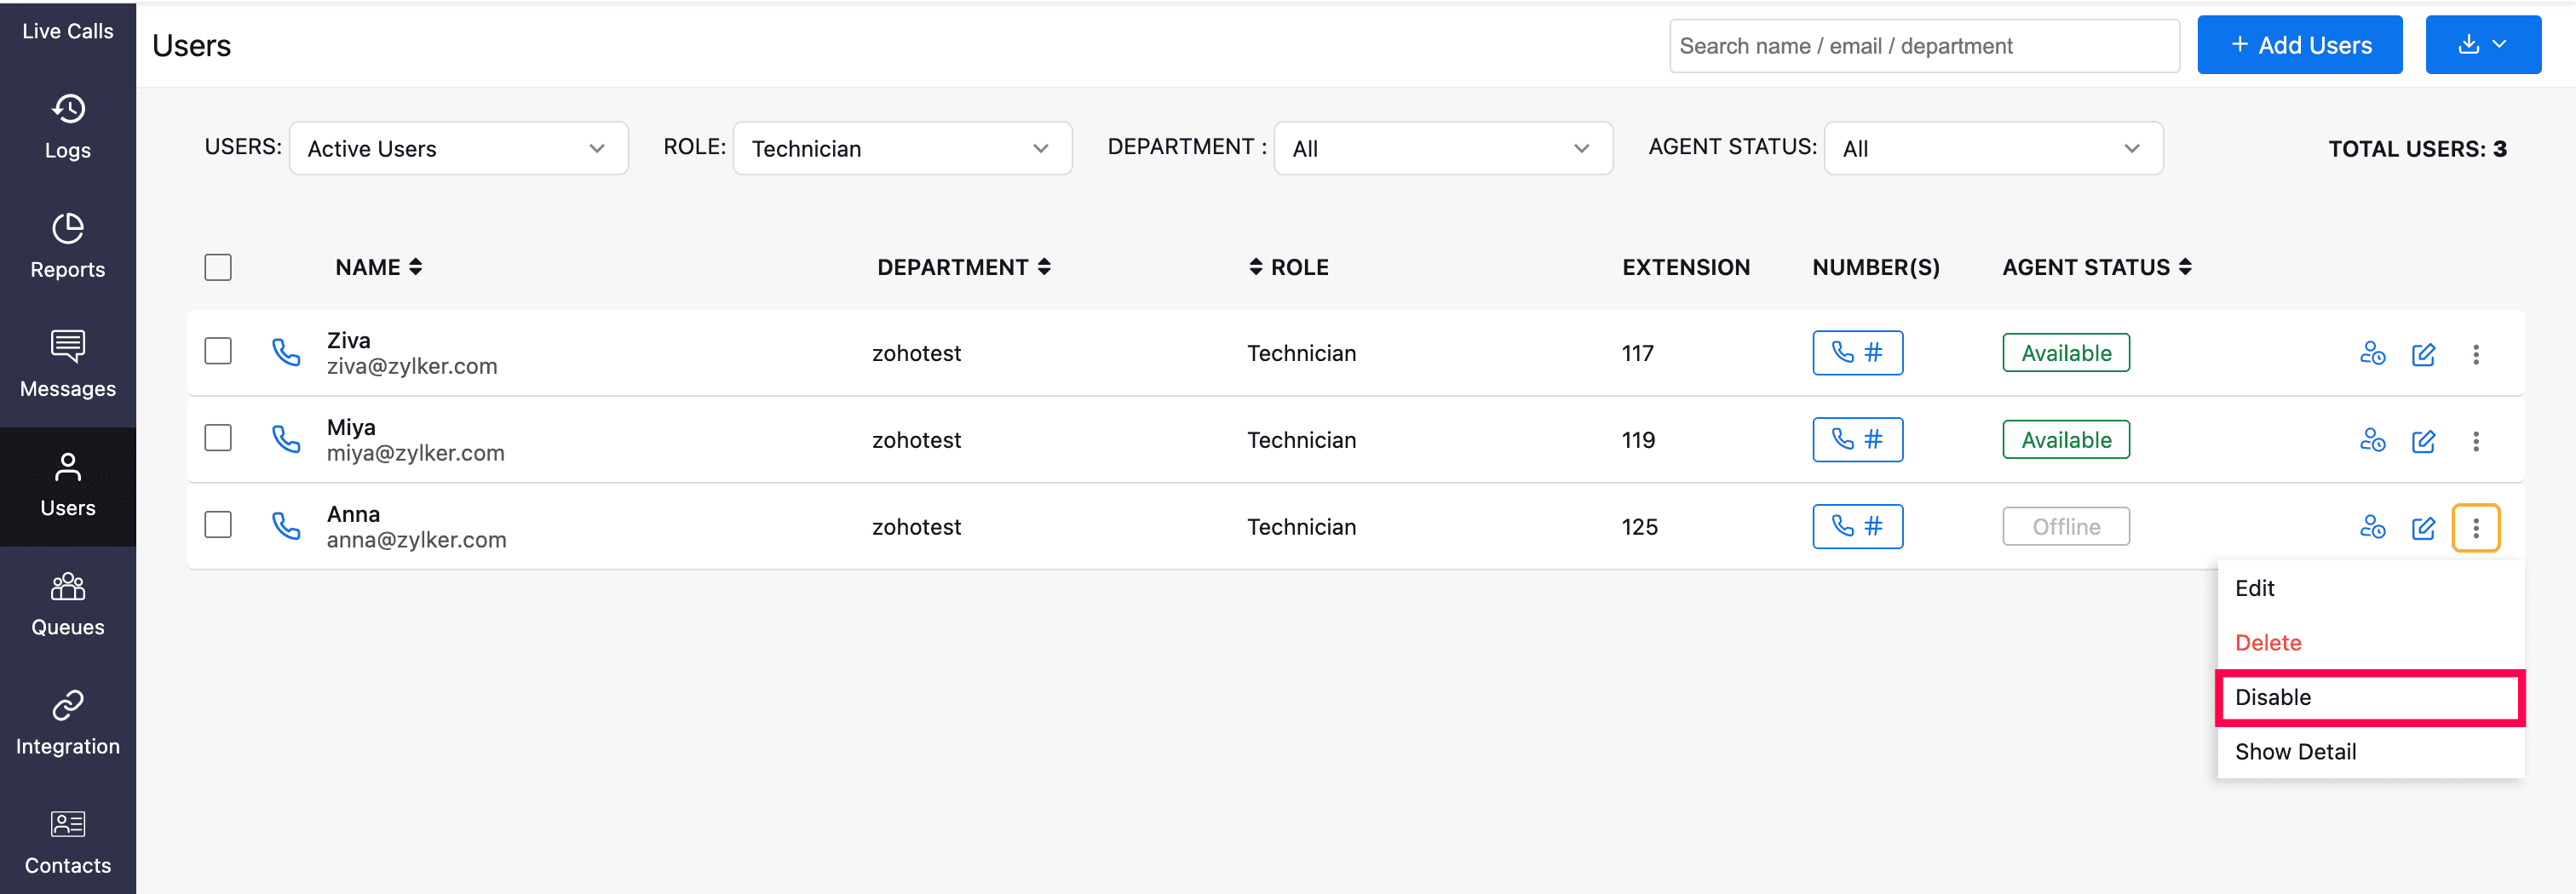

A disabled user will be listed under the Inactive Users category. You can enable them anytime to restore their active status.
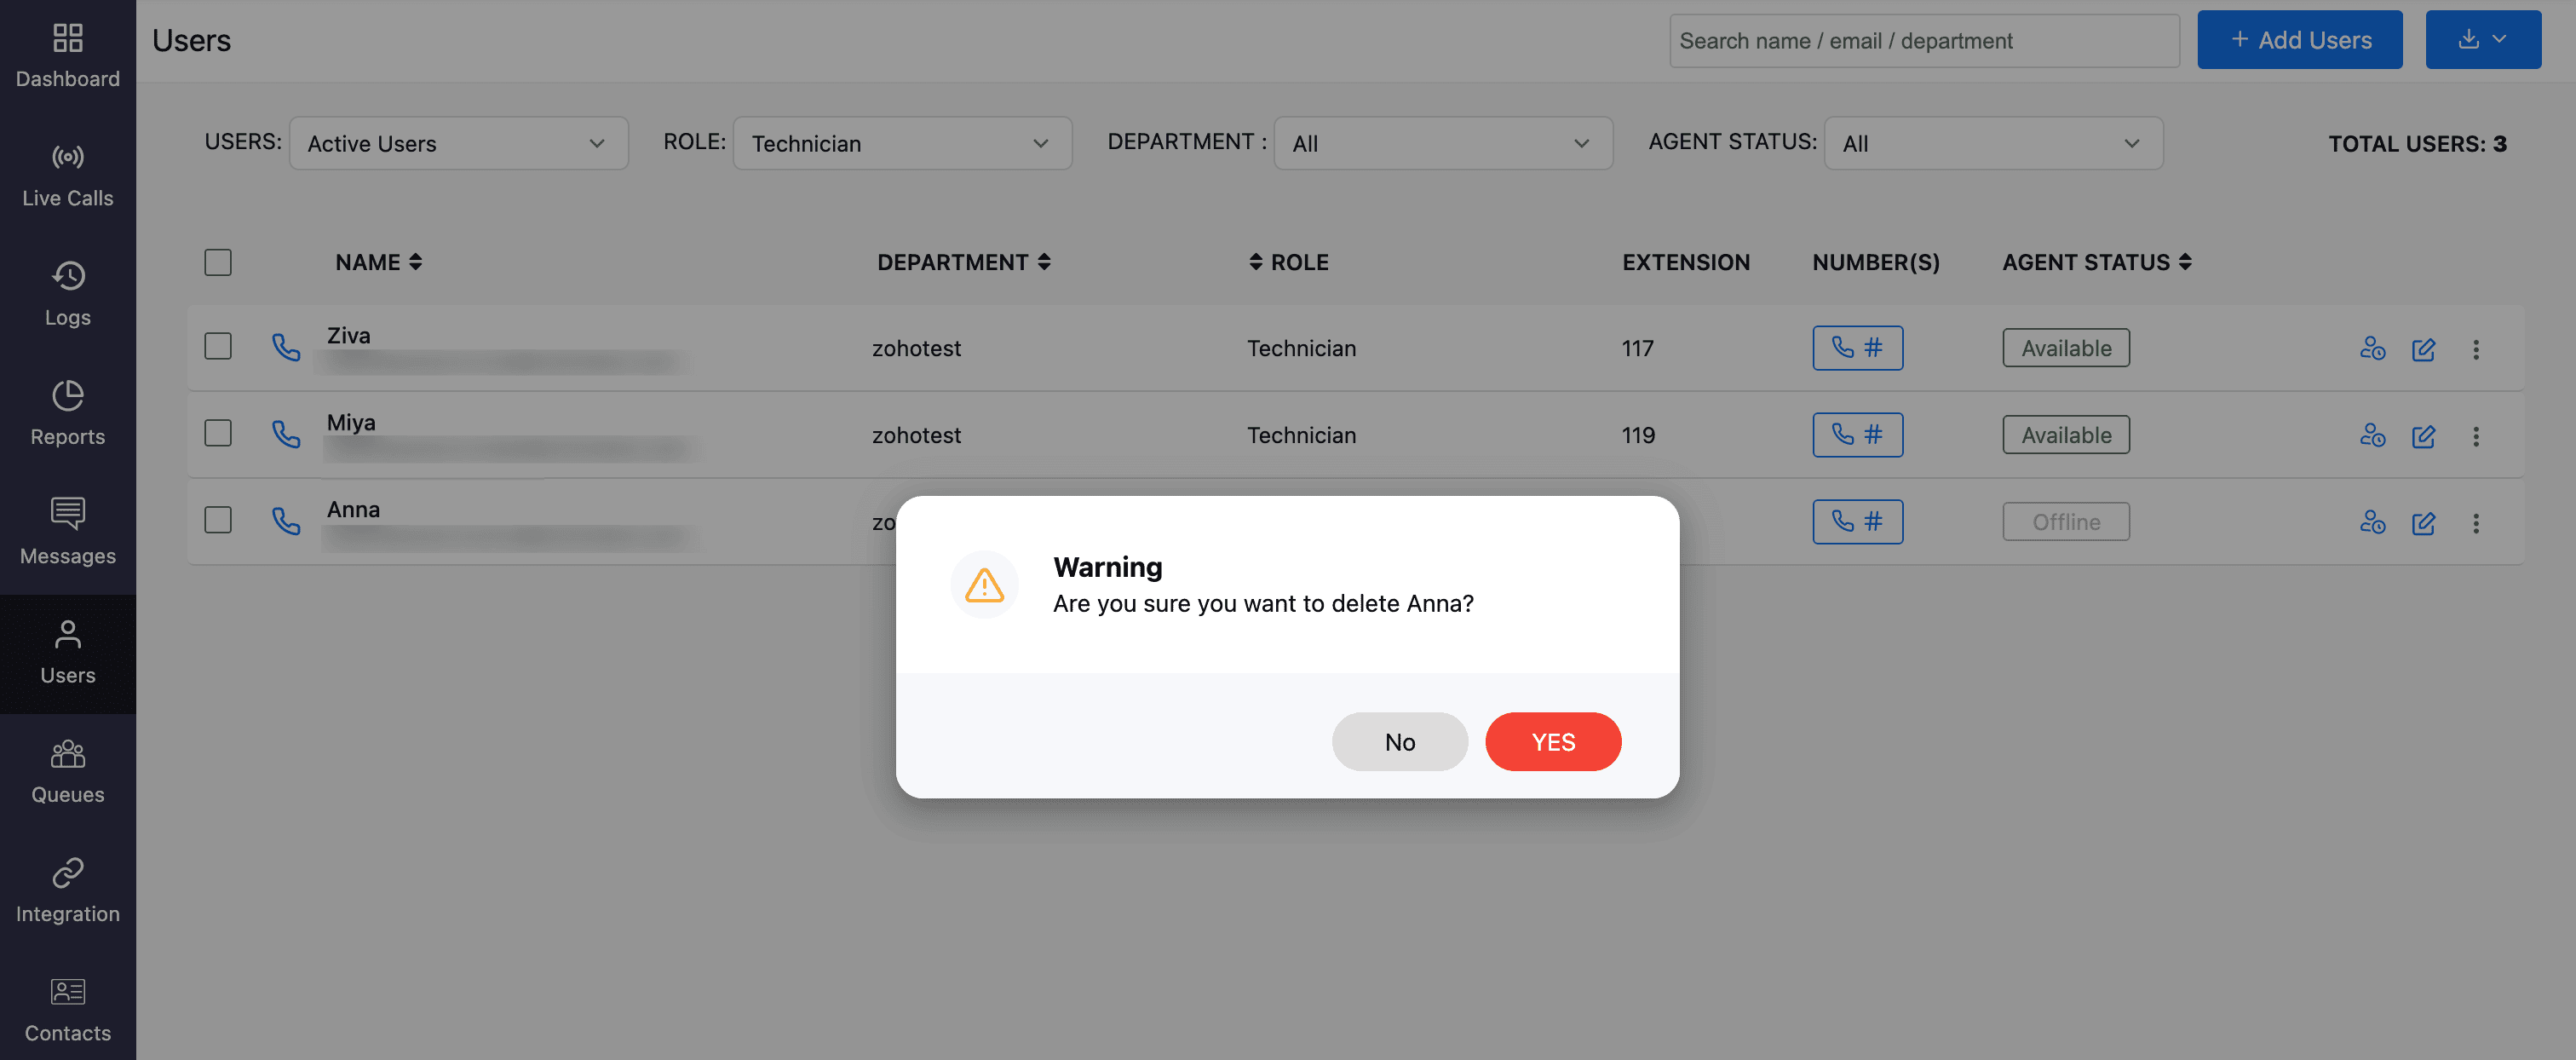
To delete a user:
- In the Users module, click the three-dot menu (ellipsis) next to the user's profile.
Select Delete from the dropdown.
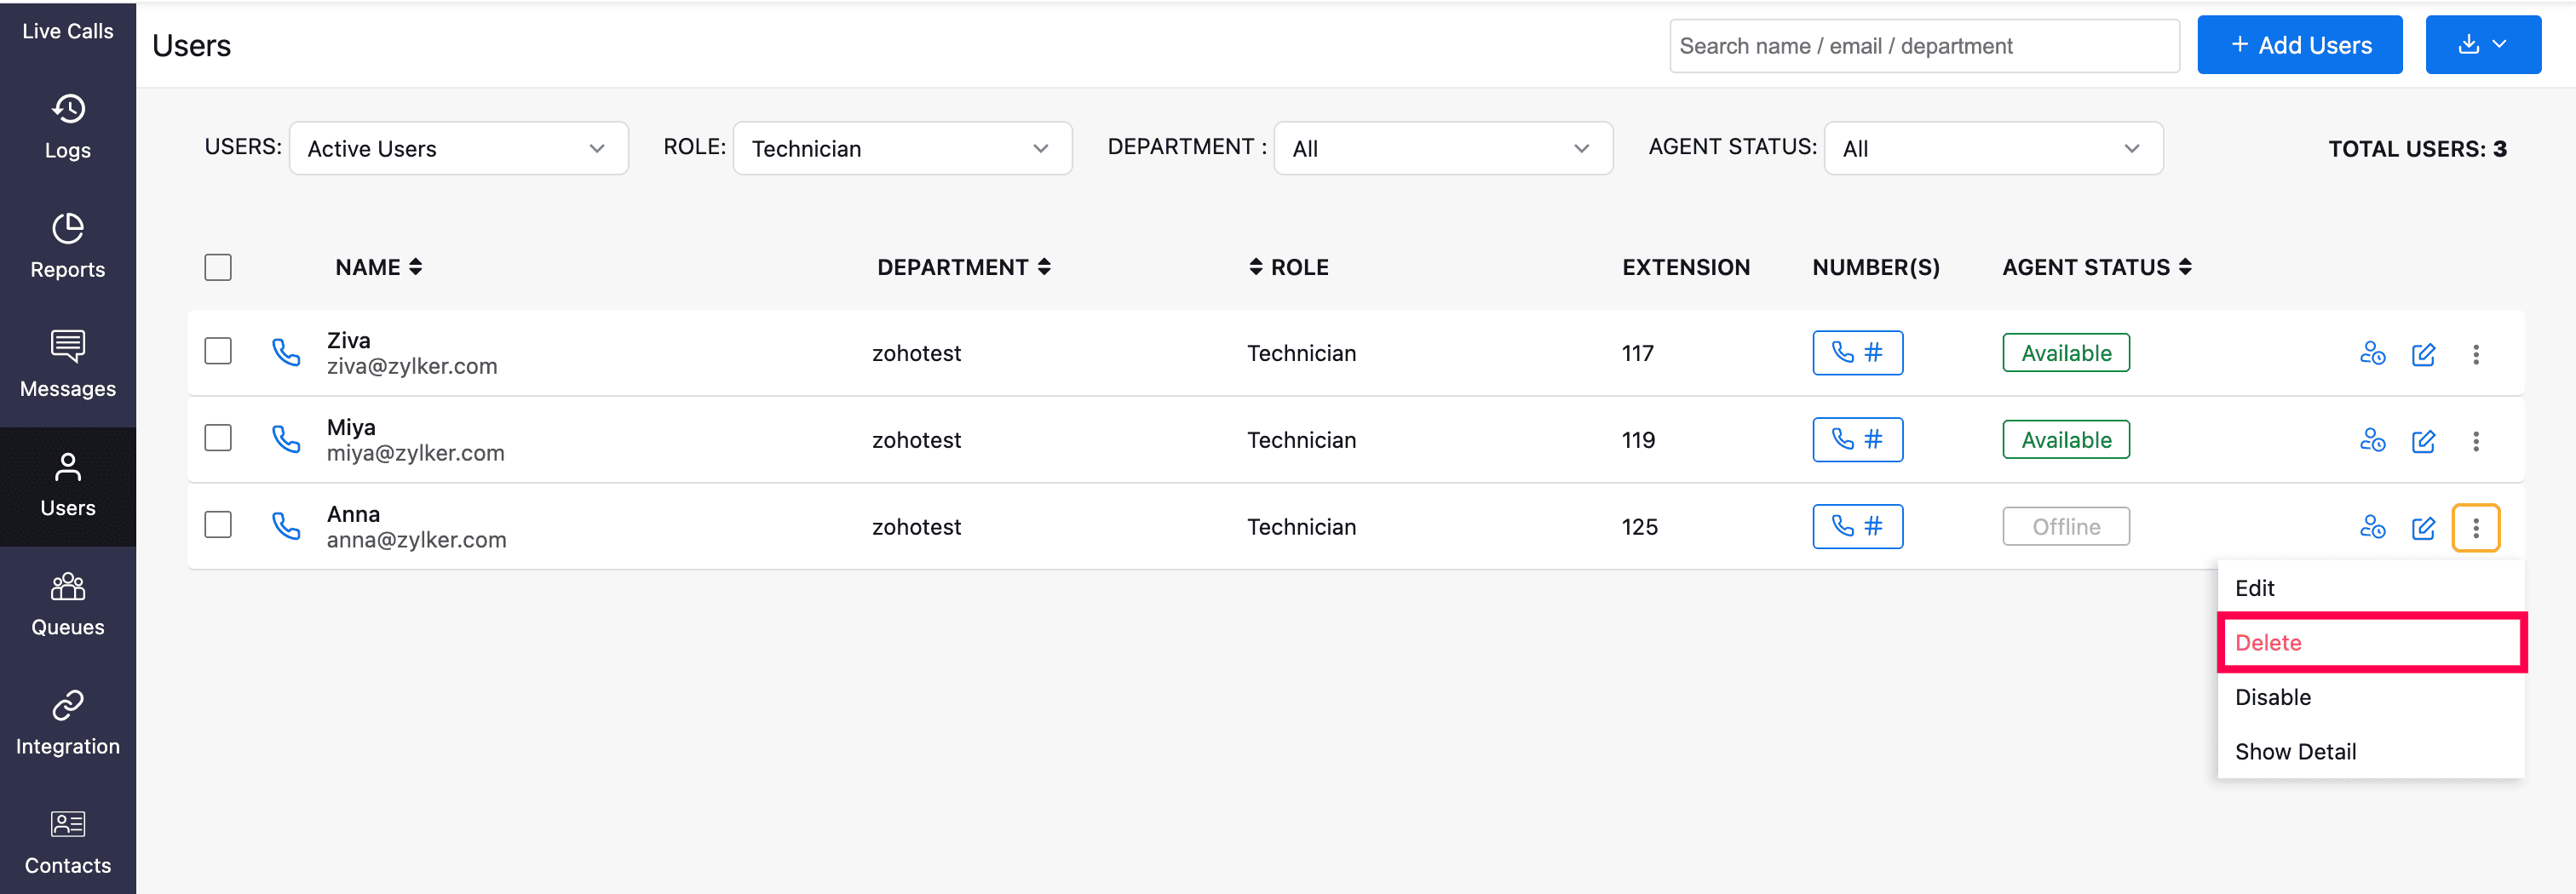
In the warning prompt, click Yes.
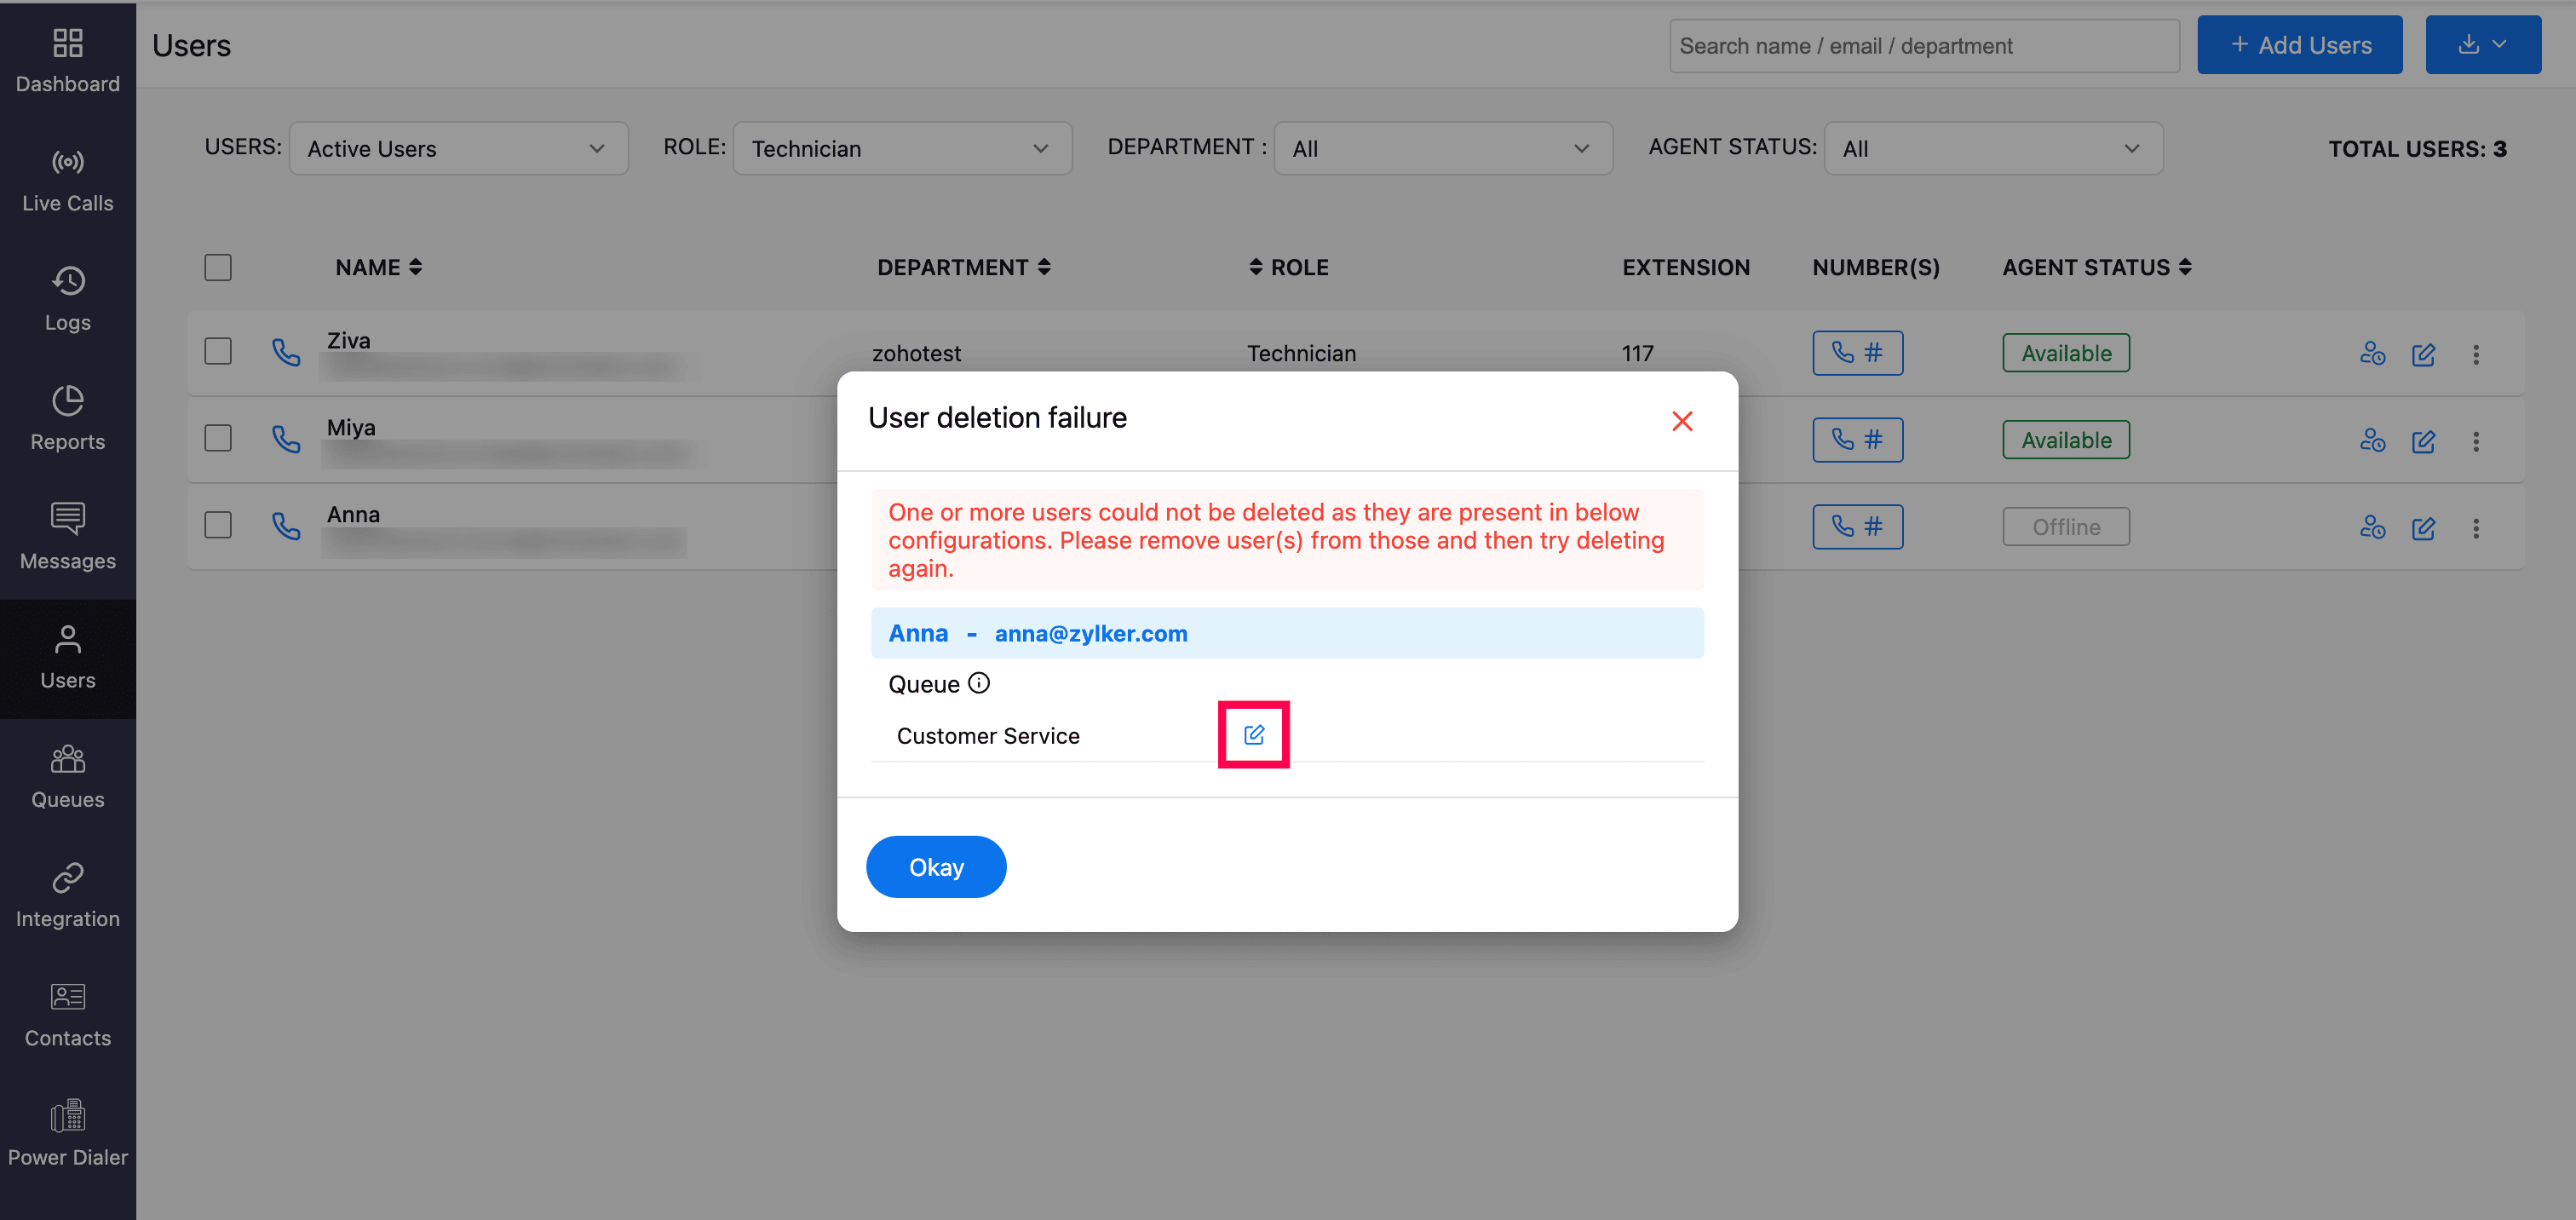
Note
If a user is assigned to one or more queues, a warning pop-up will appear indicating that the user cannot be deleted. To proceed with deletion, first remove the user from all assigned queues. Click the edit icon next to the queue name to navigate to the Queue module and update the assignments.