
Back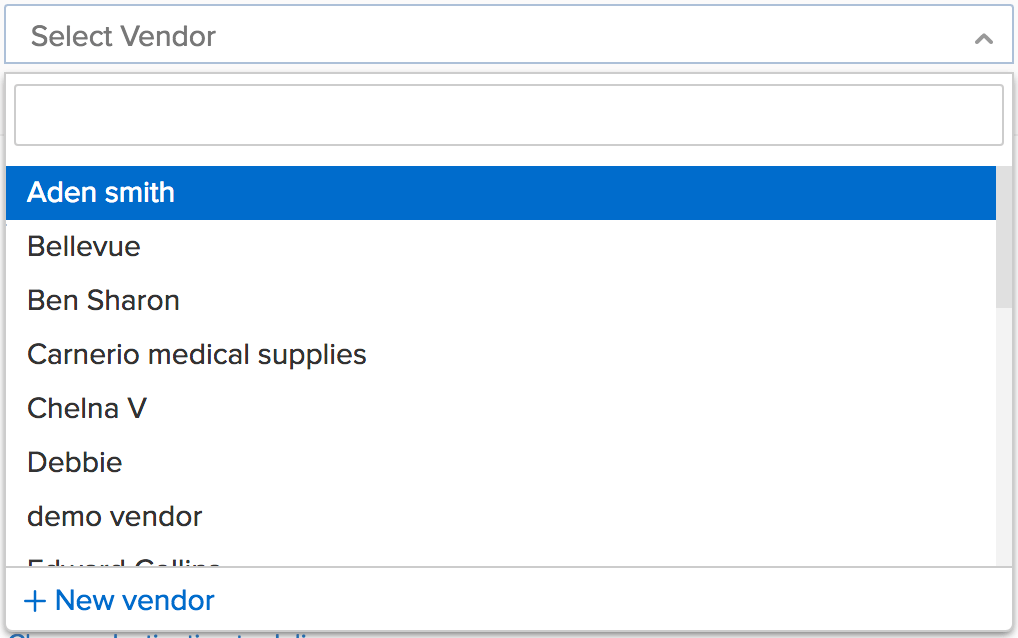
How to create a purchase order?
- Click on the quick create (+) icon next to the Purchase Order tab or the +New icon placed on top of the purchase order window to create a new purchase order.
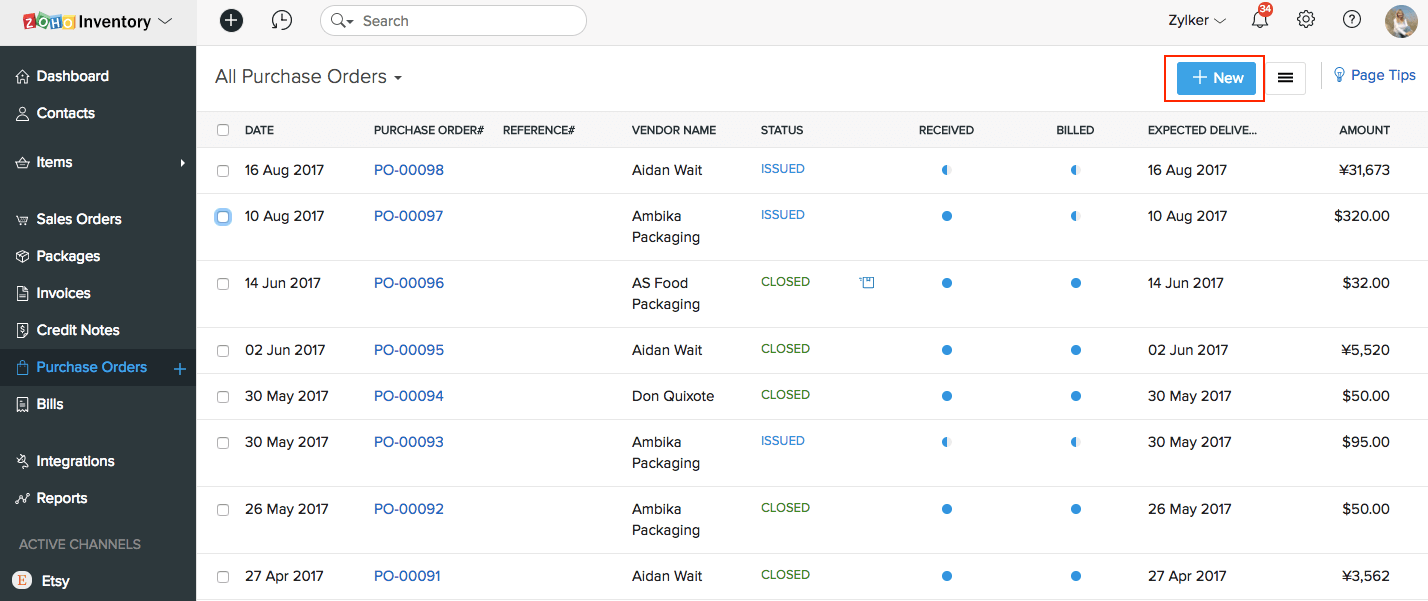
- You will be navigated to a new window for entering the details for the new purchase order to be created.
Enter the details for the vendor related fields
- Under the Vendor name field, you can either pick the vendors from the list you have already created or you can add a new vendor by clicking on the + New Vendor option.
- If you choose the option to add a new vendor, a new contact creation tab opens up
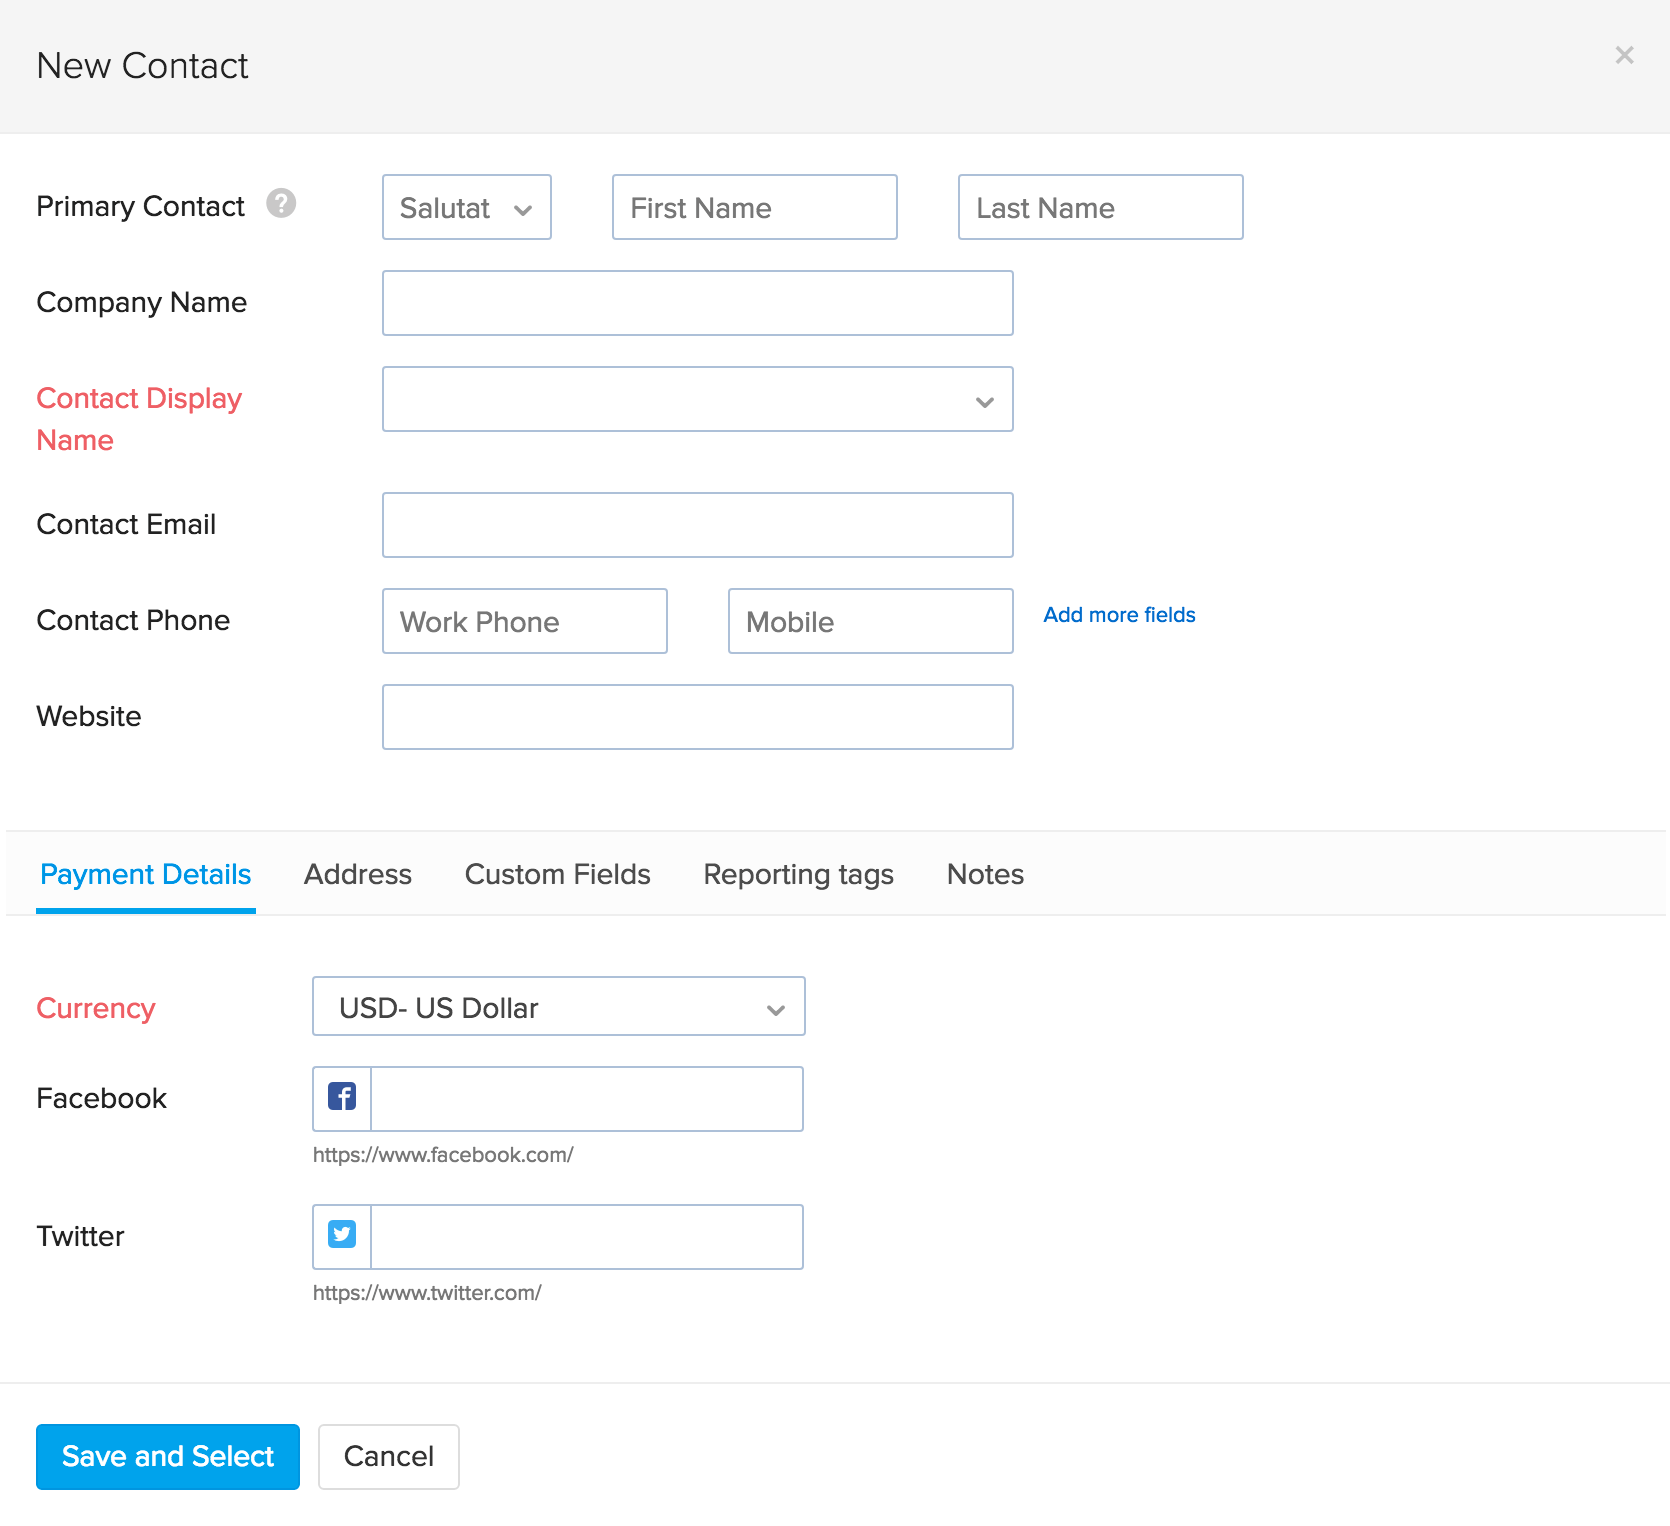
- After filling up the required details, click on Save And Select to add the new vendor to the purchase order being created.
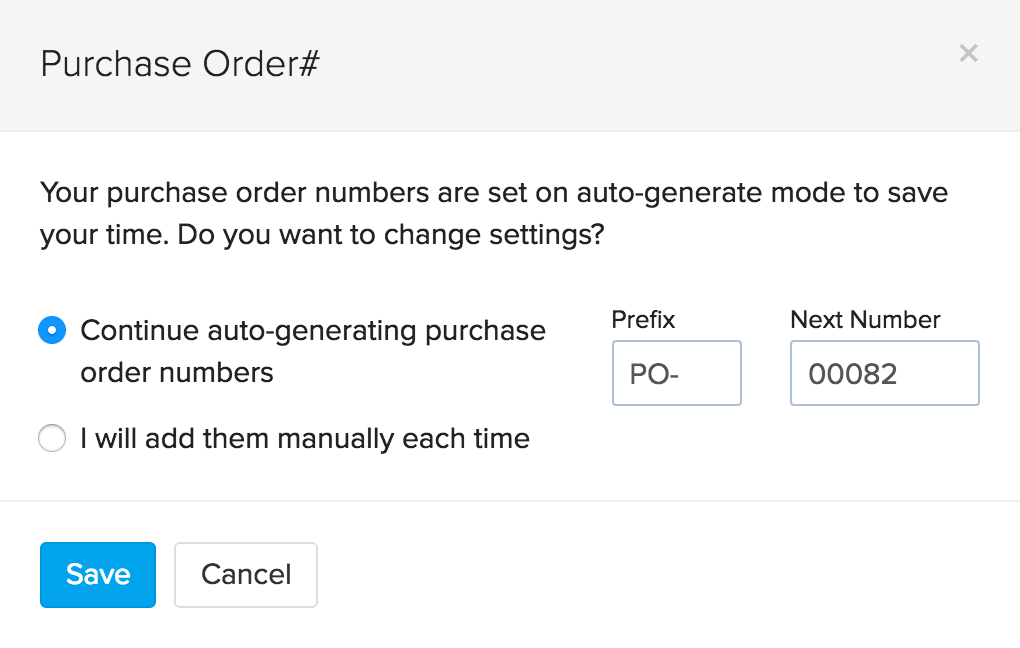
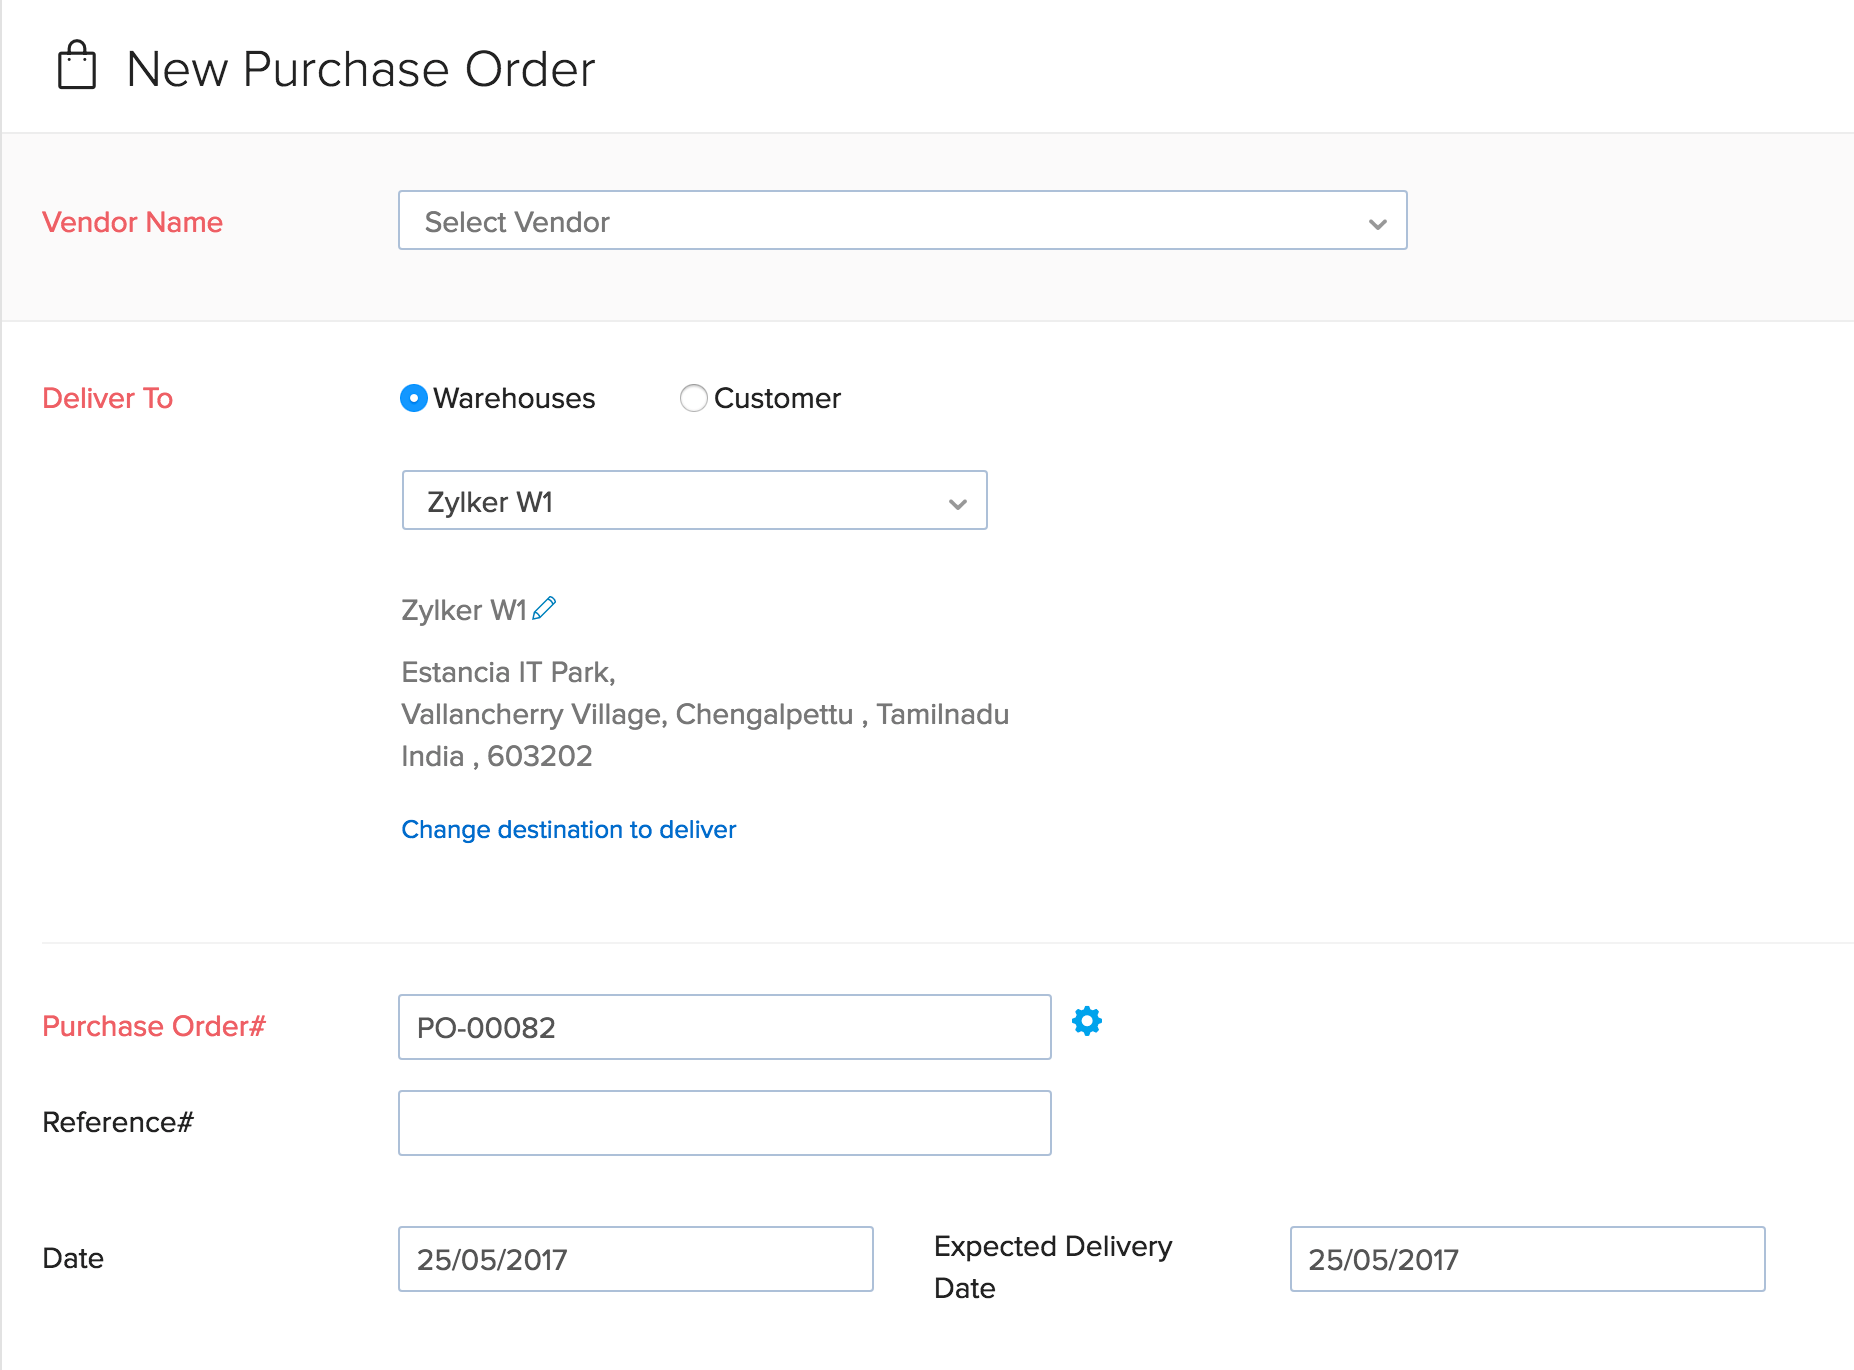
- In the Purchase Order# tab a purchase order number is generated by default.
- If you wish to manually enter a purchase order number:
- Click on the Settings icon next to the tab.
- A pop-up will appear where you can select between auto-generated estimate number or manual entry of purchase order numbers.
- Date tab is the date on which the purchase order is created.
- In the Expected Delivery Date tab, you can set the date by which the product should be delivered by the vendor to the you.
- In the Shipment Preference tab, you can choose or type to add the preferred method of shipment to be done by the vendor.
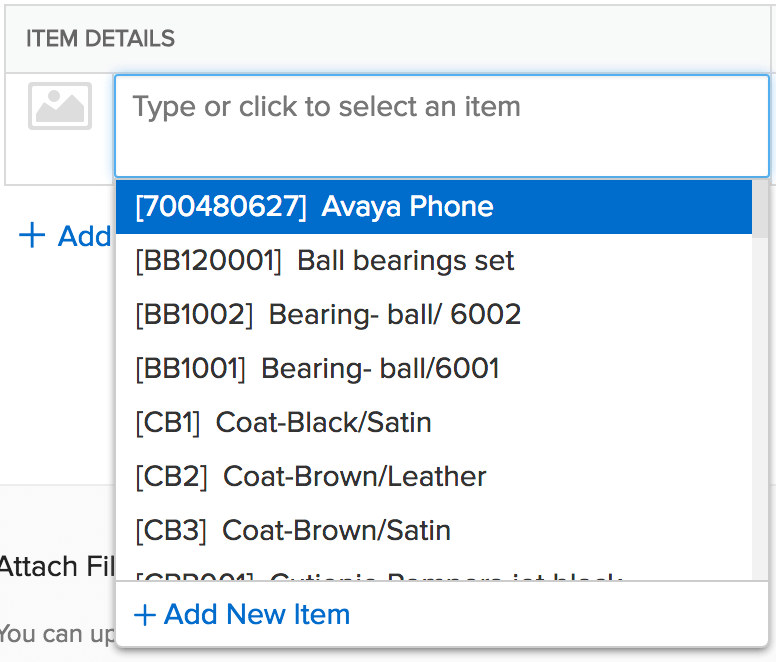
Enter the Item Details for the Purchase Order.

- Items can be added from the list of items shown in the drop down that have already been created by you in your Zoho Inventory account.
- To add another item, click on Add another line option.
- Enter the Quantity, Rate and Tax if applicable from the drop down.
- Tax drop down shows the taxes you created in the settings tab under taxes section and an option to add a new tax if applicable..
- You can enter the Notes and Terms & Conditions for the purchase order.
- Check the Use this in future box to use the terms & conditions in all future purchase orders.
- This will be carried forward while converting the purchase order into an invoice.
- In the Deliver To tab you are provided with two options.
- To create a normal purchase order, choose the option Organization.
- To make a drop shipment check the box near Customer. More about drop shipment will be covered below.
- The address to deliver can be changed by clicking on the Change destination to deliver.
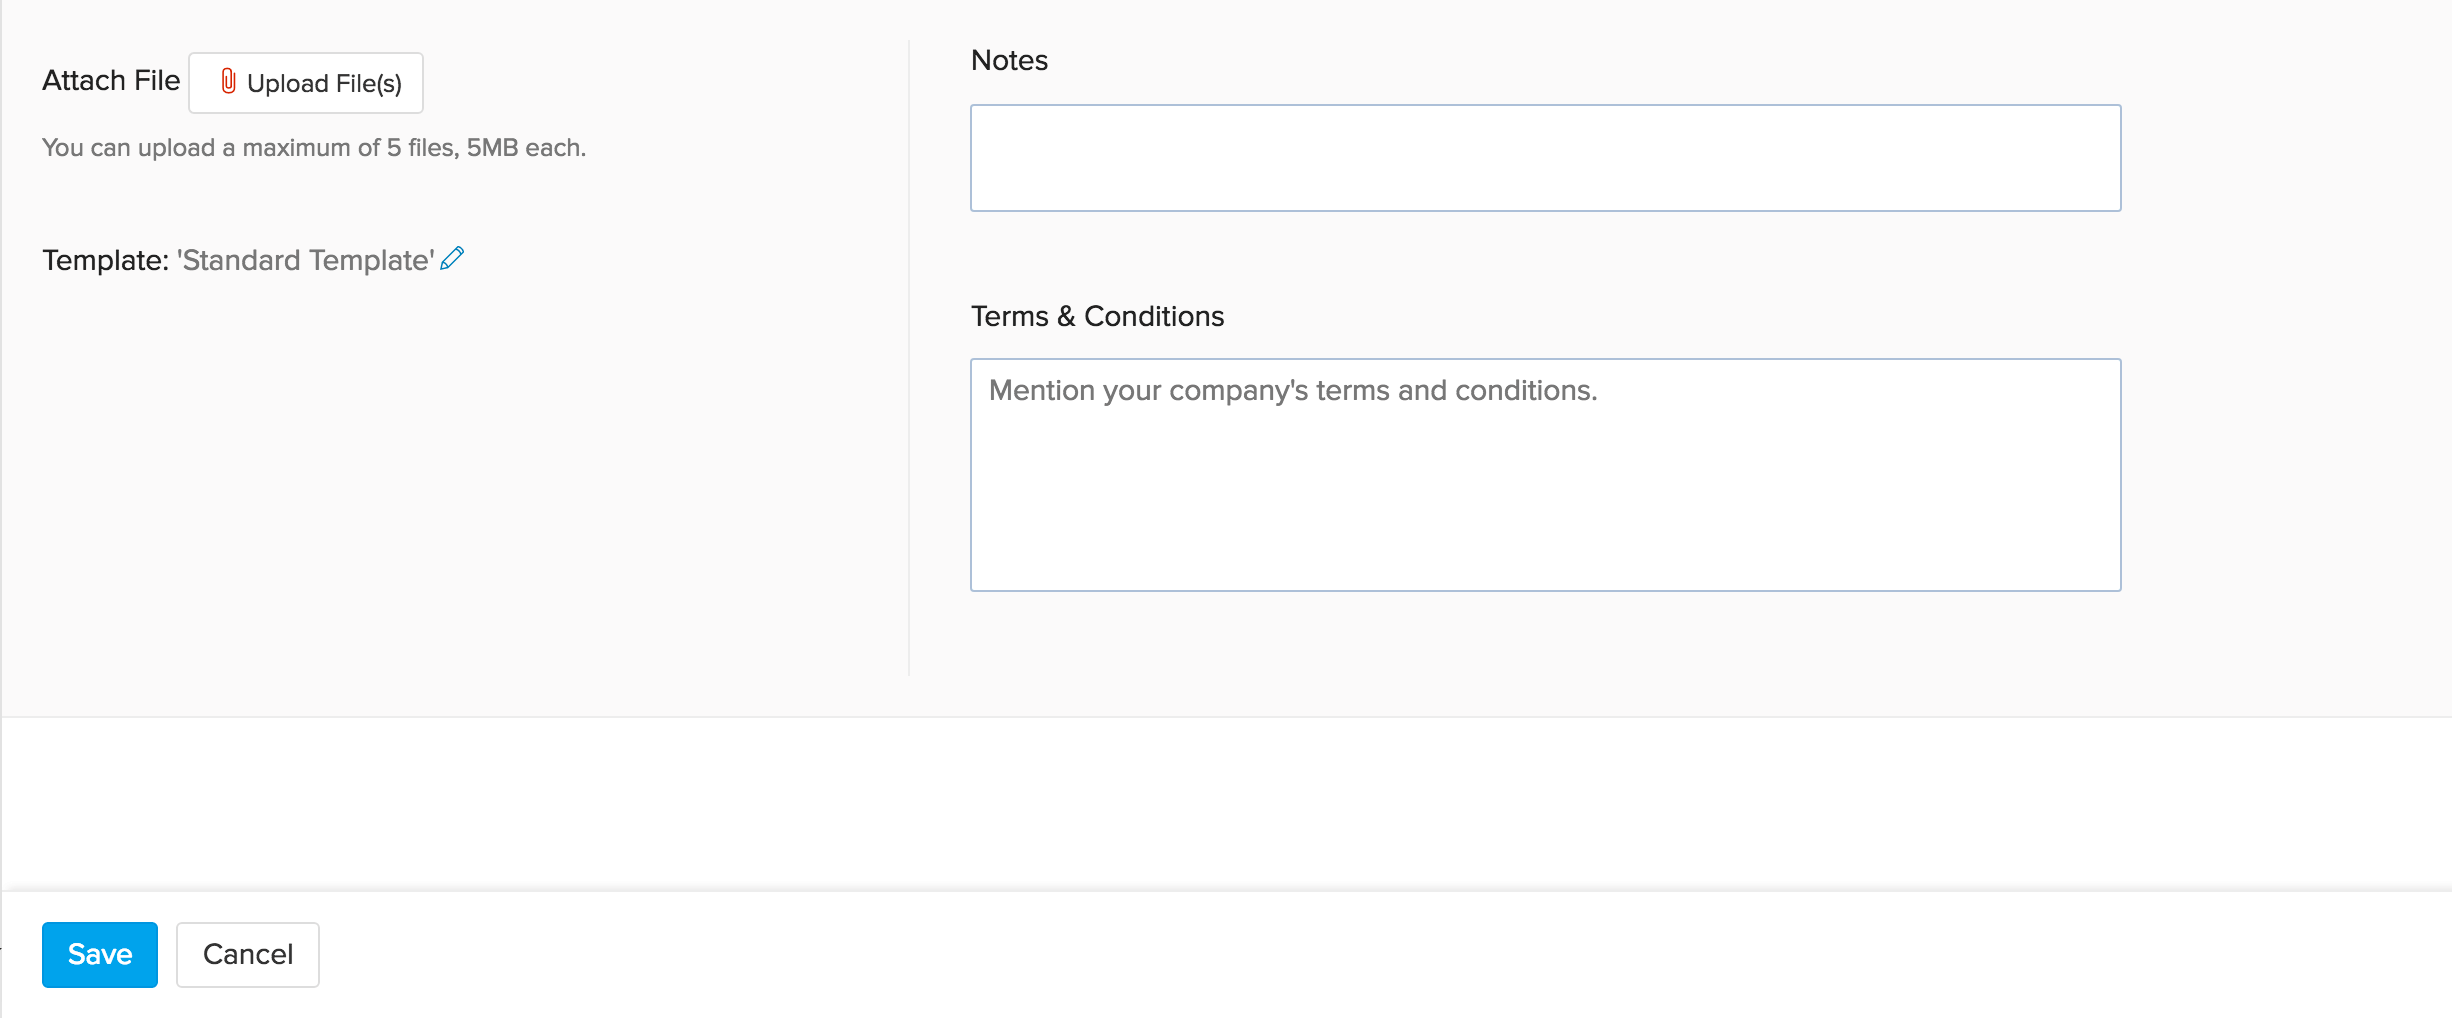
- Now click on Save to save the new purchase order in draft state.