
Back
How to create an invoice?
To create a new invoice: - you can do so in 3 ways.
Method 1: From the Invoices module:
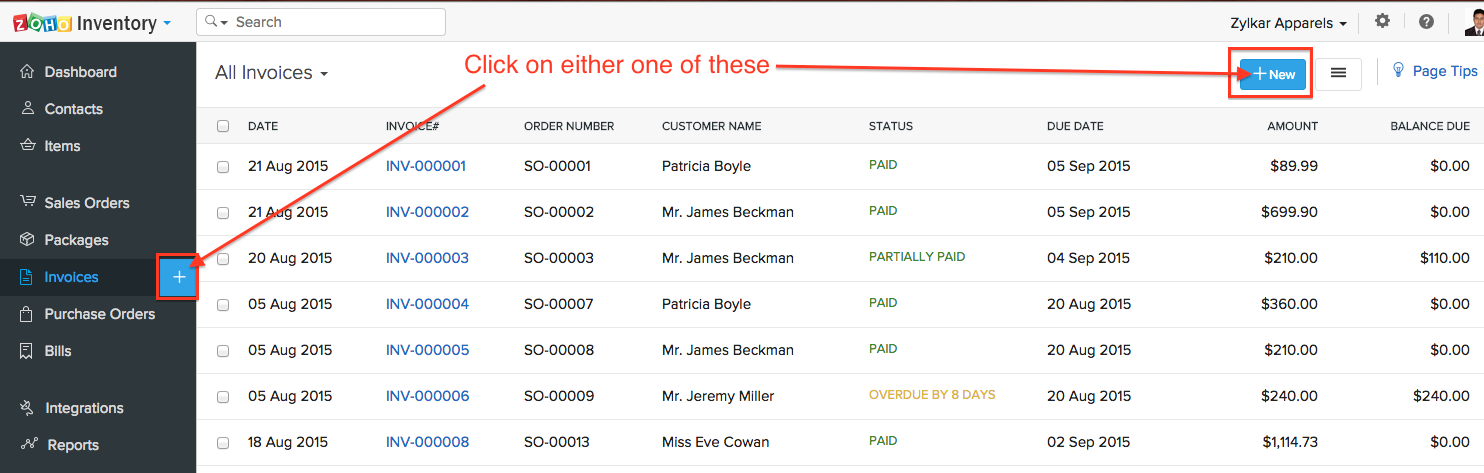
You can create a new invoice by clicking on the quick create (+) icon near the Invoices module on the side bar or by clicking on the +New button on the right top corner inside the Invoices module.
Method 2: From Sales order:
Navigate to the Sales Order that you wish to be invoiced.
- Click on the Create button on the top of the page.
- Select the Invoice option from the drop down.
- You can also create invoices by clicking on the Invoices tab of the Sales Orders page and choose the option called New Invoice.
A new invoice creation form will open up for entering the details for creating a new invoice
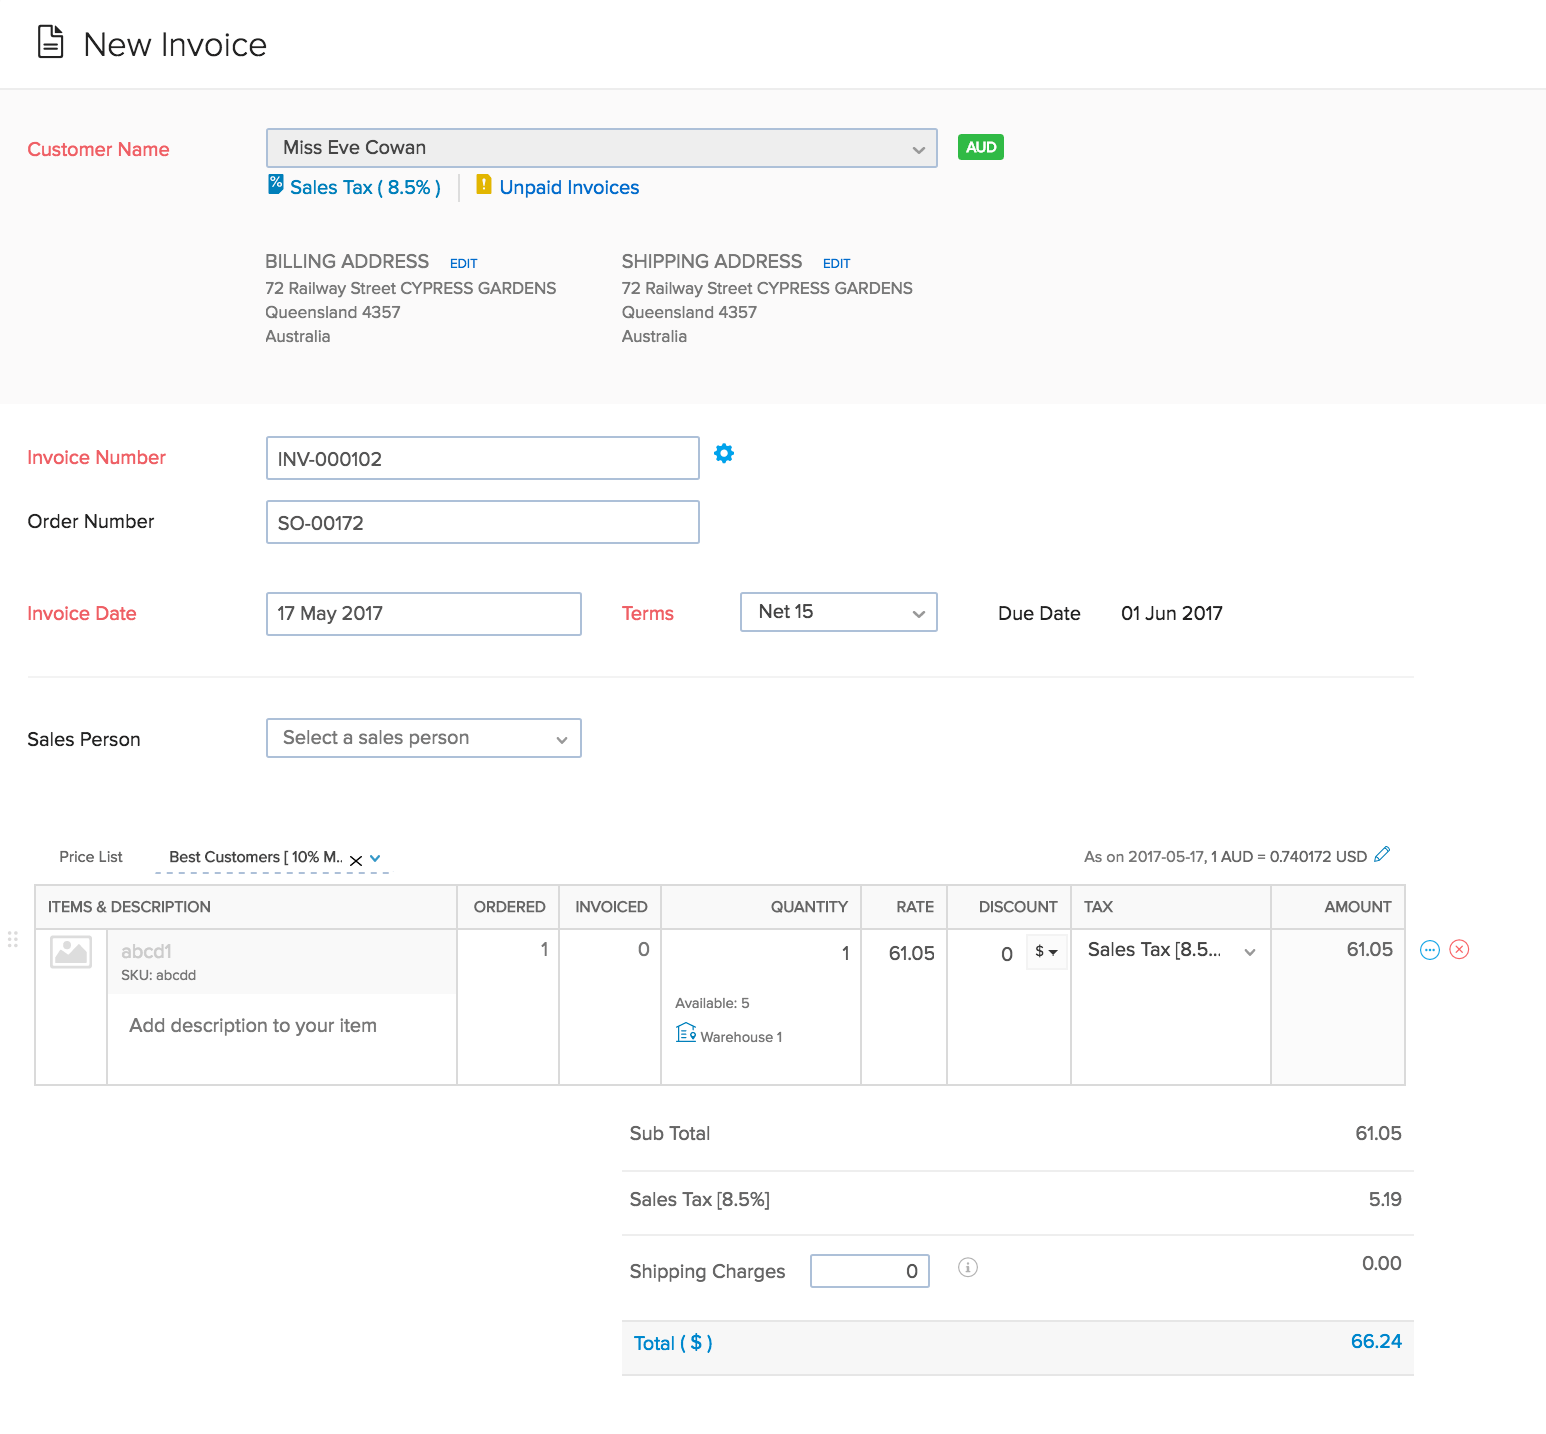
- The Customer Name cannot be edited as the invoices are created from sales orders in Zoho Inventory. but you can edit the billing and shipping address.
- Invoice Number can be auto generated or you can manually enter it by clicking on the gear icon on the Invoice Number tab and configuring it.
- By default the Invoice Date will be the date on which you create the invoice. But you can change it if you wish.
- You can set the due date for the invoice by choosing one of the standard options in the Terms tab or by mentioning your own date.
- If you have already associated a price list with the concerned sales order then it will be displayed here in the Price List tab. you can wish to keep it or change it. Any changes to this will also be reflected in the sales order.
- If you have enabled associating a Sales person in the settings, you can add a sales person in the Sales person tab.
- All the Items and their details present in your Sales order is reflected here. you can control which items and how much quantity to be invoiced. This will be reflected in your sales order status.
- Configure all the charges and taxes involved.
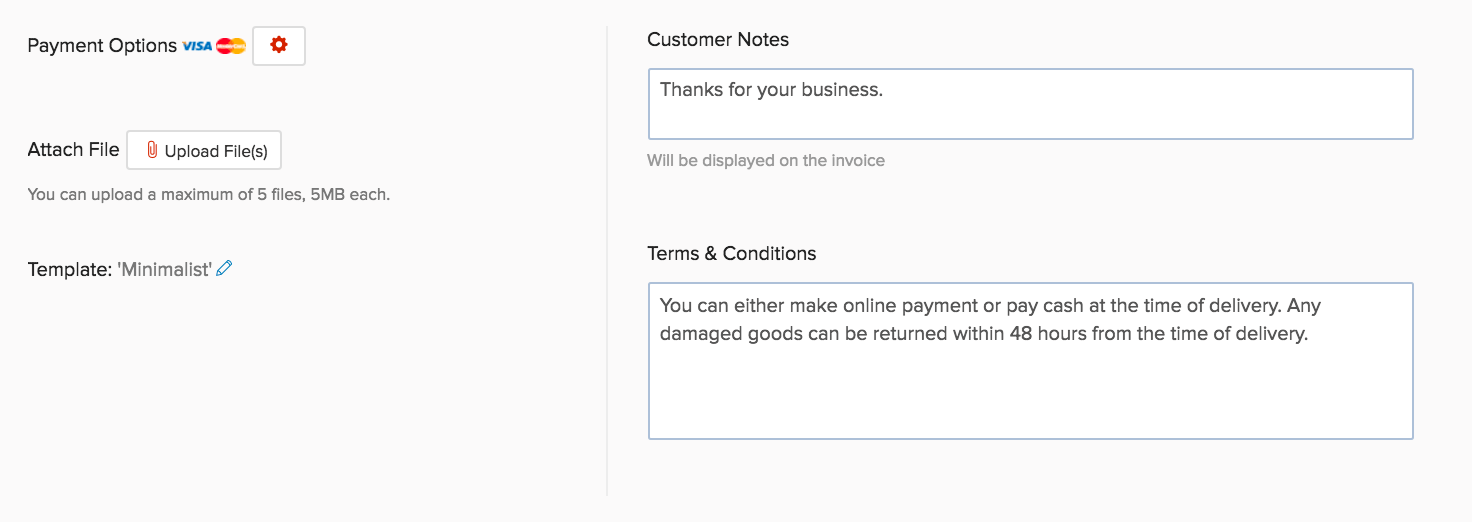
- Add any customer notes if you wish. This will be displayed in your invoice.
- In the Payment Options tab, you can choose how you want to be paid by the customer by enabling payment gateways that you are integrated with.
- Add any terms and conditions that exist in the Terms and Conditions tab.
- You can directly email the customer by checking the Email To option where your customer’s registered email ID is displayed.
- Attach any reference files if you wish to, in the Attach Reference file tab.
- Click on the Save button, if you wish to save it as a draft. Click on the Save and Send button if you wish to send the invoice to the customer as soon as it is created.
Method 3: From Contacts:
You can raise an invoice for a customer from the contacts module as well.
To do so:
- Go to the Contacts page.
- Navigate to the preferred contact.
- Click on the New Transaction button.
- Choose the invoice option from the drop down.
- A new invoice page will open up.
- Fill all details and click Save to create an invoice.