EML Migration
The standard format of emails are the .EML files. Hence Zoho Mail provides options to migrate emails in .EML formats to the Zoho Mail account from your source account.
EML Migration for Multiple Users
If the emails of many users in the organization are available in EML format, the administrator can migrate them to the respective user accounts after making EML files for each user.
Preparatory Steps - Text File
Create a text file, with the details of the accounts to be migrated, and create a folder structure with the files to be migrated, as per the instructions below:
- Create a new migration folder in the system for multiple user migrations.
- Create a text file in the folder, with the list of accounts to be migrated, with each account's email address in a new line (one below the other).
- Ensure that the accounts to be migrated, exist in Zoho, under the Organization and are available in the User Details section.
- Create Subfolders under the root migration folders, and name them as the user1@yourdomain.com, user2@yourdomain.com etc, i.e the folder names should match the accounts listed in the text file, and exist under the migration folder.
- For each user, place the EML files under the respective subfolders.
- Verify that the accounts listed in the text file, matches with the subfolder details, and correct Zip files are placed under each such Subfolder.
Steps to migrate data from Multiple EML Files to Multiple Users:
- Launch the Wizard using the desktop shortcut or execute the file 'ZohoExchangeMigration.exe' from \Zoho\Zoho Exchange Migration\bin folder, under the installation path.
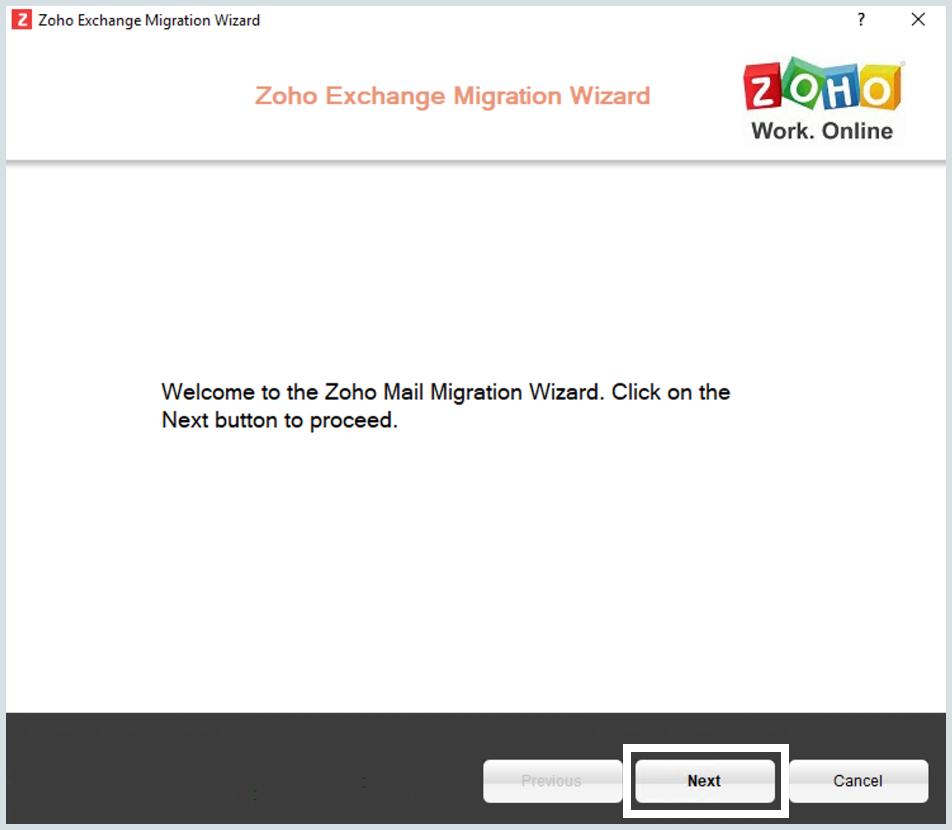
- In the Zoho Exchange Migration Wizard window, Click Next to proceed.
- Select your region from the drop-down menu. A verification link appears on the screen.
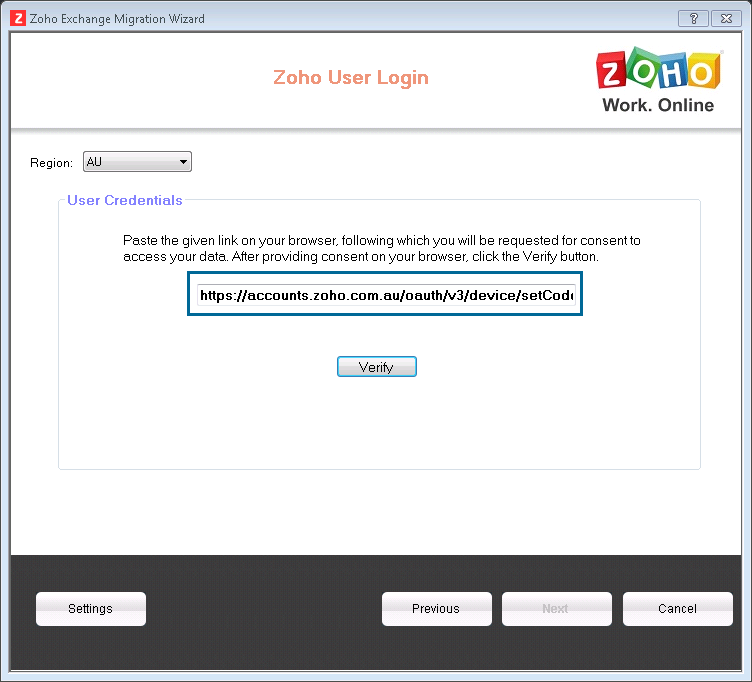
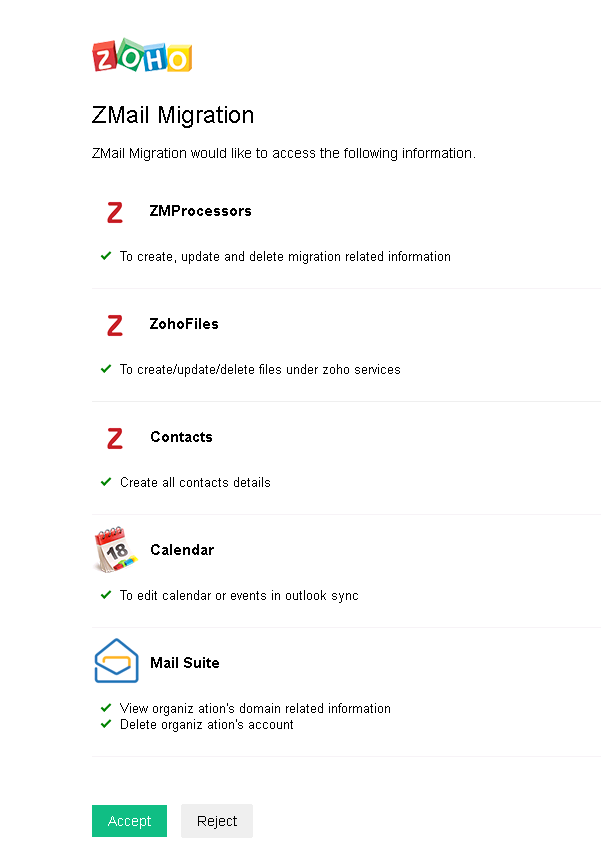
- Open the verification link on your web browser, log in to your Zoho account if not already logged in, and click Accept to let Zoho Mail access the mentioned data.
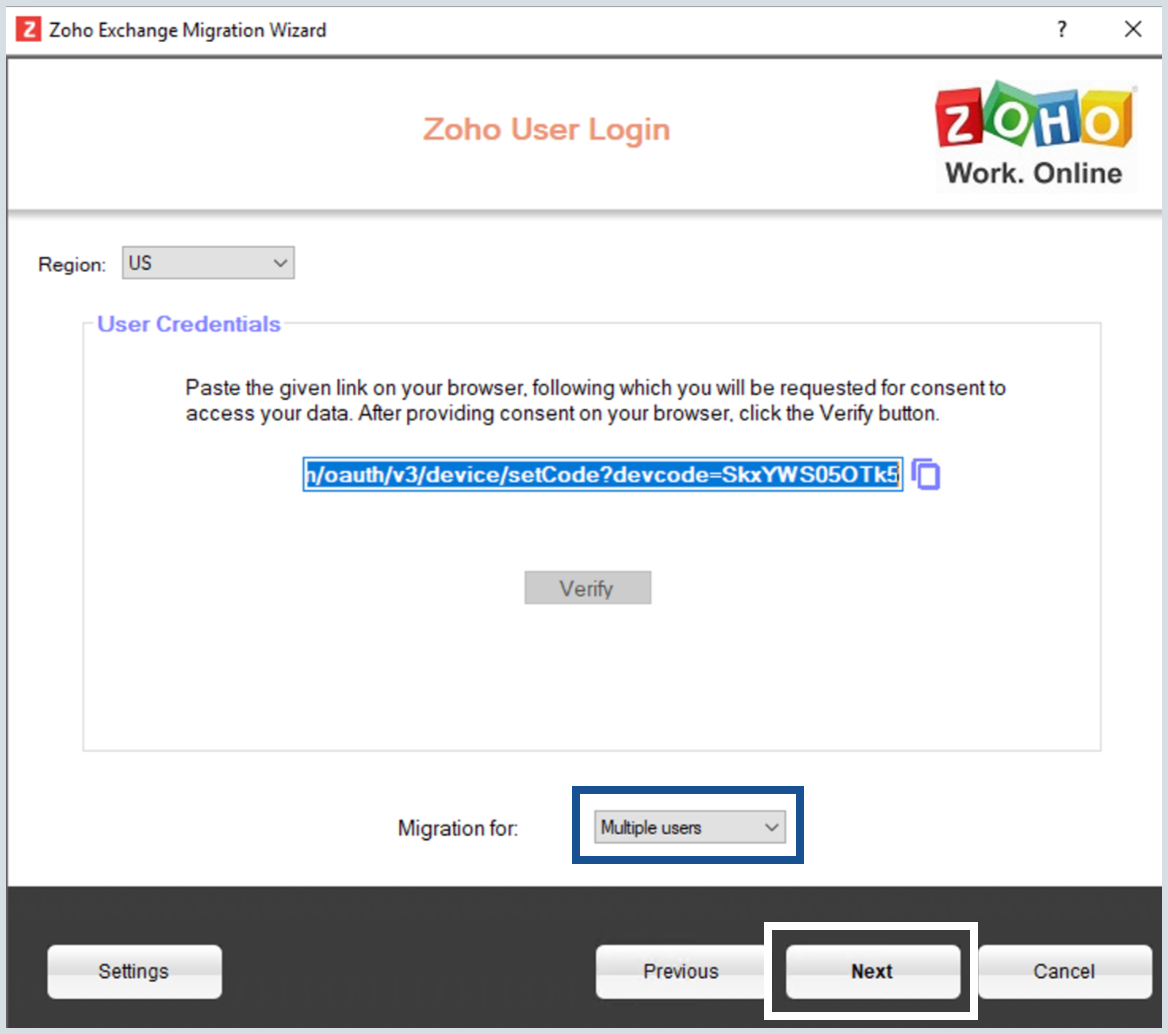
- Now in the migration wizard window, click Verify, and then click Next.
- In the 'Migration For' dropdown, select 'Multiple Users' and click Next to proceed.
- In the Migration Options, select 'EML Migration' and click Next.

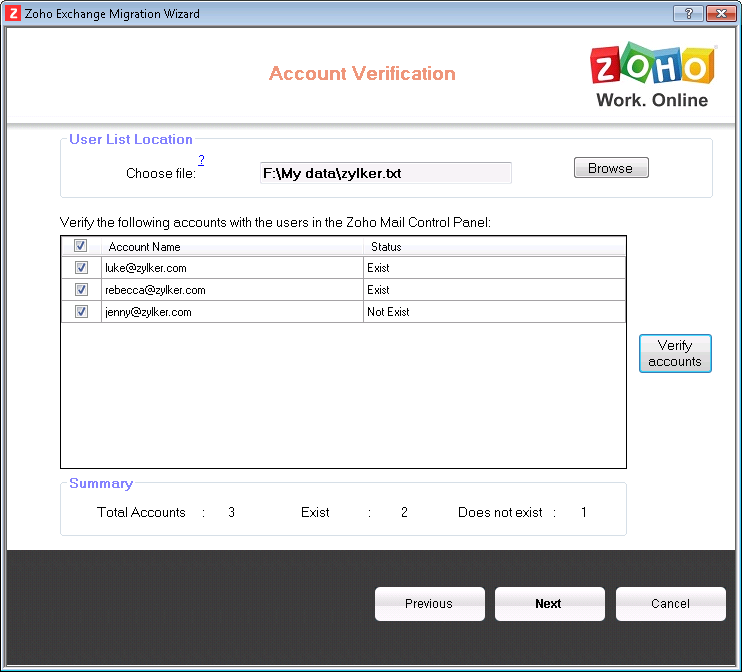
- In the Account verification dialog box, click on 'Browse' and upload the .txt file that contains the list of user email addresses. Refer the preparatory steps for more details.
- The user account details from the text file get listed in a table.
- Click 'Verify Accounts'. The status column indicates the accounts that do not exist under Zoho Mail.
- If the account is listed as 'Does Not Exist', you have to create the user in case you have missed it. If the user has an account, but with a different email address you can create an email alias for the user with the specific email address.
- After the account verification procedure, click Next.
- In the User EML data dialog box, click 'Browse' and upload the folder containing the EML files. Refer the preparatory steps for more details.
- The list of folders containing the EML files will appear under each user.
- If you want to leave out certain folders in the migration process, expand the user list and deselect the respective checkboxes.
- If you want to leave out a folder, universally for all users, type in the folder name in the 'Folder Options for all Users' text box, and click Next.

- The Error Info dialog box pops up, indicating the EML files that could not be migrated.
- Make sure that all the selected details are correct, as you cannot access the previous screens or this screen once you begin the Migration.
- Click 'Next' to begin the migration.
- Make sure you're connected to the internet throughout the entire duration of the migration.
- The status column provides the details for the account being migrated.
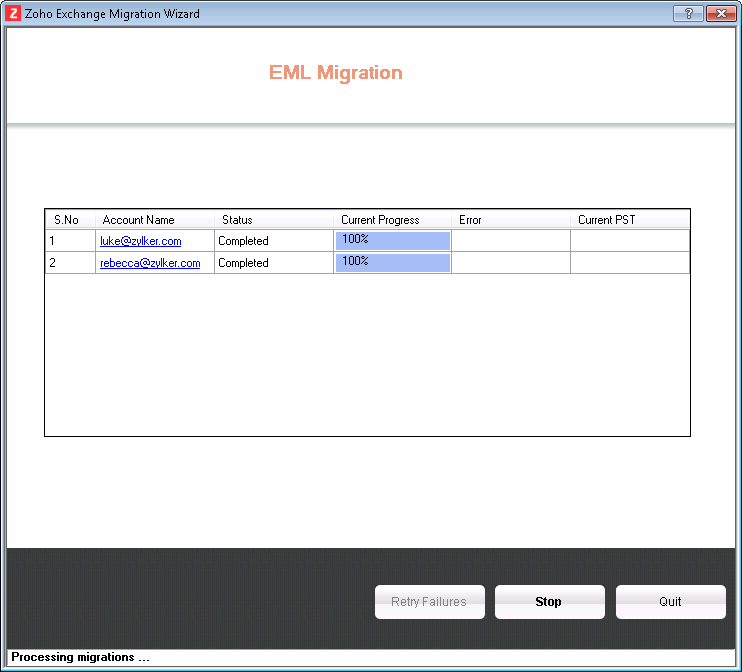
- You can click on any specific email address under the 'Account Name' column to view the detailed progress for that user.
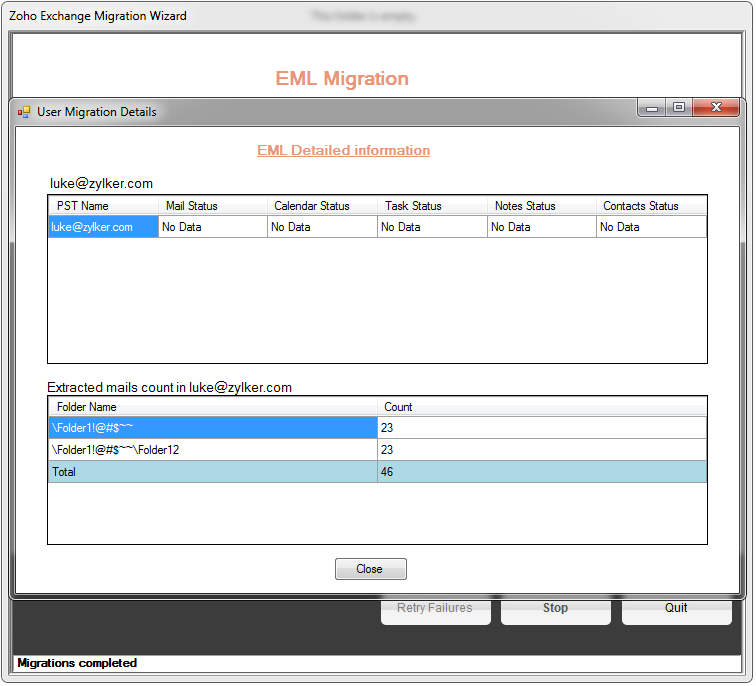
- The migration speed depends on the network speed, size of data to be migrated and other such factors. You will be prompted after the migration is completed. In case you encounter any connectivity issues, you may choose to check your internet connection and click on 'Retry Failures'.


EML Migration for Single User
- Launch the Wizard using the desktop shortcut or execute the file 'ZohoMigrationWizard.exe' from \Zoho\Zoho Exchange Migration\bin folder, under the installation path.
- In the Zoho Exchange Migration Wizard window, Click Next to proceed.
- You will be asked to enter your Zoho Credentials.
- In the 'Migration For' dropdown, 'Self' will be selected by default if you're not an admin. Otherwise, select 'Self'.
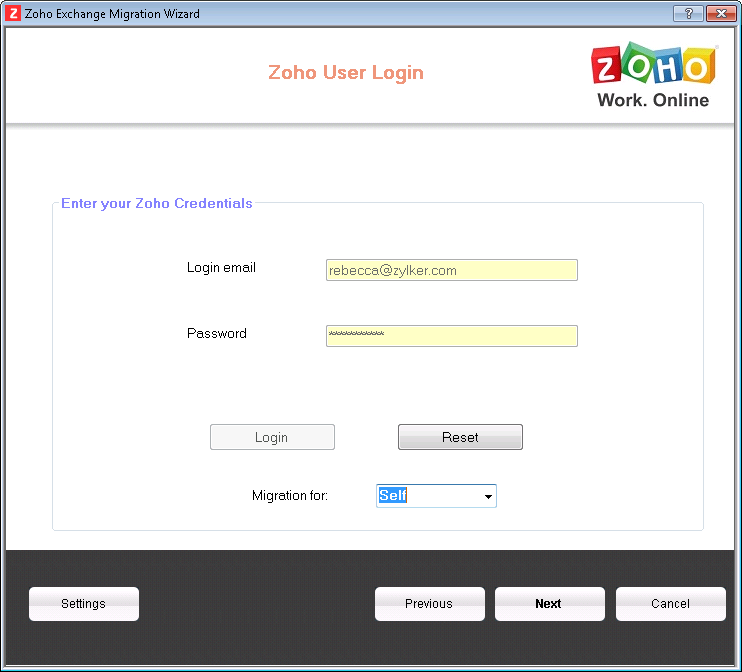
- In the Migration Options, select 'EML Migration' and click Next.
- Create a migration folder in your system with the EML files that need to be migrated.
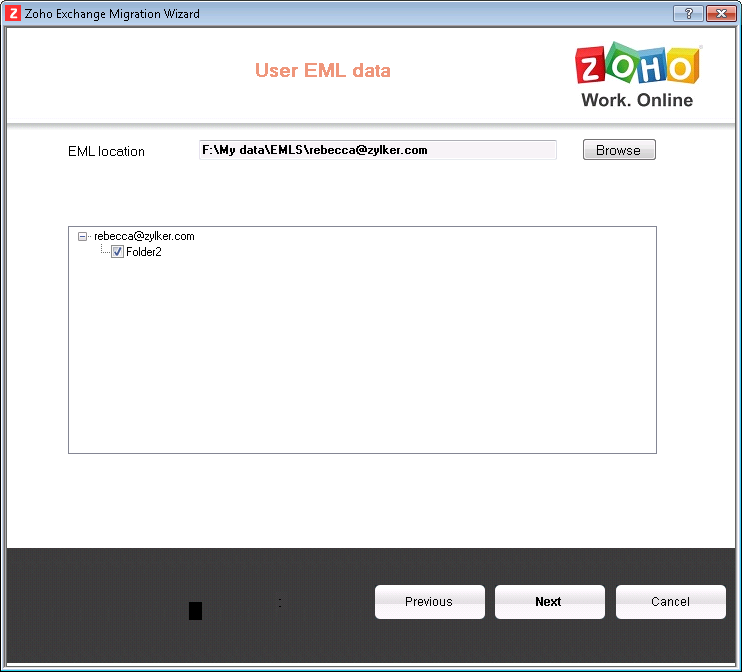
- In the User EML data dialog box, click 'Browse' and select the folder containing the EML files.
- The list of EML files will appear.
- If you want to leave out certain folders in the migration process, expand the list and deselect the respective checkboxes. Click Next.
- The Error Info dialog box pops up, indicating the EML files that could not be migrated.
- Make sure that all the selected details are correct, as you cannot access the previous screens or this screen once you begin the Migration.
- Click 'Next' to begin the migration.
- Make sure you're connected to the internet throughout the entire duration of the migration.
- The status column provides the details for the account being migrated.
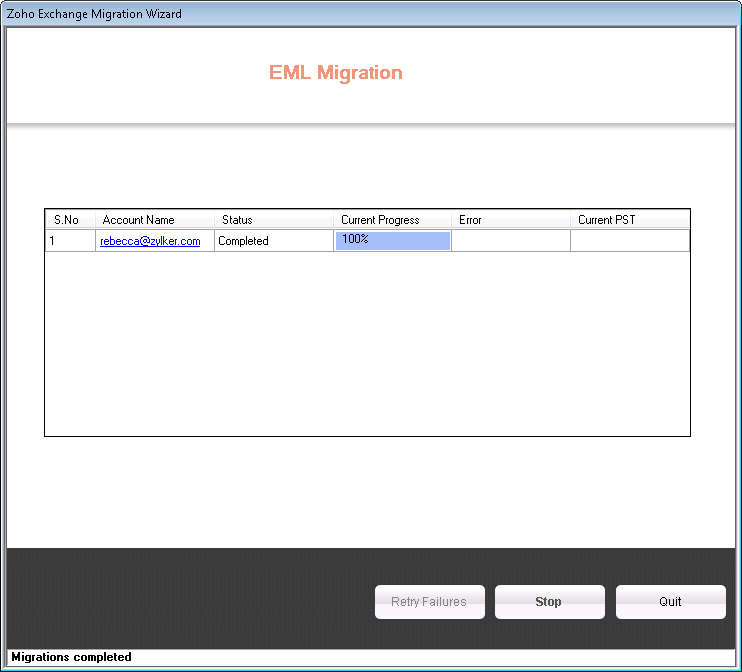
- You can click the email address under the 'Account Name' column to view the detailed progress for that user.
- The migration speed depends on the network speed, size of data to be migrated and other such factors. You will be prompted after the migration is completed. In case you encounter any connectivity issues, you may choose to check your internet connection and click on 'Retry Failures'.


Migration Reports
Reports can be viewed for those accounts that have been migrated. They can be accessed by clicking on the 'View Reports' button after the login screen. Click here for more details on viewing migration reports.