Introduction:
Much of your onboarding in Zoho People is complete when you define your Organizational Settings, Locations, Departments, Designations etc. To setup, navigate by clicking the gear icon on the top right corner of your screen:

- Company Details
- Confirming your account
- Departments
- Designations
- Streams
- Locations
- Domains
- Rebranding
- Org Calendar Settings
Departments:
To create the departments of your organization
- Go to Settings > Organization > Departments.
- Click on 'Add Department'
- Give details
- Click Submit
Designations:
To create the designations of your organization
- Go to Settings > Organization > Designations
- Click on 'Add Designation'
- Enter details
- Click Submit
Streams
Streams is the grouping of related designations under one name. Streams can be configured to work independently or in association with a particular designation based on your organization's requirements.
Streams are helpful in two ways, it can either be used to group related designations in your organization, or it can be used to widely group employees who may have the same nature of jobs.
To add streams for your organization.
- Navigate to Settings > Designations under Organization
- Select Streams tab, click on + Add Stream to add a new stream.
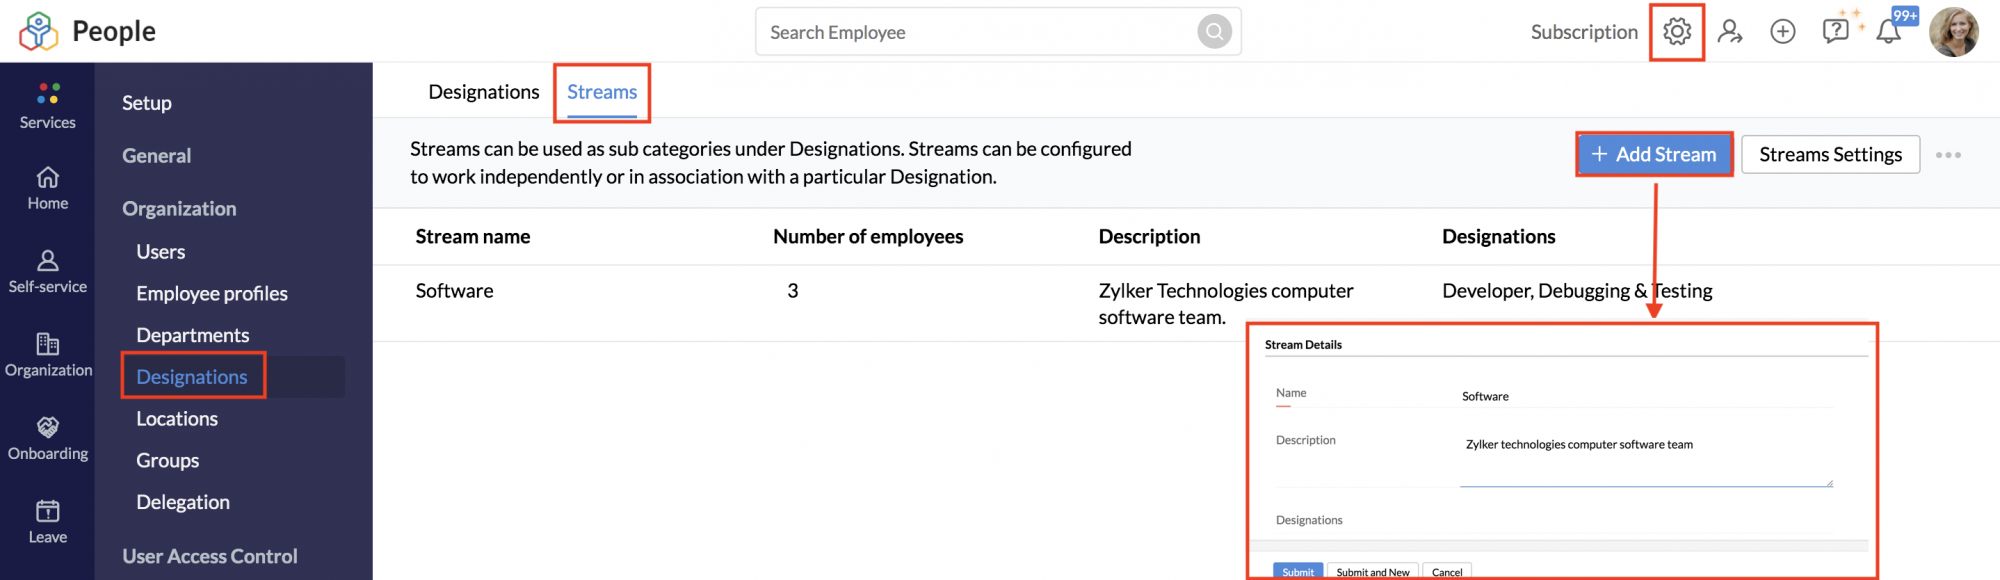
- Enter the Stream Name, Description, and click Submit.
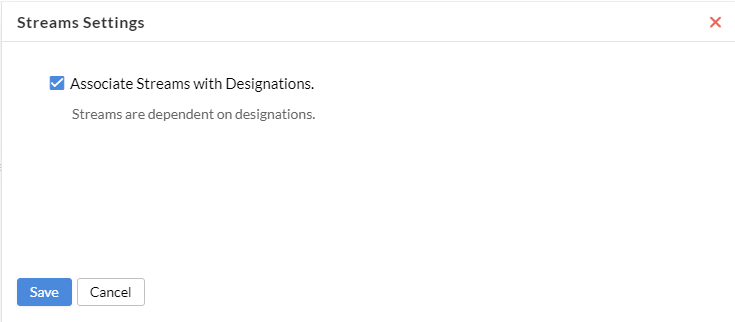
- Open Stream Settings option if you want to change streams and designations dependency.
In Stream Settings, Associate Streams with Designation checkbox is enabled by default, this would mean that only designations that belong to a particular stream can be tagged to employees. If unchecked, any designation can be tagged irrespective of which stream they belong to, thereby making streams independent of designations.
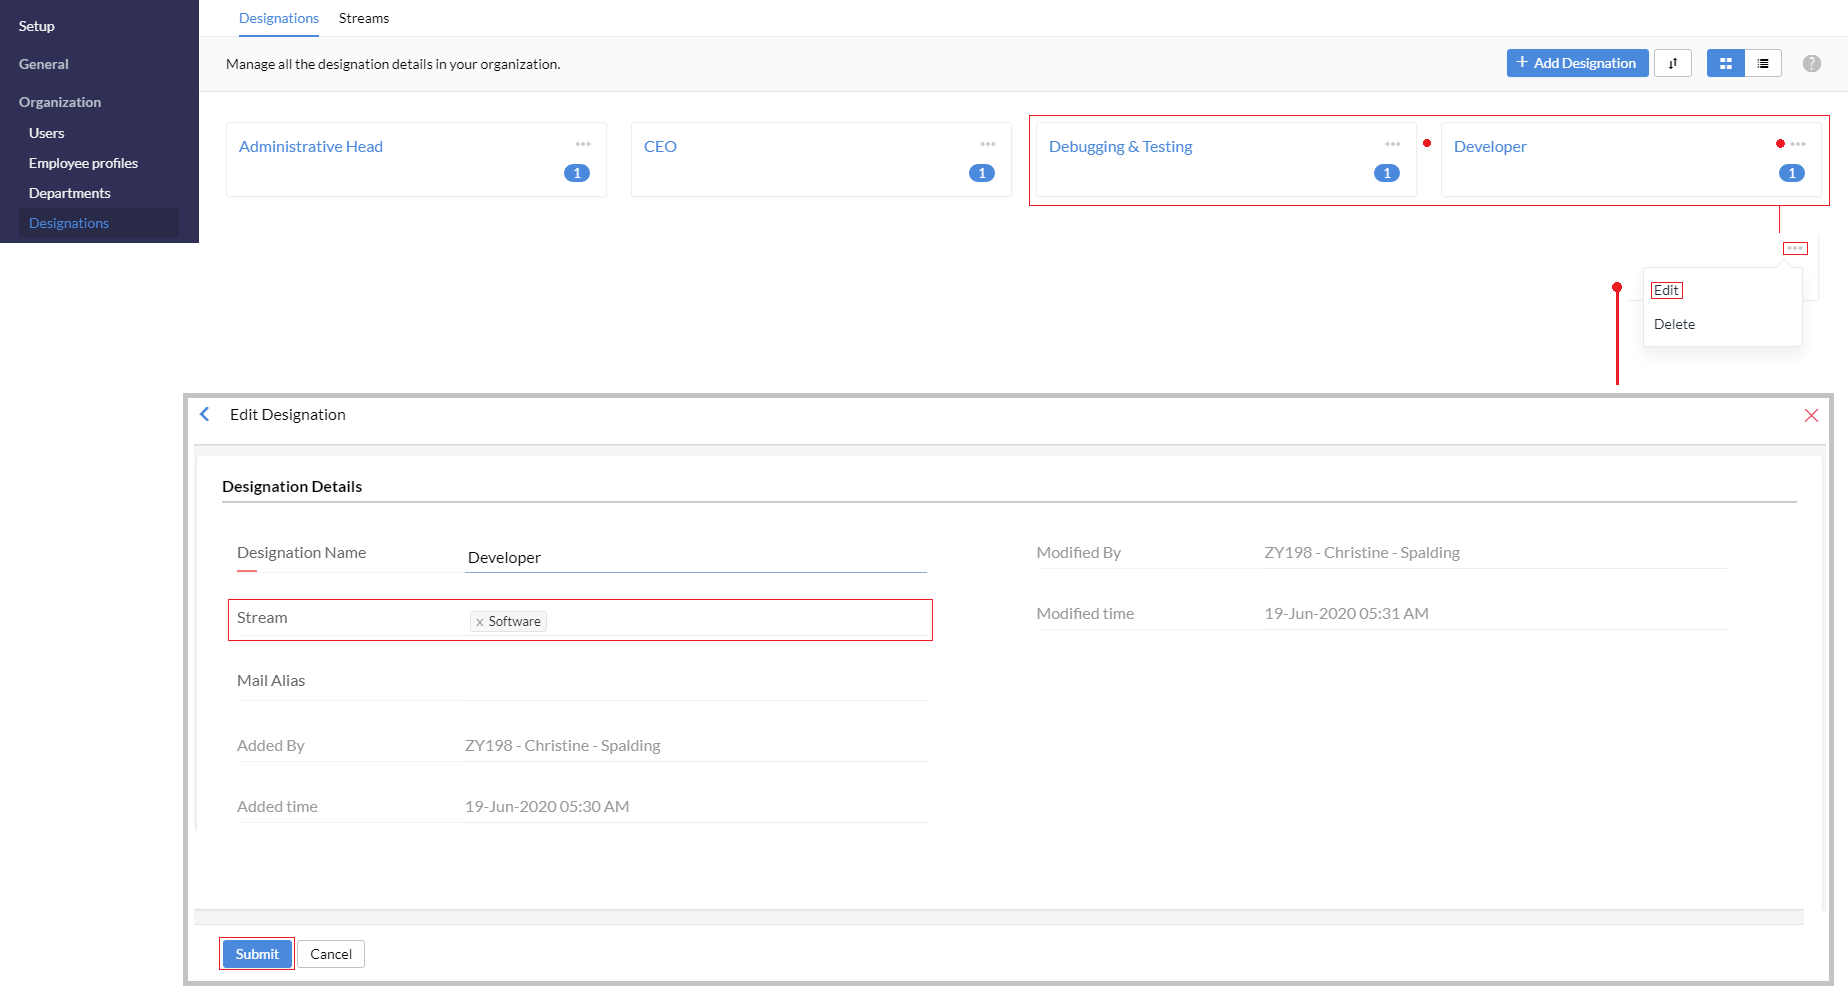
To associate particular designations to a stream, edit two or more designations and tag the corresponding stream as shown below.
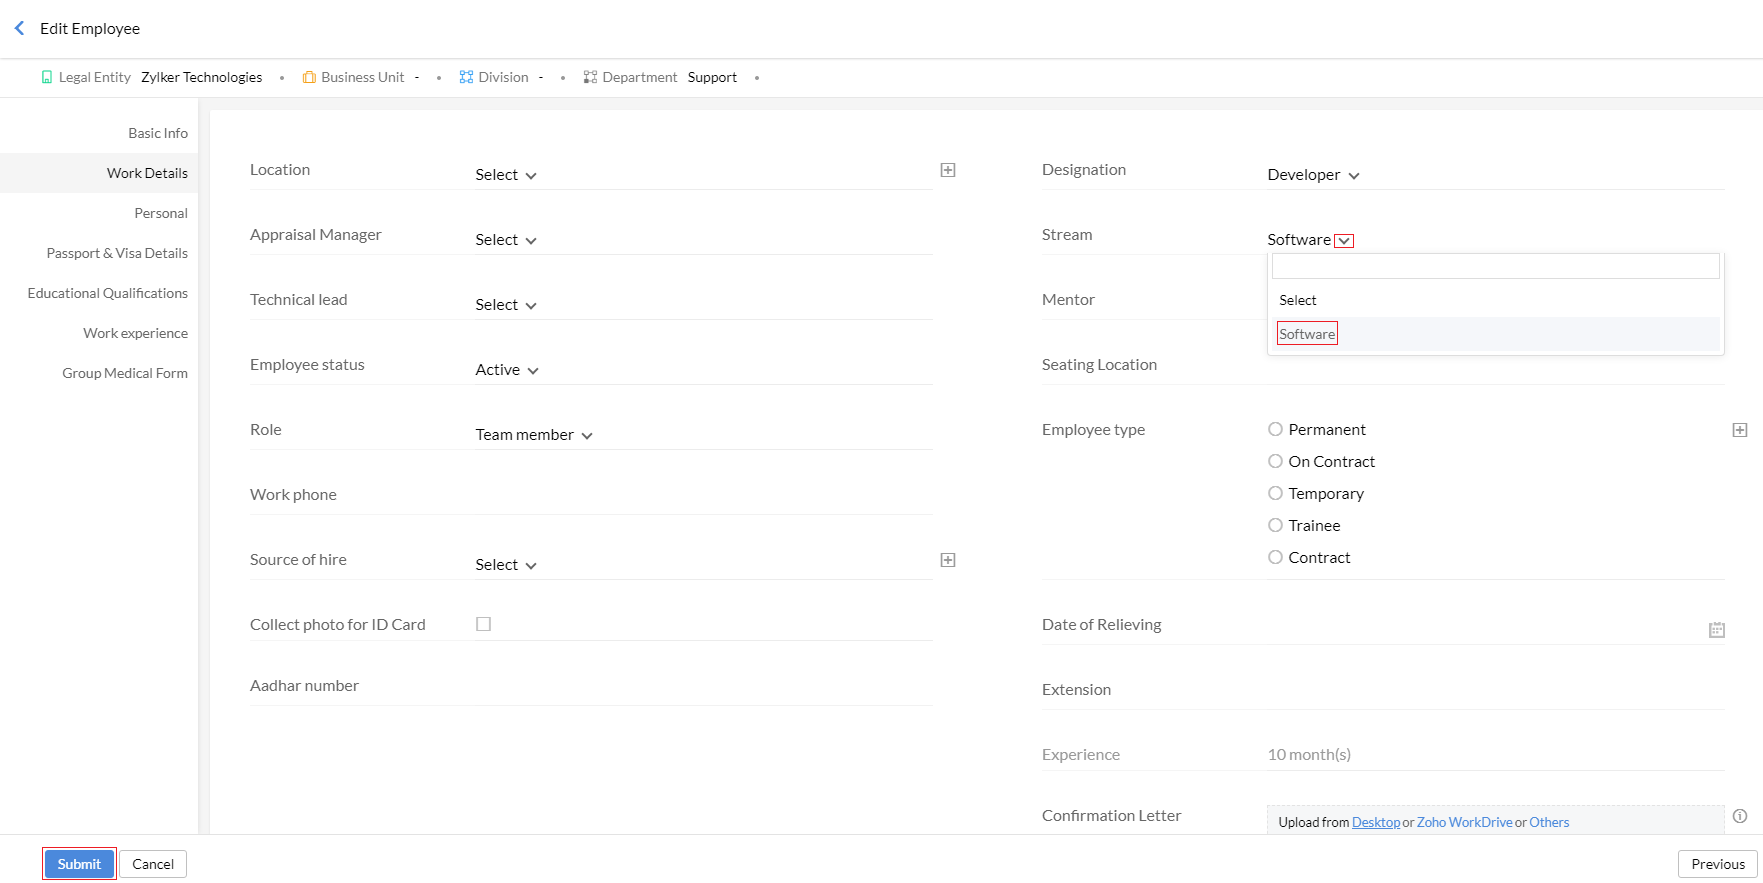
Once streams are configured, just like designation, location, department etc, employee's profiles can be edited to tag them to their respective streams.
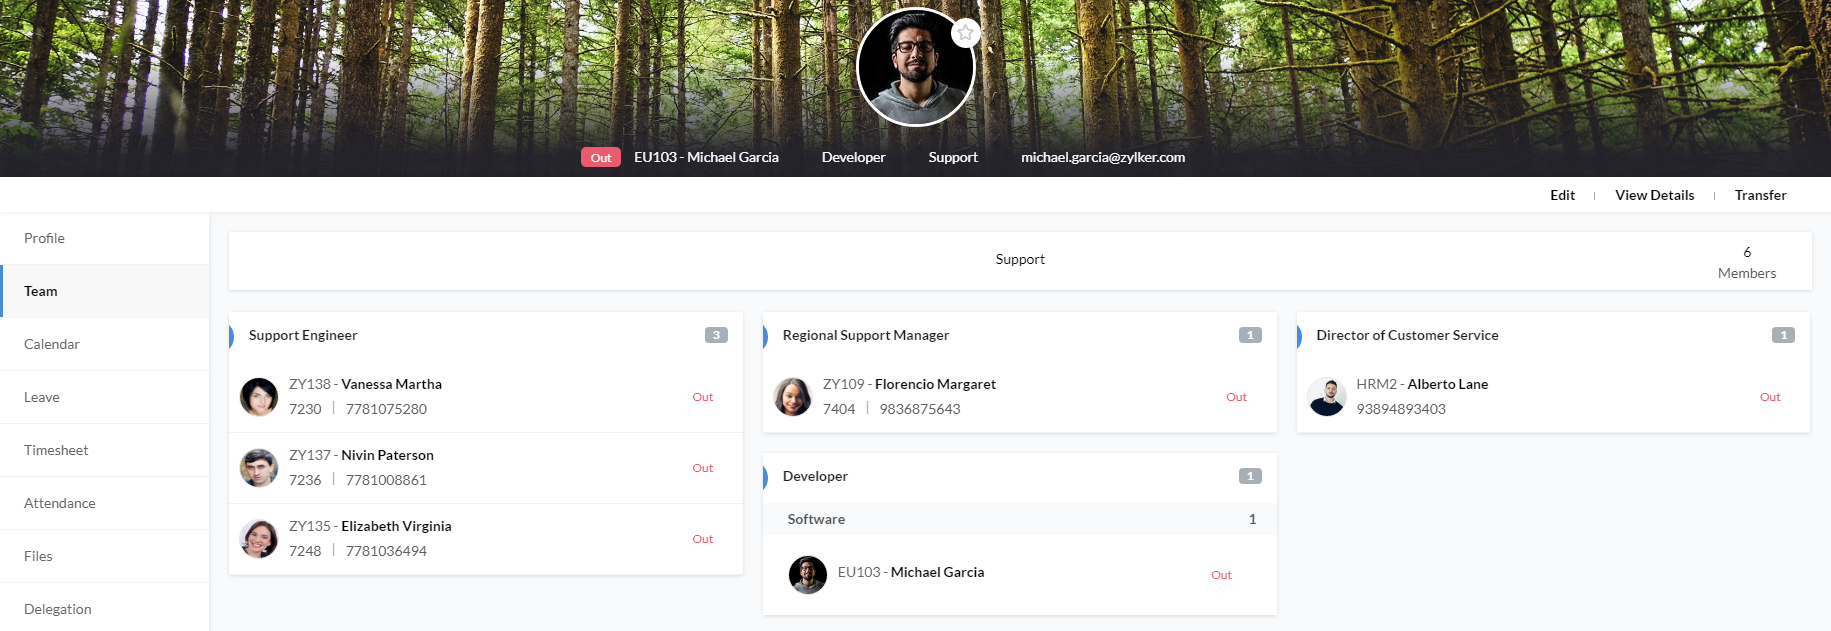
Employee's stream will be displayed in the self-service page (Profile > Team) as shown below.
Locations:
To create locations of your organization
- Go to Settings > Organization > Locations
- Click on 'Locations'
- Add Location
- Enter details
- Click Submit
Domains:
To create a domain for your organization
- Go to Settings > General > Domains
- Click on 'Domains'
- Add Domain
- Give domain name
- Click Save
![]() Tip: Once your domain is verified, you can add users directly to your organization. Adding users directly is the easiest way of creating your employee database.
Tip: Once your domain is verified, you can add users directly to your organization. Adding users directly is the easiest way of creating your employee database.
Rebranding:
To create your own domain URL and to customize the product based on your organization's needs
- Go to Settings > General > Rebranding
- Click on 'Rebranding'
- Under Login URL, give the URL ((e.g: http://myhrms.mydomain.com) name and select the domain name from the drop down
- Click Submit
Note: Ensure that you have mapped the CNAME entry and linked it to people.cs.zohohost.com before you map your domain with Zoho People
- Sign in to your domain hosting site and locate the DNS management page
- Add the below-mentioned values in the specified fields
CName <yourdomain>Hostname people.cs.zohohost.com
Note: Once you have successfully added the rebranded URL, you will need to wait for 24 to 48 hours for the SSL certificate to be installed and the rebranded URL to reflect. If the URL is not accessible even after 48 hours, contact support@zohopeople.com.
Org Calendar Settings:
To define the weekends and work week of the organization.
- Go to Leave > Settings > Calendar Settings
- Click Add
- Define Week
- Define weekend
- Select Calendar Year
- Click Submit
![]() Tip: You can create different weekend settings for different locations.
Tip: You can create different weekend settings for different locations.