Jira extension
Jira is a project management software that helps you plan, assign, track, report, and manage work together as a team. Jira extension in Zoho Mail allows you to create an issue from an email, assign, edit and comment on an issue without having to leave your mailbox.
You need to set up Jira integration in Zoho Mail to use it from the eWidget.
Table of Contents
Setting up Jira Extension
- Log in to your Zoho Mail account
- Go to Settings > Integrations
- Navigate to the Jira extension card and click on it.
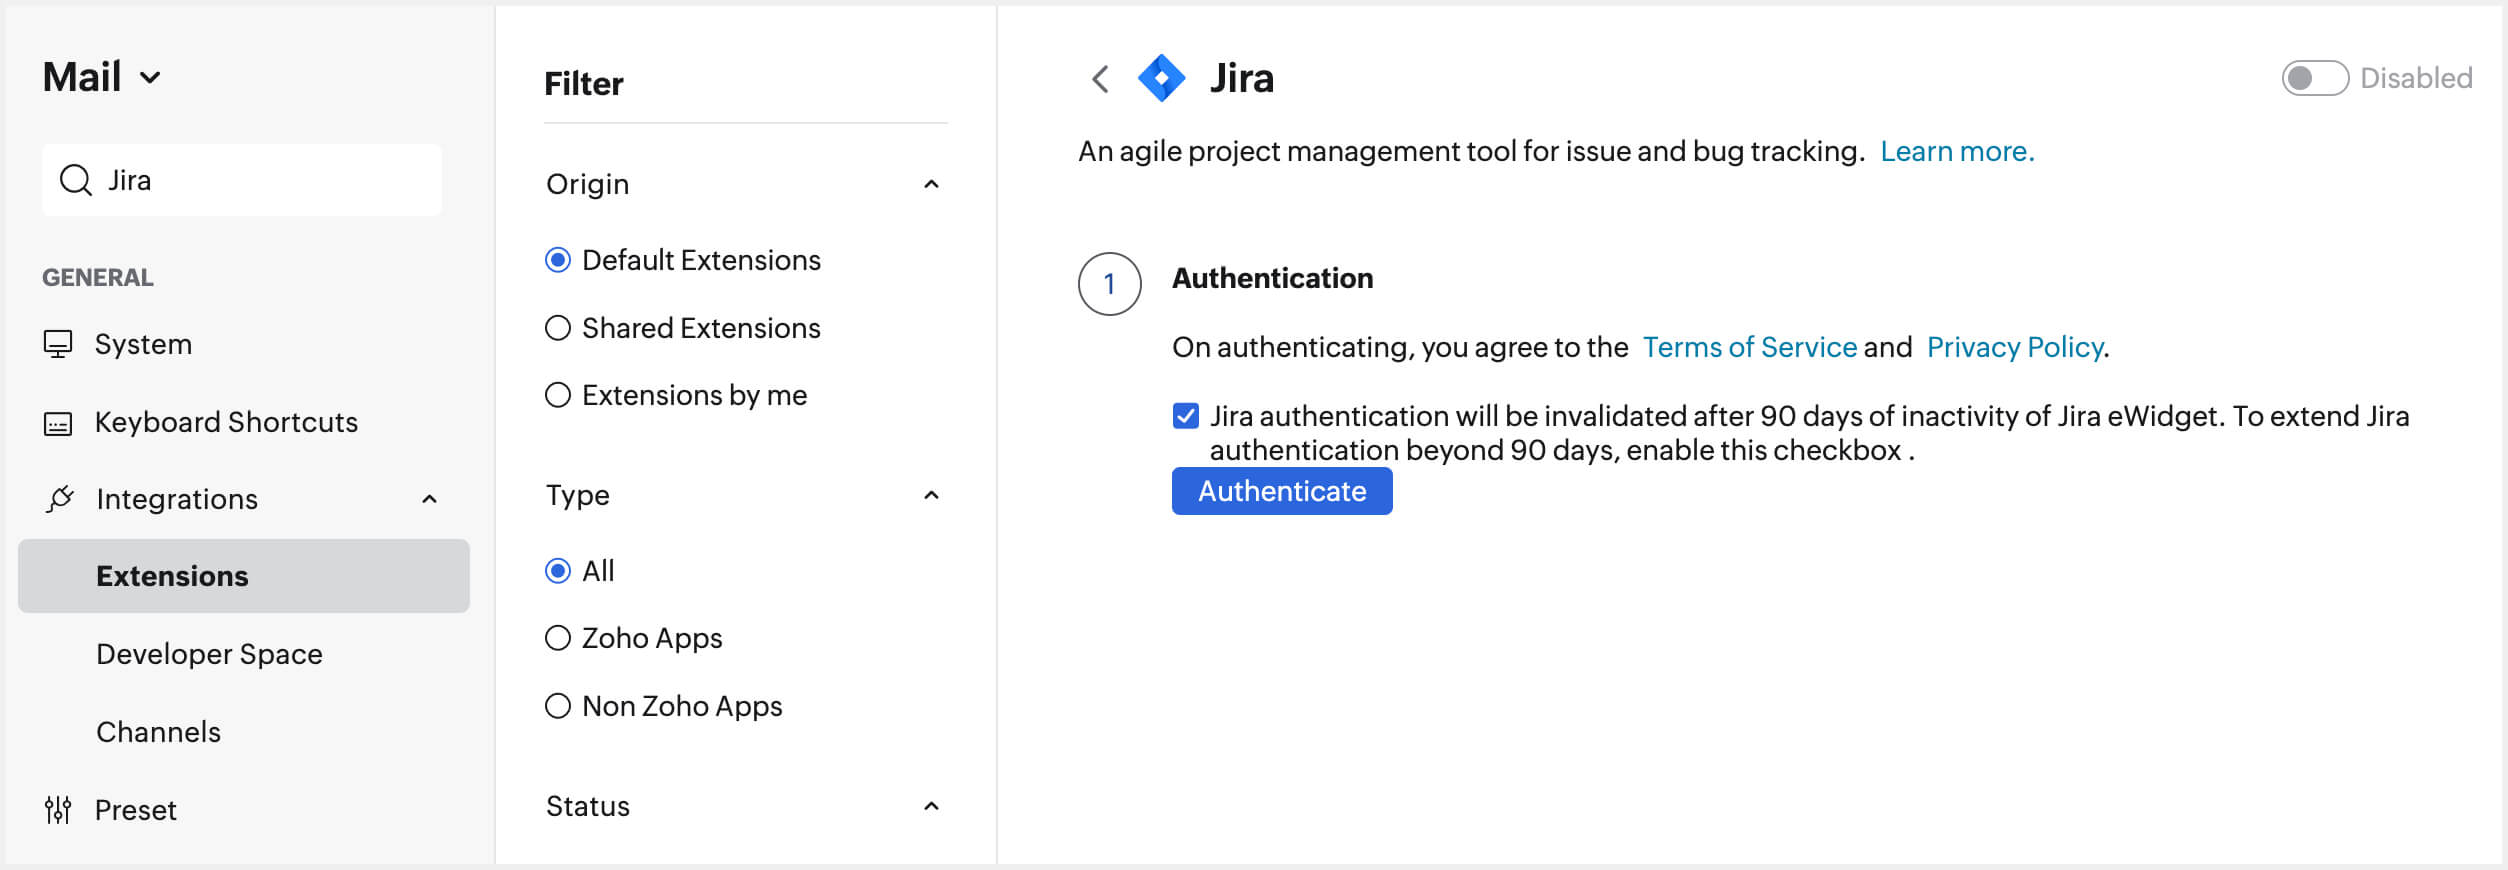
- Select the Jira authentication checkbox to extend the authentication validity beyond 90 days in case of inactivity of the extension.
- Click Authenticate.
- Provide the Atlassian login credentials and click Log in.
- Choose the site to which you want to authorize access using the Choose a site dropdown under Authorize for field.
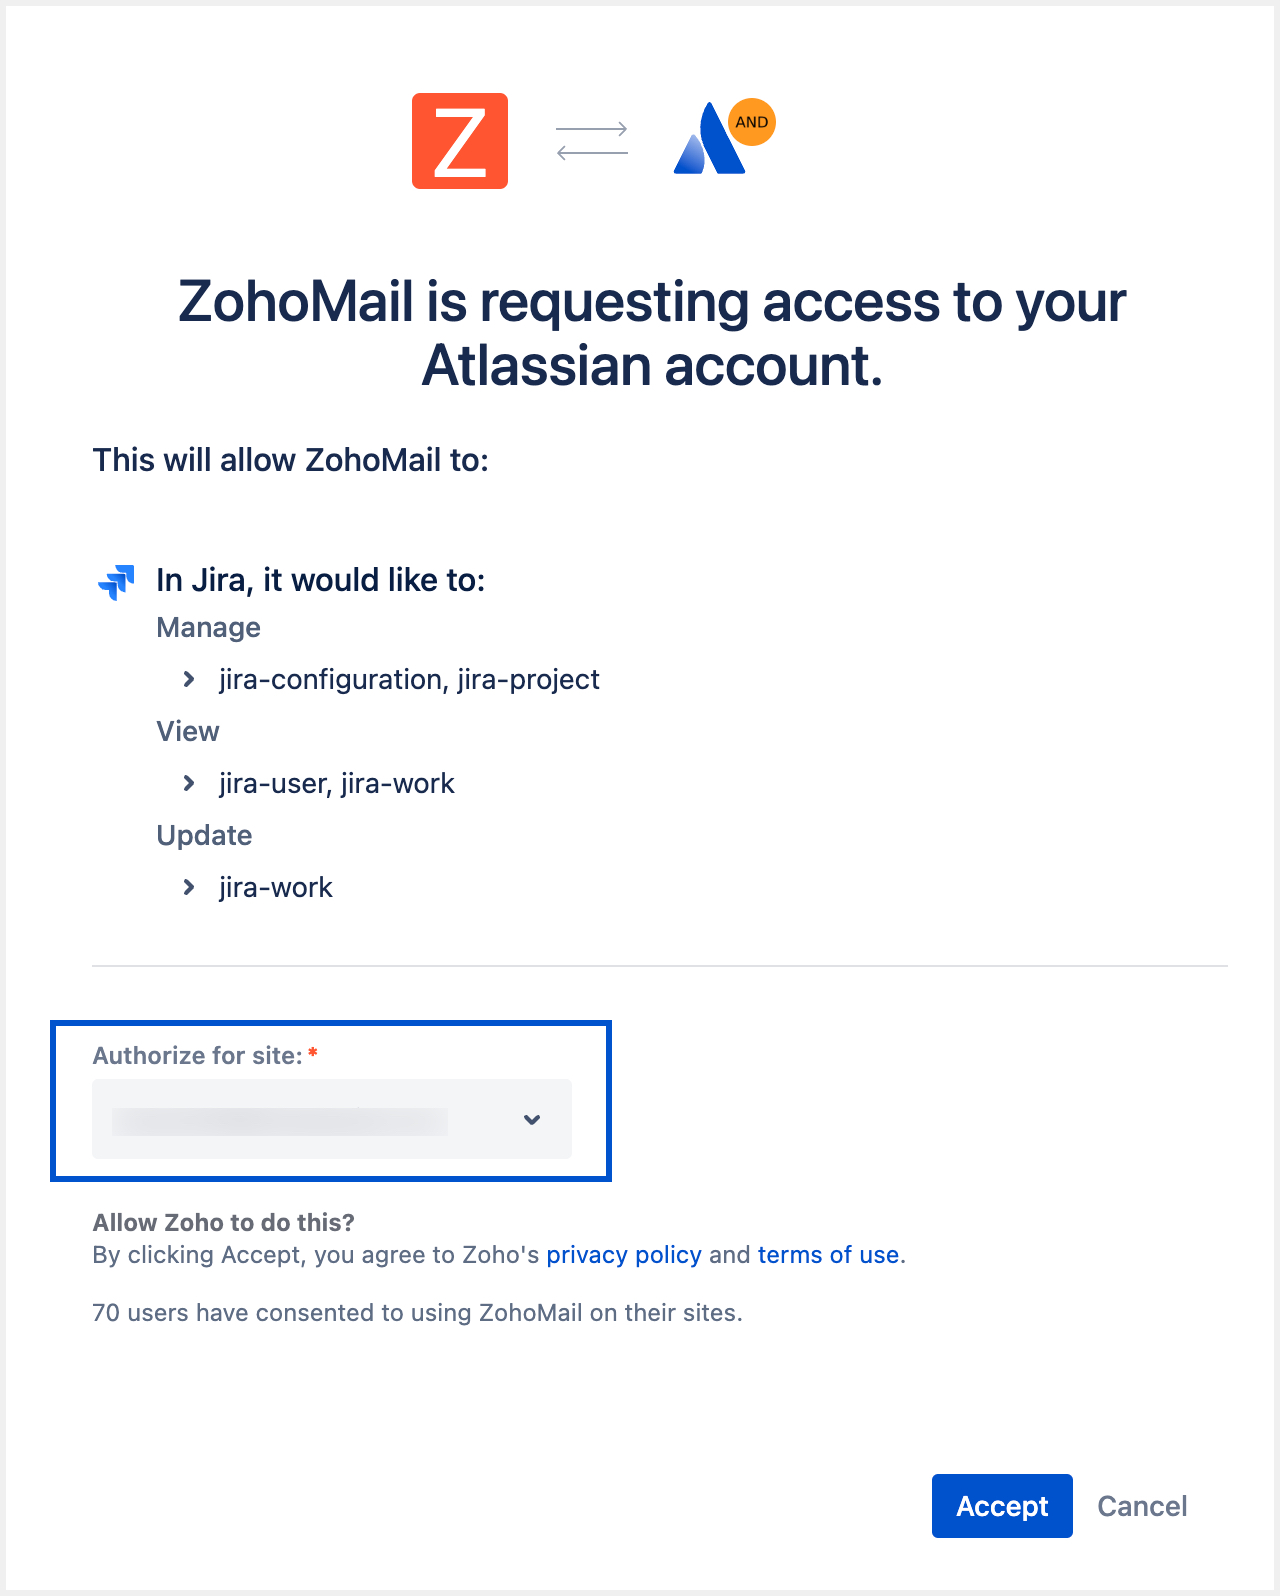
- Click Accept.
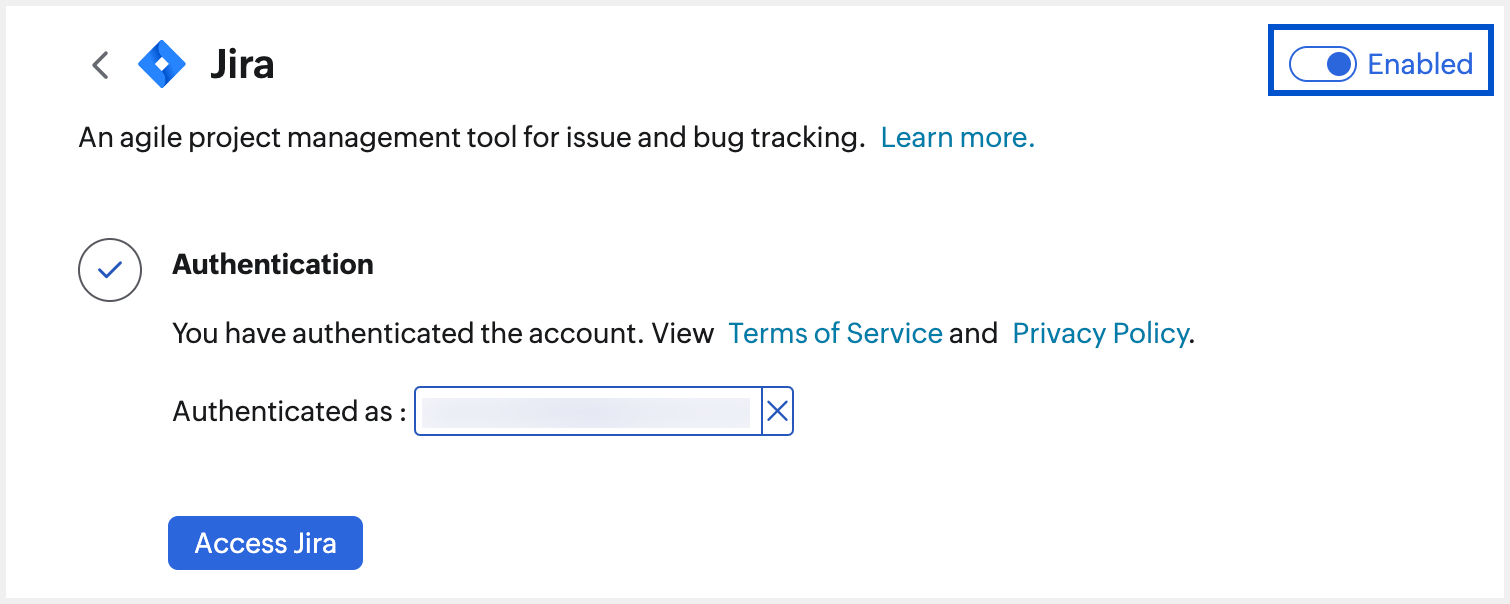
Your Jira extension will be authenticated and enabled. You can use the toggle switch to disable the extension anytime. Click Access to use the extension.
Using Jira Extension
After setting up, follow these steps to use the Jira extension in eWidget:
- Click on the Jira eWidget icon on the right pane or the eWidget icon on the bottom-right corner of your mailbox and select Jira from the app menu.
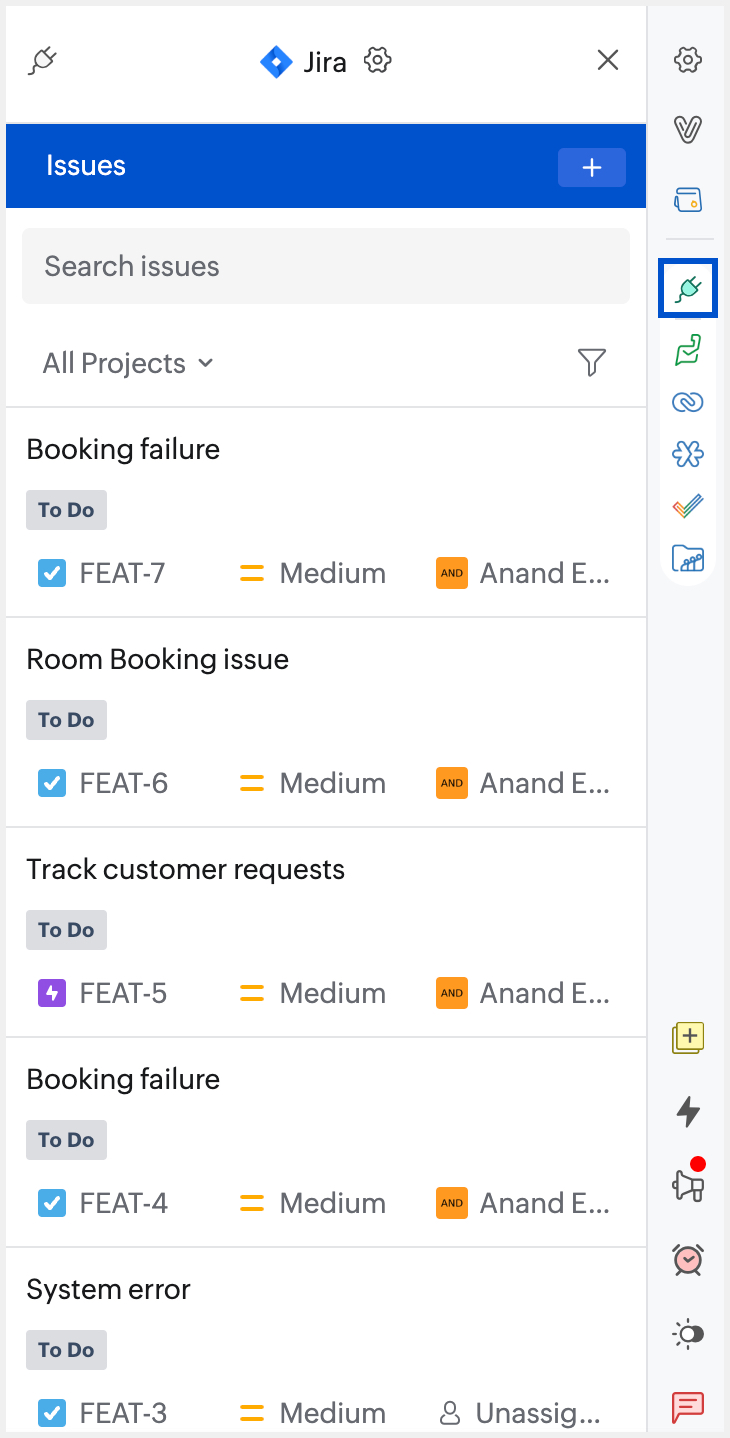
- You will have options to open, view, edit, search, create, and access the issues in a specific project.
You can comment on an issue to communicate internally with your team, watch the issue and assign the unassigned issues through the eWidget.
Create a new issue
You can directly create and assign an issue from the Jira eWidget in Zoho Mail which will automatically be synced and reflected in Jira.
- Click on the Jira eWidget icon or the eWidget icon on the right pane of your mailbox and select Jira from the app menu.
- Click the icon on top of the widget.
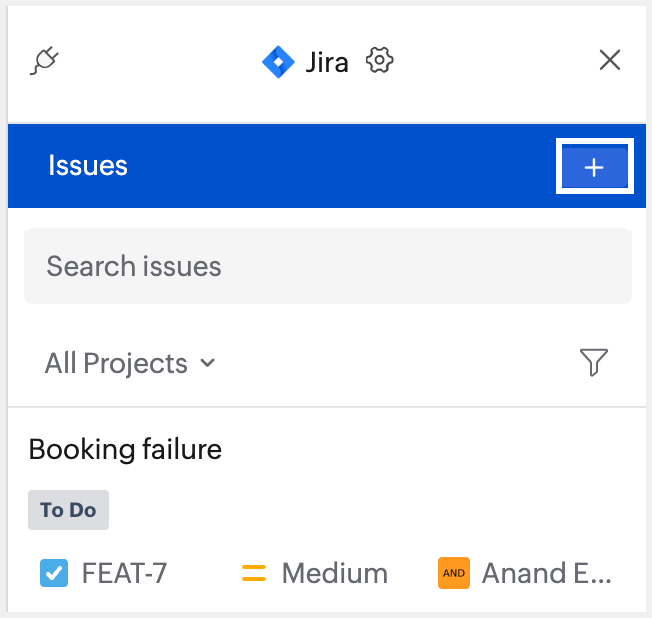
- Choose the Project and Issue type under which the issue should be added.
- Provide the Summary and Description of the issue.
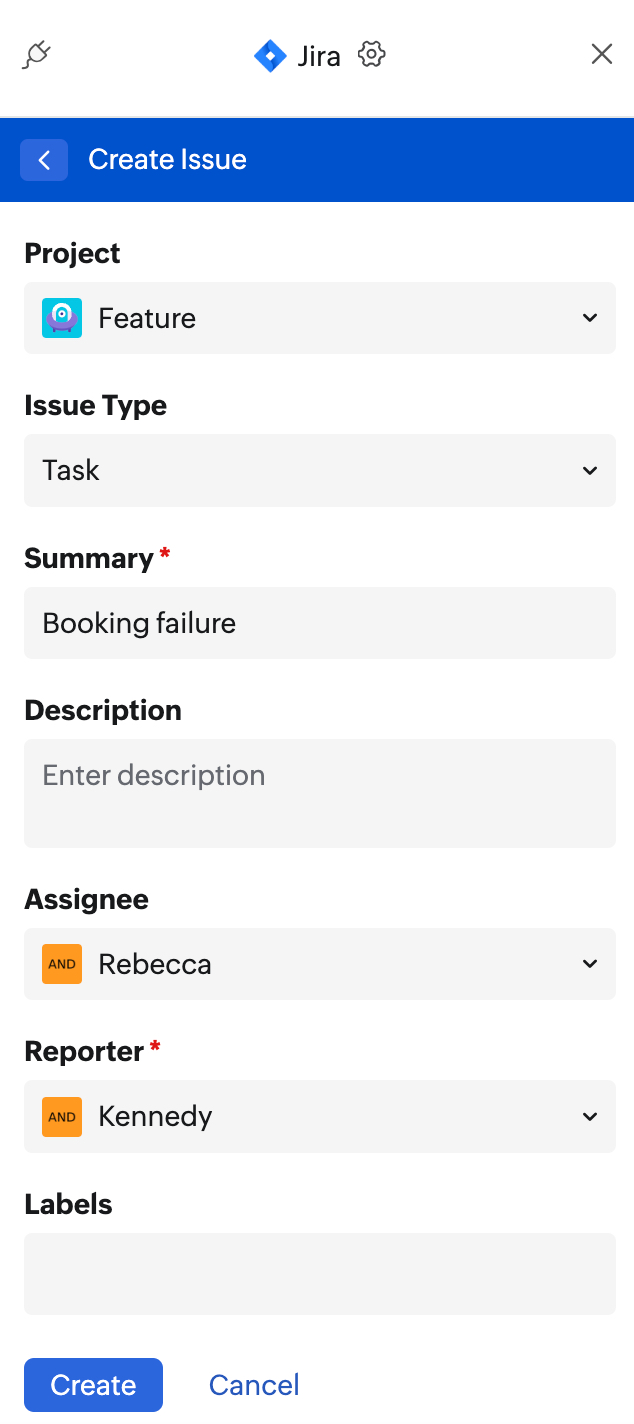
- Select the Assignee and Reporter.
- Provide the Label and choose the Components if any by clicking the Show more fields option.
- Click Create.
You can also add an issue from an email using the Create a new issue option. You can open the email with your Jira eWidget open. The details in the email will get populated in the appropriate fields for you to create an issue with ease.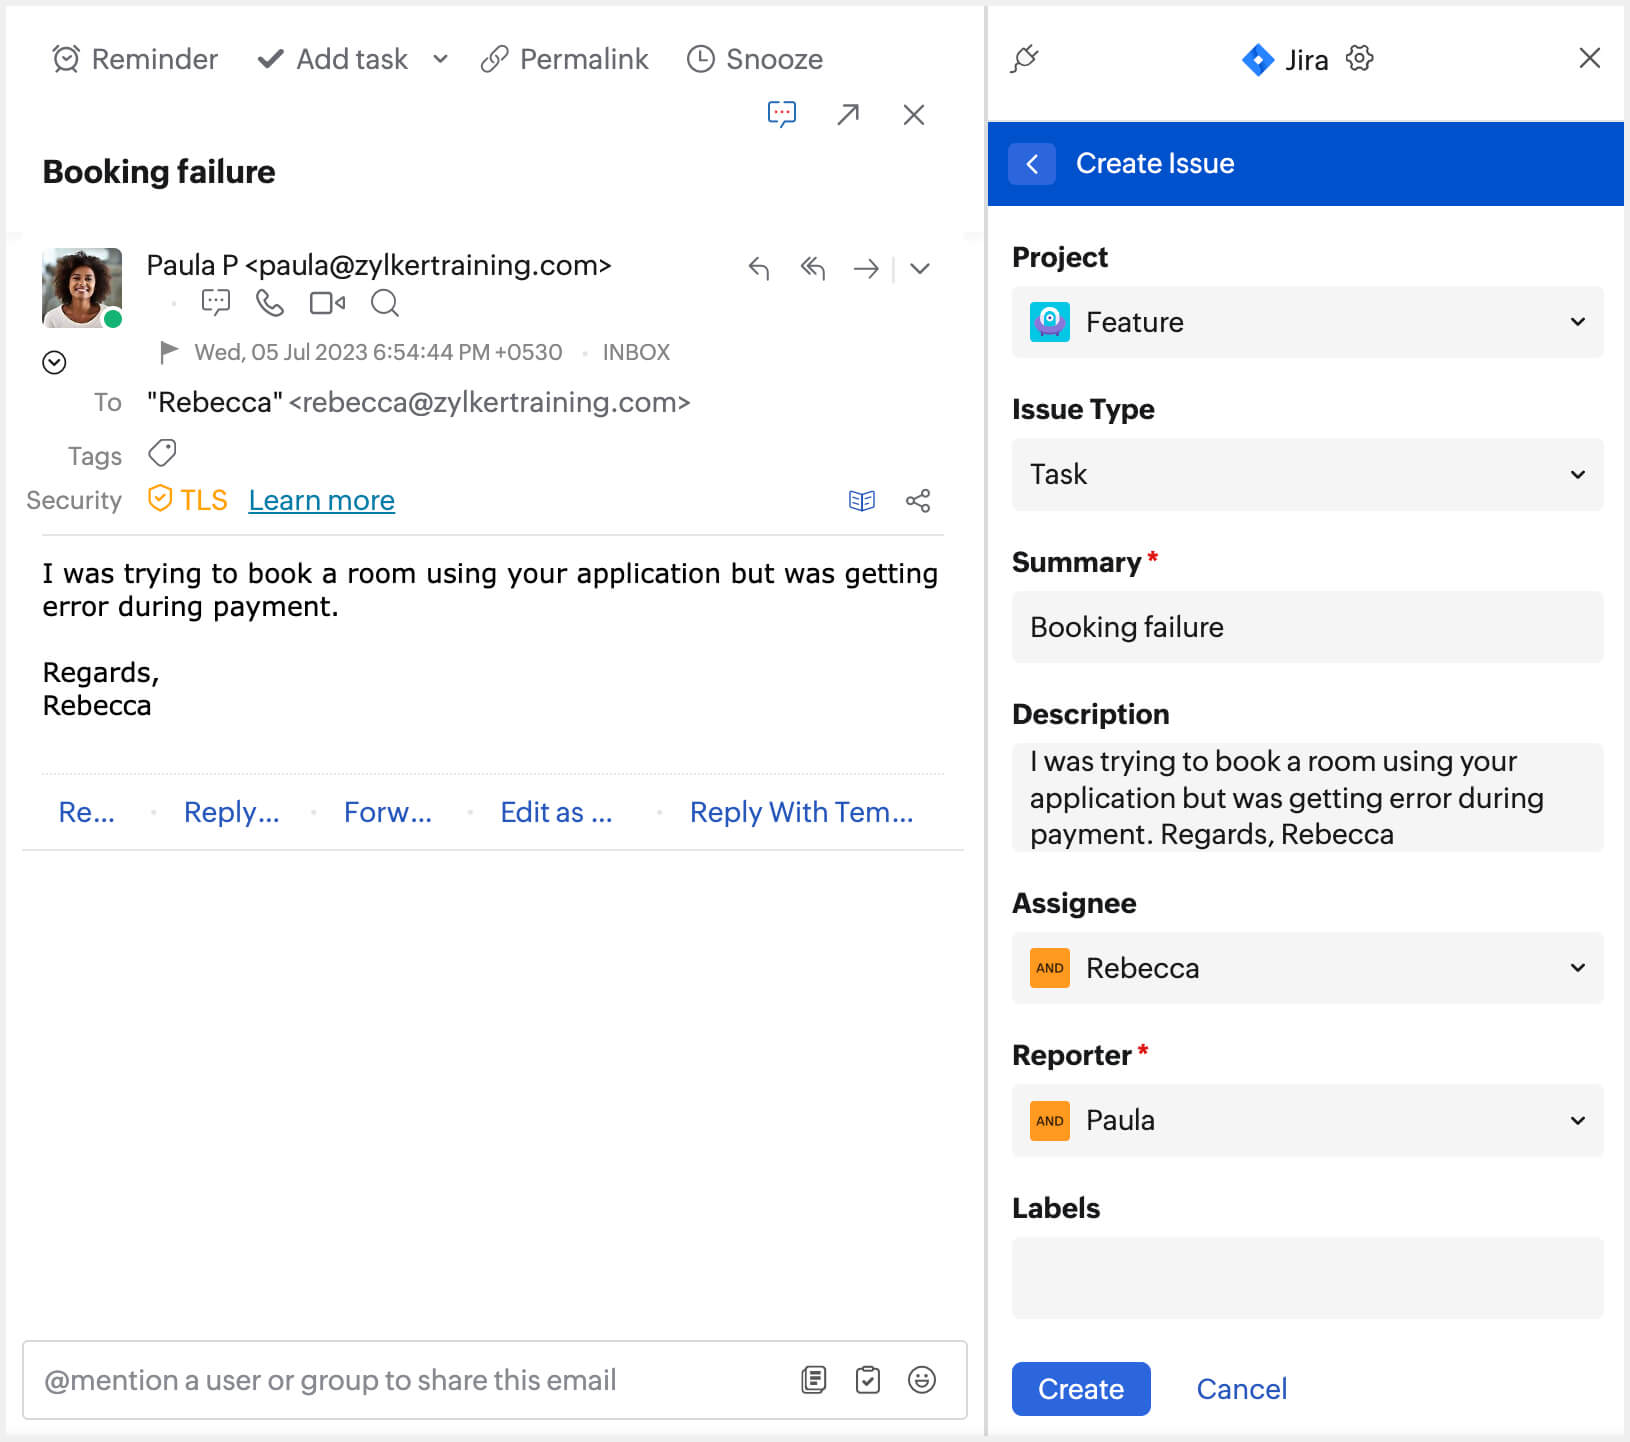
View an issue
The issues from All projects will be listed in the eWidget by default. If you have created custom Projects, you can select them from the drop-down menu to list the issues from that specific project.
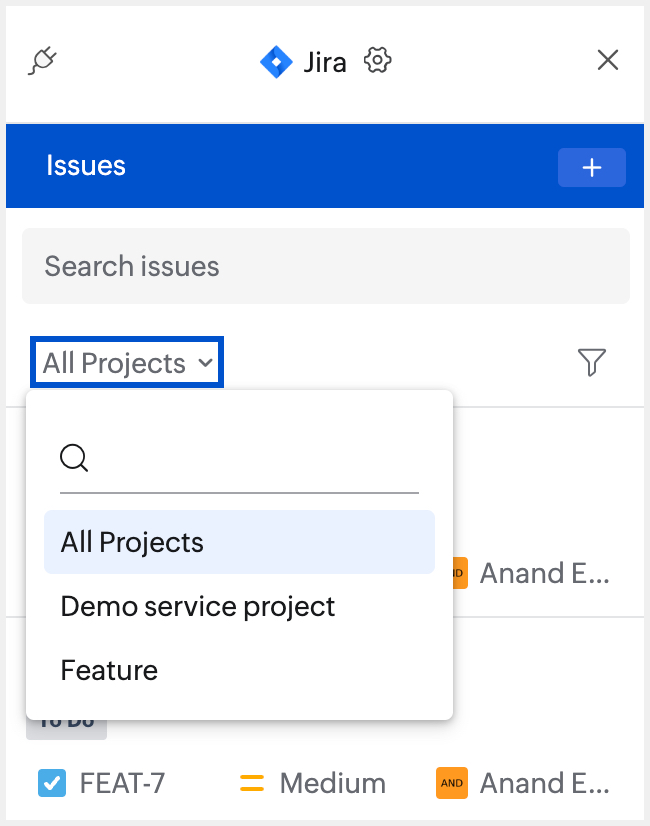
Click on an issue from the list to get a detailed view. You can perform the following actions in the Issue view section:
- Watch the issue by clicking the Eye icon on top.
- Assign the issue to any of your teammates or yourself.
- Leave a comment on the issue.
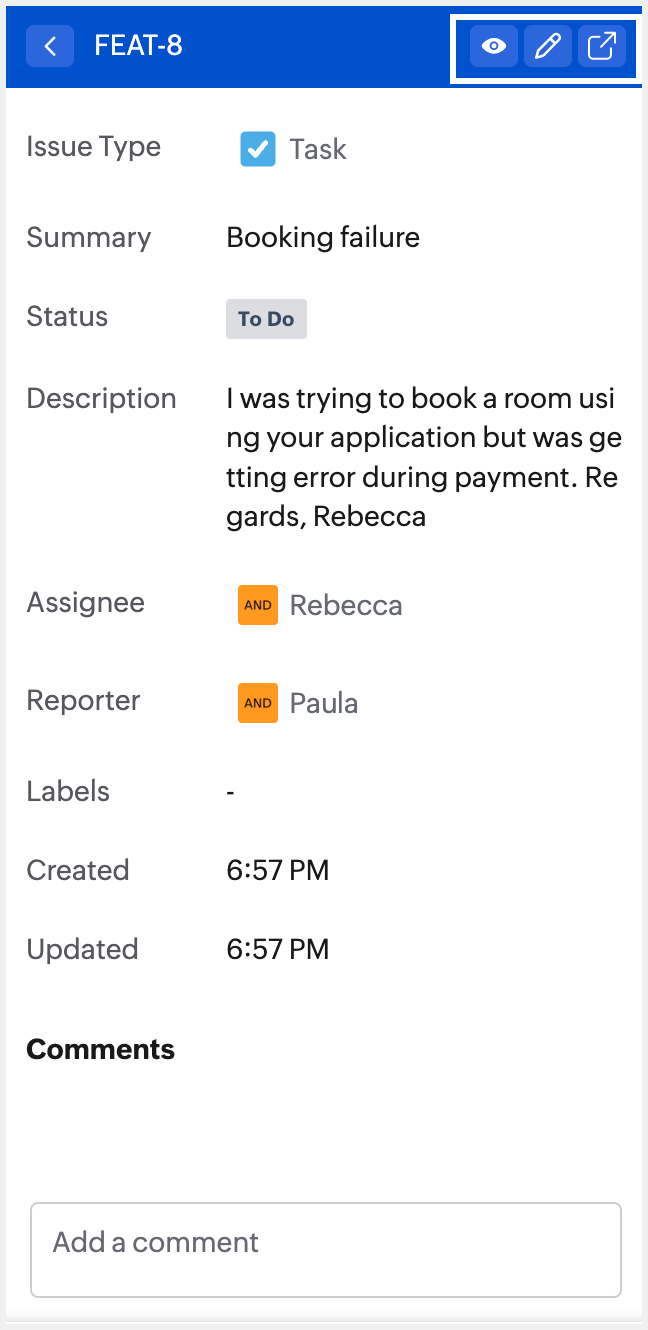
You can also open the particular issue in Jira by clicking the Open in Jira icon in the top-right corner.
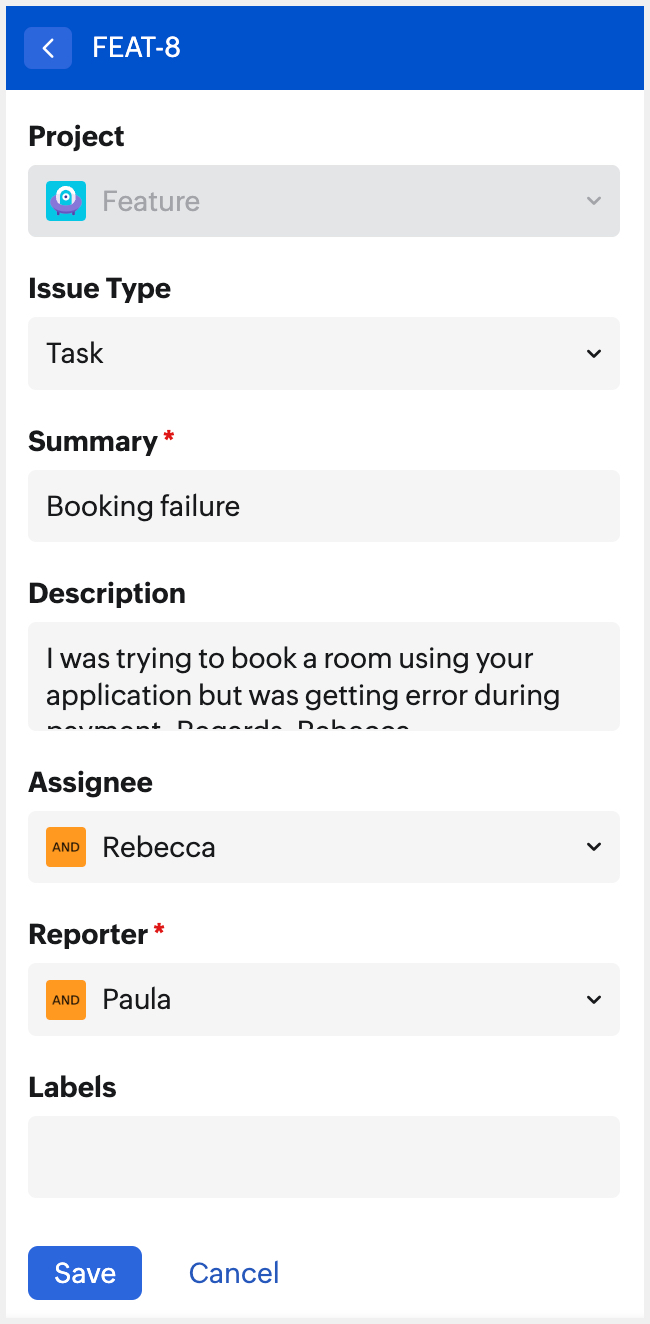
Edit an issue
Click on the Edit icon on top of the Issue view section to make changes to an existing issue.
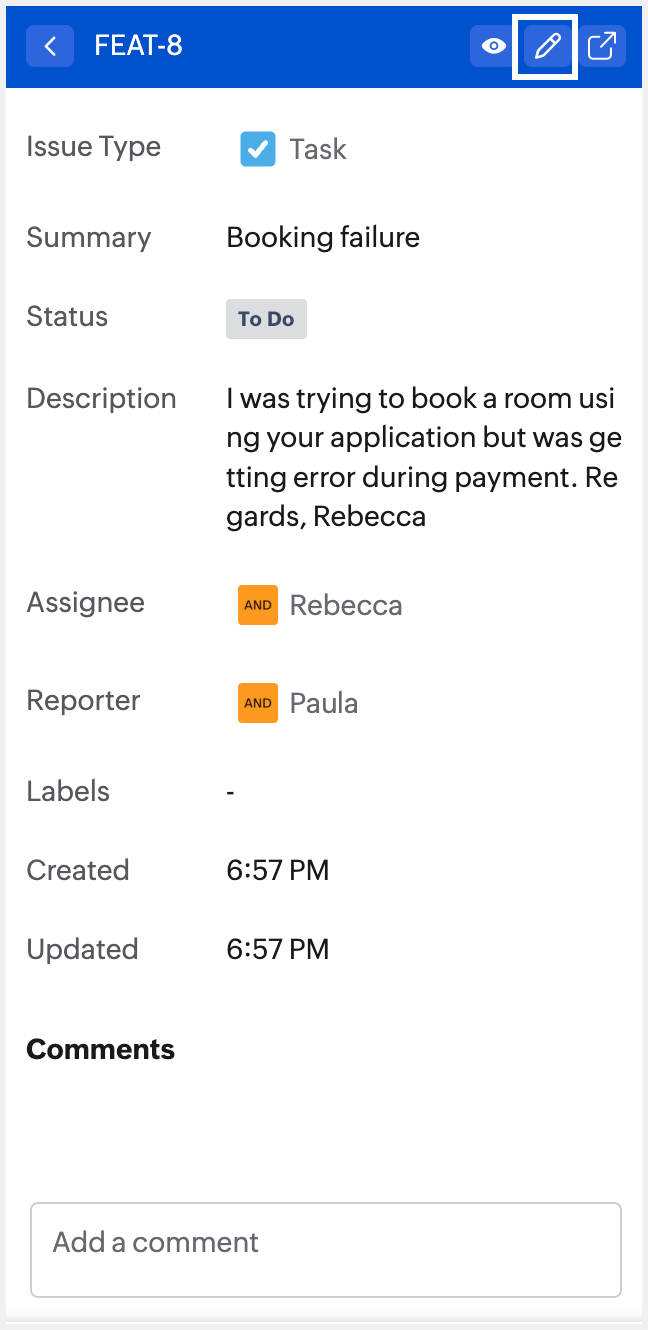
You can change the Project, Issue type, and other fields based on your requirements. Click Save once the changes are done.
