Authorizing Zoho eProtect to access Google Workspace
Overview
To authorize Zoho eProtect to access your organization's Google Workspace users and email data, Google Workspace mandates the following authorization process. First, the organization's admin will have to create a Google Workspace service account, then permit Zoho eProtect to access the required services in Google Workspace, and then define the scopes that can be accessed by the service account that you are creating.
- Ensure that this entire authorization process is done in a browser where no Google Workspace or Gmail account, other than the one from which you will be creating the service account is open.
- The G-Suite authorization process involves creating a service account and a private key. Google Workspace has enforced a constraint on service account creation for organizations created on or after May 3, 2024.
- Follow these instructions to disable the "iam.disableServiceAccountKeyCreation" restriction.
Google Workspace Authorization
To authorize your Google Workspace account, admins should download a Key file that contains vital information required for authorization. The key file can be downloaded in either the JSON format or the P12 format. As an administrator you can use one of the below options to download the key file:
- Download JSON using the Cloud Shell method (Recommended)
- Download JSON or P12 files using Google Developers Console
Authorize using the Cloud Shell Method (Recommended)
The Cloud Shell method simplifies the G-Suite authorization process. Admins can run a script in the Google Developers Console to assign the Organization Policy Administrator role to disable the "iam.disableServiceAccountKeyCreation" restriction and download the JSON key file. Below are the steps involved to authorize using the JSON method:
Follow these instructions to download the JSON file and authorize Zoho eProtect to access your account:
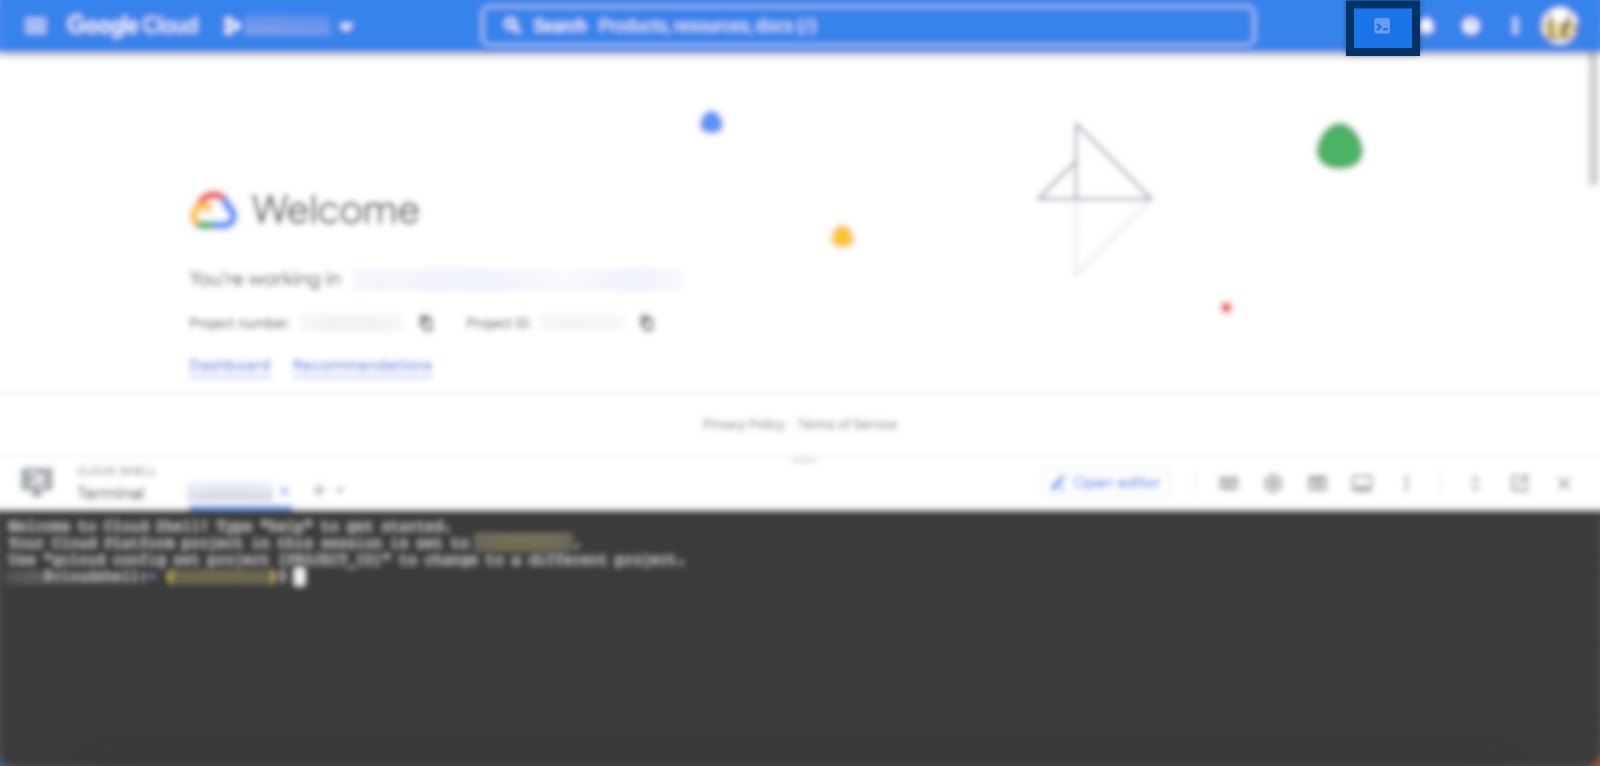
- Log in to the Google Developers Console with your admin credentials.
- Click Activate Cloud Shell from the upper right corner.
Copy the script given below.
wget -cO - https://eprotect.zoho.com/resources/scripts/gcp.sh > "gcp.sh"; sh gcp.sh
- Paste the script into the Cloud Shell console to assign the Organization Policy Administrator role to the user and disable the "iam.disableServiceAccountKeyCreation" restriction.
Enter a unique project id as "eprotect-app-<orgname>" in the Cloud Shell.
Note:
- The project id can be any string that is
- Starts with a letter
- All lowercase letters, more than 6 characters in length and less than 26 characters in length
- Contains lowercase letters, numbers, and hyphens
- Cannot end with a hyphen
- Cannot be in use or previously used; this includes deleted projects
- Cannot contain restricted strings, such as google, null, undefined, and ssl.
- If you receive an error, follow the project id criteria that appear on the screen.
- The project id can be any string that is
- Select AUTHORIZE and then click DOWNLOAD to save the JSON file to your computer.
- Open the JSON file and make a note of the client_email and client_id.
- client_email - this is the Service account email address which you should enter at the time of migration creation.
- client_id - Enter this in the Client ID field during scope definition.
- Follow the steps provided in the Granting access to Service Account section, to define the scopes that can be accessed by the service account.

Authorize using the Google Developers Console
The steps in this section are required if you wish to download the JSON or P12 key file using the manual method. If you have already downloaded the JSON file, you can proceed to the Granting access to Service Account step. Below are the steps to authorize Zoho eProtect using the manual method:
Creating G Suite Service Account:
This section will guide you through the process of setting up a service account in your Google Workspace account.
- Log in to the Google Developers Console with your admin credentials.
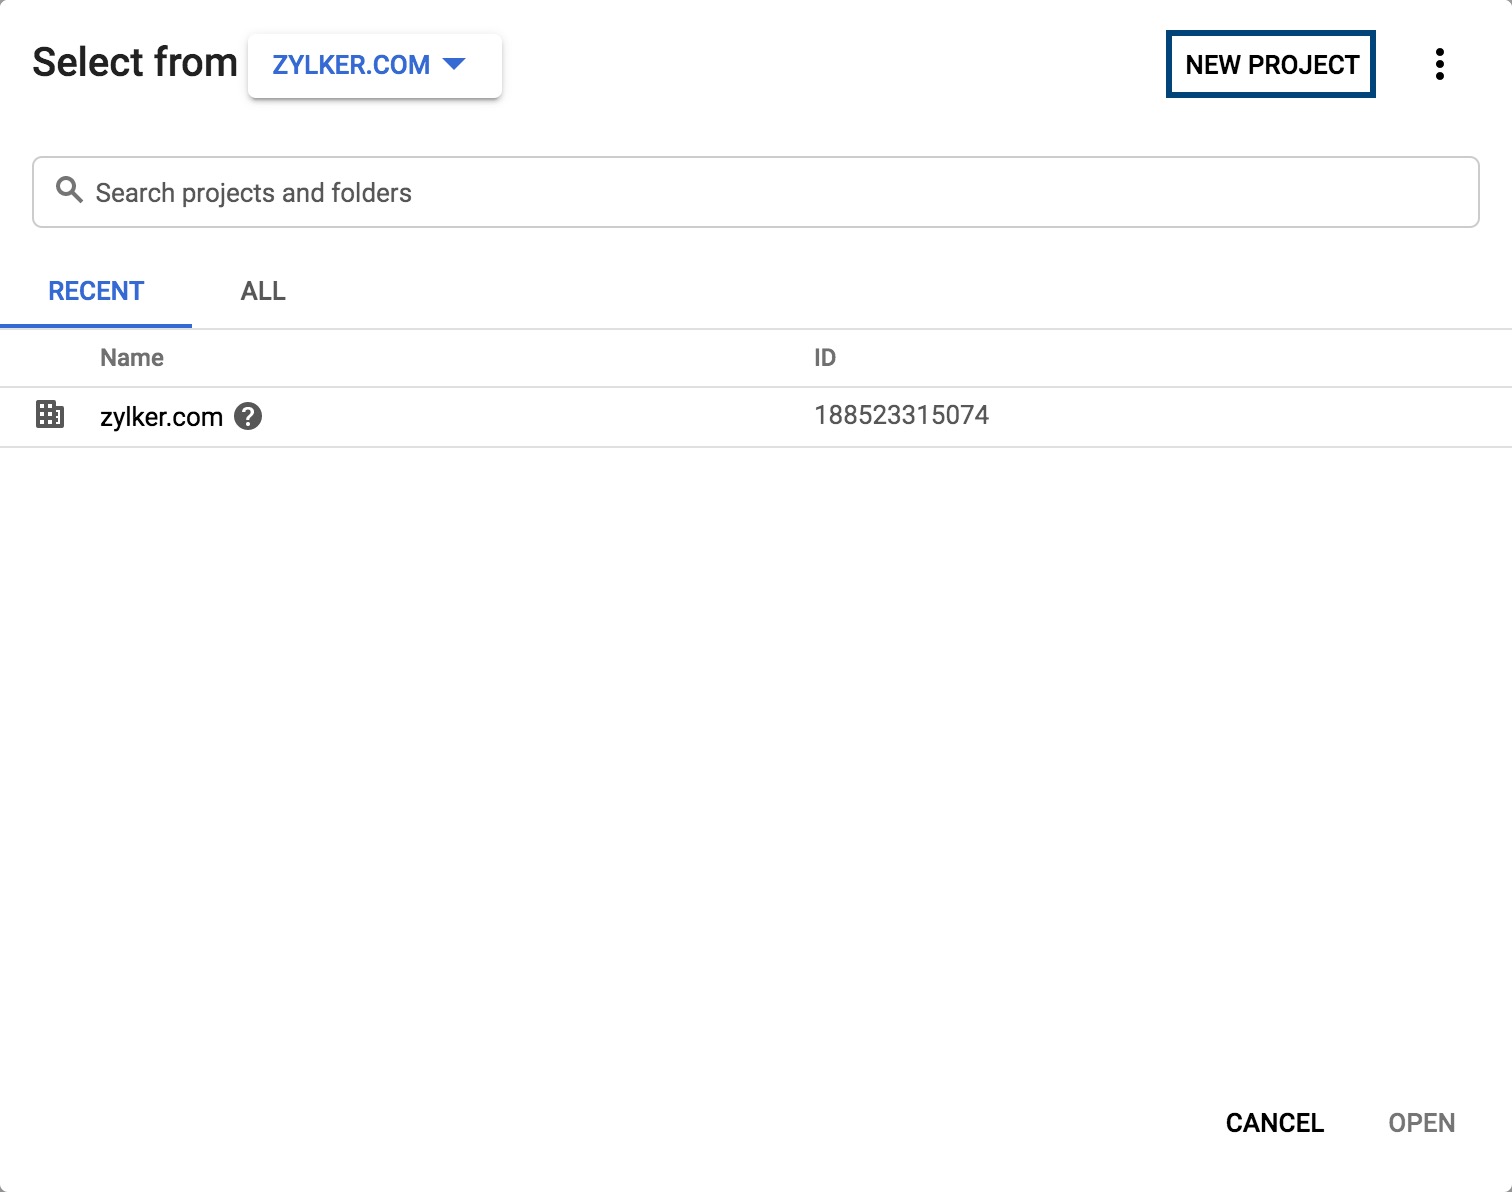
- Click on the dropdown next to your organization's name from the top of the window, and select New Project.
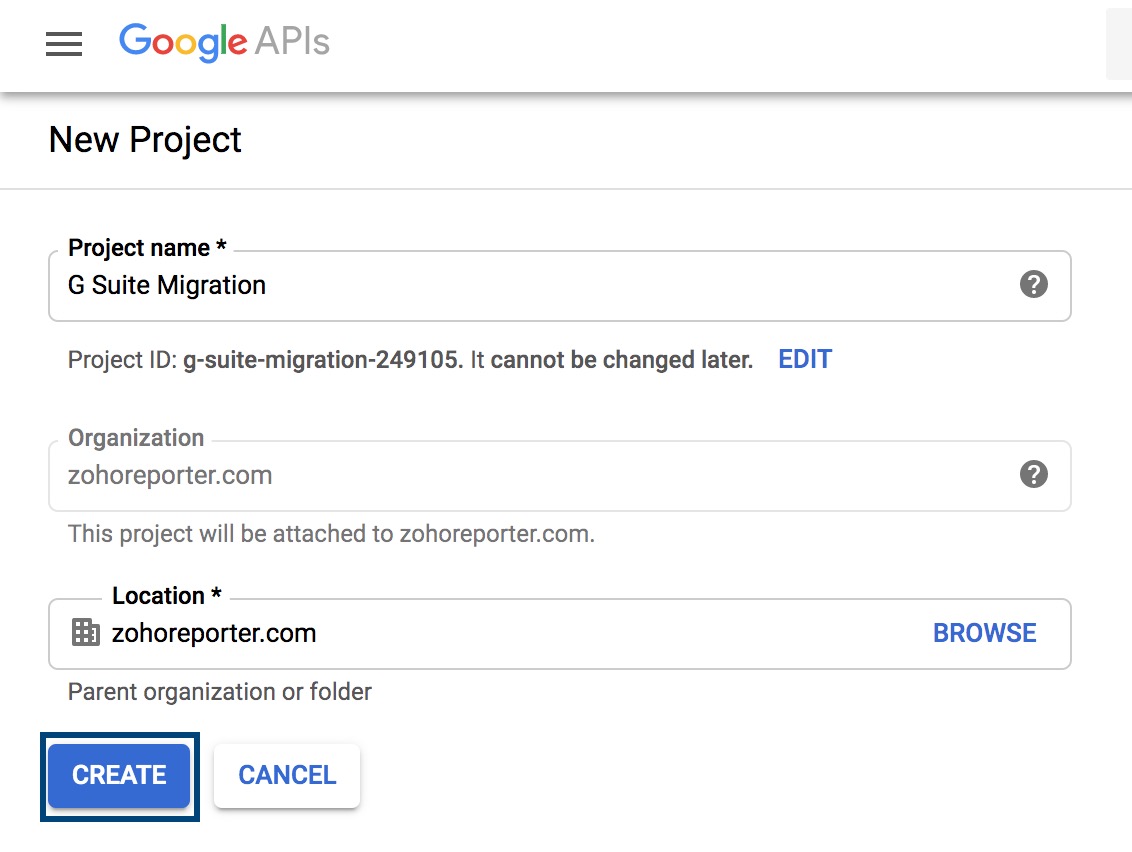
- Enter a name for your project in the Project Name field and click Create.
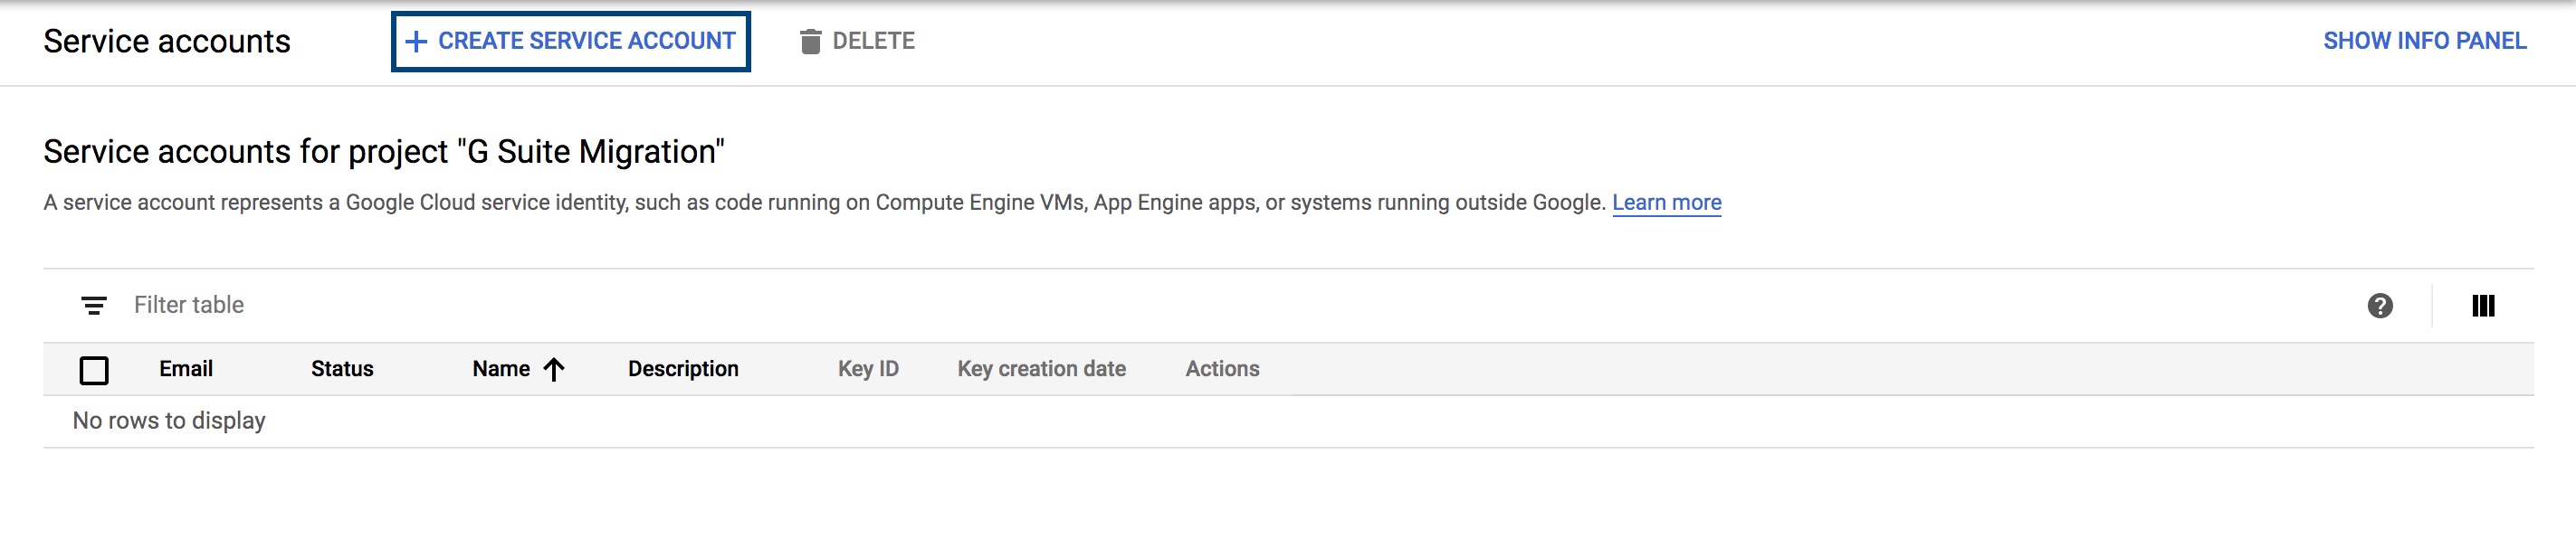
- Select the Create Service Account option.
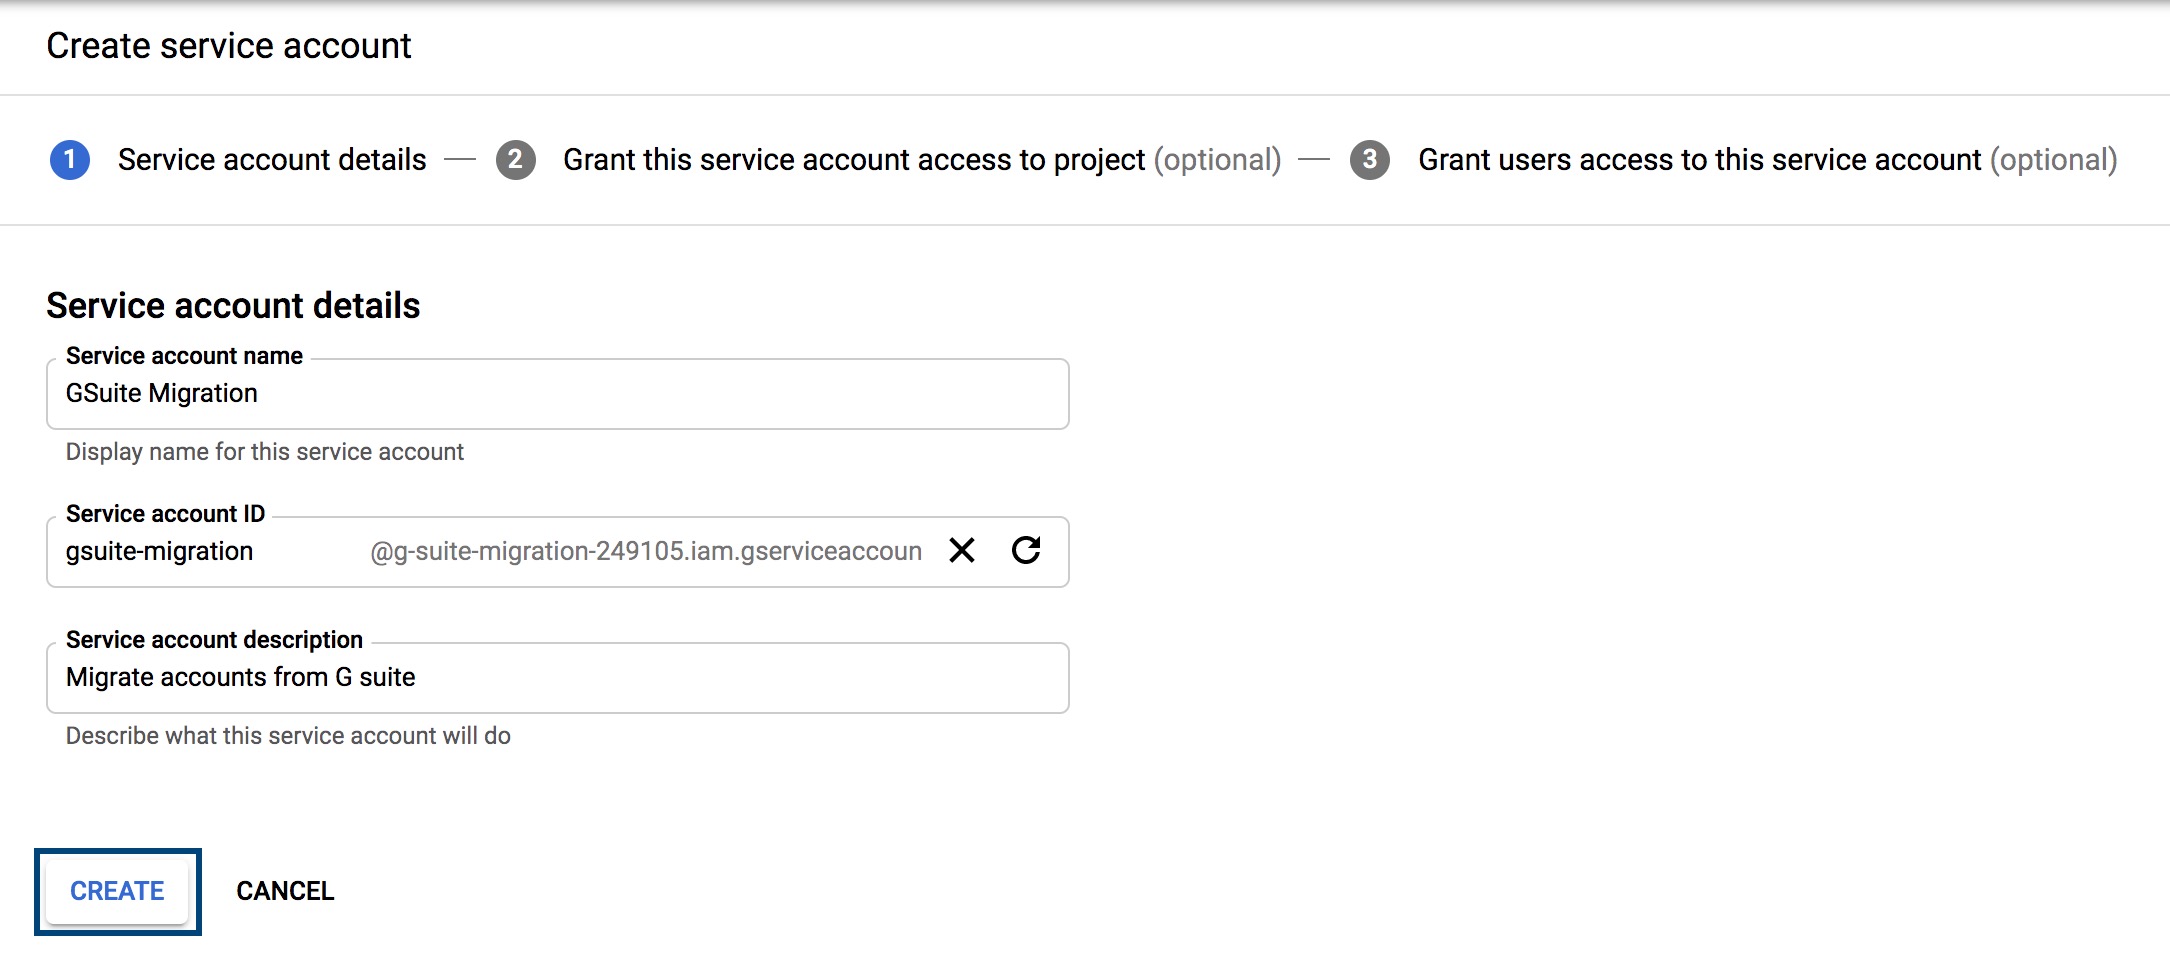
- Enter a service name in the Service account name field, and a description for the service in the Service account description field, and click Create.
- In the next step, select the role that you want to assign to this service account. In the Role field, select Project > Owner, and click Continue.

- If you'd like to assign roles to users and admins, enter the relevant data and click Done.
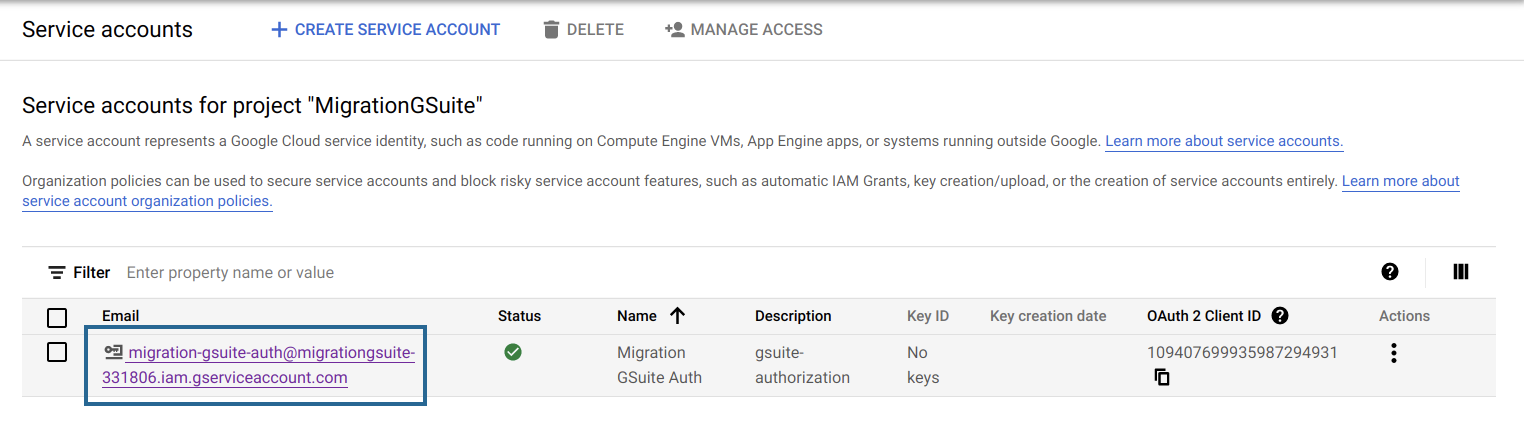
- Click the email address under the Email field. This will be the Service account email address. Make sure that you note this down, as you will have to enter it in the Zoho eProtect.*
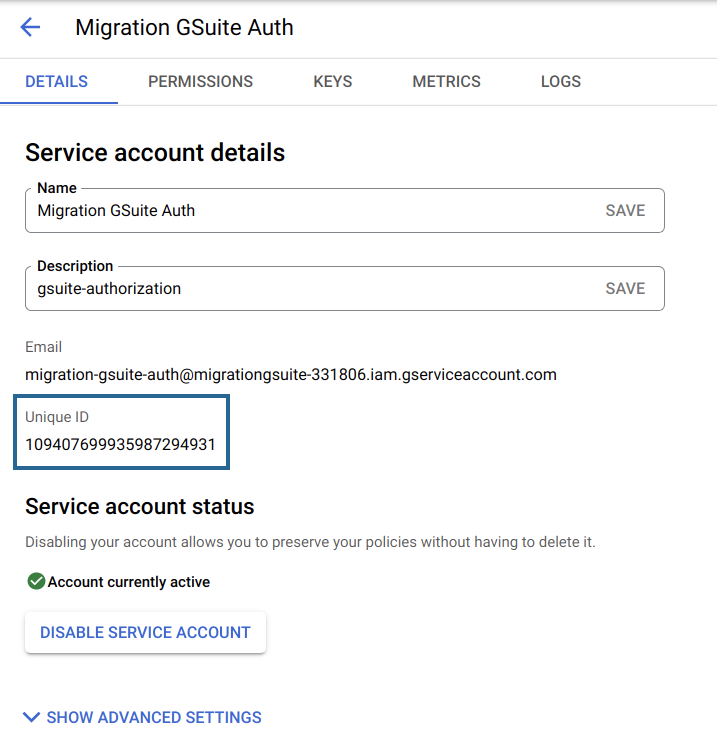
- The value generated in the Unique ID field is the Client ID. Please make note of this value as you will need it for later use during the authorization process.
Now, navigate to the Keys tab, click Add Key, and select the Create New Key option.
Note: Ensure that the "iam.disableServiceAccountKeyCreation" restriction is disabled. Refer to the Google Workspace help page for more details.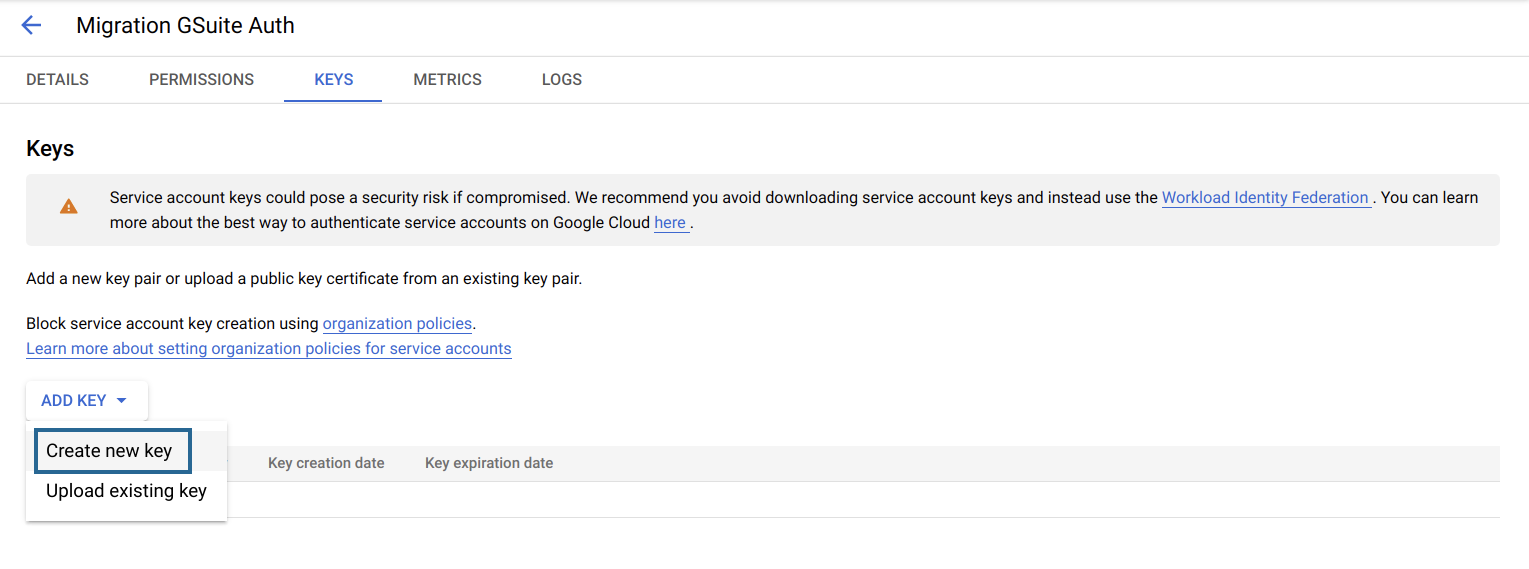
- Select JSON or P12 and click Create.

- Once you've created the key, you will notice that a file was downloaded onto your system. Please make sure that you save a copy of this file for later use during the migration.*


Enabling API Access:
You will have to enable access to some of these APIs. Follow the below instructions to enable access.
- Log in to the Google API Library.
- Locate the Gmail API and click Enable.
- Locate the Admin SDK and click Enable.
Granting access to Service Account
This section will aid you in granting access to the service account and defining the scopes that can be accessed by the service account.
- Log in to your Google Workspace Admin account.
- Go to the Security menu, and select API Controls under Access and data control.
- Under Domain-wide delegation, click MANAGE DOMAIN-WIDE DELEGATION.
- On this page, click Add New.
- In the Client ID field, enter the client_id that was generated.
Copy the following values and paste them in the One or more API scopes field, and click Authorize.
https://www.googleapis.com/auth/admin.directory.user.readonly, https://www.googleapis.com/auth/admin.directory.domain.readonly, https://www.googleapis.com/auth/admin.directory.group.readonly, https://www.googleapis.com/auth/admin.directory.group.member.readonly, https://www.googleapis.com/auth/gmail.modify, https://www.googleapis.com/auth/admin.directory.orgunit.readonly
Once done, this will grant access to the service account and the mentioned scopes will be made accessible.
Details to be entered in the Zoho eProtect
* The service account email address and the file that was downloaded will be required for use while setting up Zoho eProtect.
- Enter the Super Admin email address of your Google Workspace organization account in the Google Workspace Super Admin Email Address field.
- Enter the Service account email address in the respective field.
- Finally, upload the JSON or P12 file you downloaded in the Private key file field and click Verify.
This will authorize your Zoho eProtect account to access Google Workspace. Navigate to the Setting up Google Workspace in Zoho eProtect help page to continue set up.