Summary
Create an account
Zoho POS can be accessed by creating an account from the website. There are two ways in which you can start using Zoho POS.
Sign up with a new account
Sign in with an existing Zoho account.
Sign up for Zoho POS
The first step to access Zoho POS is by signing up for the product from the website.
To sign up
Go to https://www.zoho.com/en-in/pos/ and click Sign Up Now.
Enter Full Name, Email, and Create Password.
Enter the Phone Number.
Read the Terms of Service and Privacy Policy and select the I agree checkbox.
Click Sign up for free.
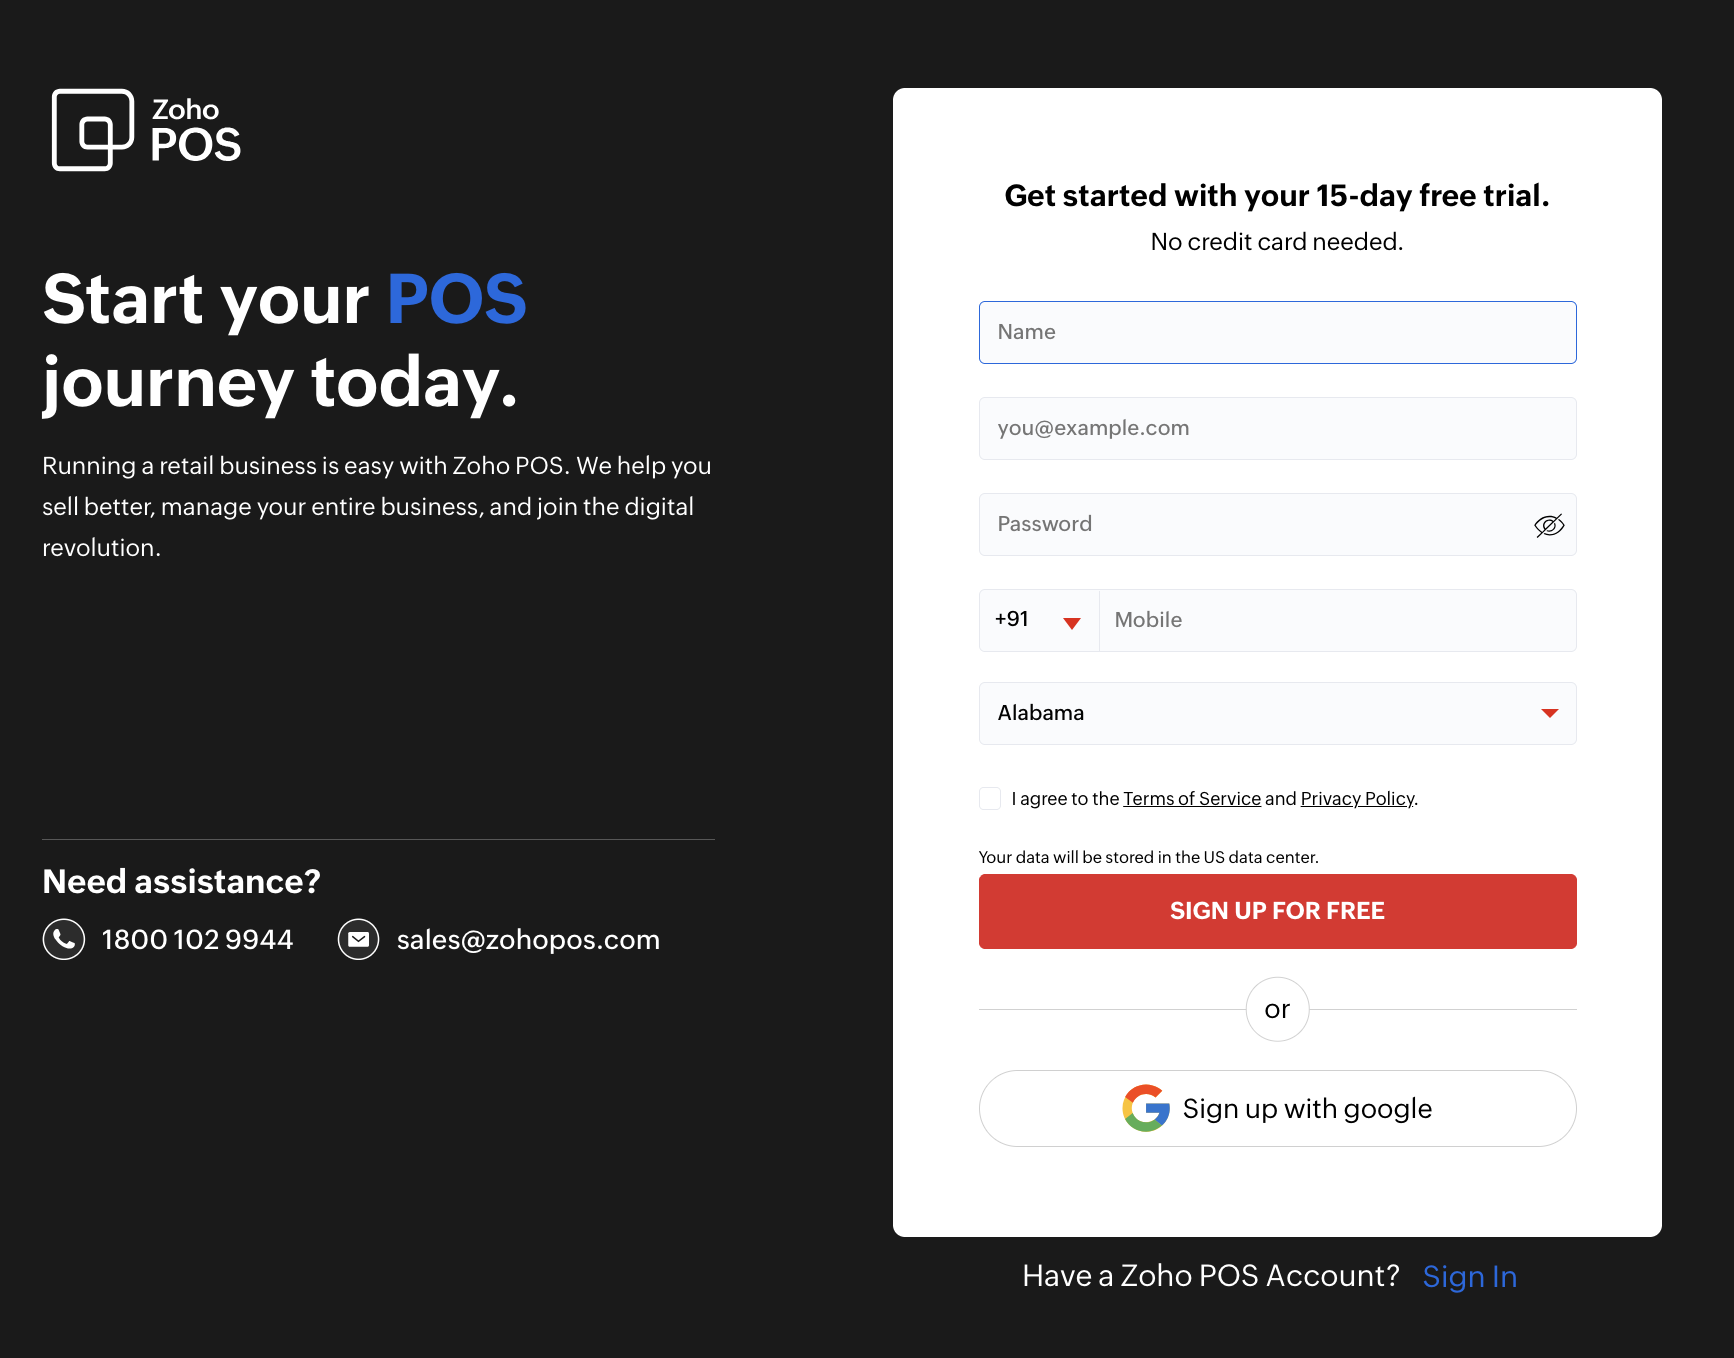
You can also sign up for Zoho POS using your Google or LinkedIn accounts.
Specify Organization Details
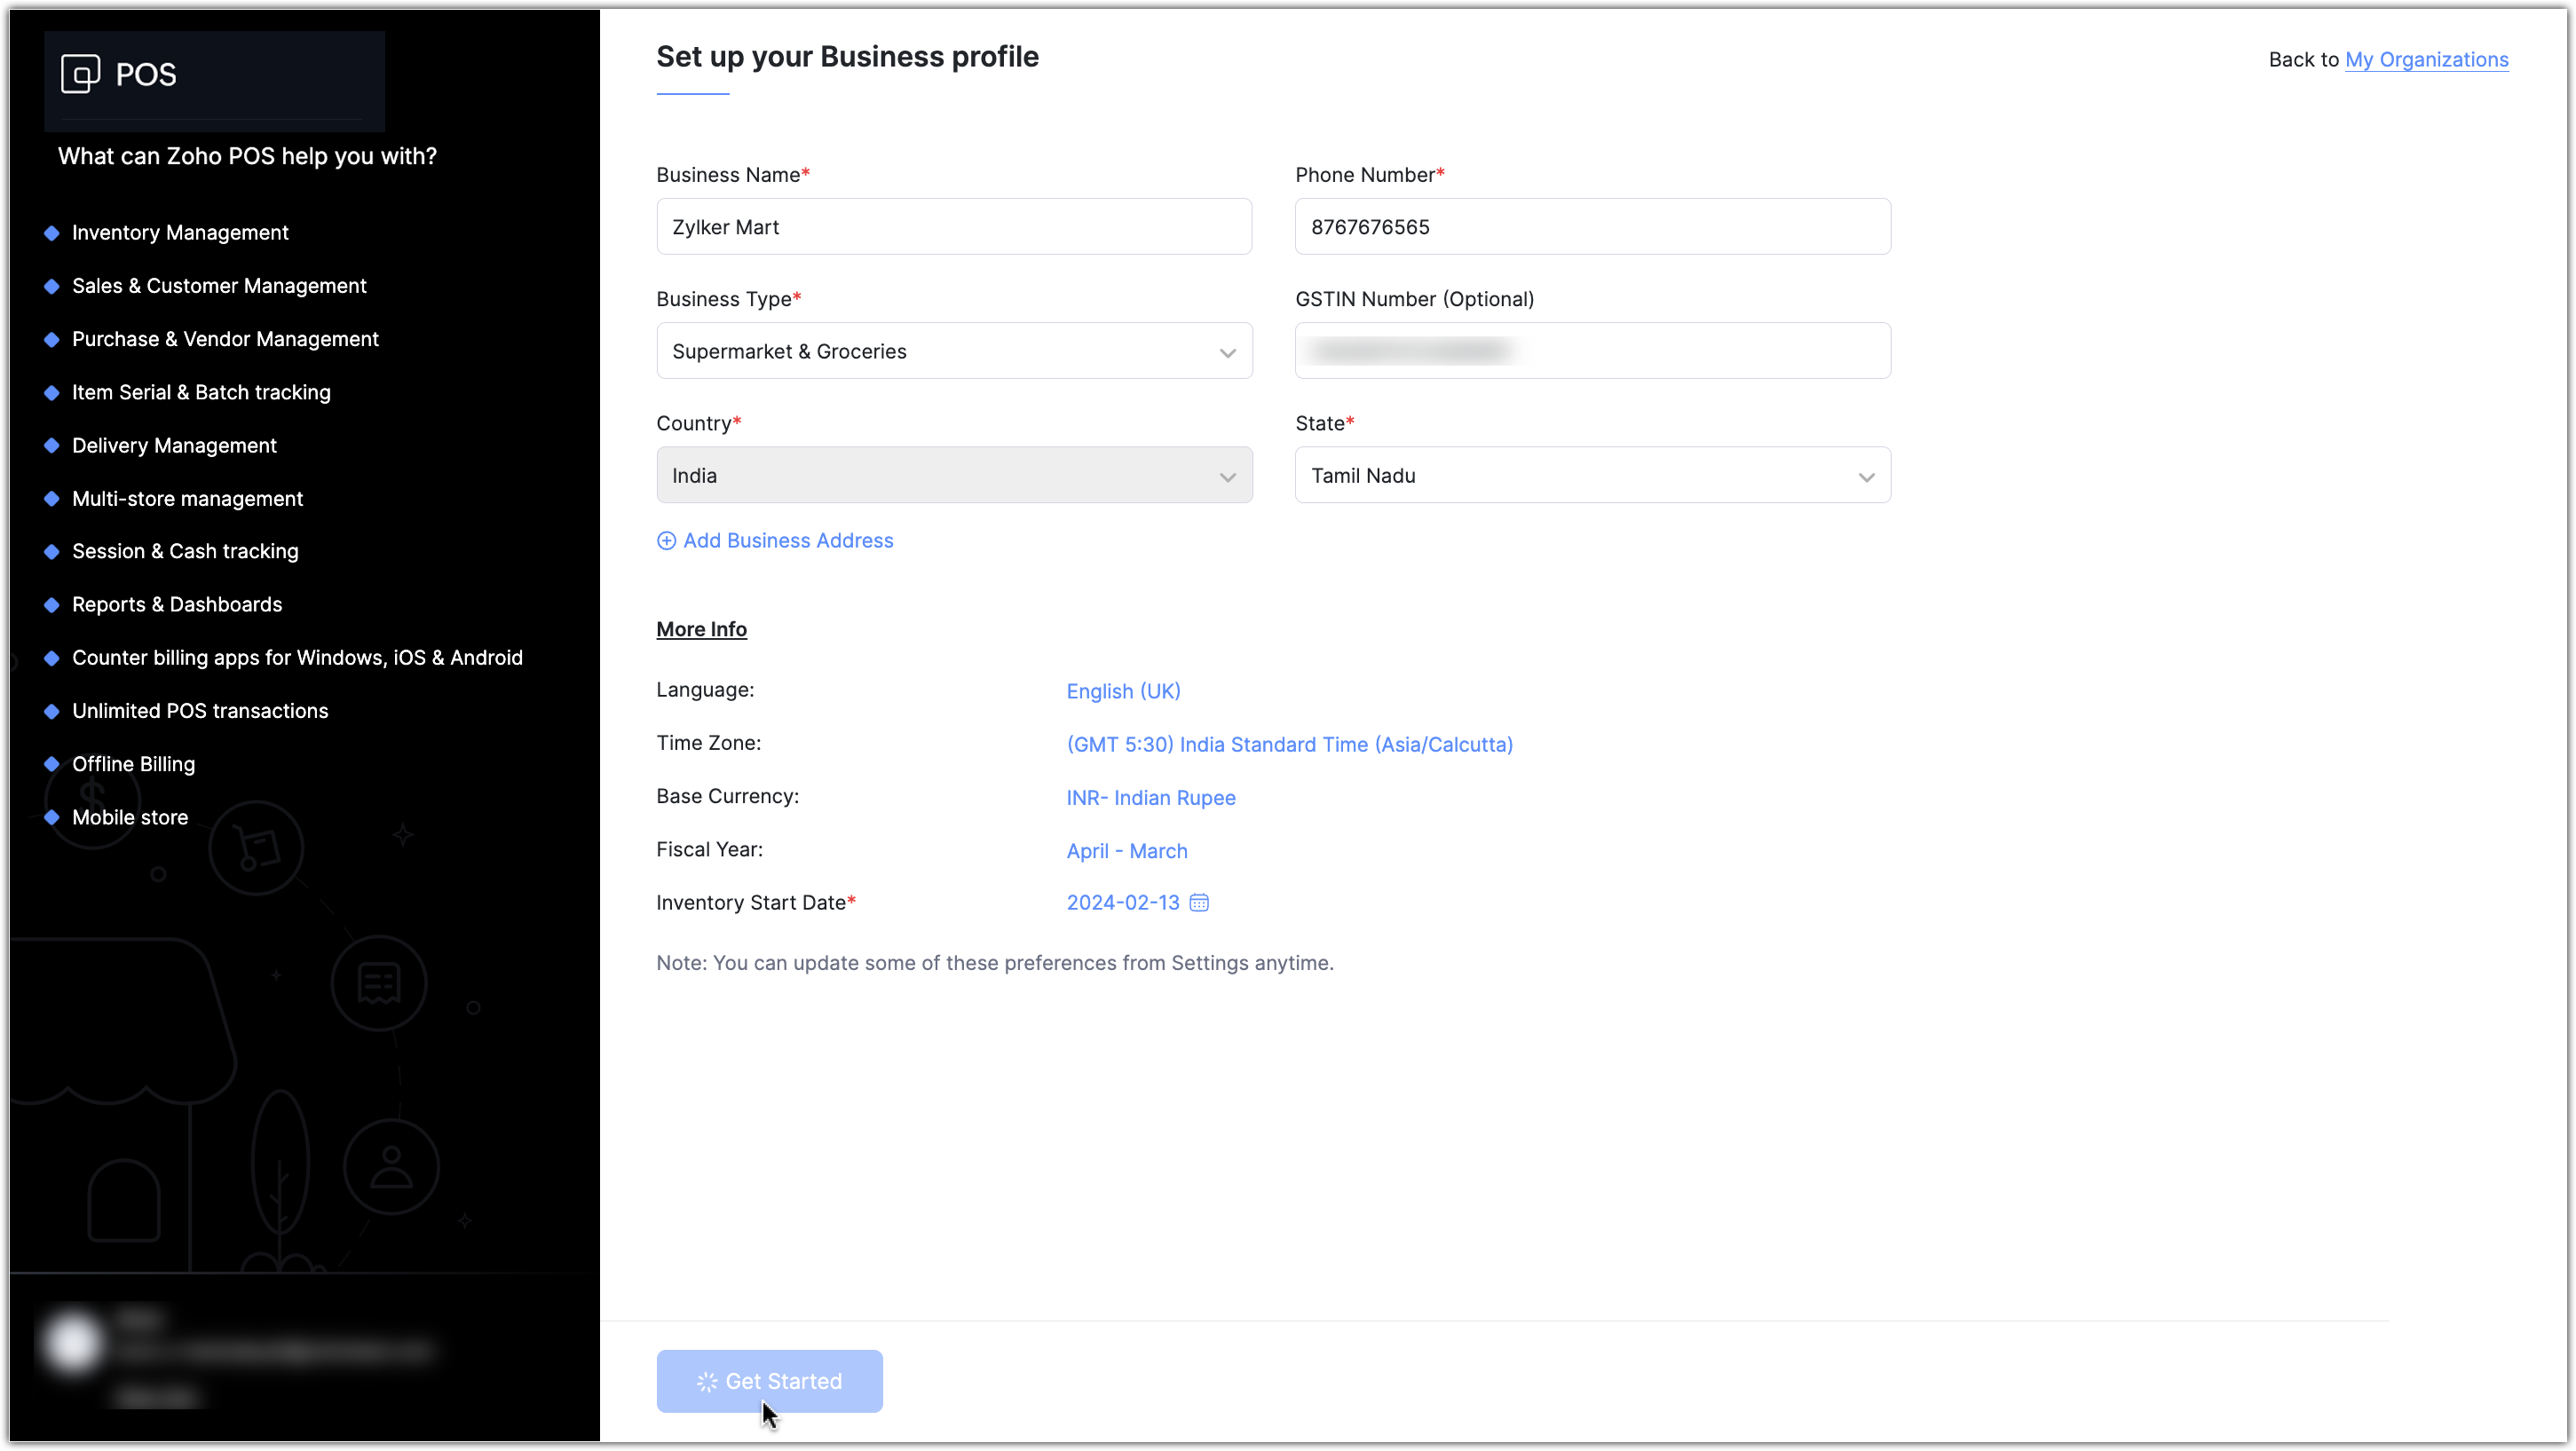
Once the sign up process is completed, you can enter the basic information about your organization such as the name, phone number, address, currency, language, fiscal year, etc. to get started with Zoho POS.
To specify the organization profile
Enter Organization Name and Phone Number, and select the State from the Set up your Organization profile page.
Enter the Address and select Language from the drop-down list.
Specify the Inventory Start Date and click Get Started.
Sign in with an existing Zoho Account
If you already have a Zoho account, you can sign in to Zoho POS with the same account credentials. All the organizations that you have in Zoho Finance suite will be displayed. You can either choose an existing organization from the list or create a new one from scratch.
What happens when an existing organization is chosen?
The organization that you have created in any of the Zoho Finance suite, such as Inventory, Books, Invoice, Subscriptions, Checkout, Expense, Commerce, will be listed when you have signed up for Zoho POS. When an organization is selected from the list, all the records as well as the configurations in the Items, Inventory Management, Sales, and Customers module will be available in Zoho POS as well.
To sign in
Go to www.zakya.comand click Sign In.
Enter the Email Address and Password, and click Sign In.
Click Connect against the organization that you want to use with Zoho POS. Alternatively, you can also click Create Organization to create a new organization.
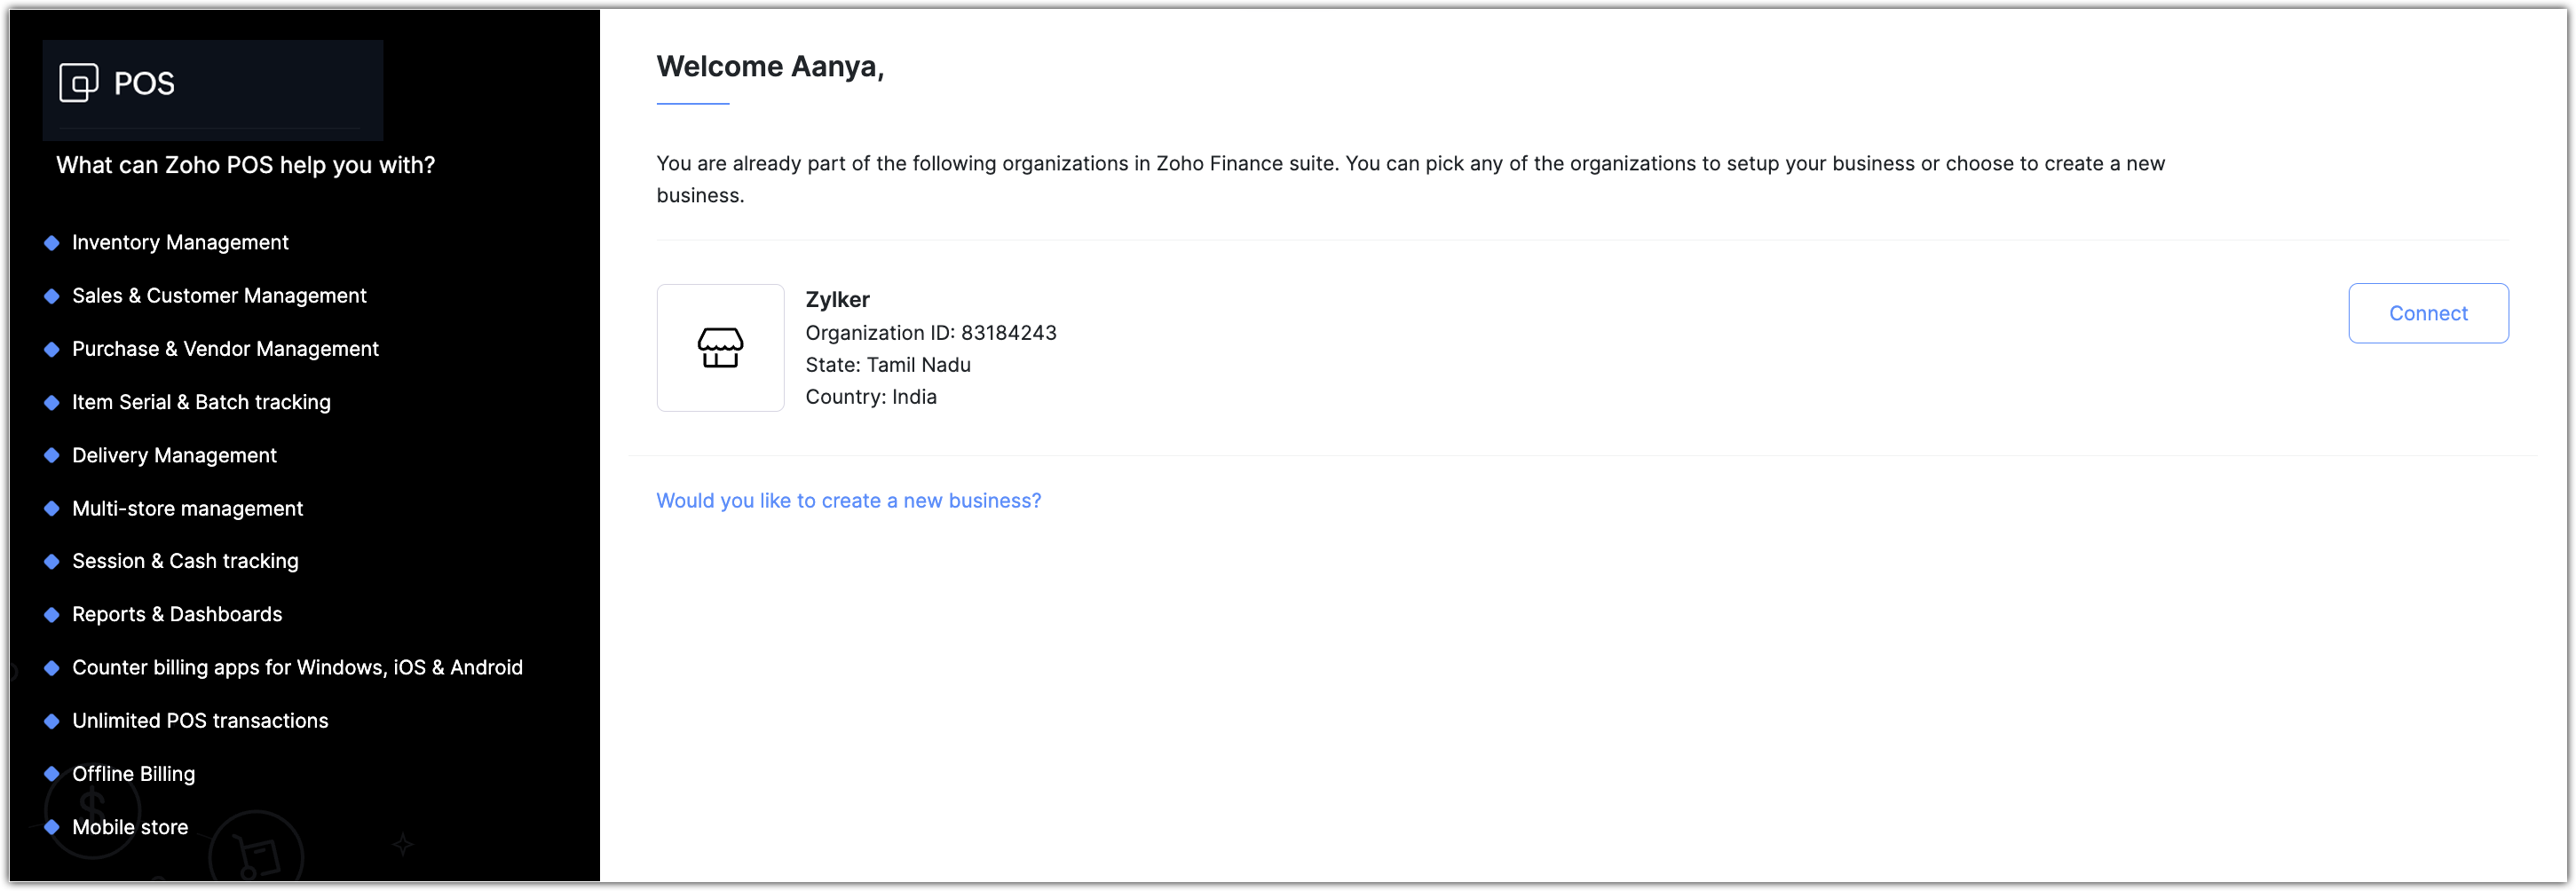
Enter the information and click Get Started.
Note
When you map an existing organization in Zoho POS, the preferences defined in Zoho POS from the Settings page will be reflected in your Zoho Finance products.
Navigate Zoho POS
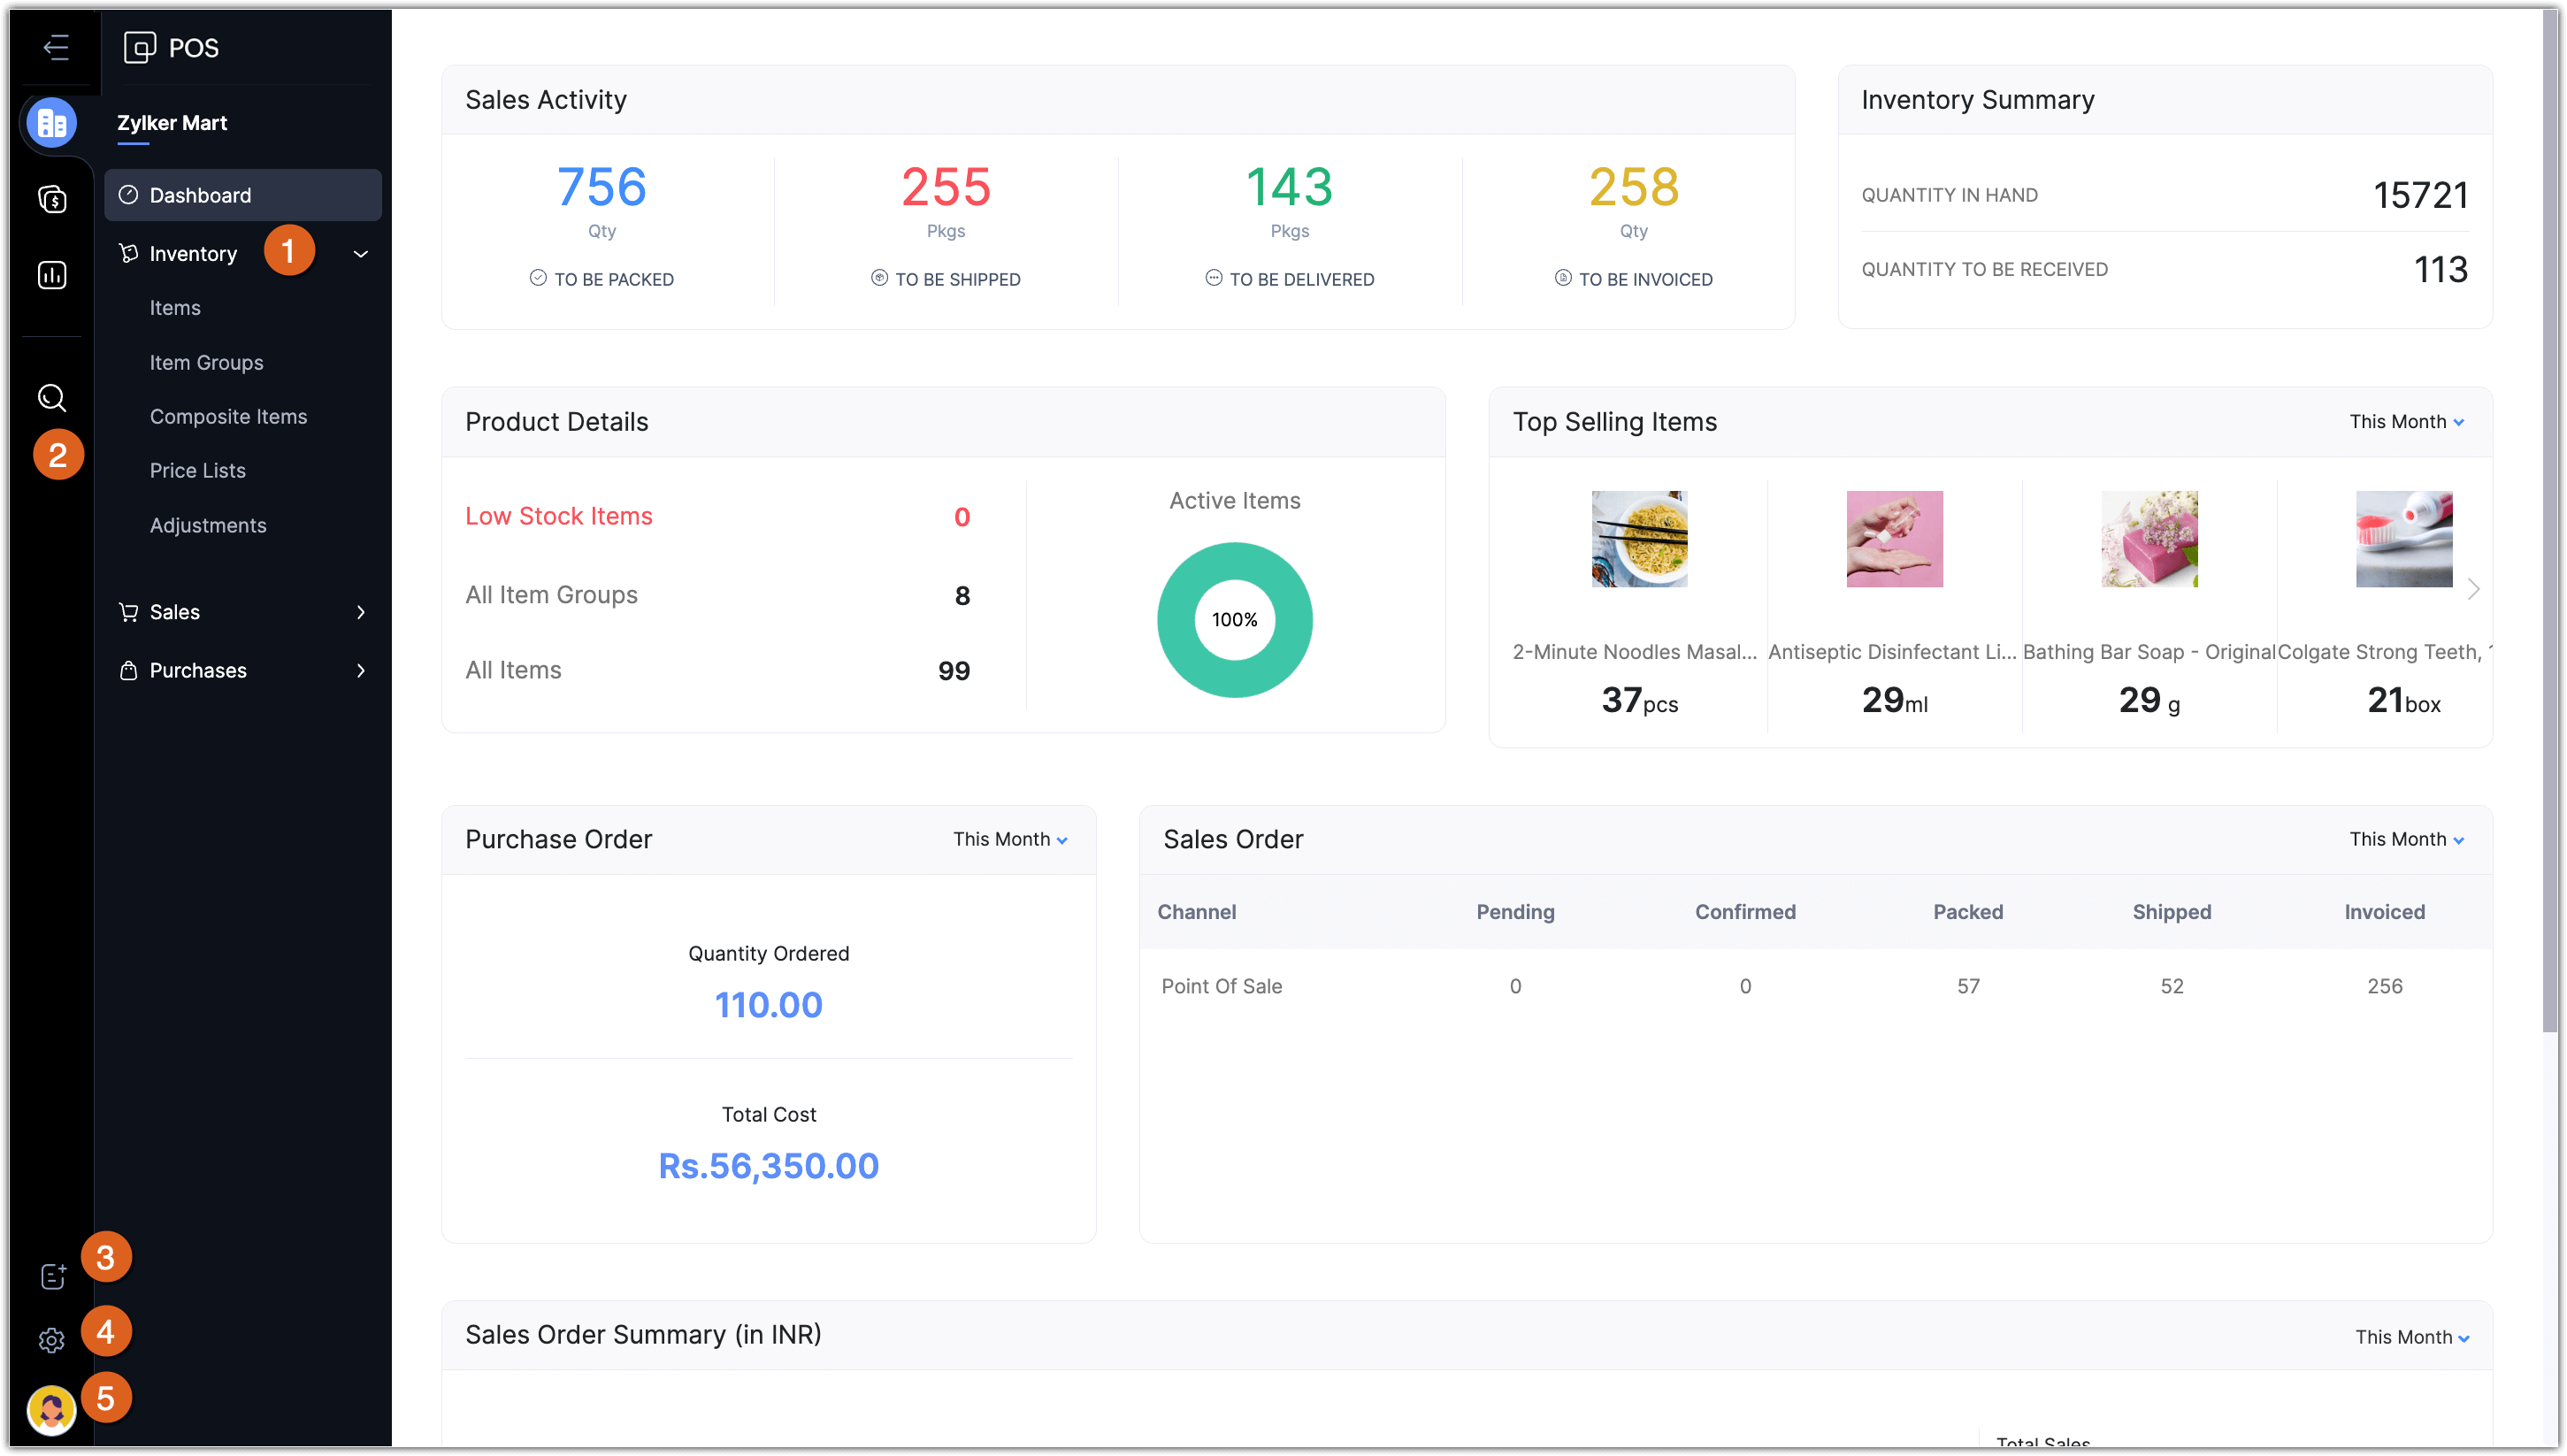
When you login or sign-up for Zoho POS, the first screen that you see will be the Dashboard which displays all the key metrics such as Inventory Summary, Top Selling Item, Sales Summary etc.
You can also find the following:
Search: This is where you can search for the records present in Zoho POS. You can also choose a module and search for the record. The Advanced Search option lets you choose the module and specify certain field values to narrow down the search results.
Quick Create: An easy way to create data across modules.
Settings: Various configurations such as preferences, templates, adding users, templates, etc. can be modified.
Profile: Space where you can manage your subscription. access resources and so on.