Register a client in Apple

To add a new client:
Access your Apple developer account
- Go to the Apple developer portal.
- Sign into your Apple developer account.
Generate an App ID
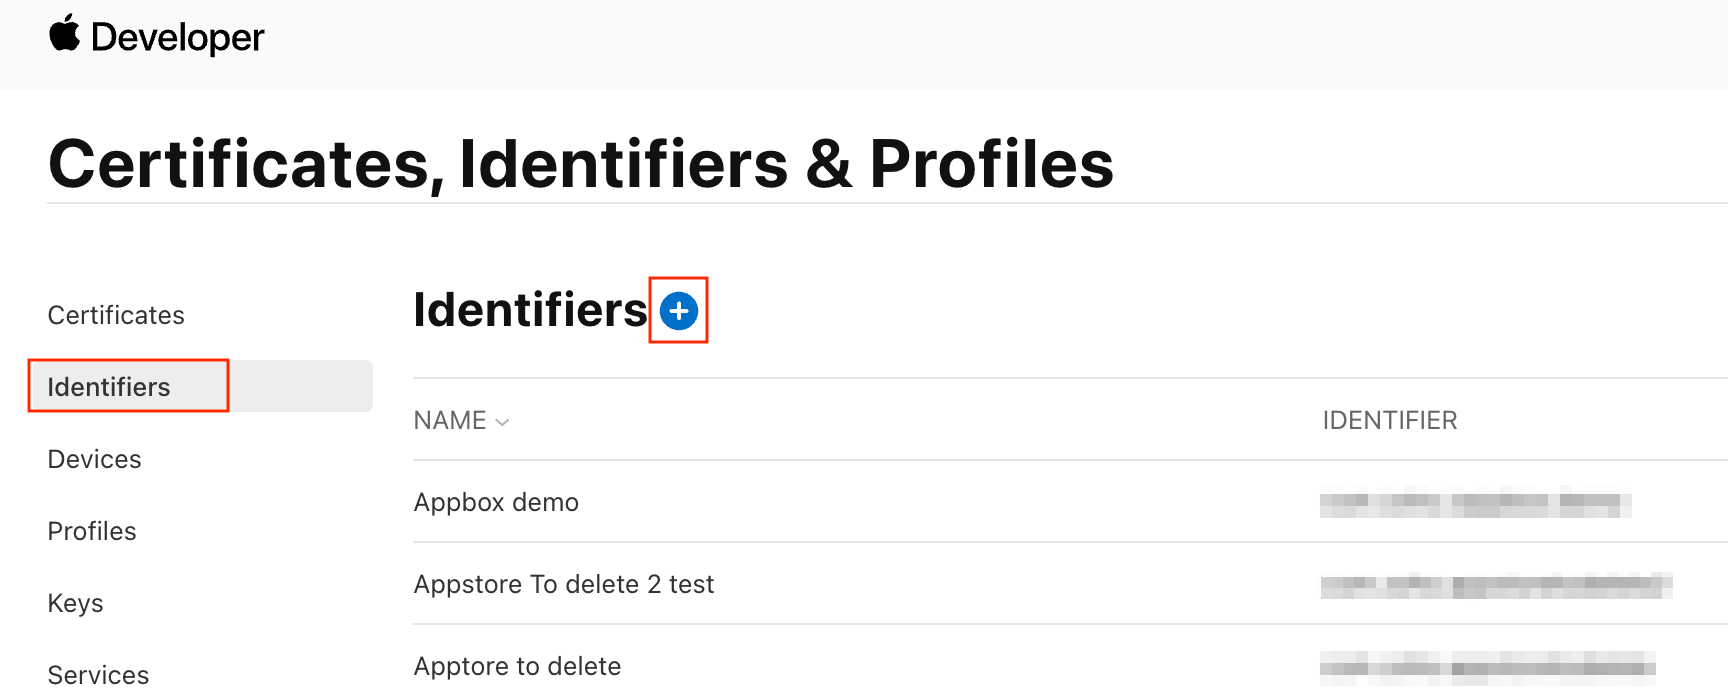
- Choose Identifiers under the Certificates, Identifiers & Profiles section.
- In the Identifiers page, click the blue plus icon.
- Choose App IDs and click Continue.
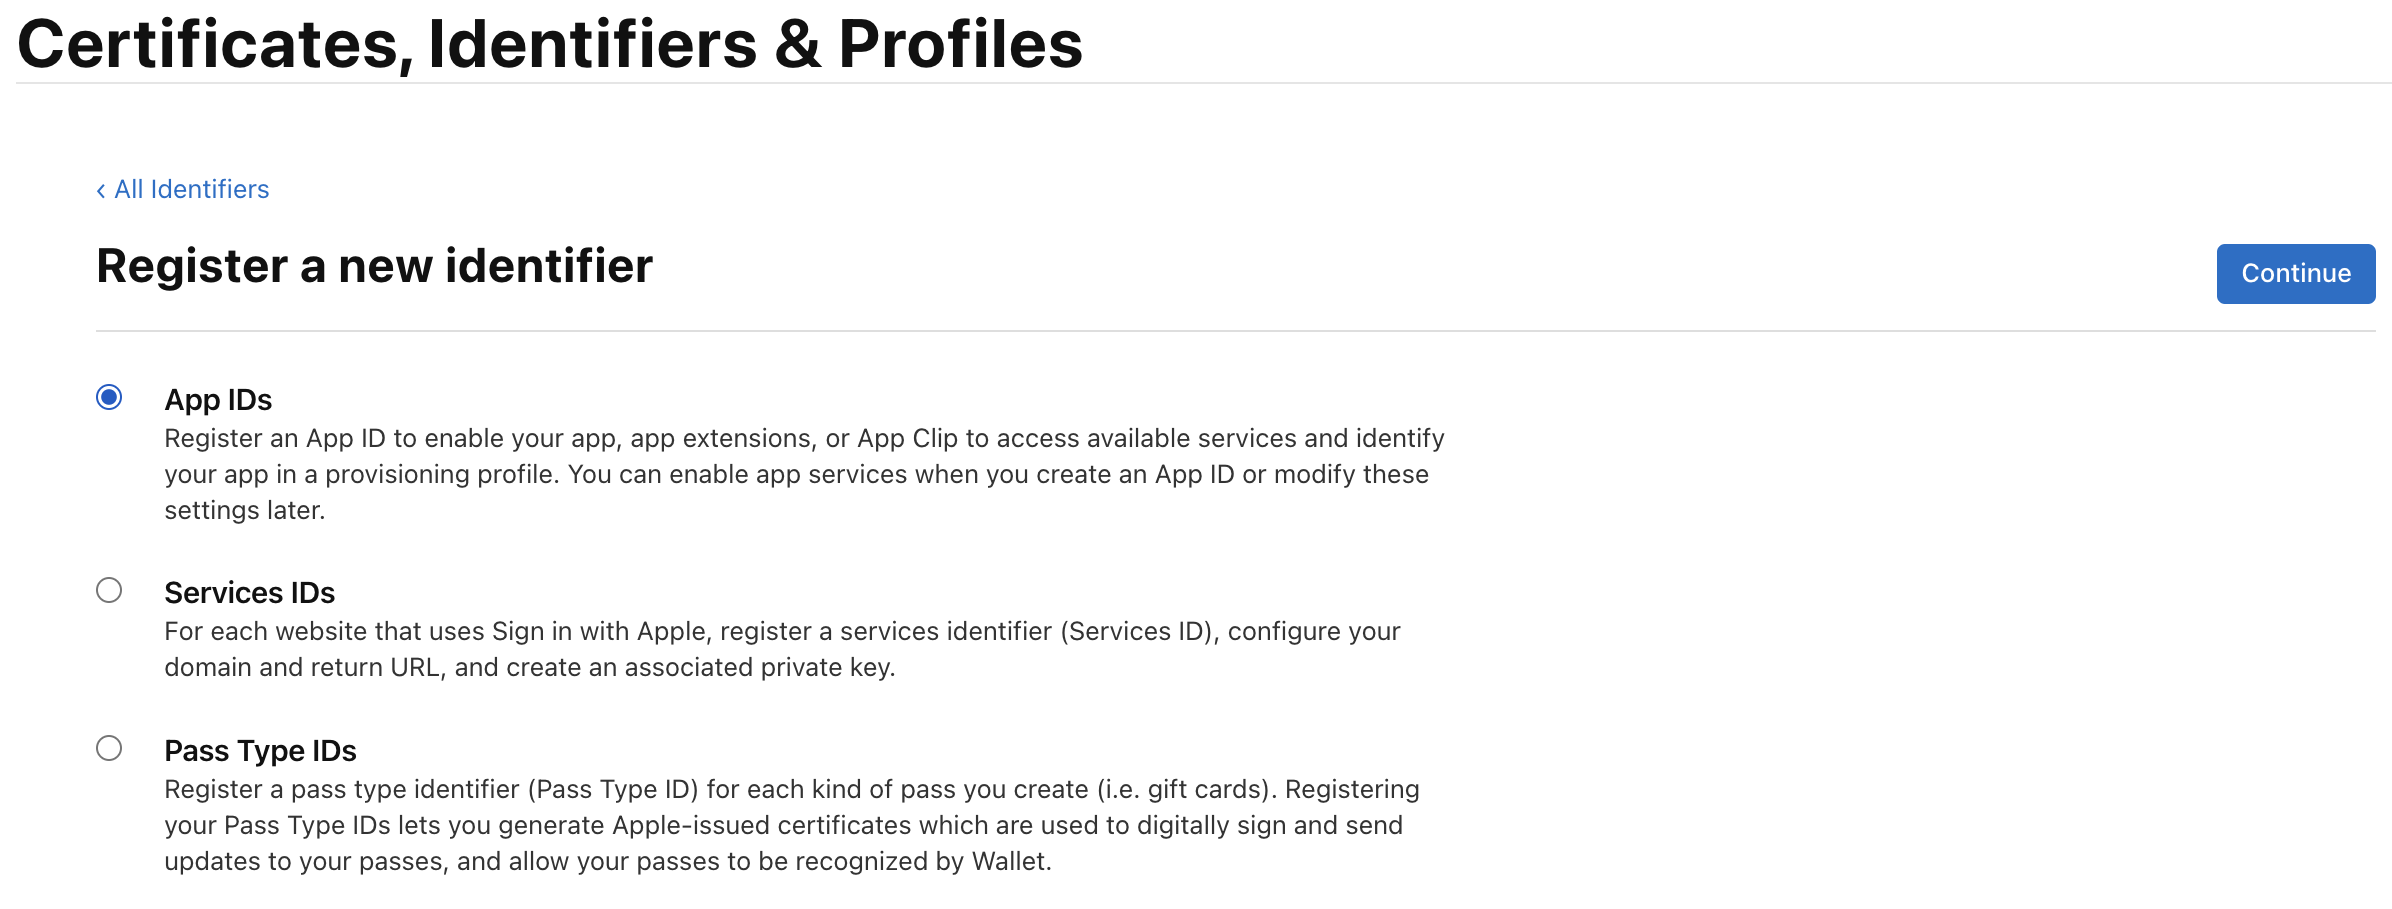
- Select App.
- On the next screen, you’ll have to enter a description and Bundle ID for the App ID.
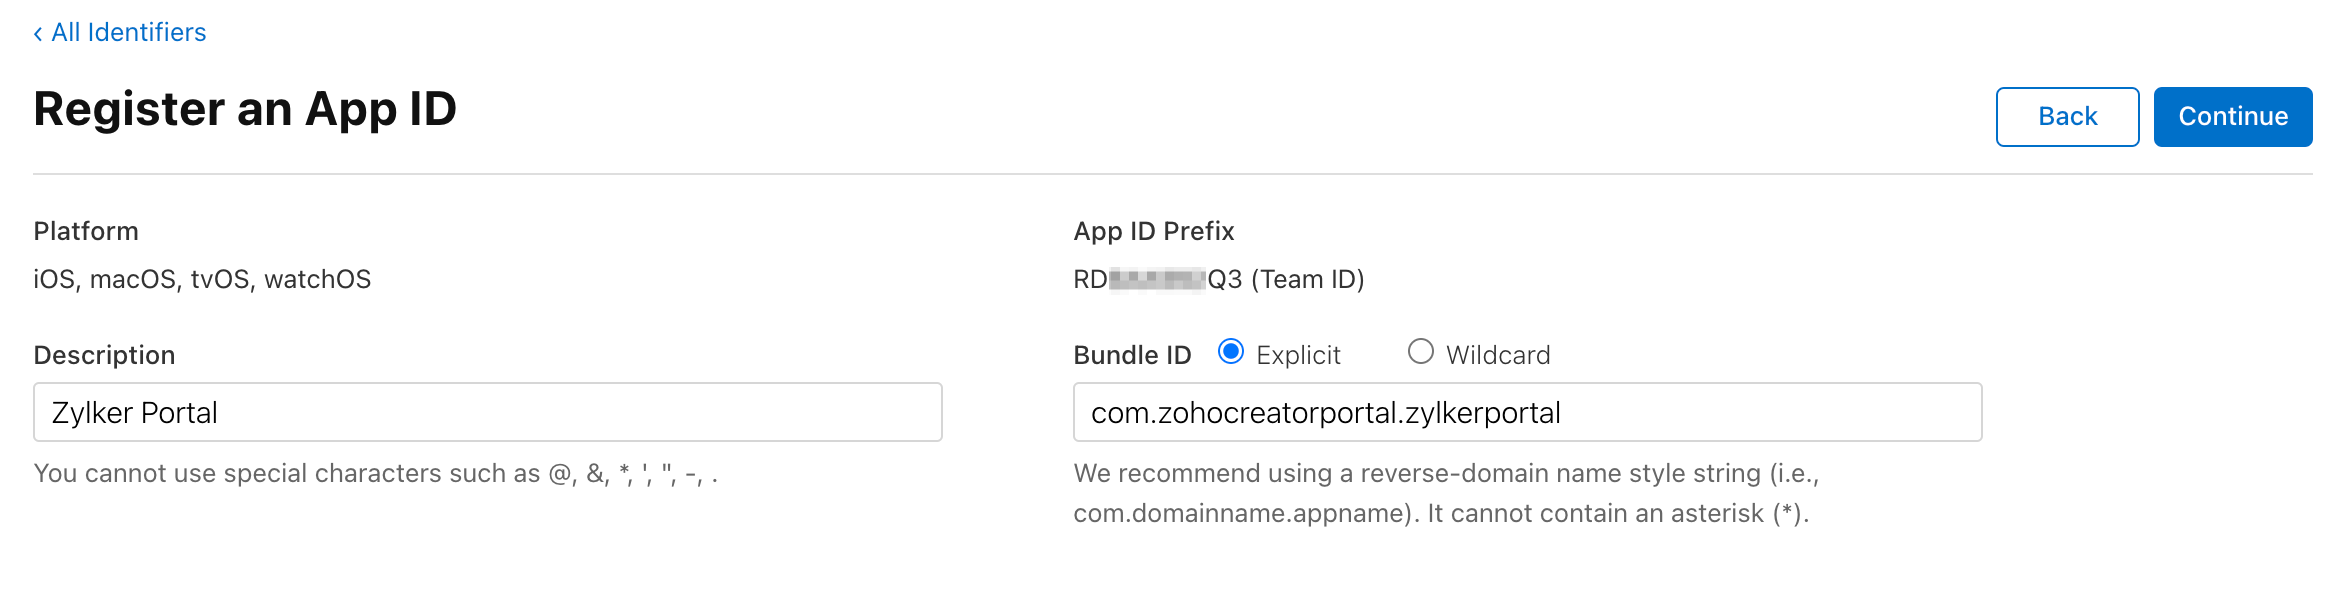
- Then scroll down through the list of capabilities and check the box next to Sign In with Apple.
- Click Register.


Generate Services ID
Next, we'll be creating a Services ID . This Services ID will serve as your Client ID within the Federated login configuration pane in Zoho Creator.
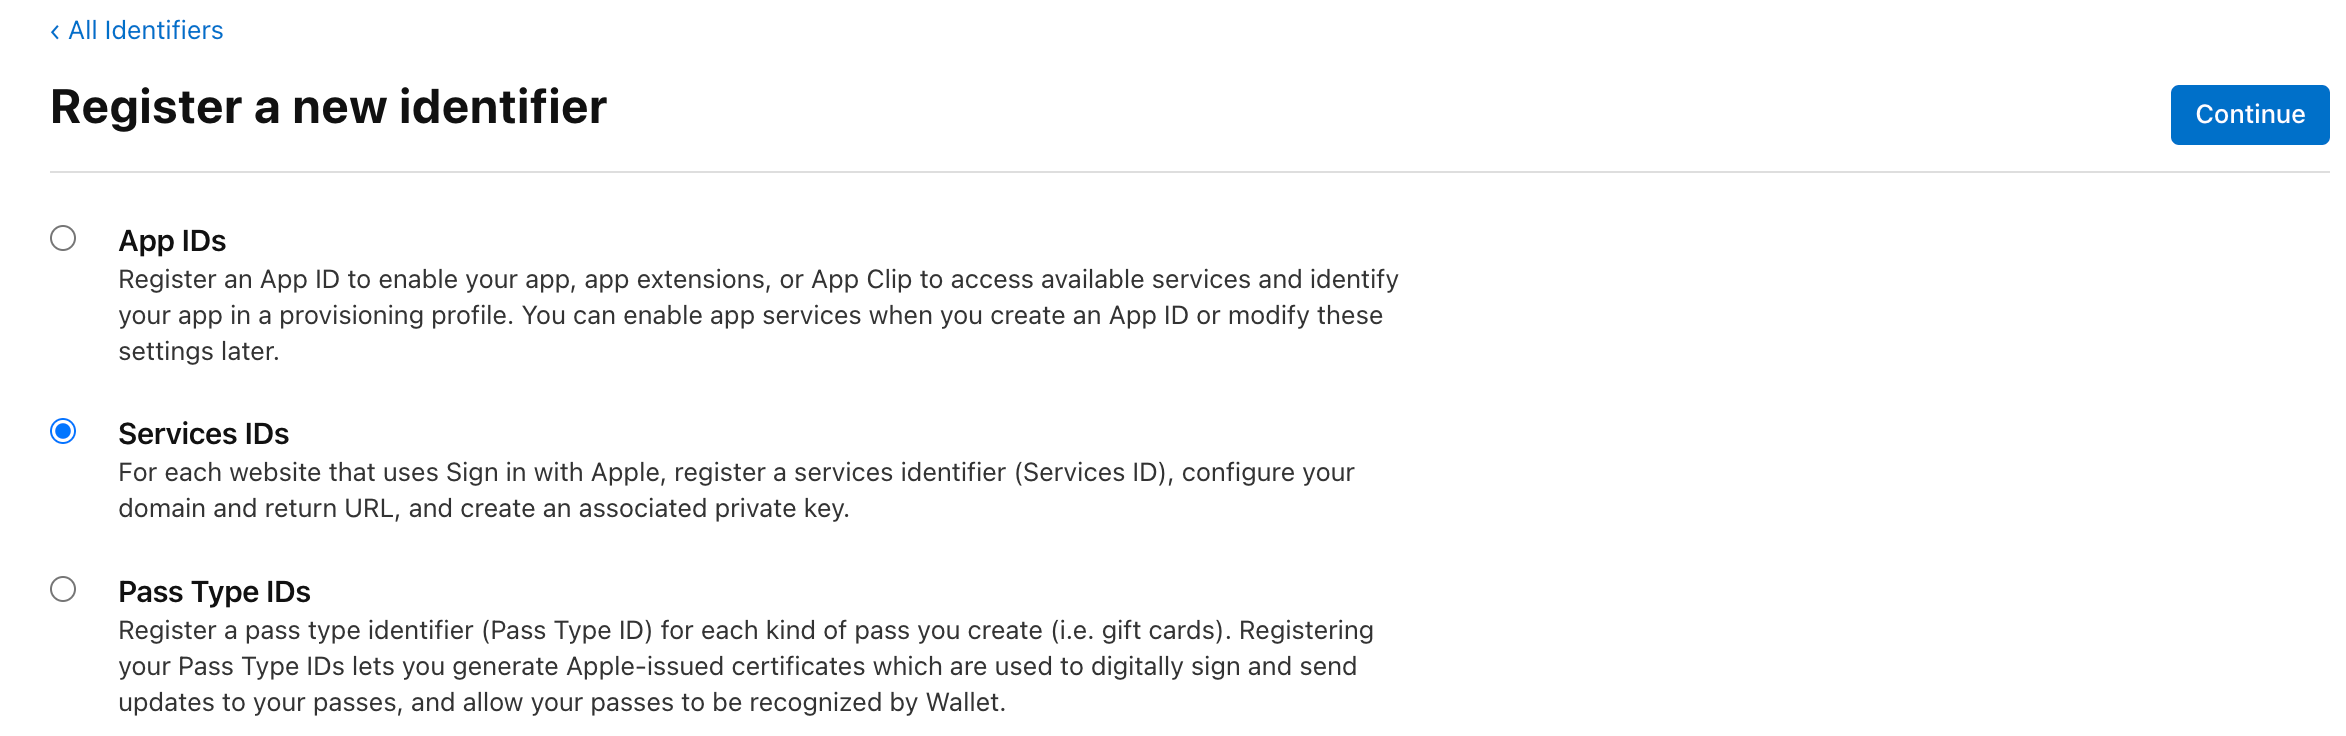
- In the Certificates, Identifiers & Profiles page, choose Identifiers from the side navigation and click the blue plus icon next to Identifiers.
- Choose Services IDs and click Continue.
- On the next screen, you’ll have to enter a description and identifier for the Services ID.
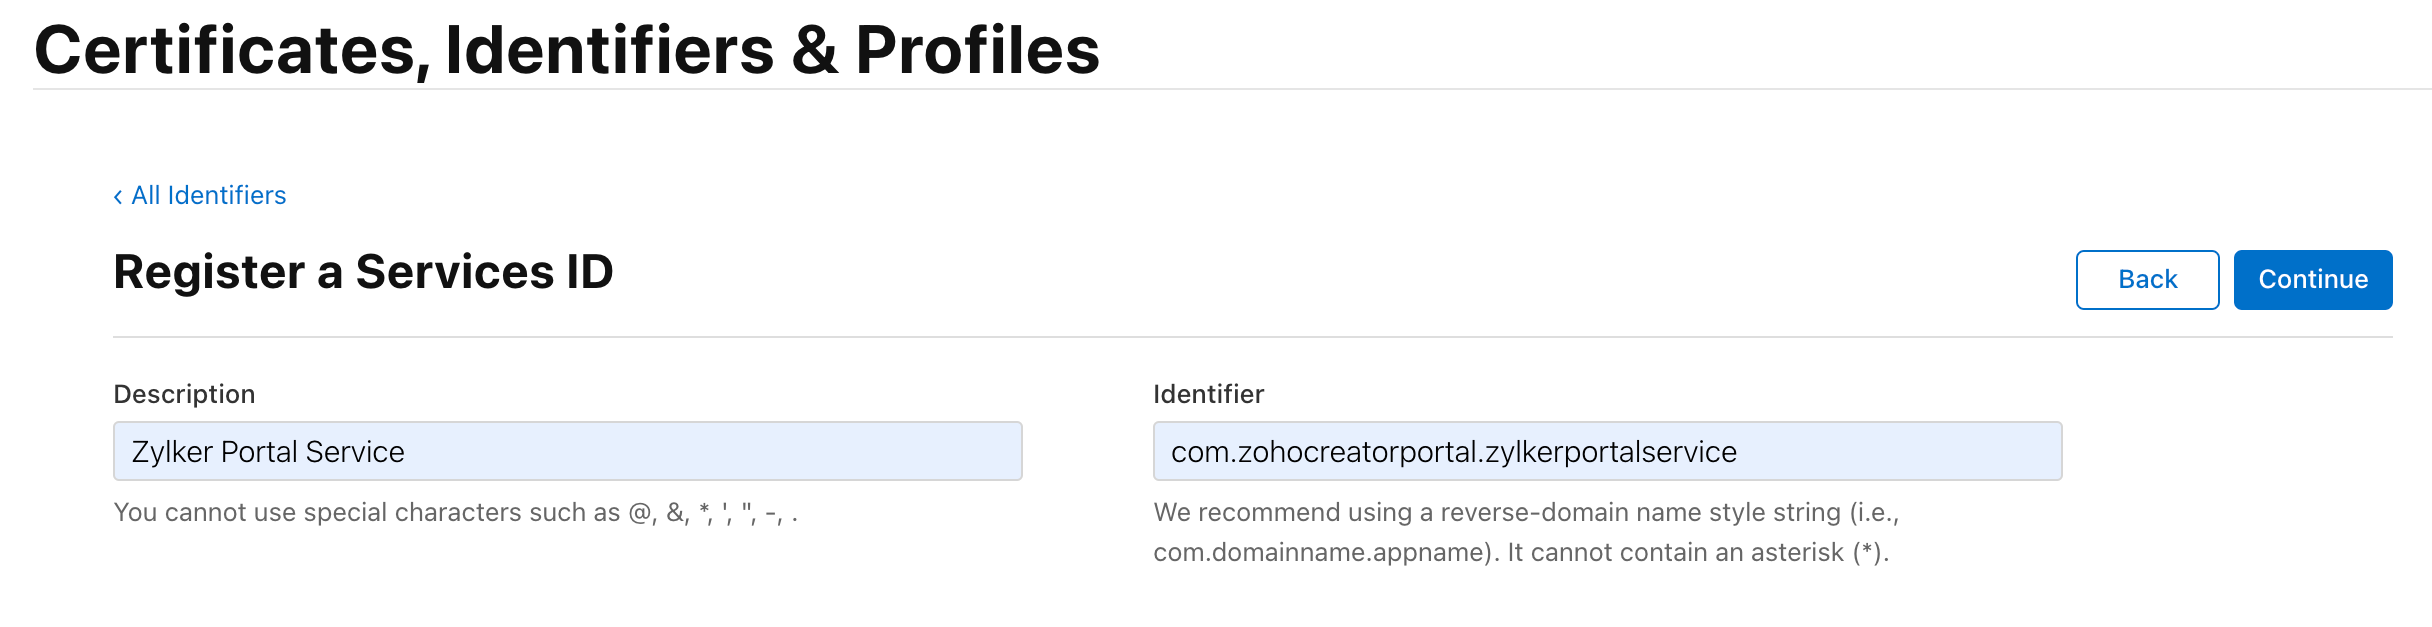
- Click Register.
- Then check the box next to Sign In with Apple.
- Click the Configure button.
In the Web Authentication Configuration popup, enter the Redirect URI copied from Zoho Creator in the Return URL field. Subsequently, enter the domain of the Redirect URI in the Domains and Subdomains field.
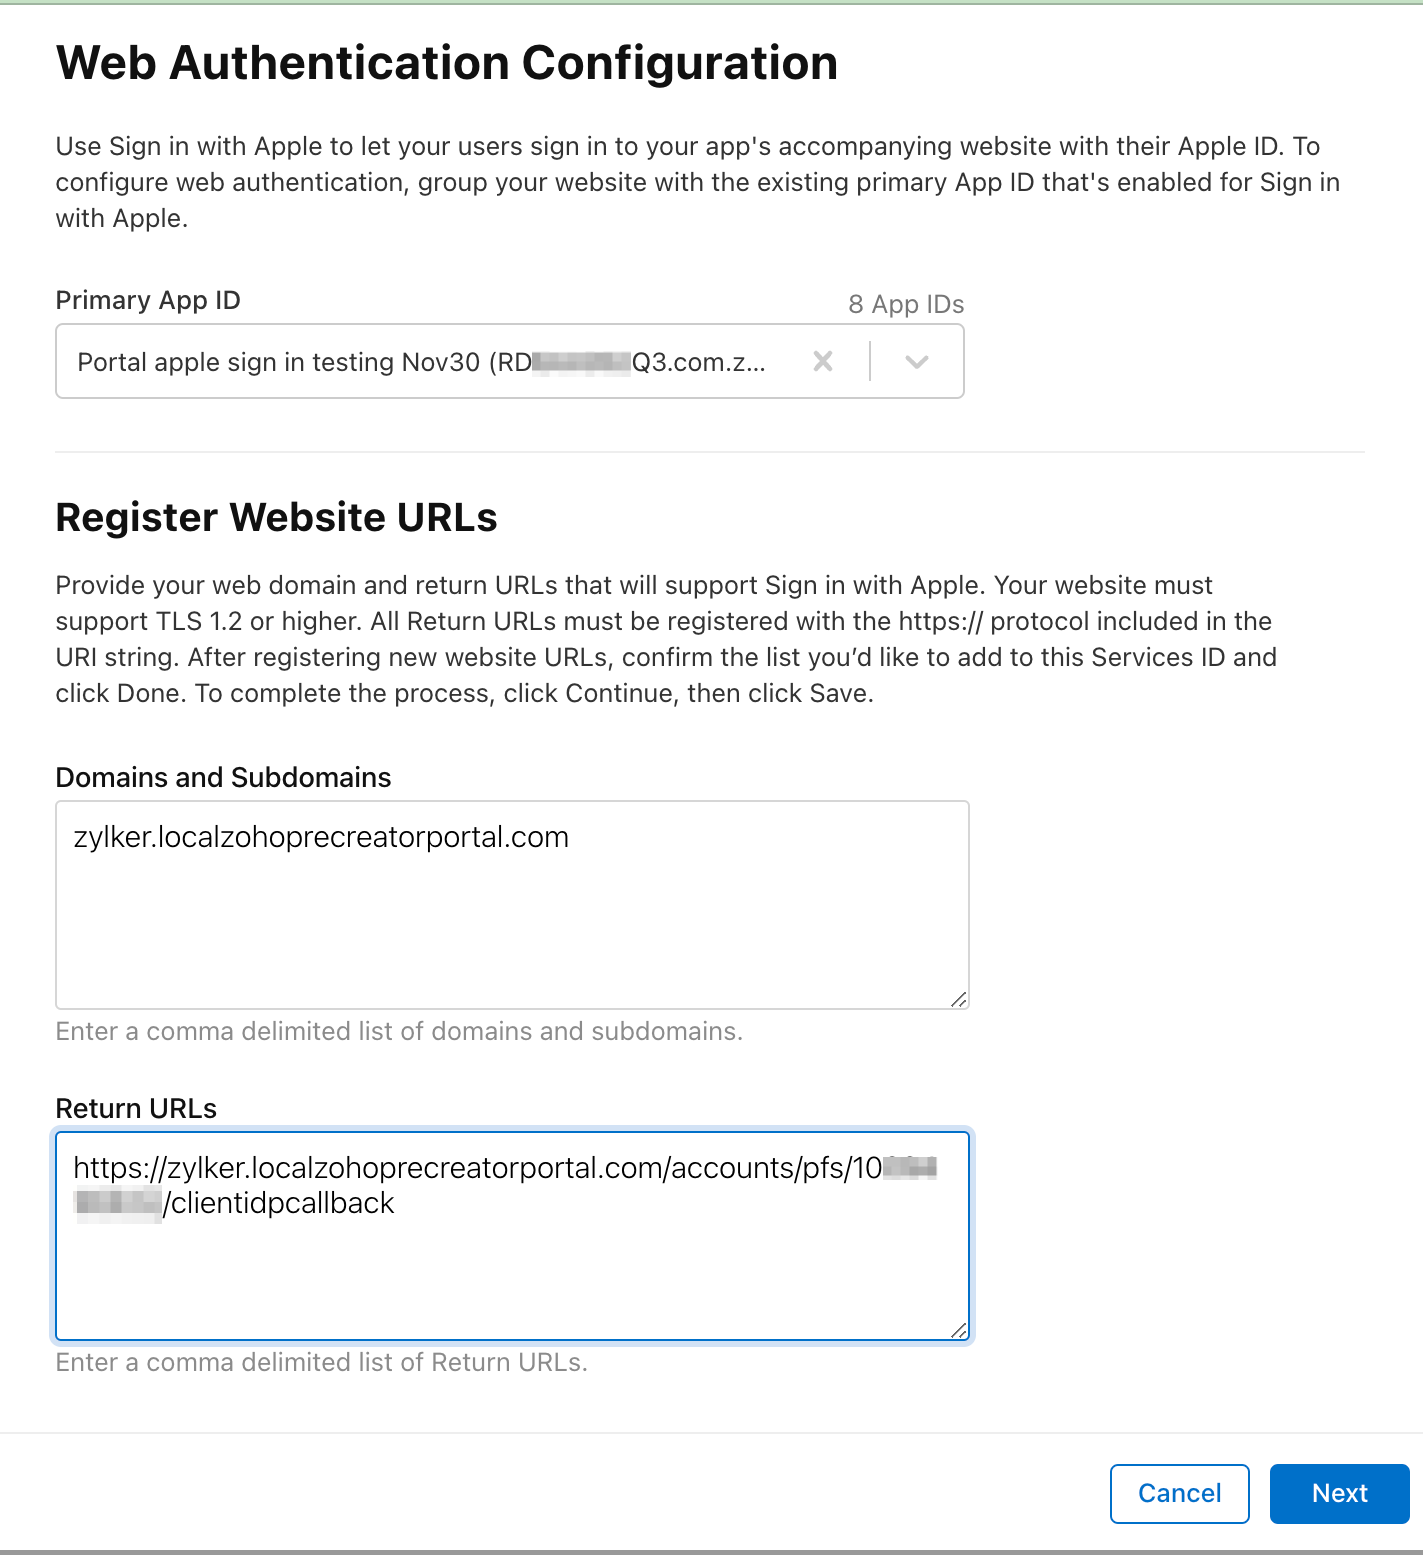
- Make sure your associated App ID is chosen as the Primary App ID. If this is the first App ID you’ve made that uses Sign In with Apple, then it will probably already be selected.
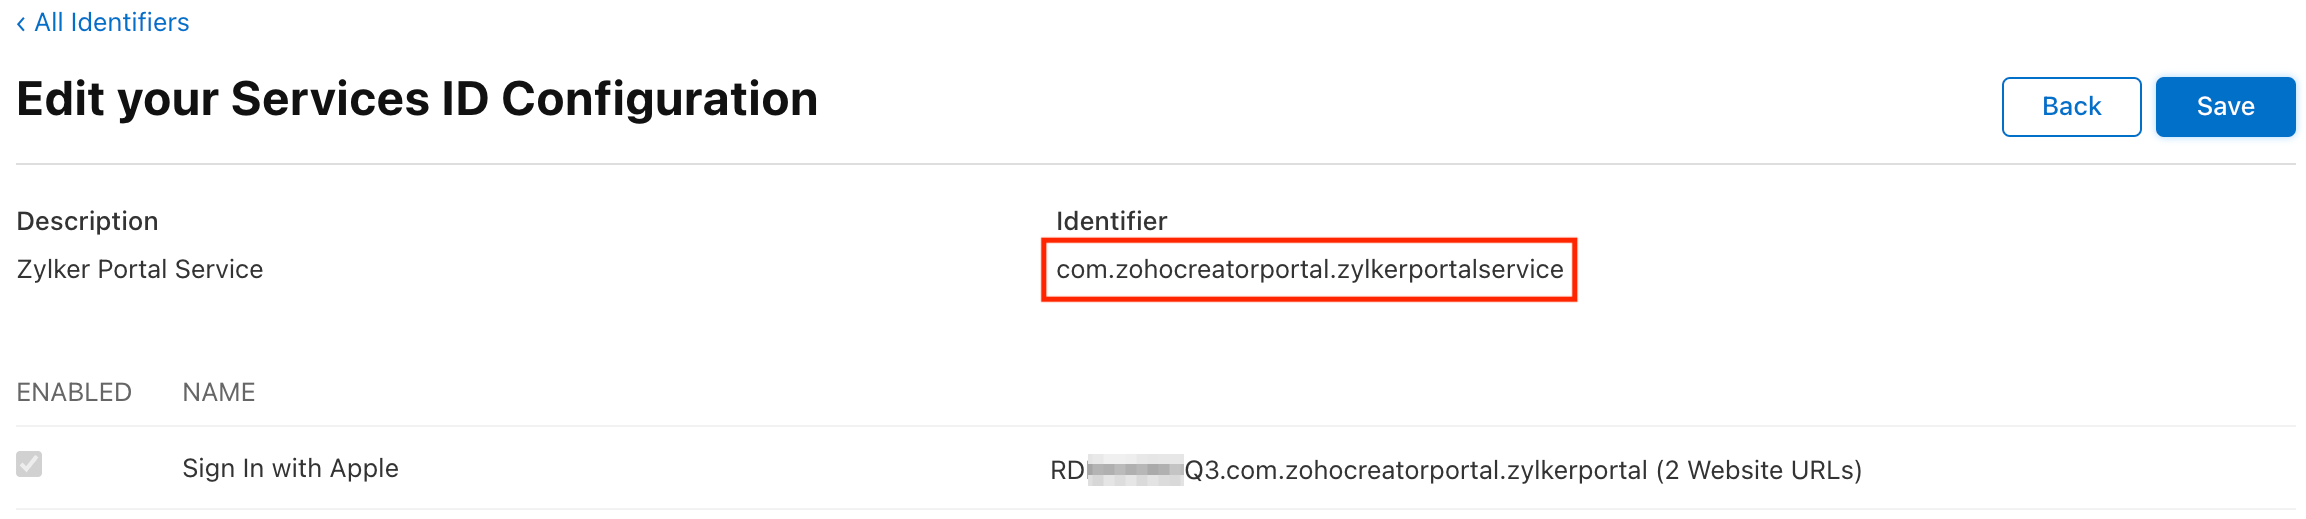
- Go ahead and click Next and then Continue and Register until this step is completed. The Identifier displayed here is your Services ID.


Generate a key
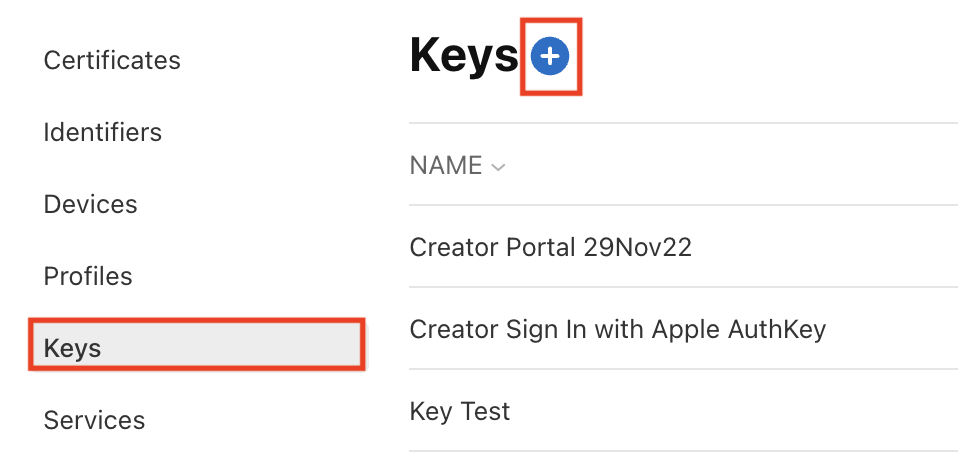
- Next, we'll be registering a new key. Back in the main Certificates, Identifiers & Profiles screen, choose Keys from the side navigation. Click the blue plus icon next to Keys.
- In the Register a New Key page, give your key a name.
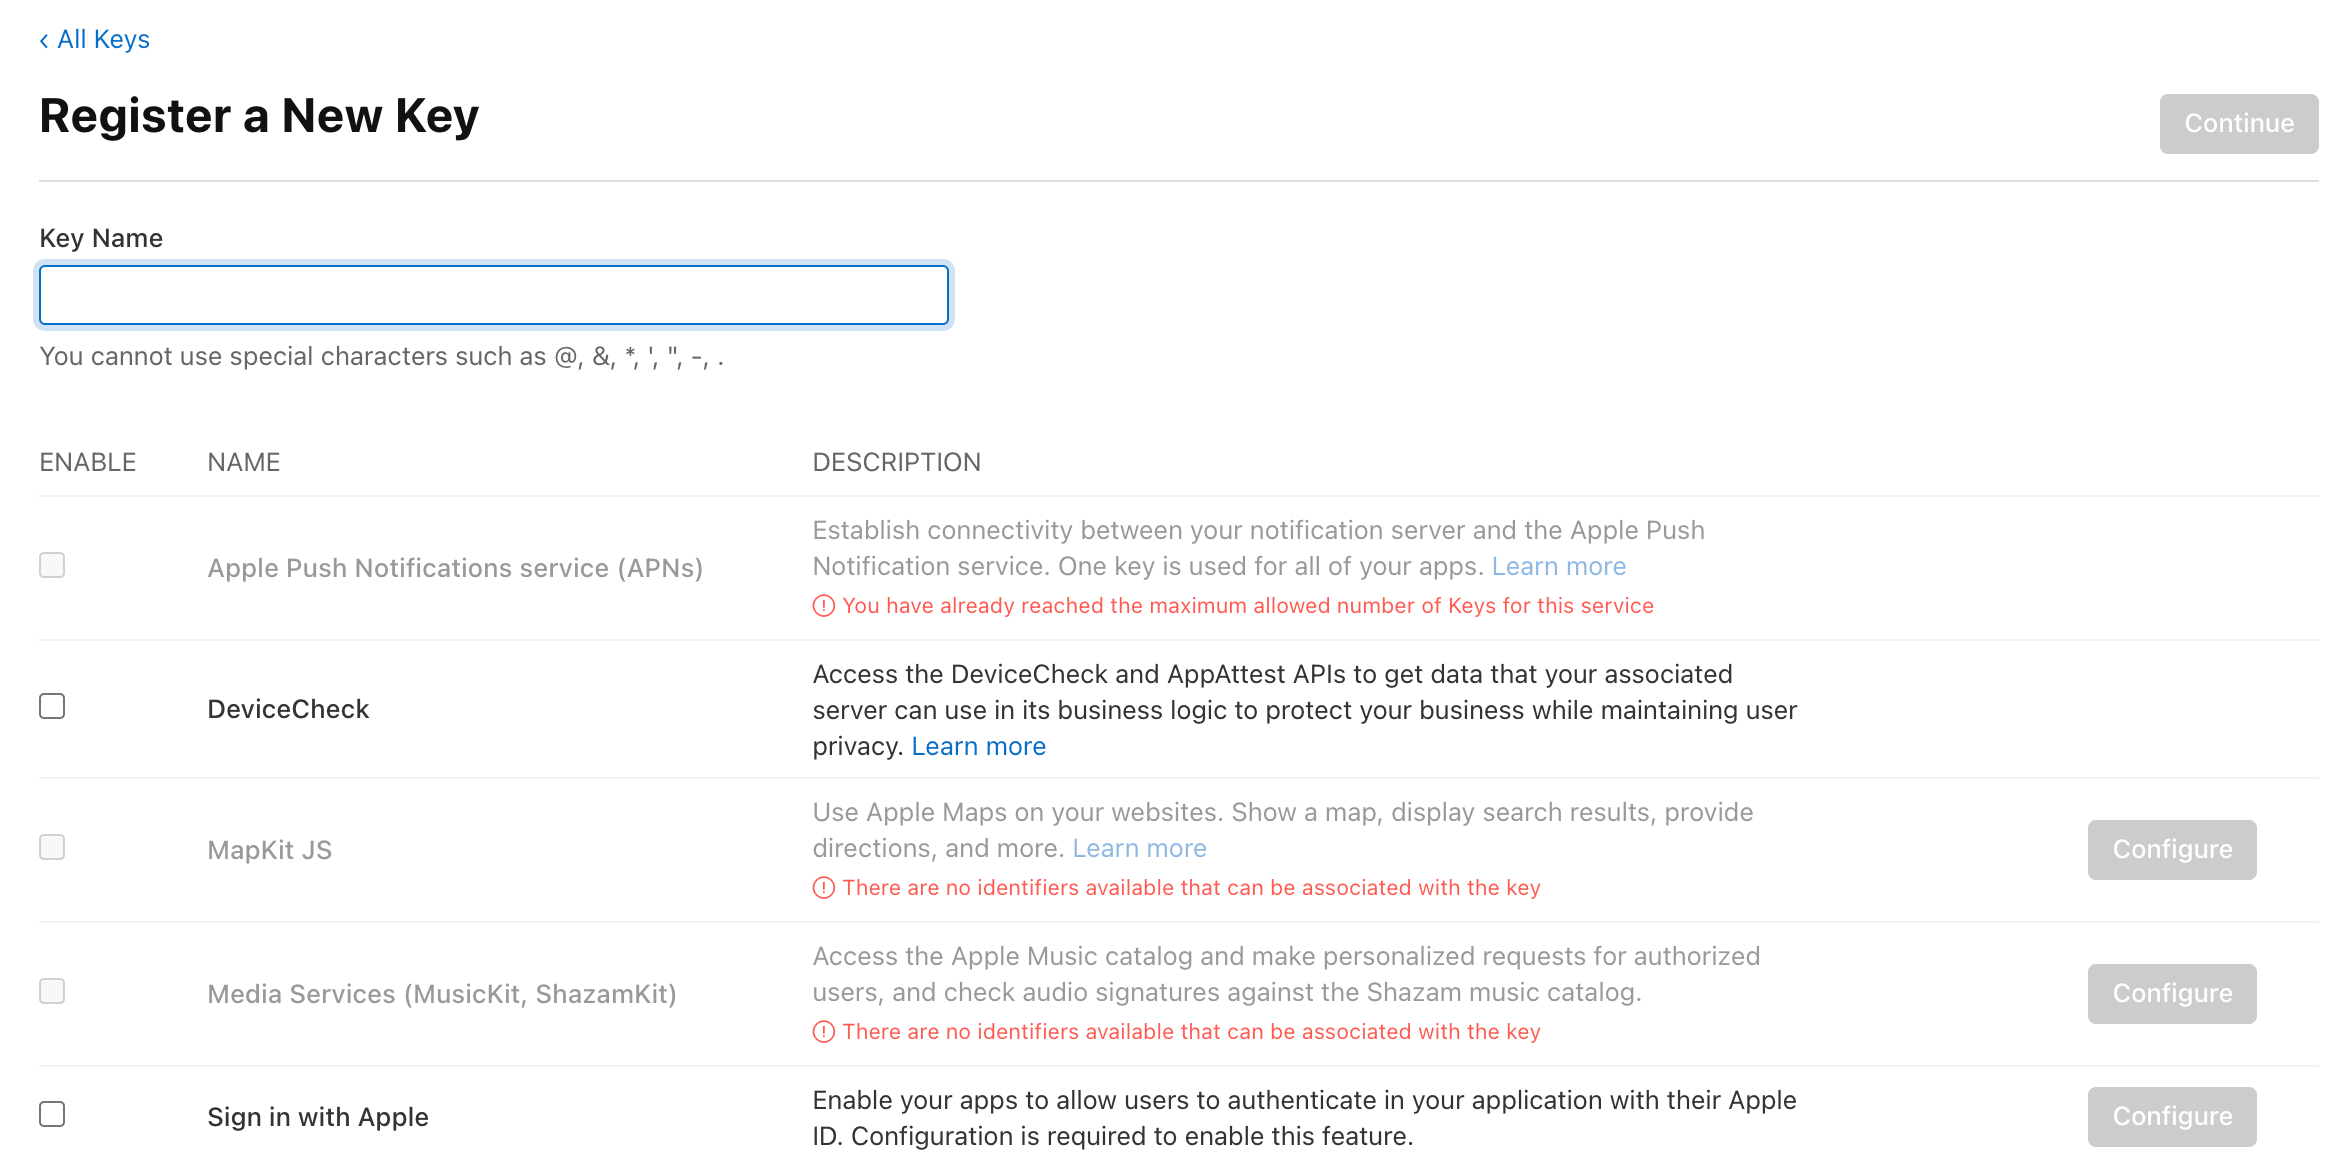
Check the Sign in with Apple option and click the Configure button adjacent to it.
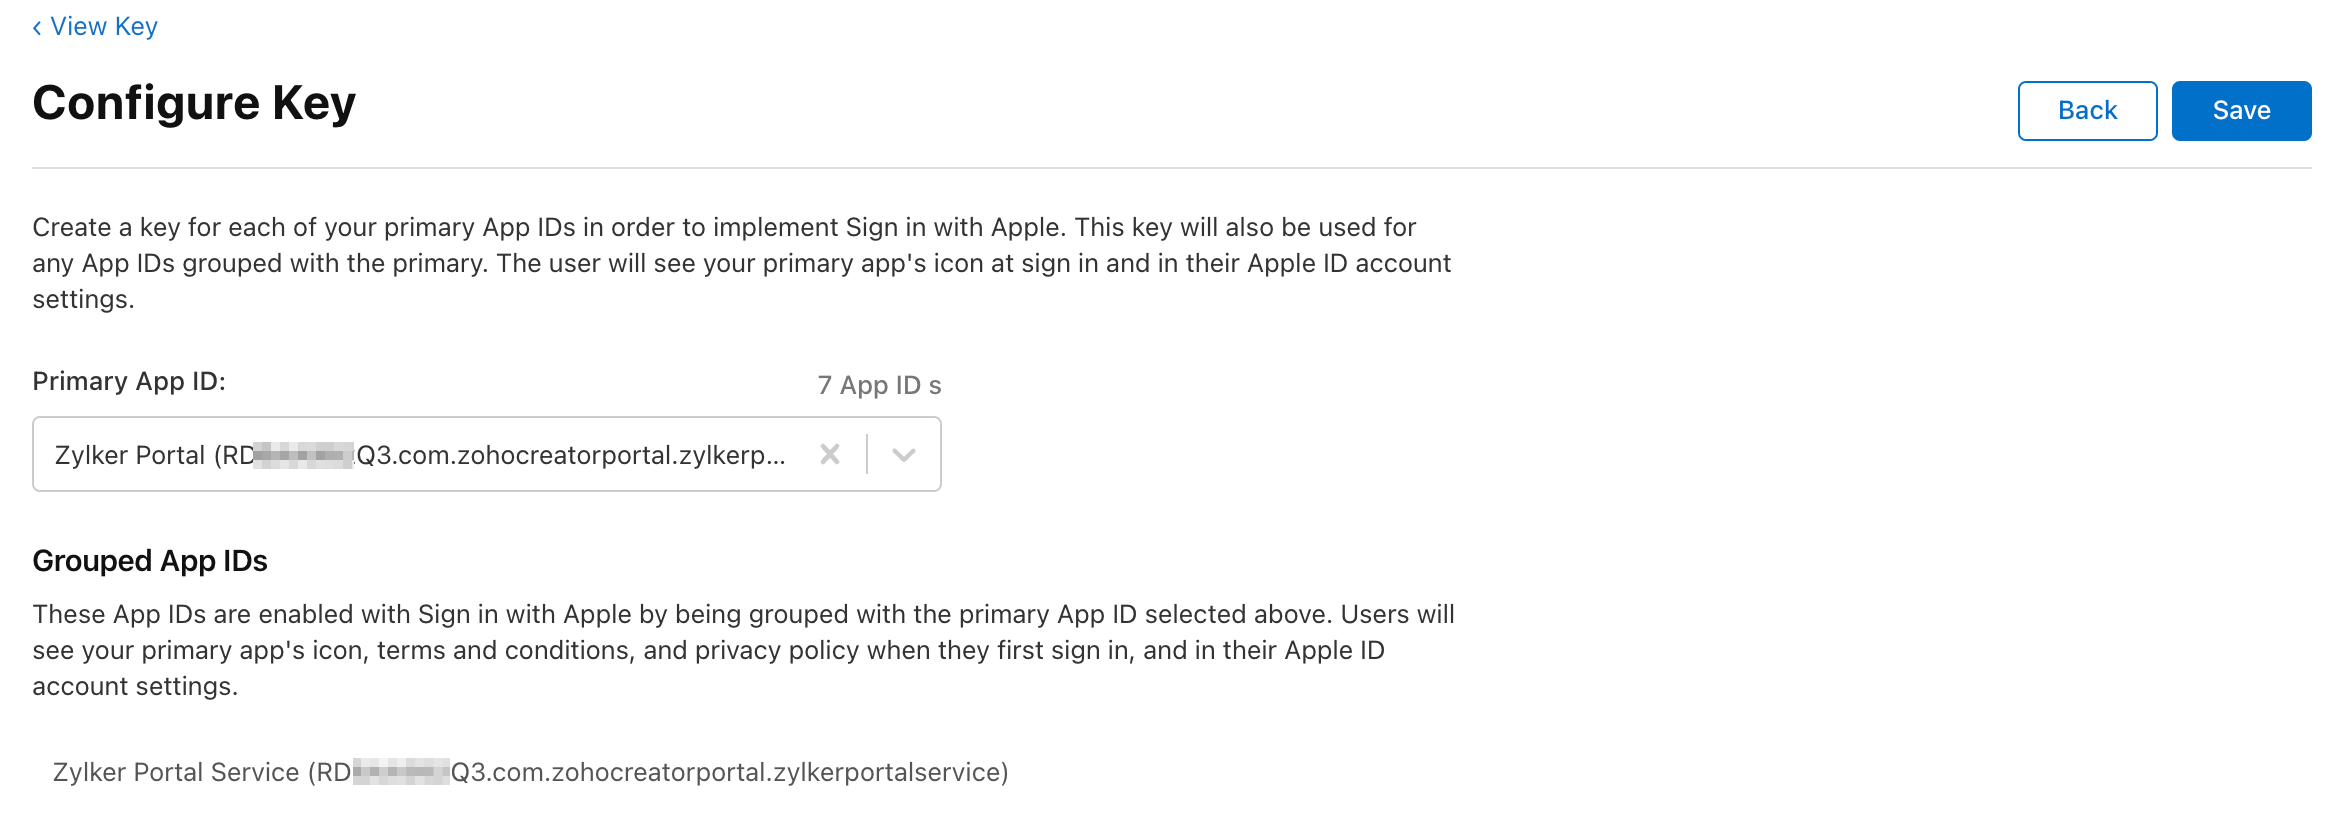
- In the Configure Key tab, select your primary App ID. Then click Save.
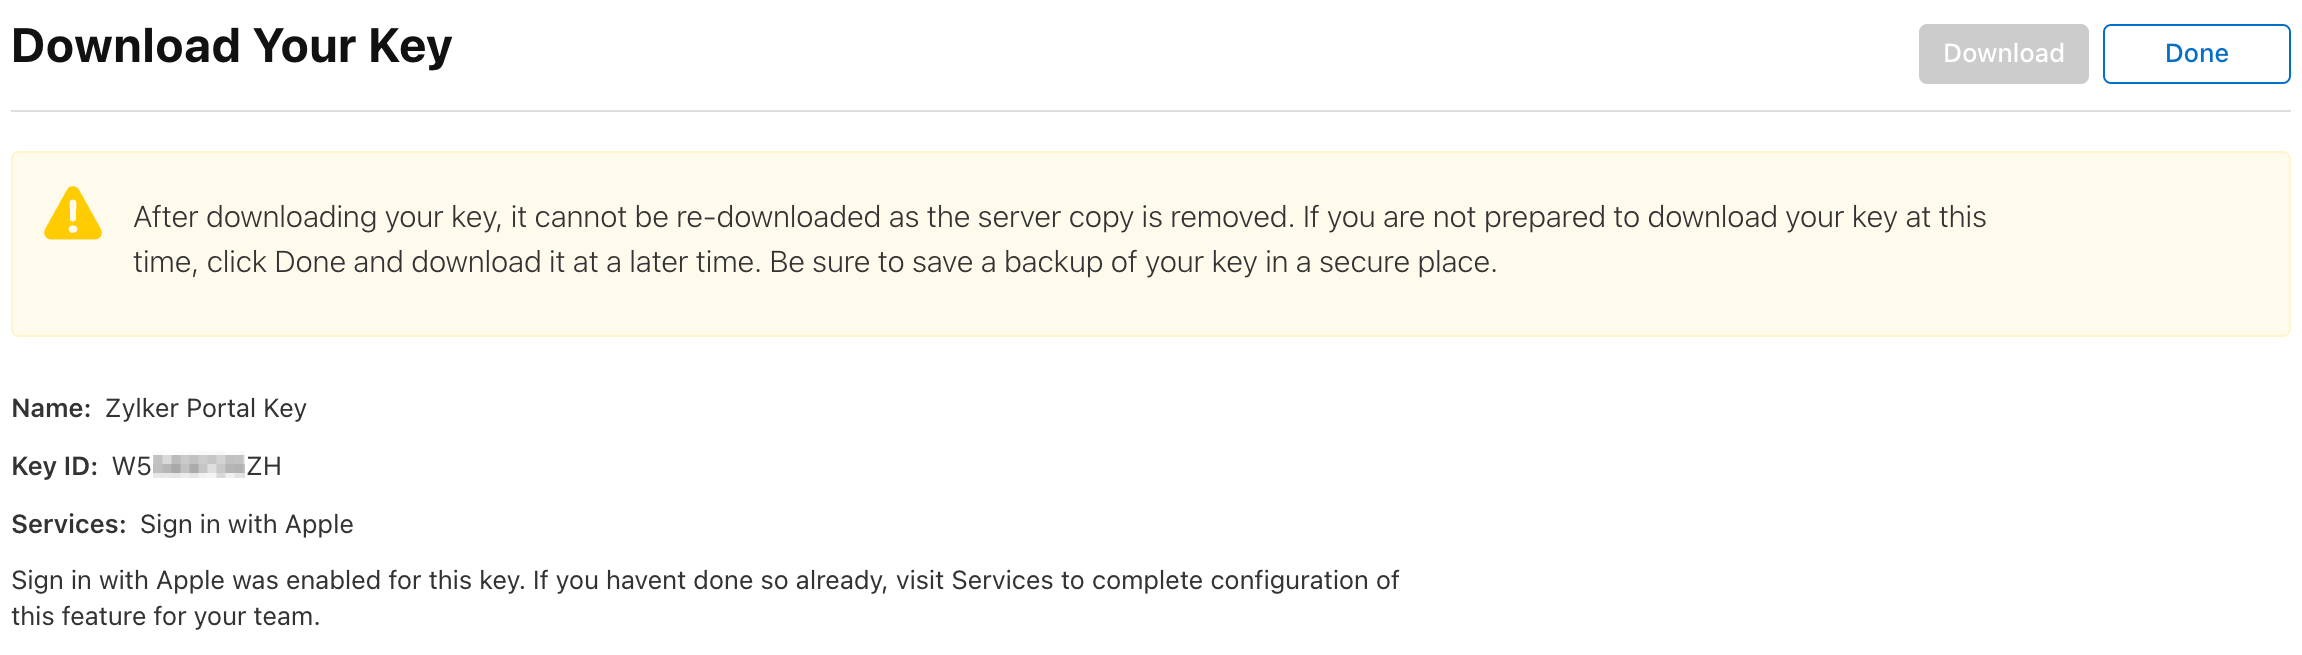
Apple will generate a new private key for you and let you download it only once. Please download and safely store the .p8 file. Also note that the Key ID displayed here will be required later. Click Done.


Generate client secret
Now, we'll need to create a Client Secret by using the private key generated above. According to the Apple, the Client Secret needs to be an encrypted JWT token and it can generated by following the below steps:
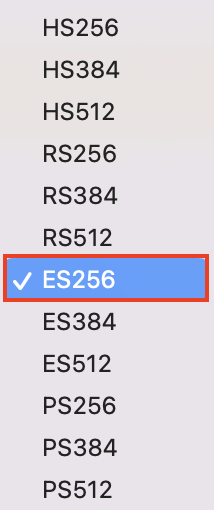
- Apple recommends the use of jwt.io to generate the JWT tokens. Go to jwt.io.
- In the Algorithm dropdown, choose ES256.
Enter the following in the Header field with the " kid" being the Key ID generated in Step 22.
{
"alg": "ES256",
"kid": "ABC123DEFG"
}Next enter the following in the Payload field.
{
"iss": "DEF123GHIJ",
"iat": 1437179036,
"exp": 1493298100,
"aud": " https://appleid.apple.com",
"sub": "com.mytest.app"
}wherein
- "iss" should be the App ID generated in Step 8.
- "iat" should be the epoch time at which you generated the client secret in UTC.
- "exp" should be the epoch time on or after which the client secret expires.
Tip: You can use Epoch convertor for timestamp conversion. - "aud" should be https://appleid.apple.com.
- "sub" should be the identifier generated along with the Services ID, as shown in Step 16.
- Now, copy the entire contents of the .p8 file generated in Step 22 and paste it in the 'private key' section of the Verify Signature field.
- The JWT token will now be generated and displayed under the Encoded section. Copy it.
- Switch back to Zoho Creator and finish configuring the federated login by using the Client ID (i.e Services ID) from Step 18 and the Client Secret from step 28.

