Simplifying benefits management in Zoho People

Let's consider a new hire on their first day of orientation. They receive a brief introduction to the benefits plans, and almost immediately, questions start to surface—about coverage, eligibility, timelines, and premiums. If the HR team doesn't have an organized benefits system, the answers can be hard to find without digging through multiple sources.
Behind the scenes, many HR teams find themselves juggling communication with multiple providers, responding to a stream of employee queries, tracking enrollments with spreadsheets, coordinating deadlines, and managing eligibility. Often, it all happens at once.
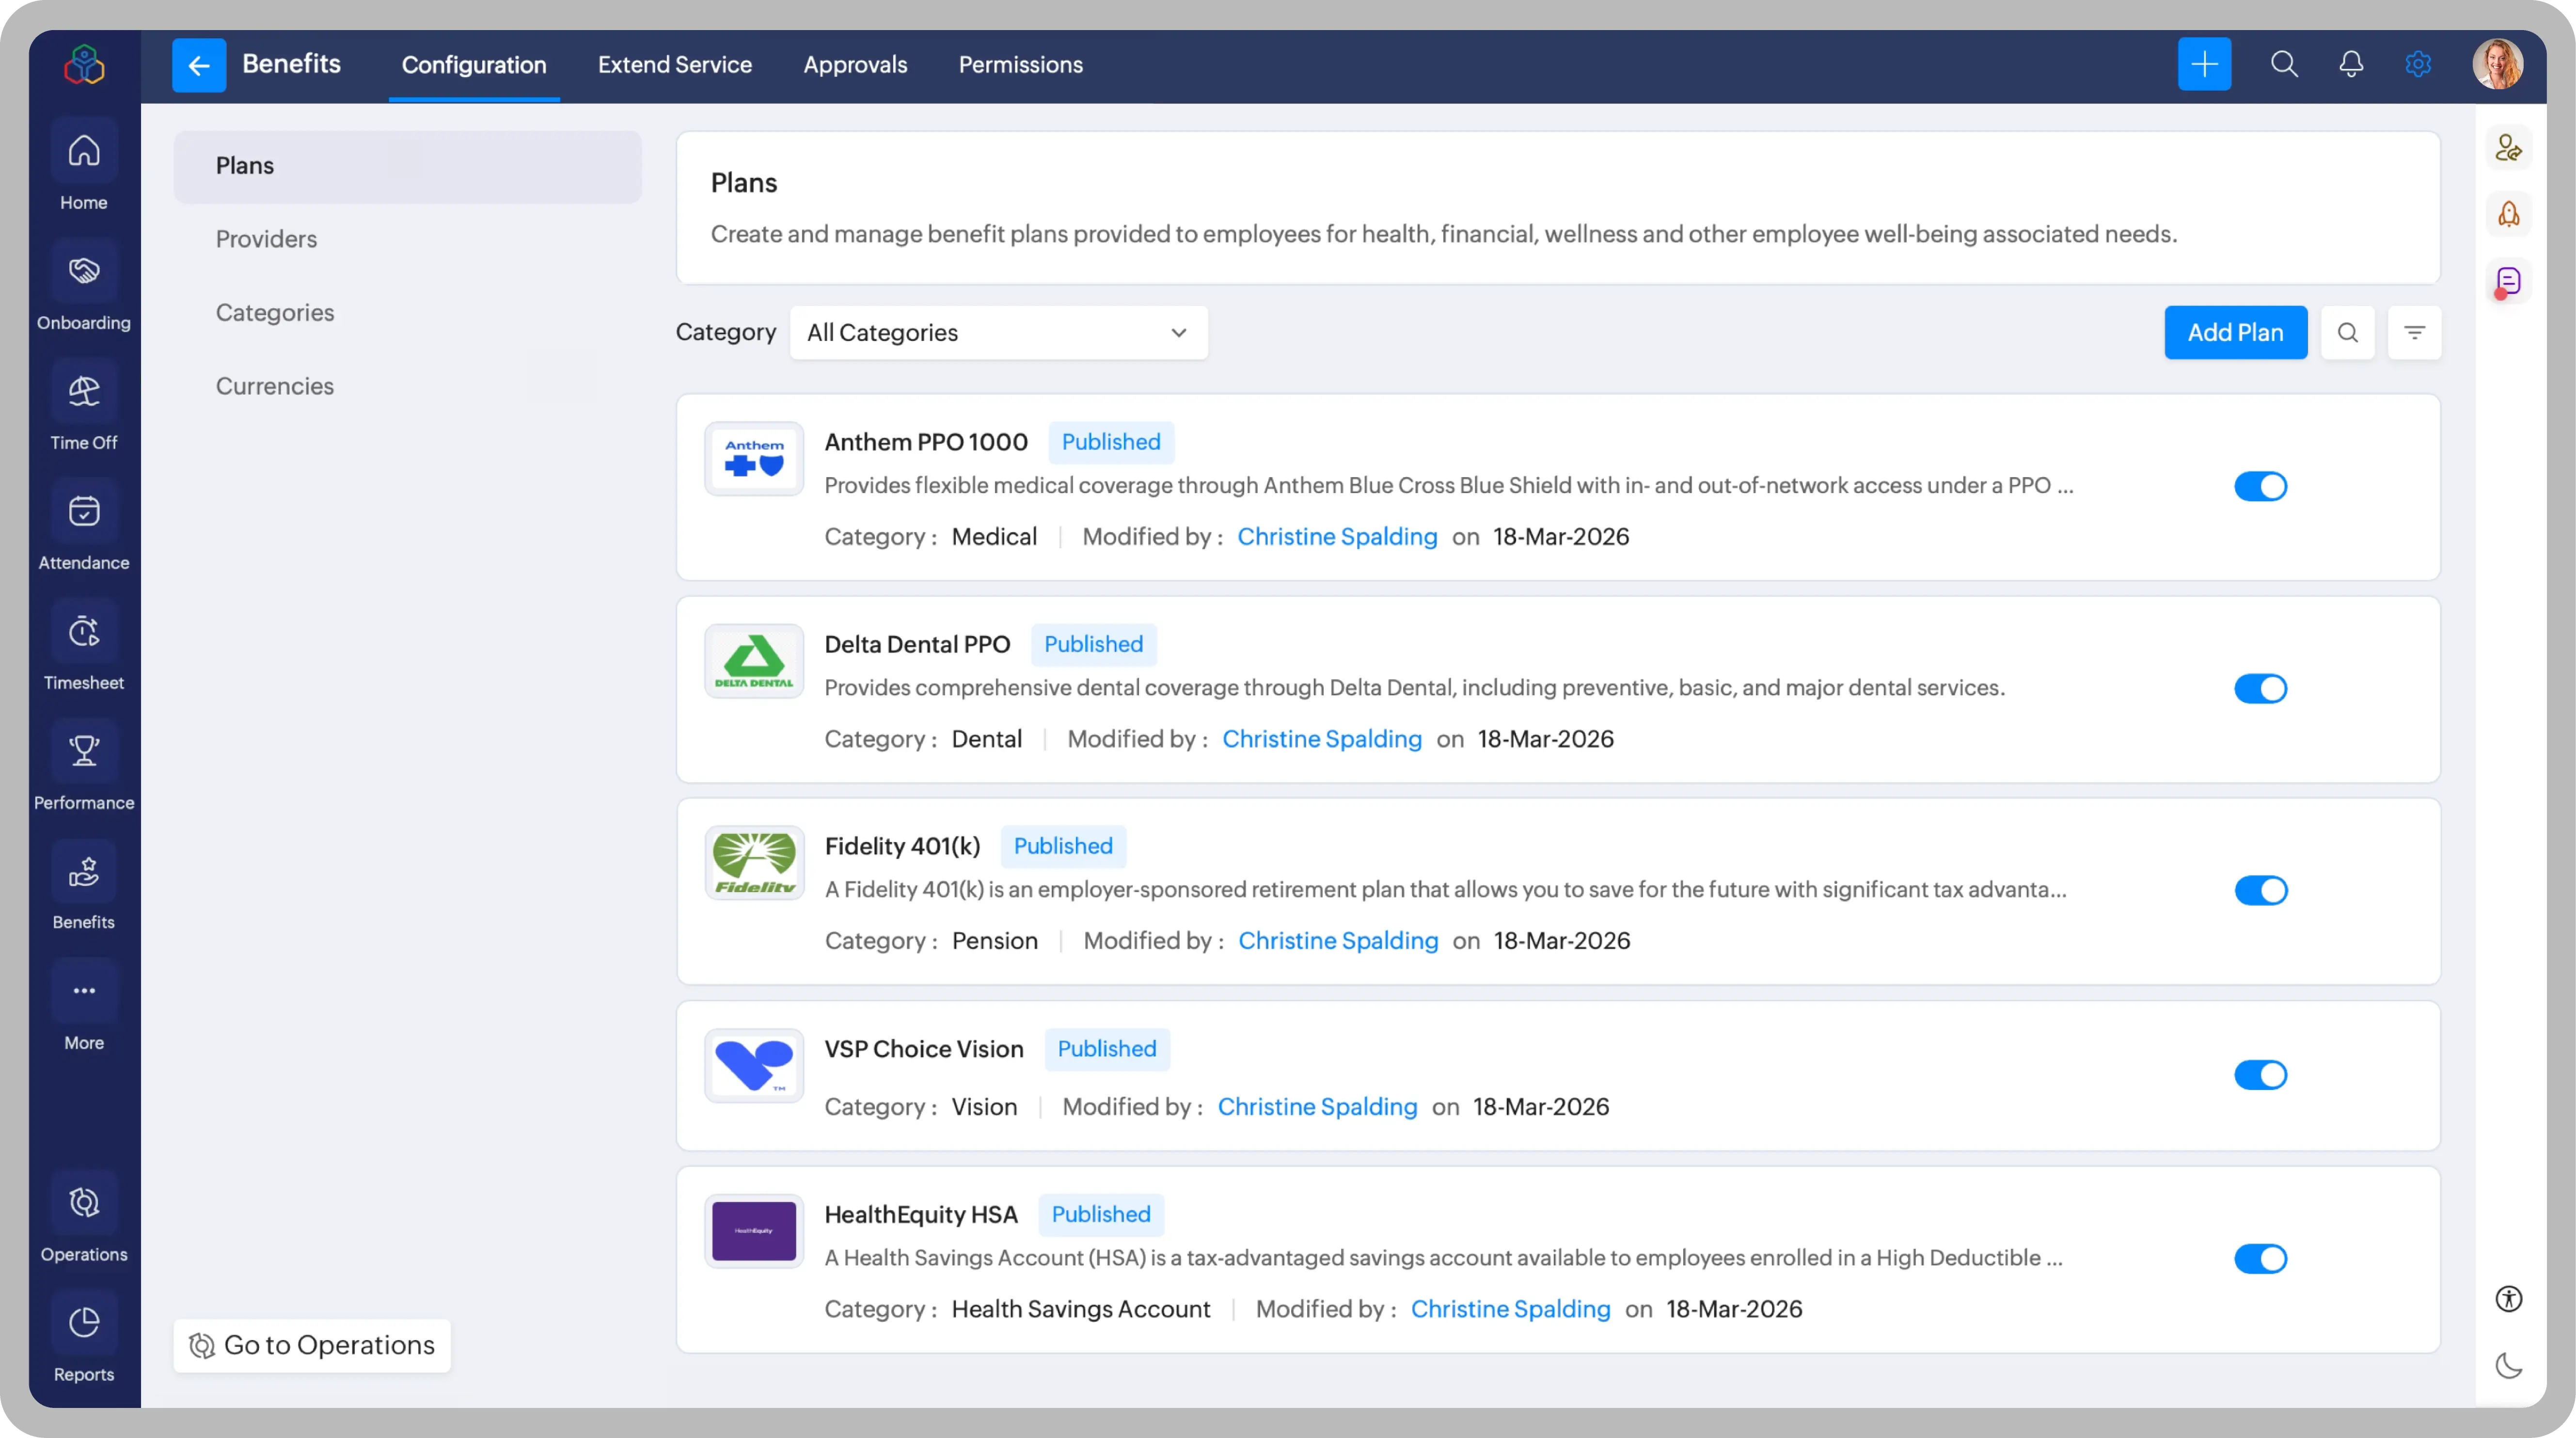
But it's possible to make employee benefits simple and structured for both employees and HR. That's where a centralized approach makes a difference. With the new Benefits module in Zoho People, everything from plan setup to enrollment can be streamlined for a more meaningful, organized experience.
Here's a step-by-step flow of the benefits lifecycle in Zoho People:
Step 1: Define benefits categories
Start by choosing from the preset benefits categories, including medical, dental, vision, retirement, disability, and more, or add your own to extend the list based on your organization's needs.
This customization lets you structure your benefits plans in a way that fits your specific needs.
For instance, if your organization offers health insurance, add it under the Medical category. Similarly, dental and vision plans can be added under the Dental and Vision categories, while savings and retirement plans can be added under the Retirement category.
Step 2: Add benefit providers
From there, define your benefit providers, such as insurers, healthcare providers, and wellness vendors, by adding key details like the provider name, provider ID, email address, and other contact information. All your providers are listed in one place, making them easy to manage and reference.
For instance, if you offer health insurance through one provider and retirement and savings plans through another, you can manage each one without switching apps.
Step 3: Create benefit plans
Next, set up your benefit plans by specifying the plan types, coverage options, and the premium contribution split. Choose from a wide range of offerings, from medical and retirement plans to specialized benefits like health savings accounts (HSAs) and short-term disability (STD). Plans can also be configured to align with the Affordable Care Act (ACA) where applicable.
For instance, you can create a medical plan that meets ACA requirements and link it to an HSA that’s only available when employees enroll in a qualifying high deductible health plan (HDHP), ensuring your benefits are both structured and compliant.
Step 4: Define eligibility
After creating benefit plans, configure eligibility based on location, designation, age range, employment type, salary range, and more. This ensures that the right benefit plans are accessible to the right employees. For example, you can make certain retirement plans available to employees within a specific age range
Step 5: Set the benefits timelines
The next step is to decide how long your benefits plans will be active and when employees can make their selections. This creates a structured cycle and gives your employees a clear timeframe to make decisions. For instance, you can set your benefits cycle to run from April to March, where employees make their selections within the first two weeks of April.
Step 6: Encourage employee enrollment
Use the module to give employees a simple way to select their plan and coverage, add dependents, review and update their contribution amounts, and complete enrollment. For certain plans—like an HSA of 401(k)—employees can use the module to update their contribution amount even after enrollment.
Step 7: Track and manage enrollment
Once employees are enrolled, leverage the module's intuitive reports to track data for the selected plan year, related records, beneficiary details, and more, all from a single window. This information is especially helpful in maintaining compliance and handling audits.
What changes with the Benefits module
The Benefits module brings structure to benefits management, making the entire process more intuitive. No more searching for information scattered across different tools and documents. Employees gain clarity and control through a self-service experience, while HR teams can stay on top of enrollments and contributions without added manual effort. Check out our help documentation for more information.
Note: The Benefits Management feature in Zoho People is currently available for U.S. organizations and can be enabled by contacting support@zohopeople.com.


Comments